This post may contain affiliate links. Please read our privacy policy.
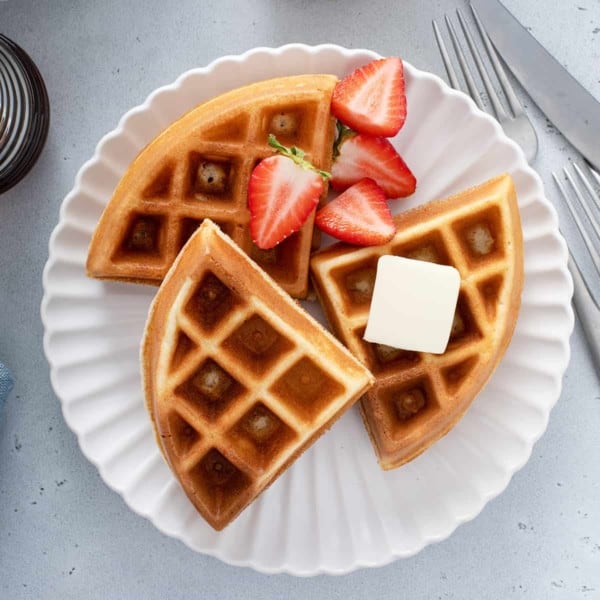
Crispy on the outside, fluffy on the inside and bursting with the flavor and aroma of vanilla, these are the very best homemade waffles!
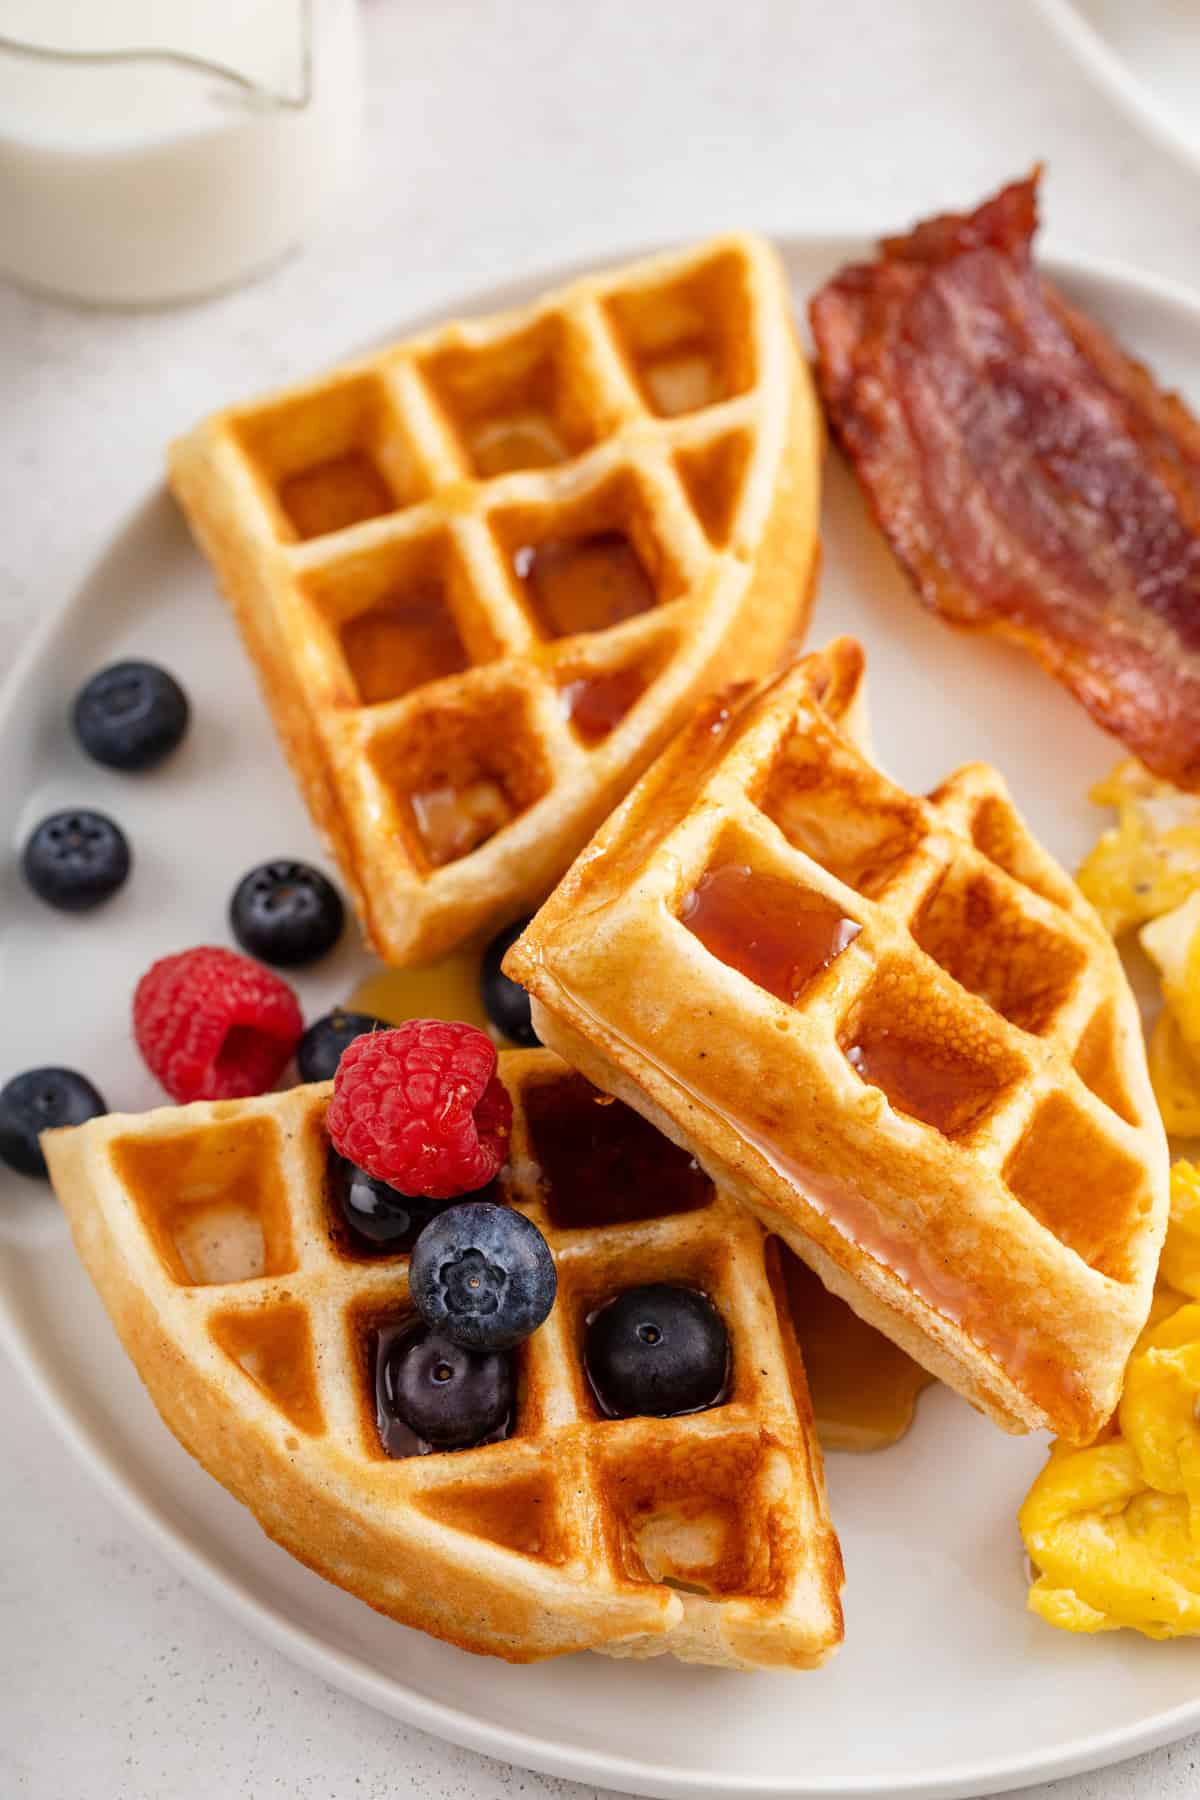
Waffles are a big hit around here, especially on the weekends. We have some mini waffle irons and Elle LOVES having her own mini waffles.
Yes, I said “some.” We have more than one and I’m not ashamed to admit it!
We have a mini waffle maker that makes standard circle-shaped waffles, but we also have a mini waffle-stick maker. Elle is obsessed with the mini waffle sticks.
I usually whip up a batch of bisquick waffles, but sometimes I want to make from-scratch, homemade waffles. And when I do, this is the recipe I use because it’s the very best.
If you’re looking for waffles that are crisp on the outside and fluffy on the inside, with the perfect amount of vanilla flavor to them, this is the recipe for you.
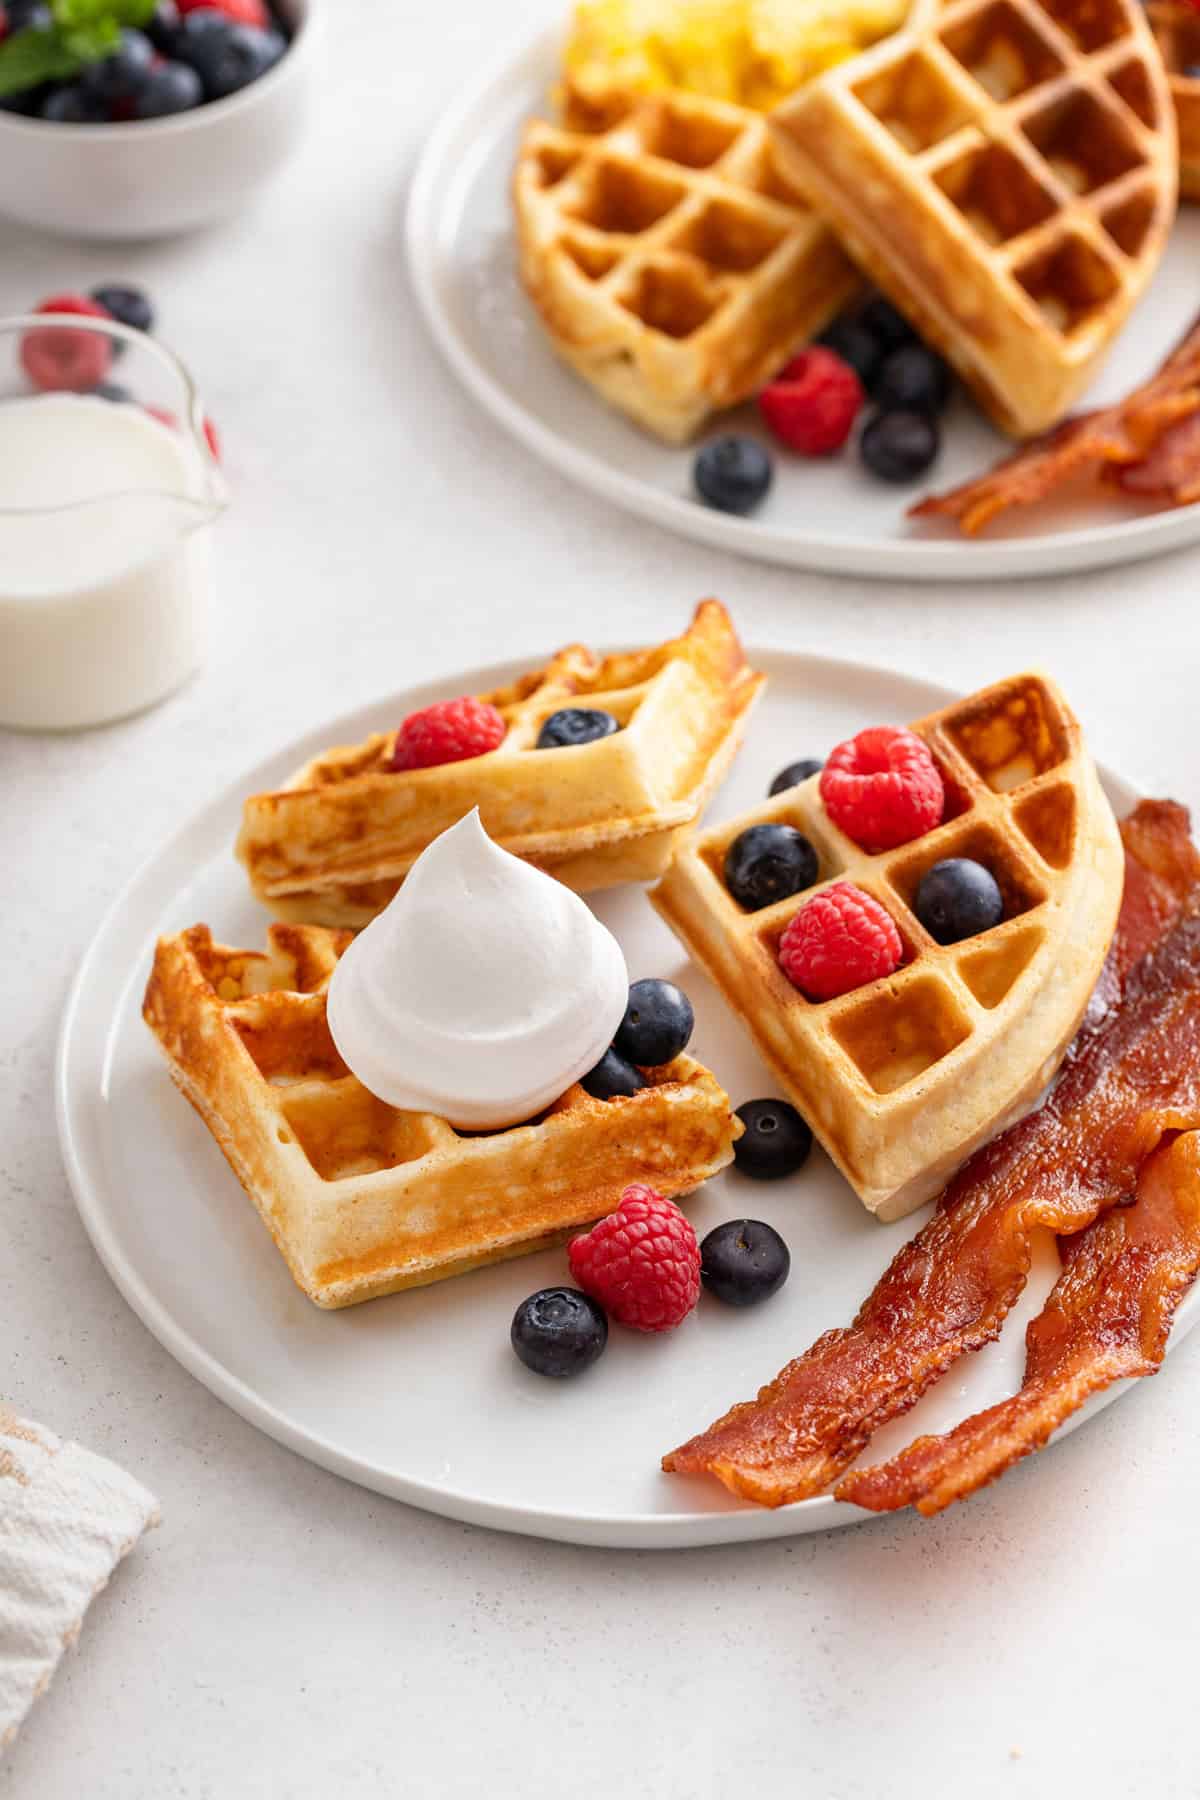
The very best homemade waffles
I love waffles. There is something about the crisp texture and the way syrup pools within the waffle divots that makes me a very happy lady.
When I say I like a crisp waffle, I mean it. I usually crank my waffle maker all the way up to make sure the outsides of the waffles get super crisp, just the way I like them.
So you shouldn’t be surprised to find out that one of the reasons I love this homemade waffle recipe so much is because the outsides get perfectly crisp every time, while the insides stay light and fluffy.
And that’s even without cranking the waffle maker up!
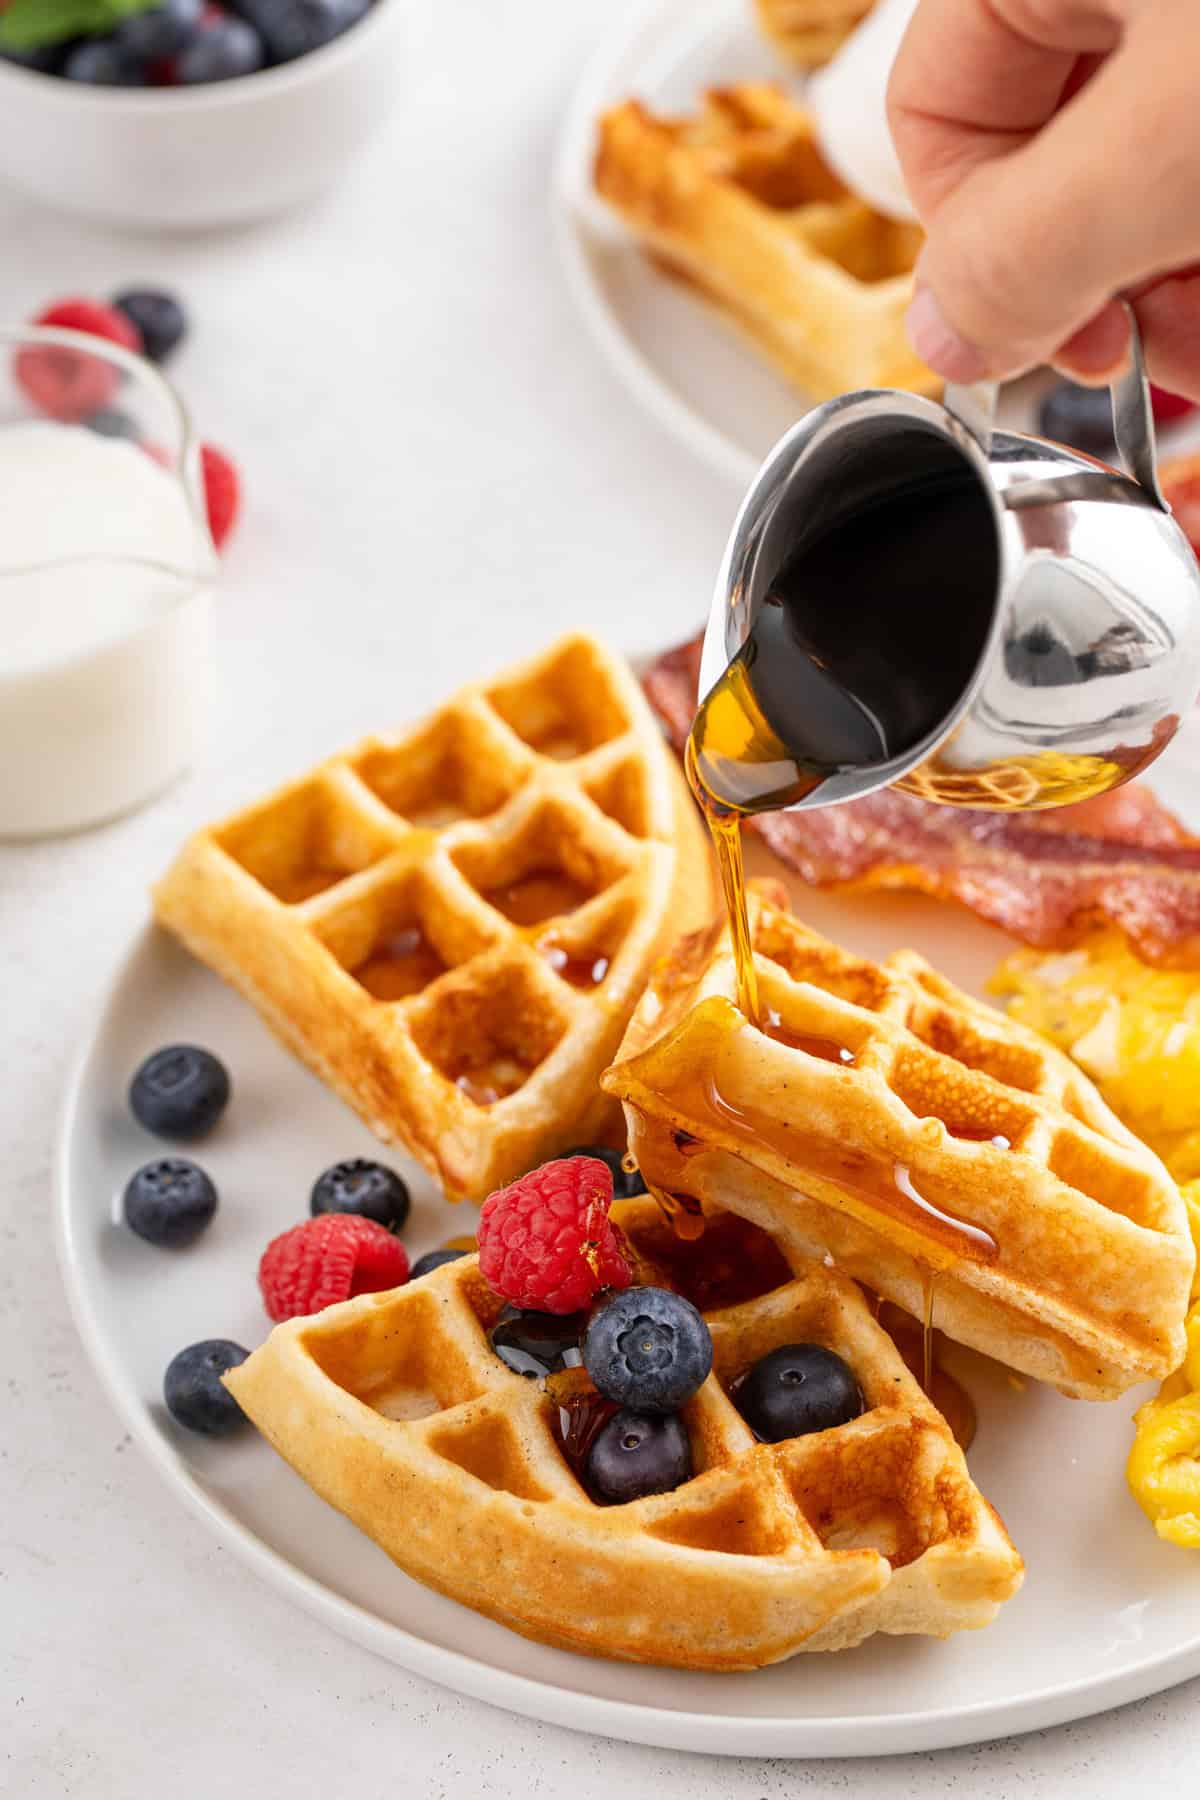
These waffles also have a heavenly vanilla aroma and flavor. They’re light and buttery and so delicious when topped with syrup or any number of other sauces. (We’ll talk more about your options there in a bit.)
How to make my homemade waffles
You know what else makes these homemade waffles so great? They’re easy to make.
Ingredients you’ll need
You’ll need a few basic ingredients to make these waffles:
- 2 large eggs
- 2 tablespoons granulated sugar
- 1 ¾ cups whole milk
- ¼ cup unsalted butter, melted and cooled
- ¼ cup vegetable oil
- 1 tablespoon vanilla bean paste
- 2 cups all purpose flour
- 4 teaspoons baking powder
- ¼ teaspoon fine sea salt
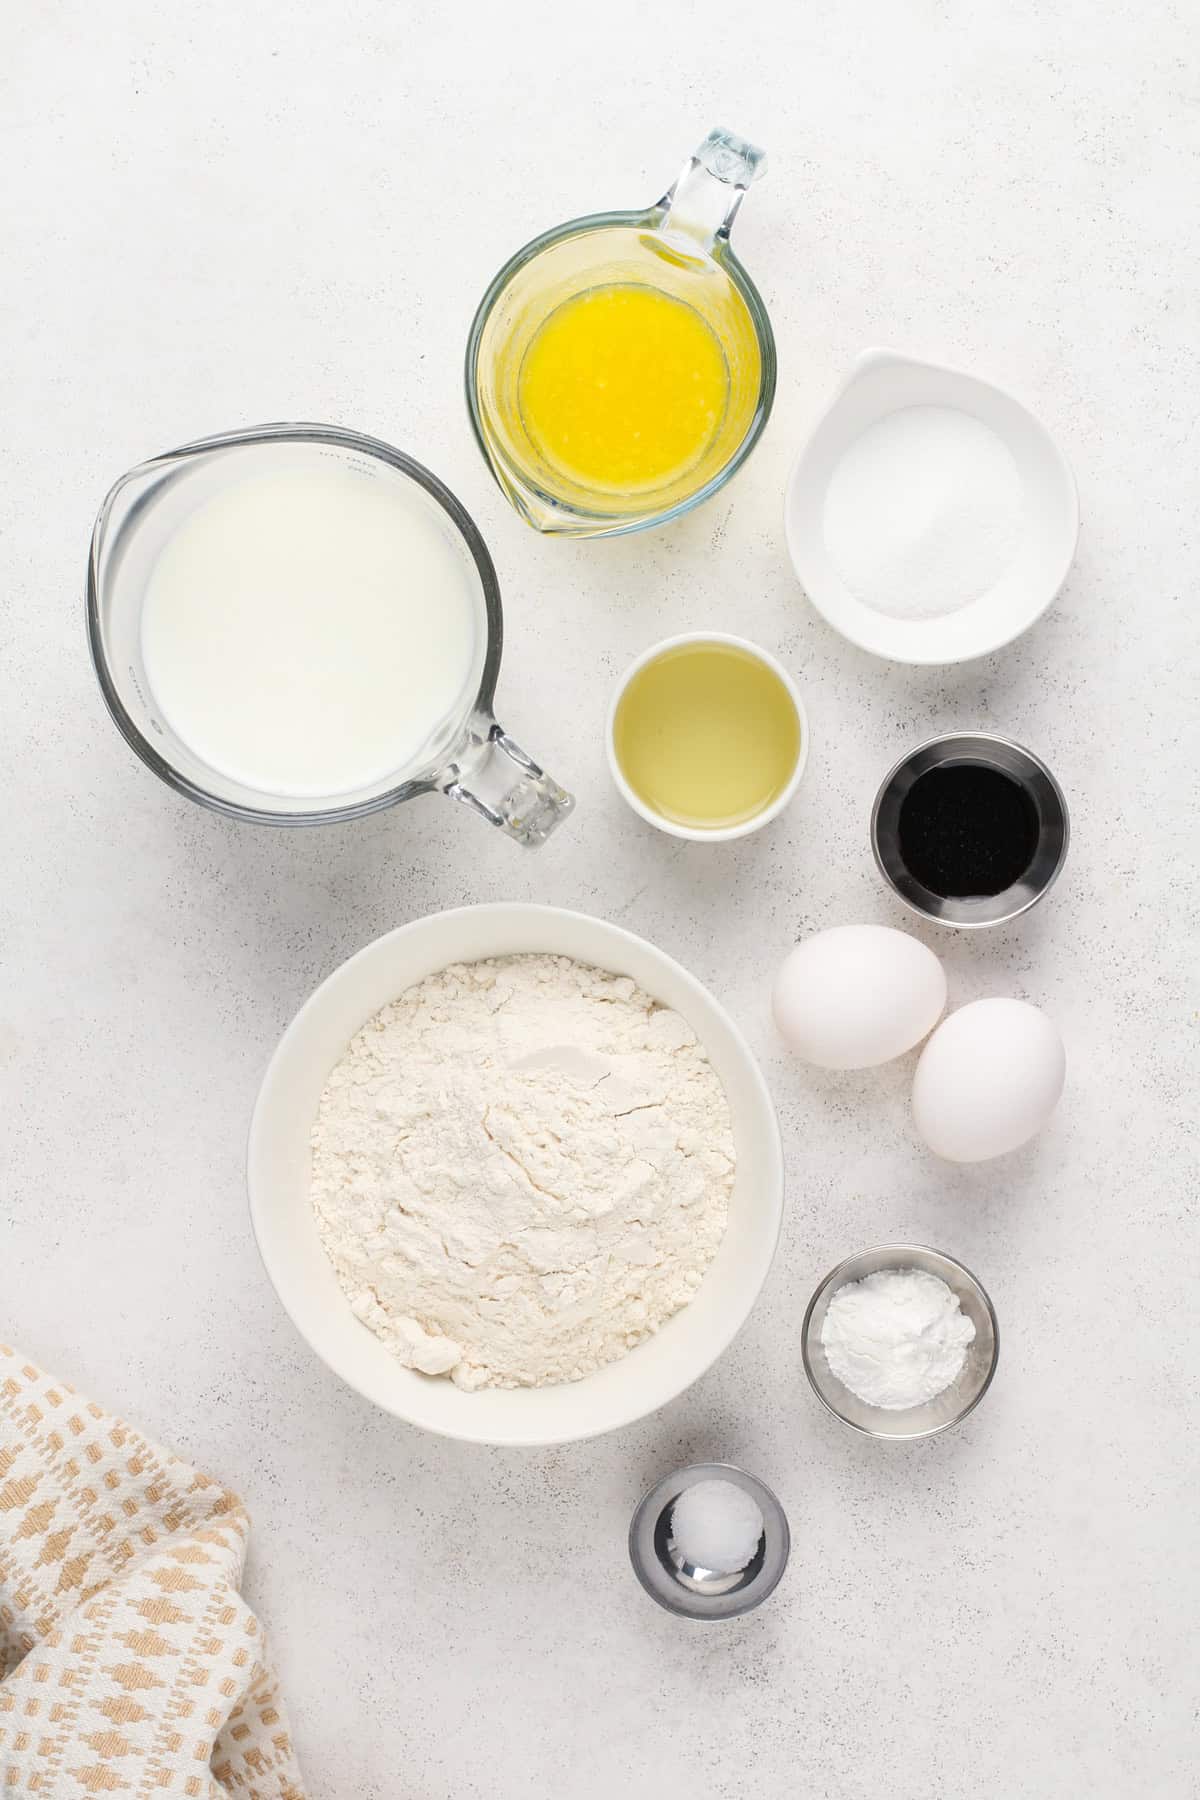
I think these waffles turn out best when I use whole milk, but you can substitute your favorite dairy-free milk and dairy-free butter alternative if you need a dairy-free option.
This recipe is a perfect way to use your fancy vanilla bean paste. If you don’t have vanilla bean paste, you can use 1 tablespoon of vanilla extract instead.
Make sure you know how to measure flour correctly before starting this recipe. This will help your waffles to turn out perfect every time.
Pin this now to find it later
Pin ItMaking these waffles
While you get started on your waffle batter, set your waffle maker to preheat.
If you’ve made my strawberry shortcake, then the process for making this batter will be kind of familiar for you.
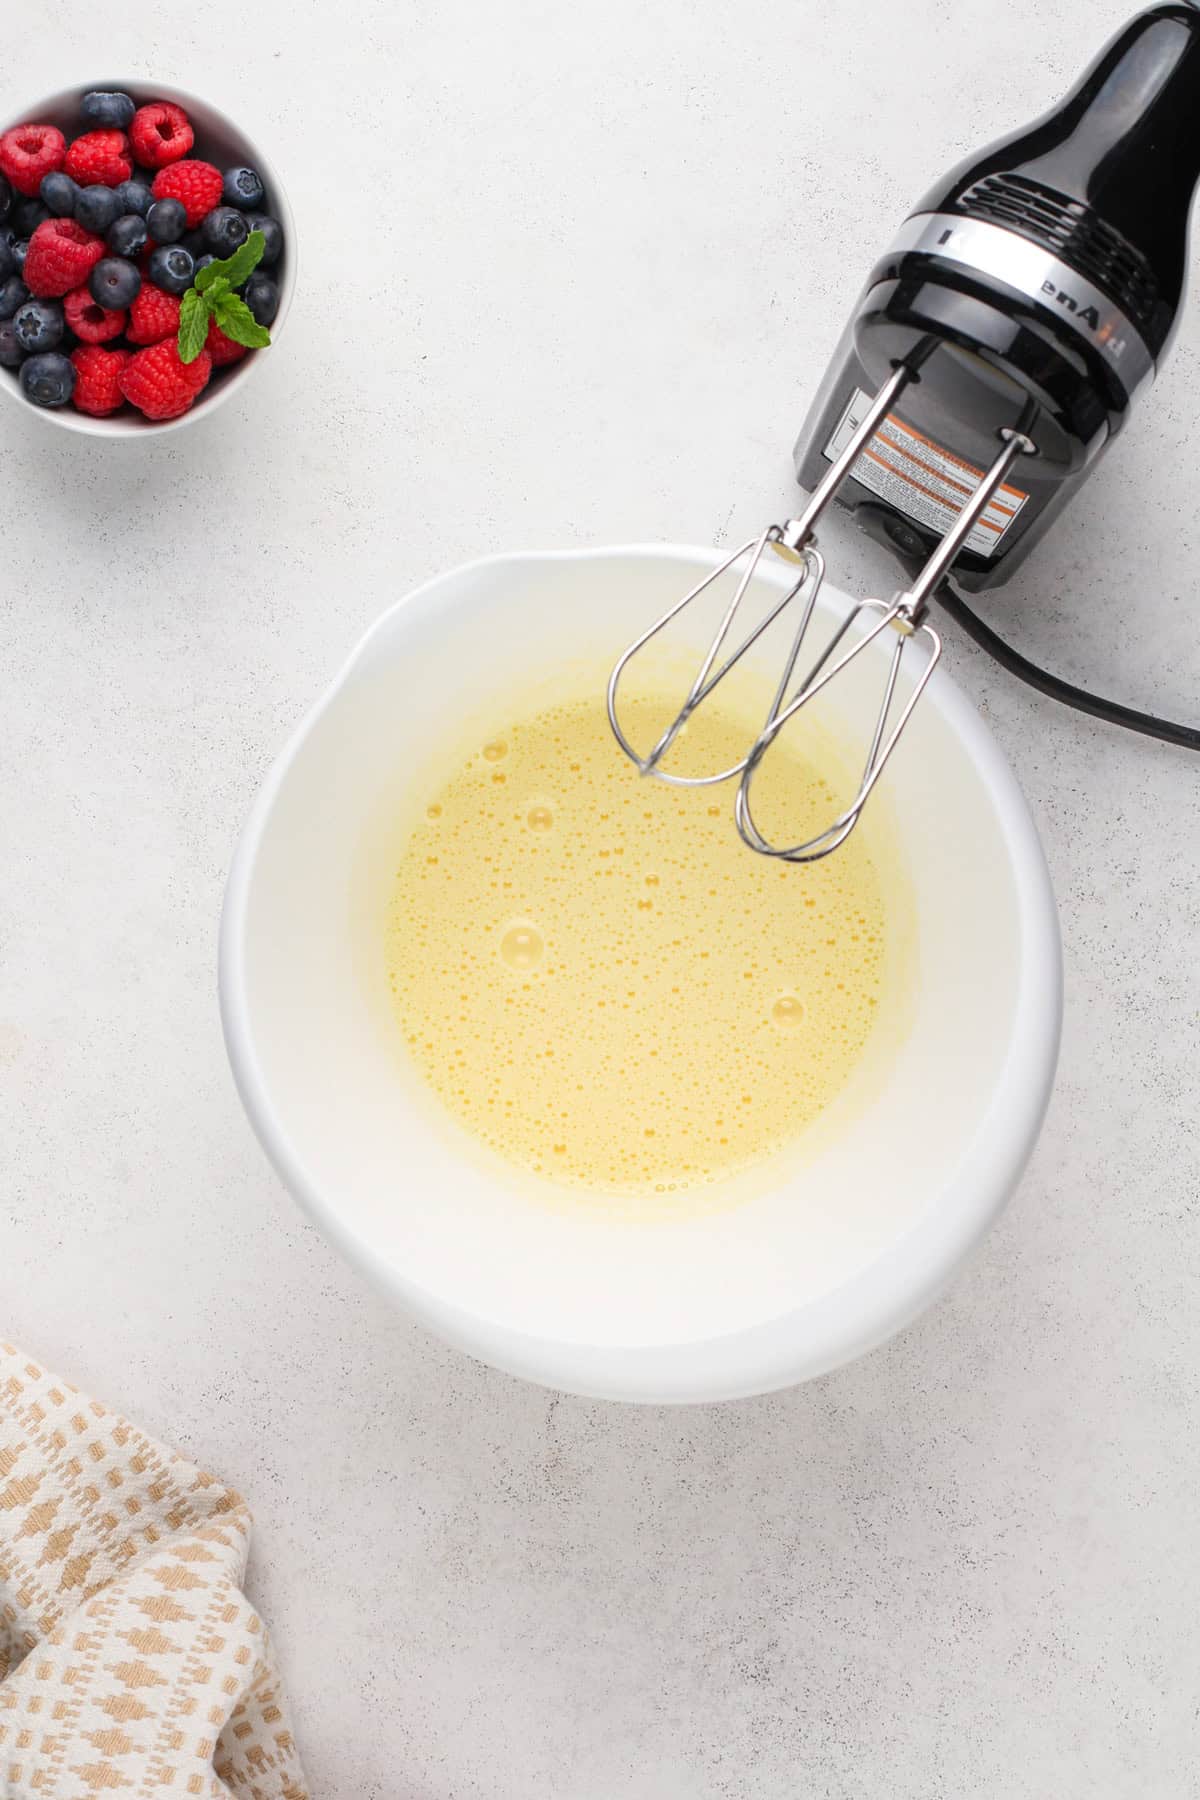
In a large bowl, use an electric mixer to beat the eggs on medium-low speed until they are frothy. Add the sugar, then increase the speed to high and mix until the eggs have tripled in volume, are pale yellow, and have thickened slightly.
This should take about 5-7 minutes, so don’t try to rush it.
With the mixer still on high speed, beat in the milk, melted butter, oil, and vanilla bean paste until just combined.
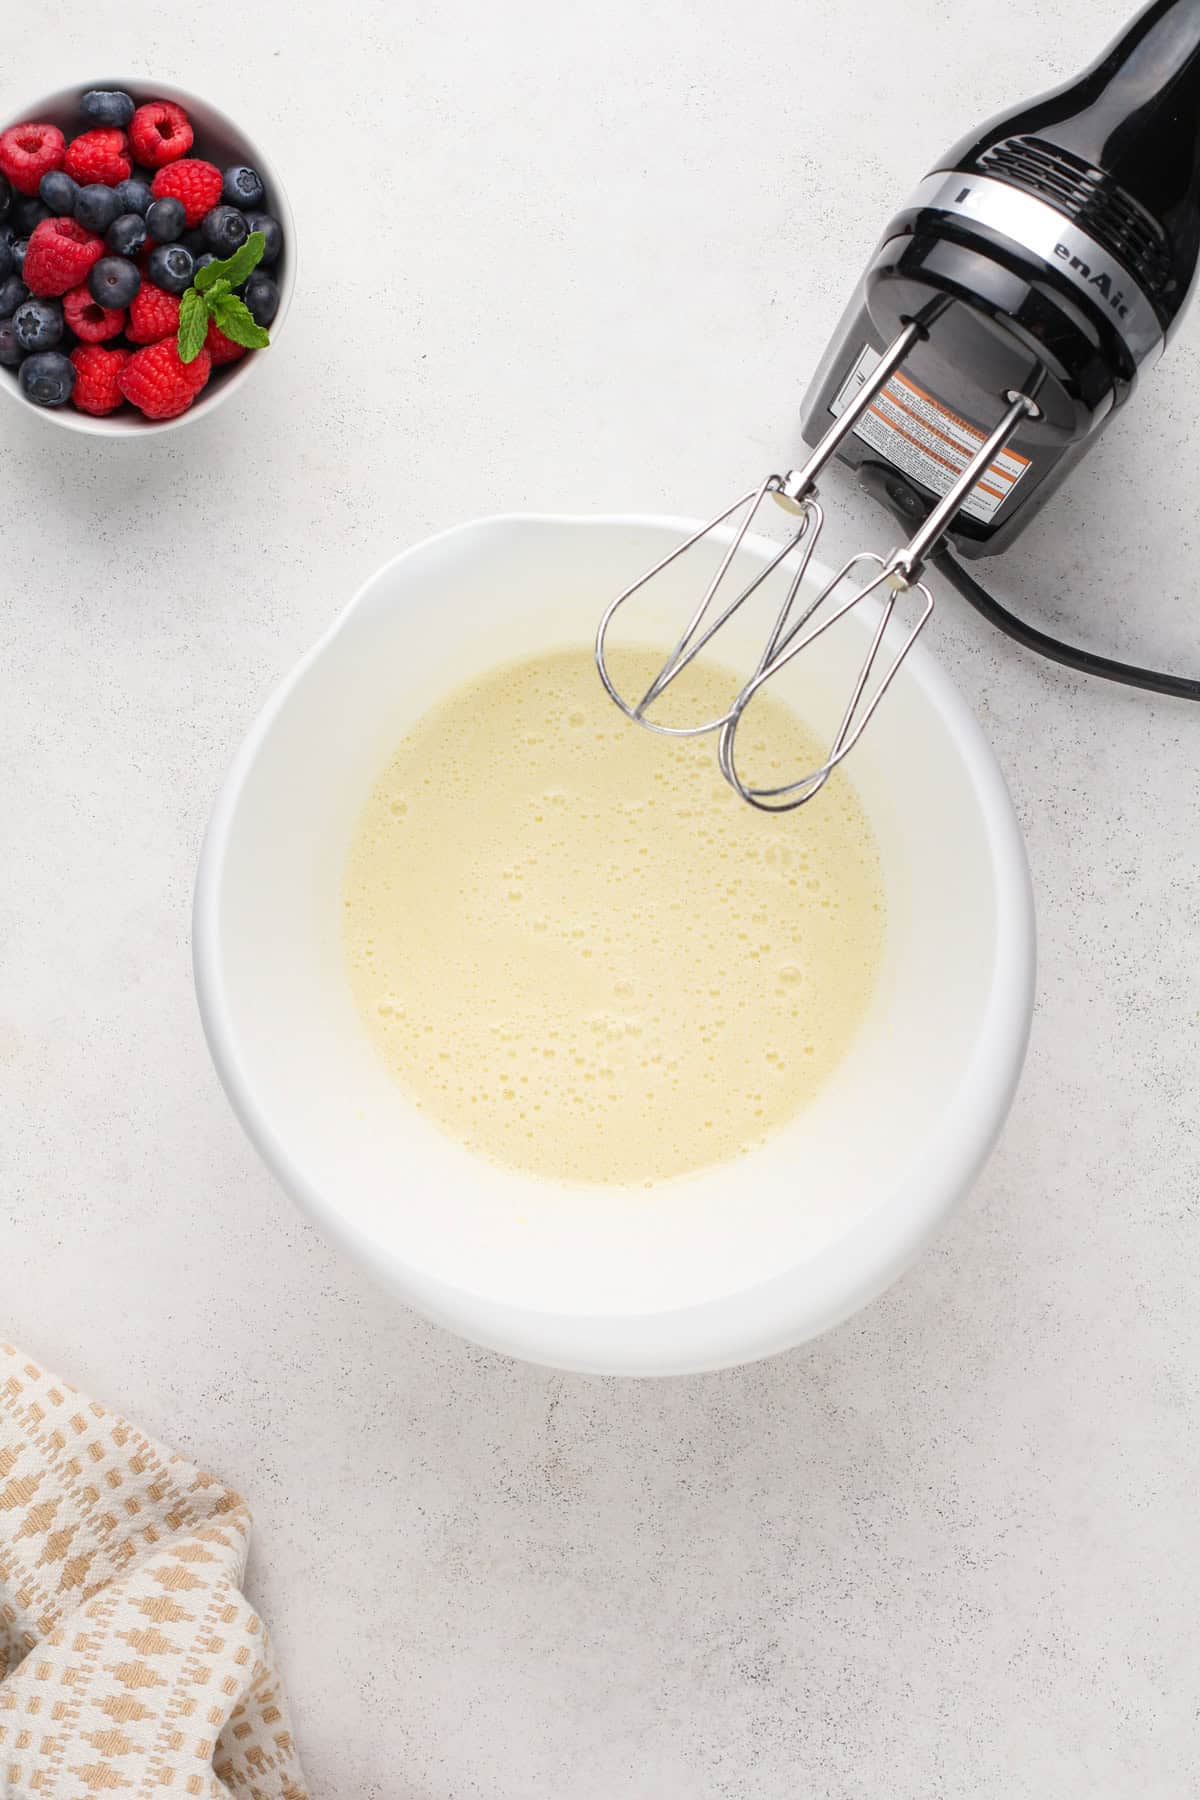
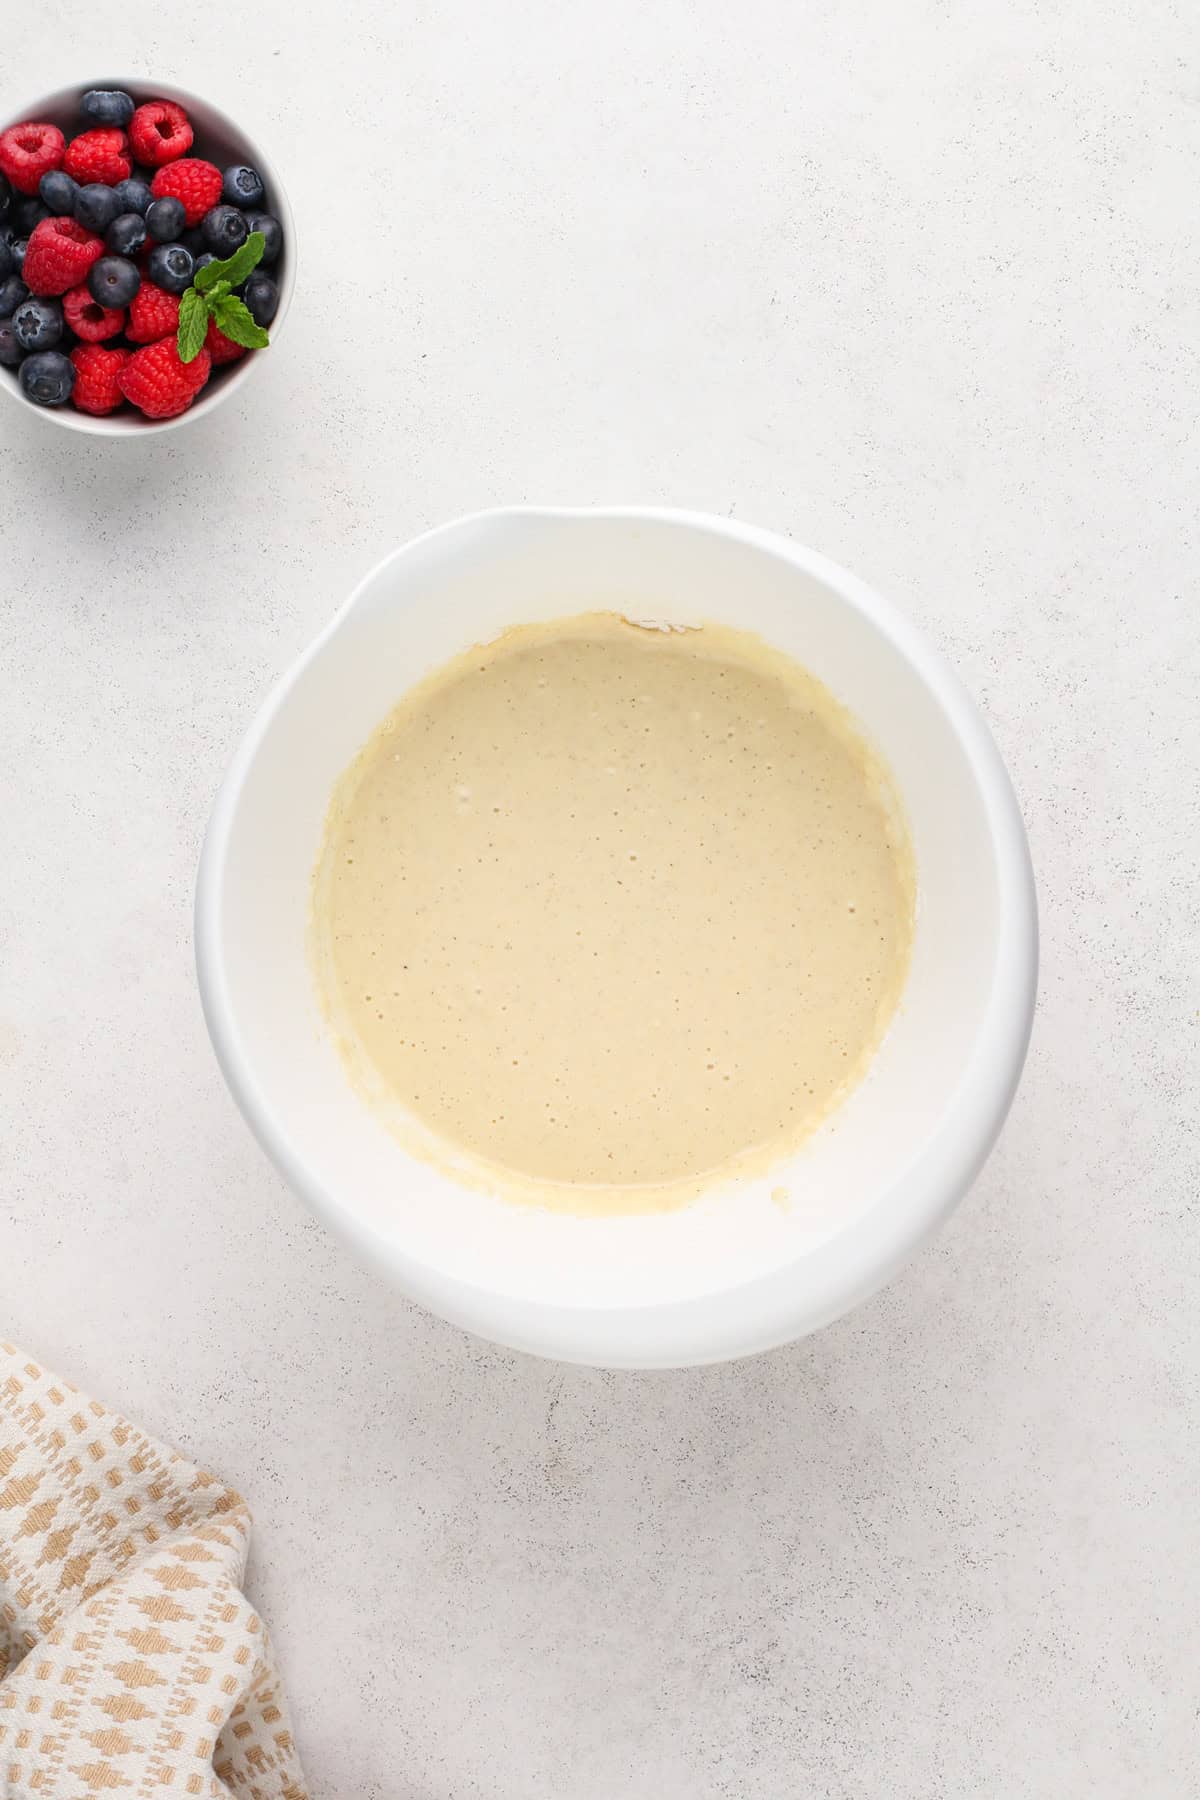
Add the flour, baking powder, and salt and mix on low until the batter is just combined. This will take only about 30 seconds.
Now your batter is done and ready to be cooked. Lightly spray the plates of your waffle iron with nonstick spray. Scoop the batter onto the bottom surface, making sure not to overfill the waffle maker.
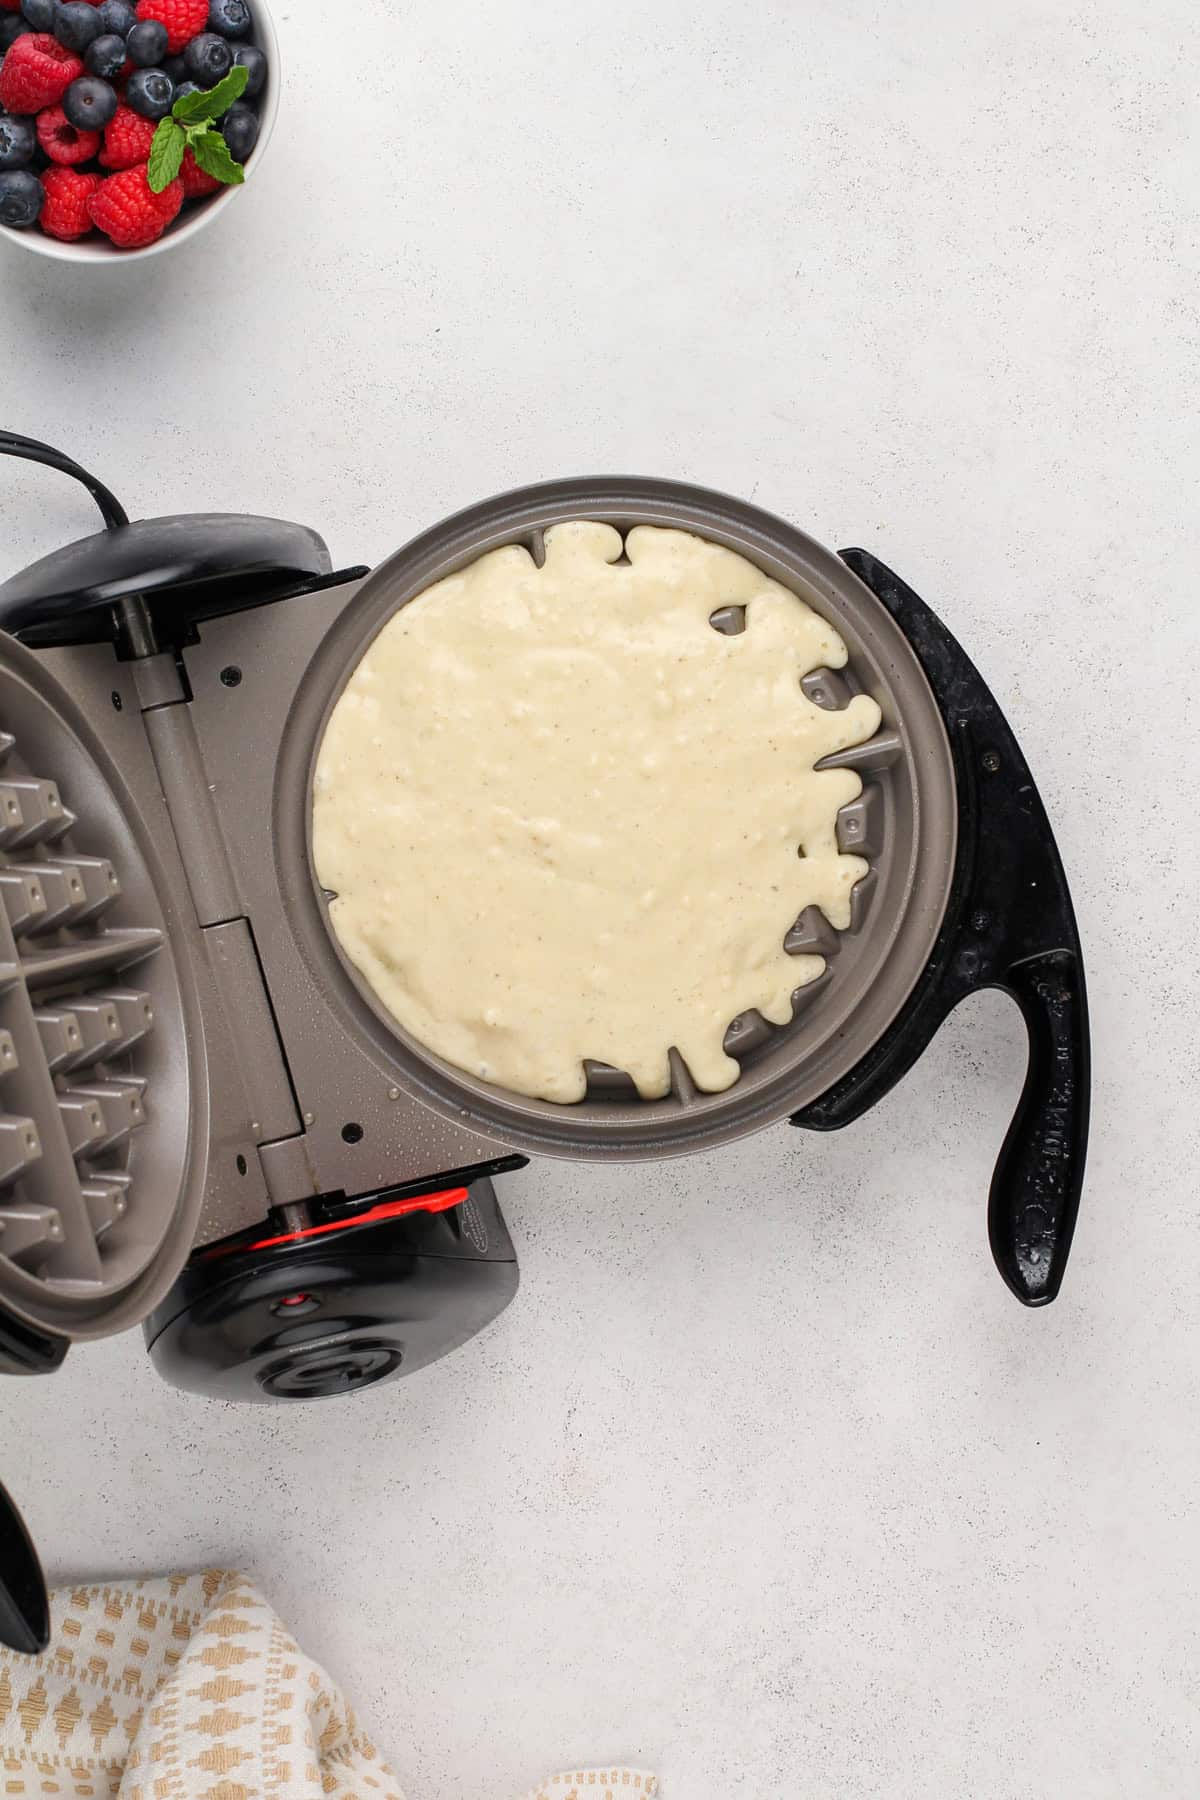
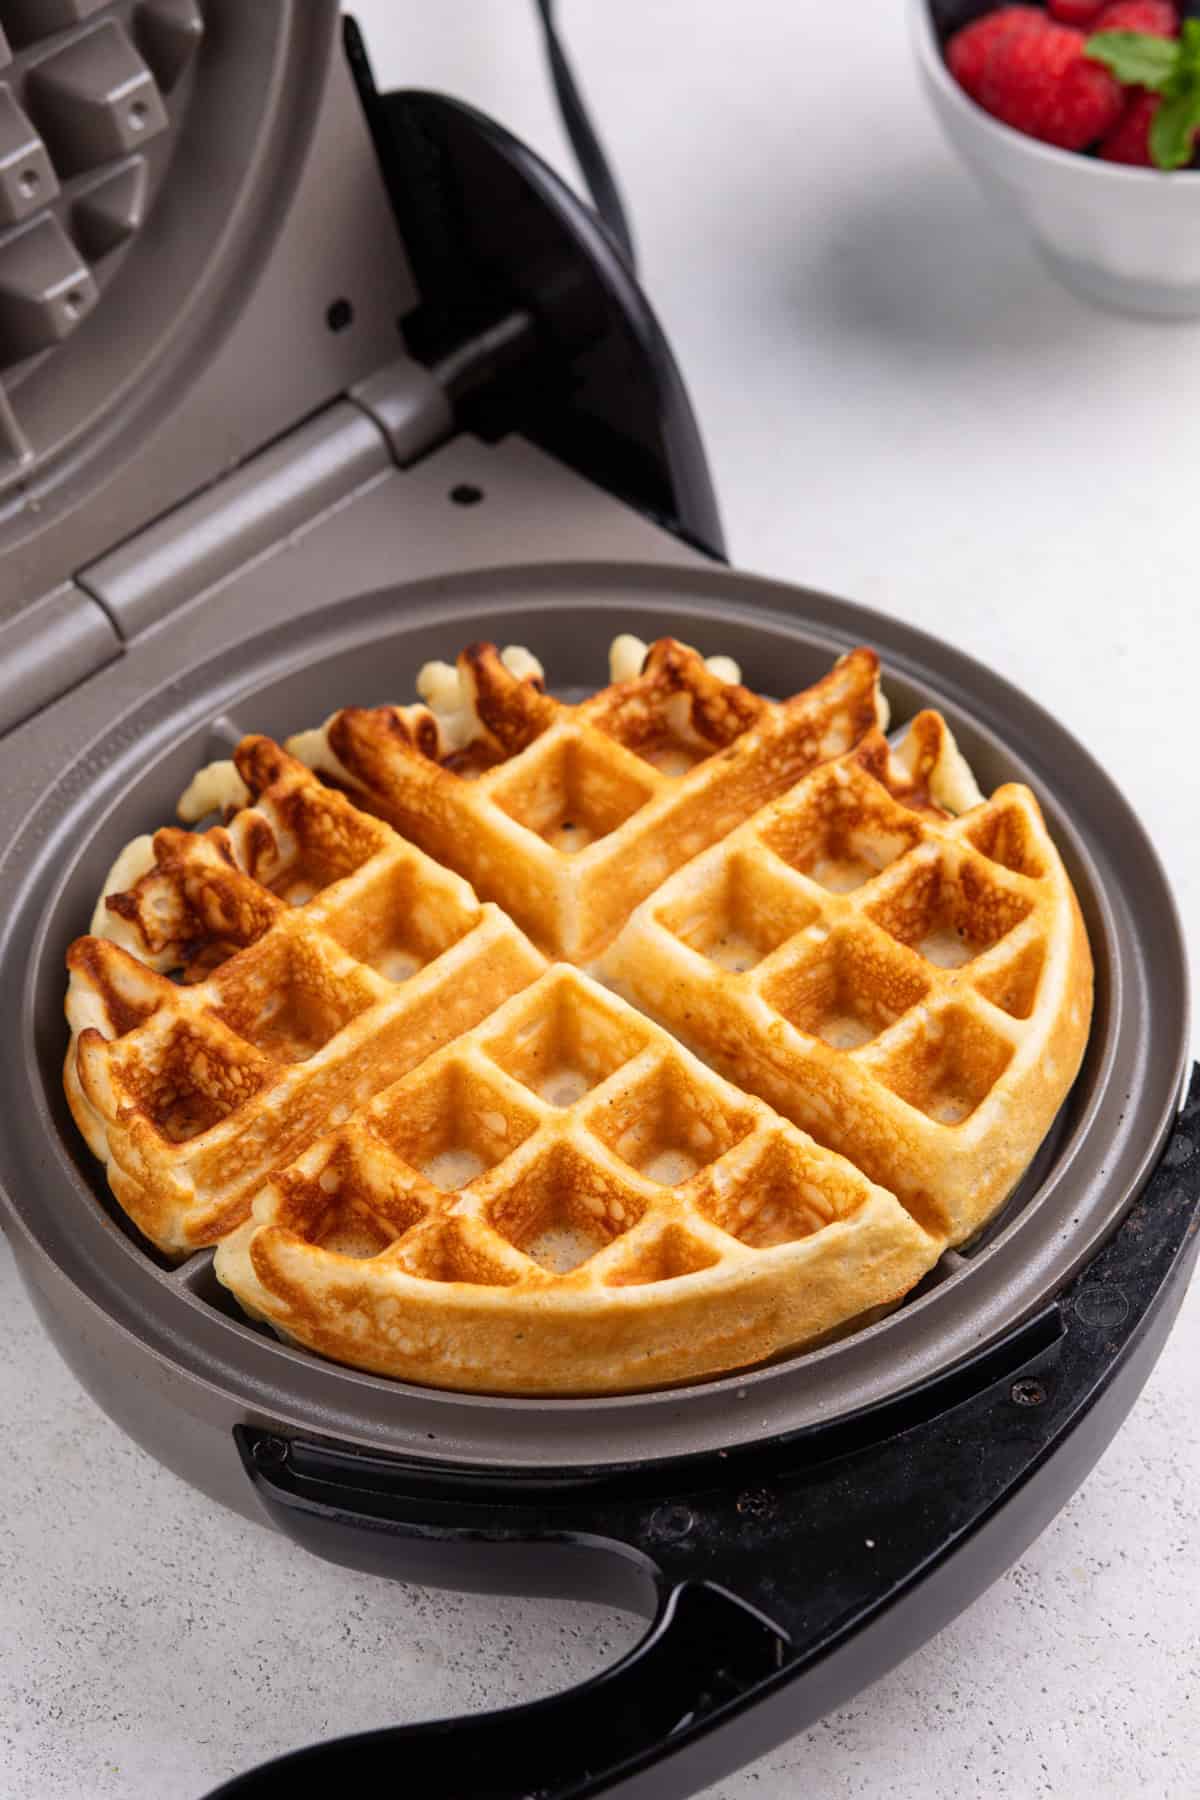
Close the lids and cook until the waffles are golden brown – the time this takes is going to vary depending on your waffle maker.
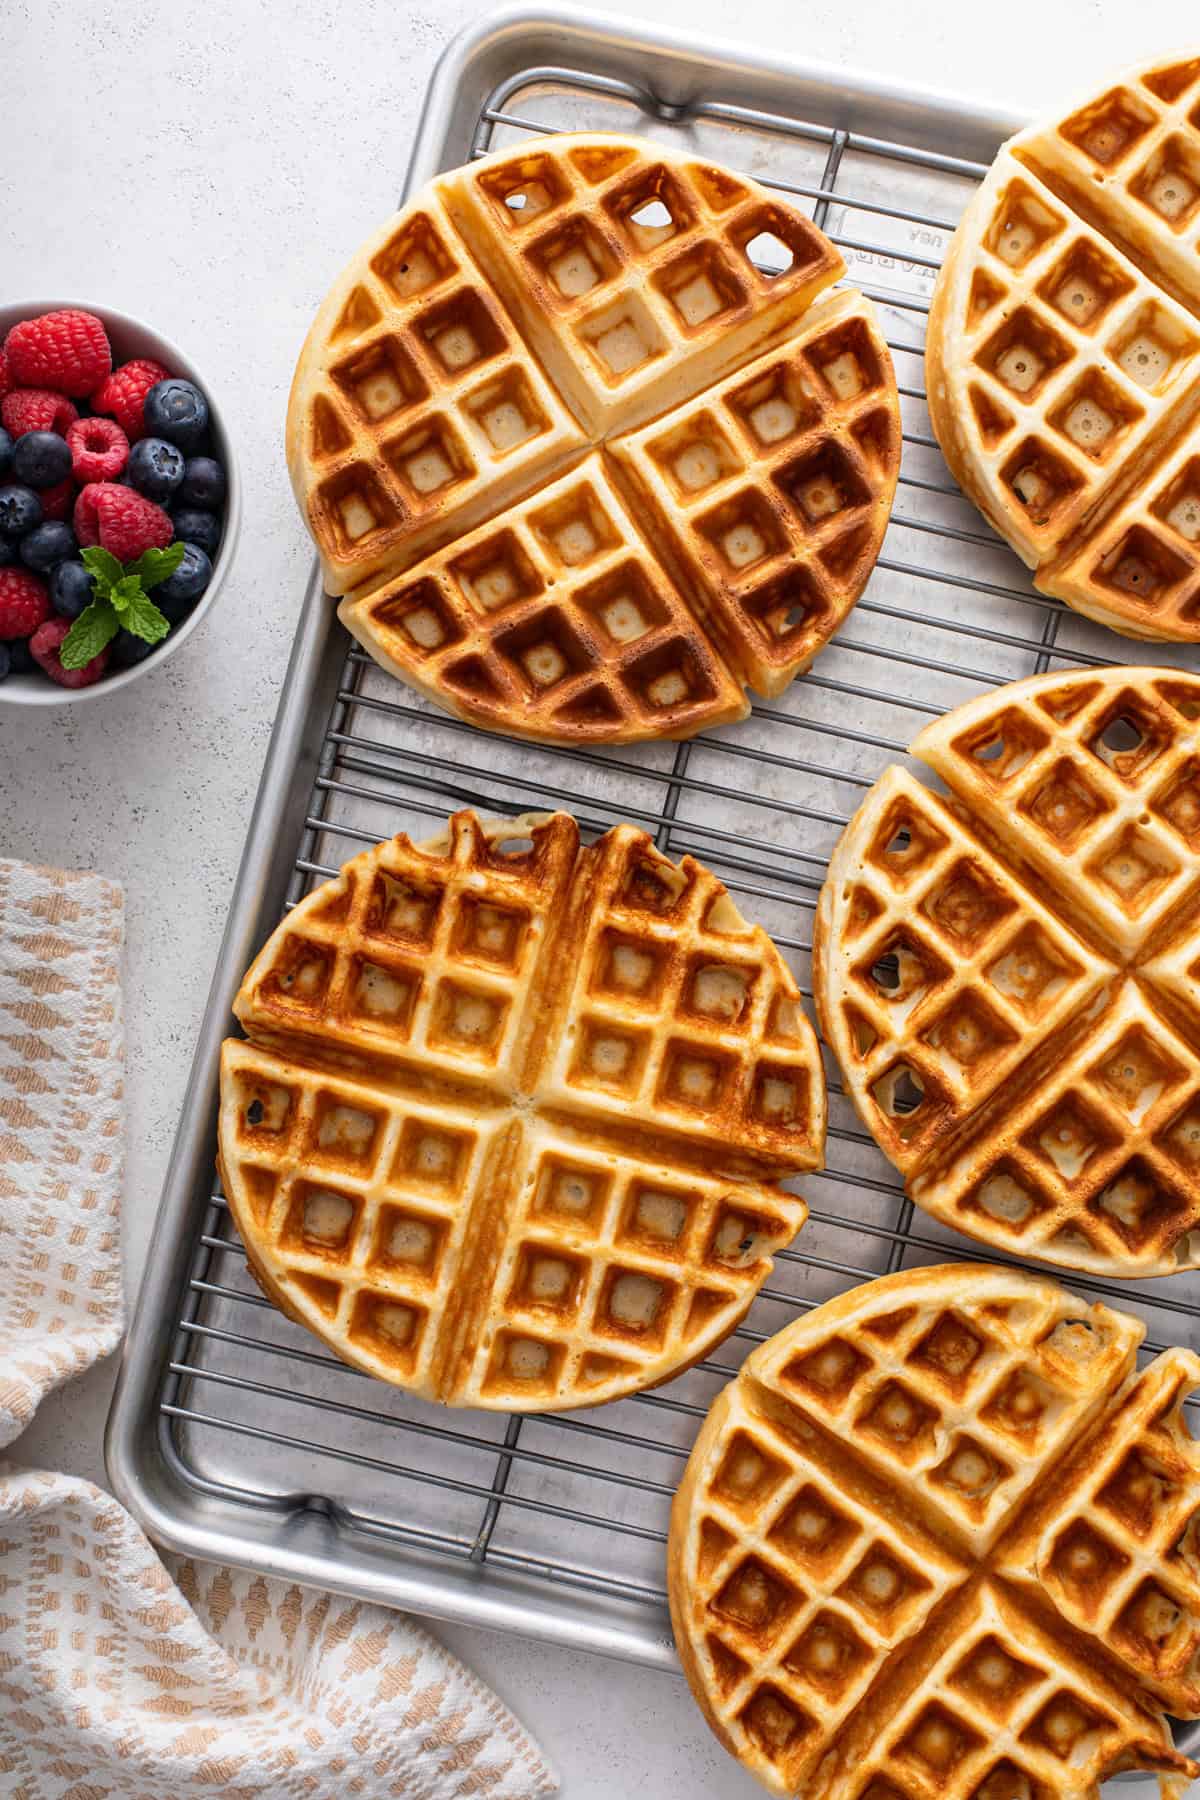
Carefully remove the waffle from the iron and place it on a baking sheet to keep the waffles warm in the oven. You can also transfer them to a wire rack to cool completely before refrigerating or freezing them.
Continue the process with the remaining waffle batter, greasing the waffle iron again as needed.
Flavoring and serving suggestions
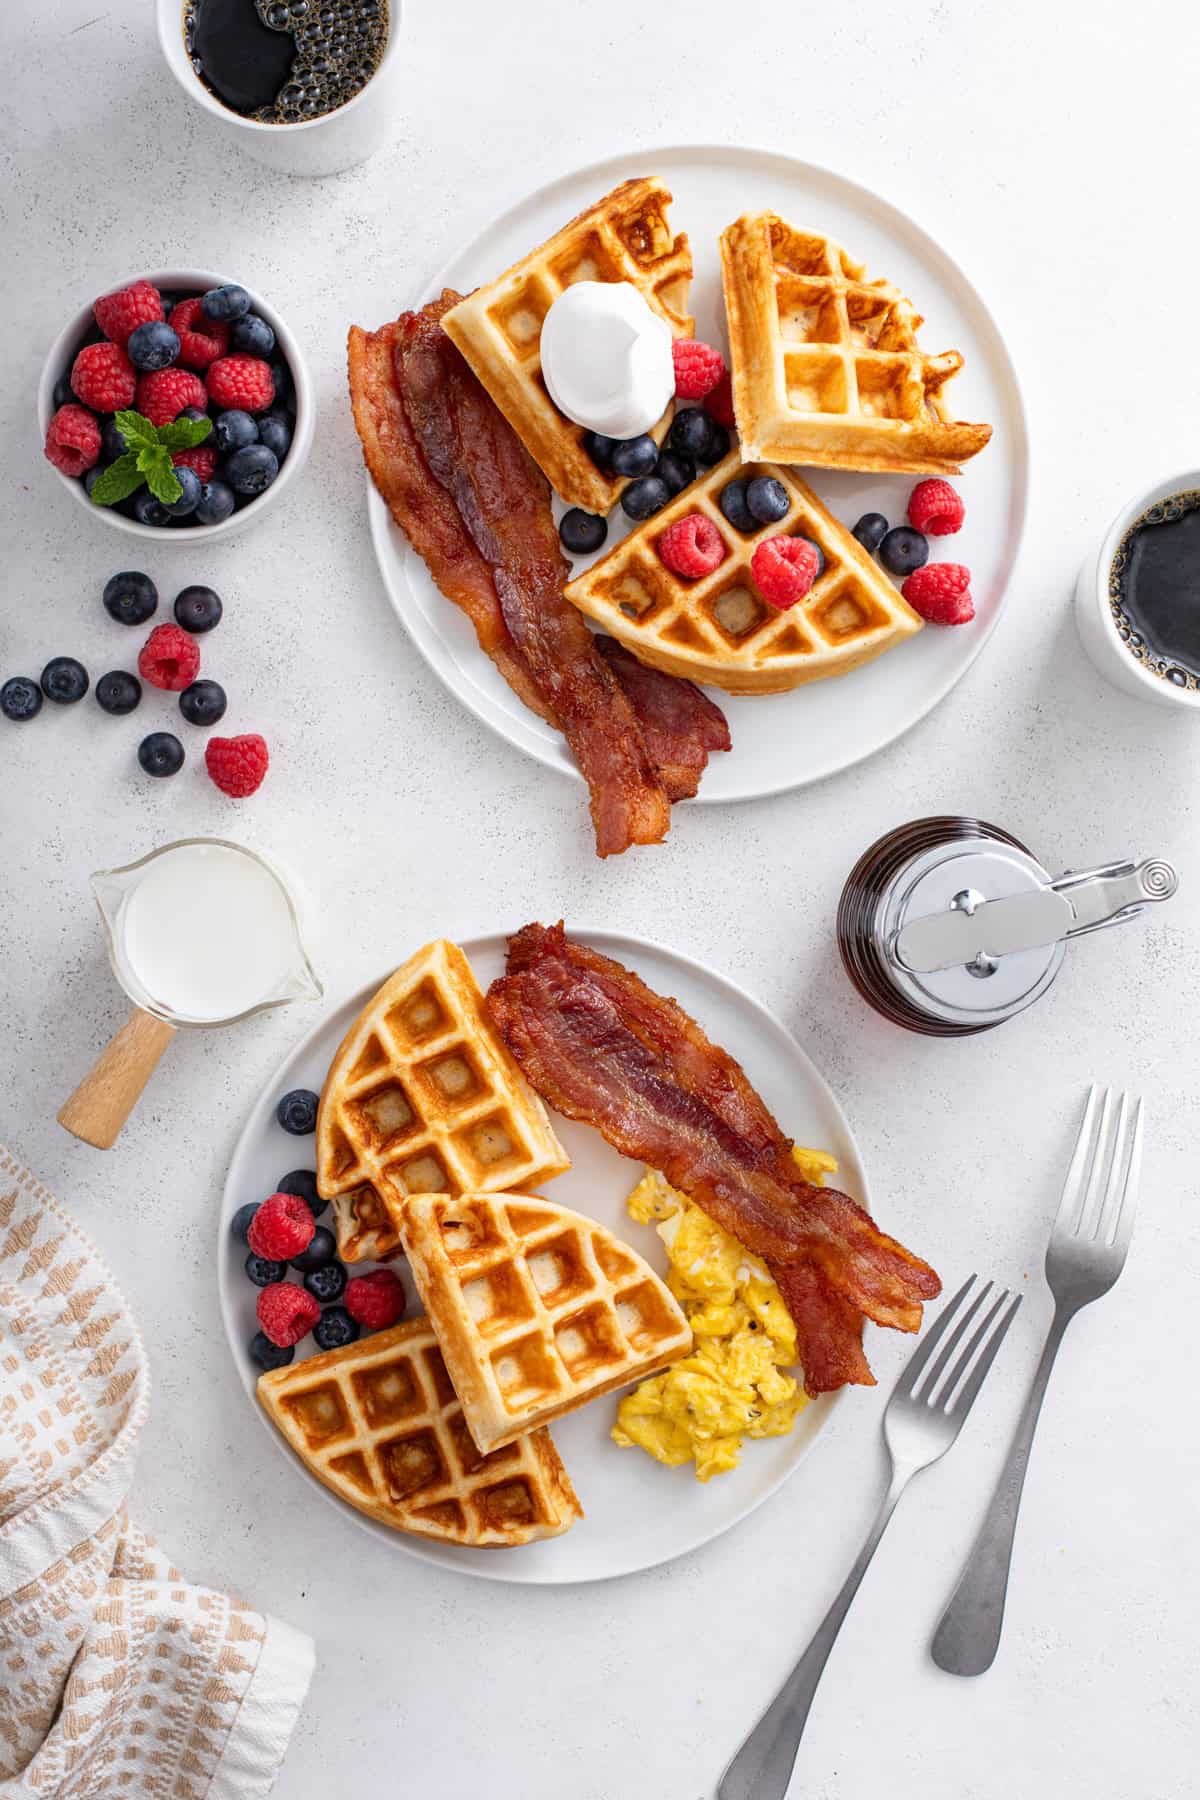
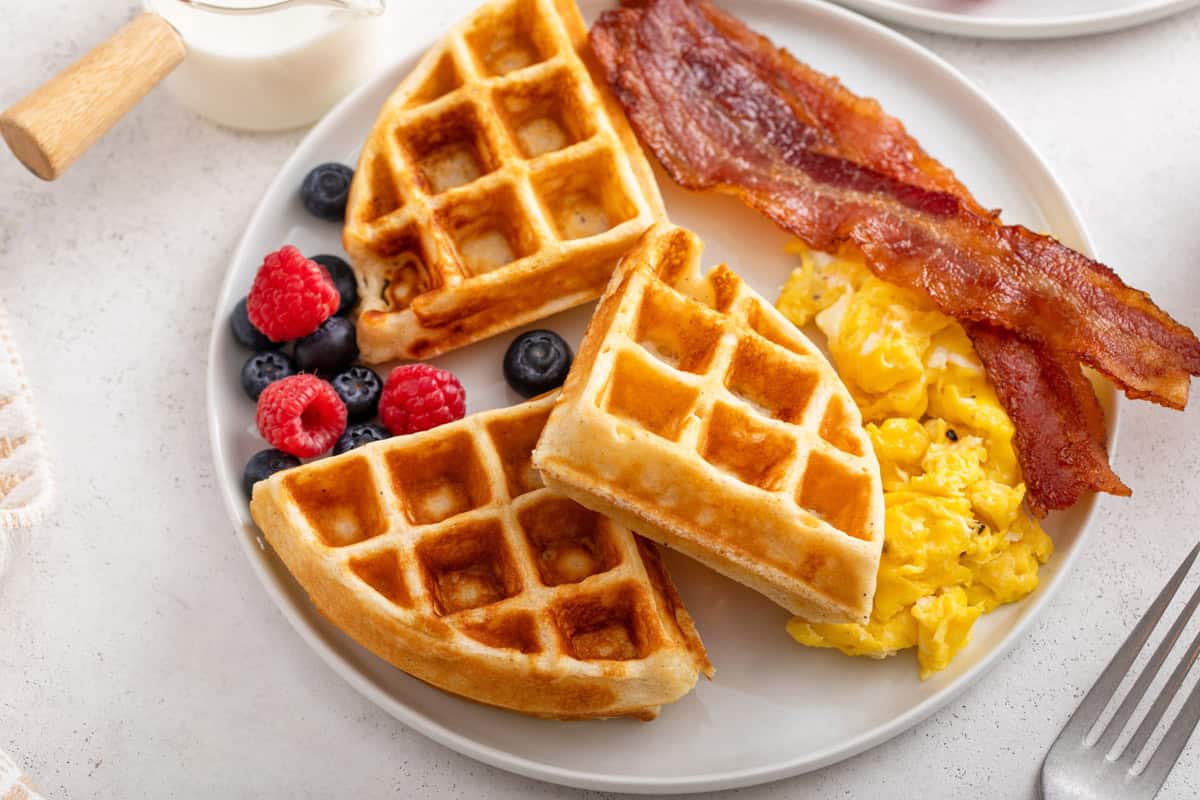
I absolutely love these homemade waffles served with plenty of butter and maple syrup, maybe alongside some peppered bacon, but there are so many other ways to flavor and top them, too!
Try adding a bit of almond extract and topping them with cherry pie filling.
Make a lemony version! Add some lemon zest or lemon extract and top them with my microwave lemon curd or blueberry sauce.
Some other great topping options include:
Storage and reheating tips
You can store homemade waffles in an airtight container or zip-top bag in the refrigerator for 3-4 days.
You can also freeze them in an airtight container or zip-top freezer bag for up to a month.
To reheat the waffles, I recommend using a toaster oven or toaster, that way the outsides can crisp back up. They won’t be as perfectly crispy as they were fresh out of the waffle iron, but they’ll still be delicious!
If your toaster or toaster oven has a “from frozen” setting, you can use that to both thaw and reheat frozen waffles. If not, let them thaw in the fridge overnight before reheating them in the morning.
Homemade Waffles

Ingredients
- 2 large eggs
- 2 tablespoons granulated sugar
- 1 ¾ cups whole milk
- ¼ cup unsalted butter melted and cooled
- ¼ cup vegetable oil
- 1 tablespoon vanilla bean paste
- 2 cups all purpose flour
- 4 teaspoons baking powder
- ¼ teaspoon fine sea salt
Instructions
- While making the waffle batter, preheat your waffle iron according to the manufacturer directions.
- In a large bowl with an electric hand mixer, beat the eggs on medium-low speed until frothy. Add the sugar, then increase the speed to high. Mix until the eggs are voluminous (they should triple in volume), pale yellow, and have thickened slightly, 5-7 minutes.
- Beat in the milk, melted butter, oil, and vanilla paste on high just until combined. Add the flour, baking powder, and salt; mix on low speed until just combined, about 30 seconds.
- Lightly spray your waffle iron’s cooking surface with nonstick spray. Scoop batter onto the bottom surface. Be sure not to overfill the waffle maker. Close the lid and cook until golden brown; the time for this may vary depending on your waffle maker.
- Carefully remove each waffle from the iron; transfer cooked waffles to a baking sheet to keep warm in the oven or transfer to a wire rack to cool completely before refrigerating or freezing.
- Continue with remaining batter, greasing the waffle maker with additional oil as needed.
Video
Notes
Nutrition
Nutrition information is automatically calculated, so should only be used as an approximation.







Thank you for sharing this recipe.