This post may contain affiliate links. Please read our privacy policy.
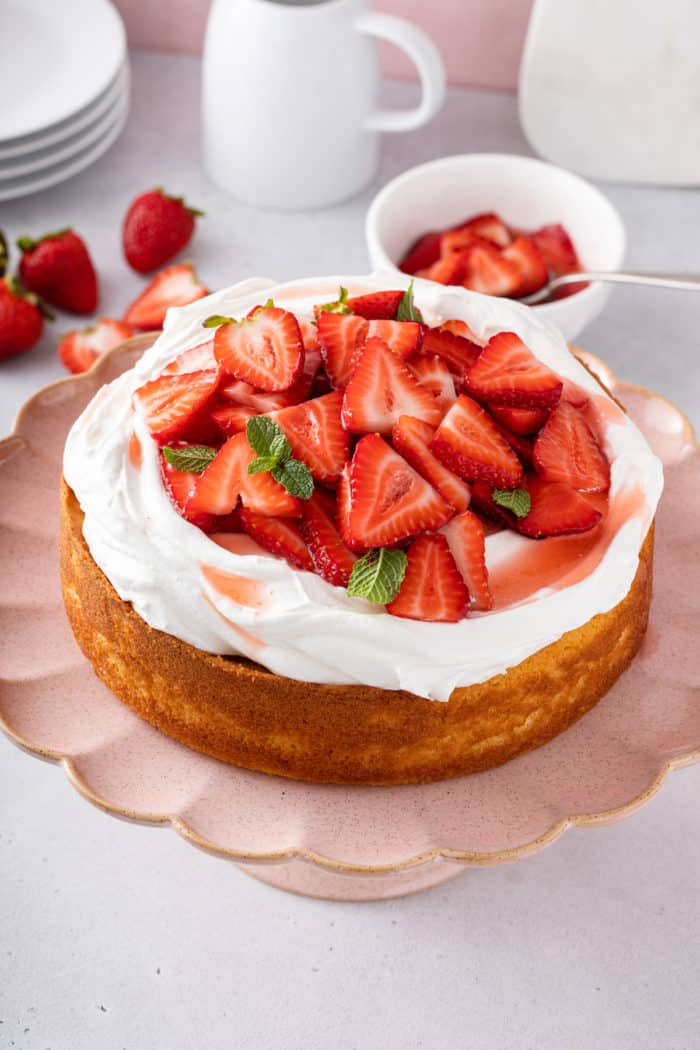
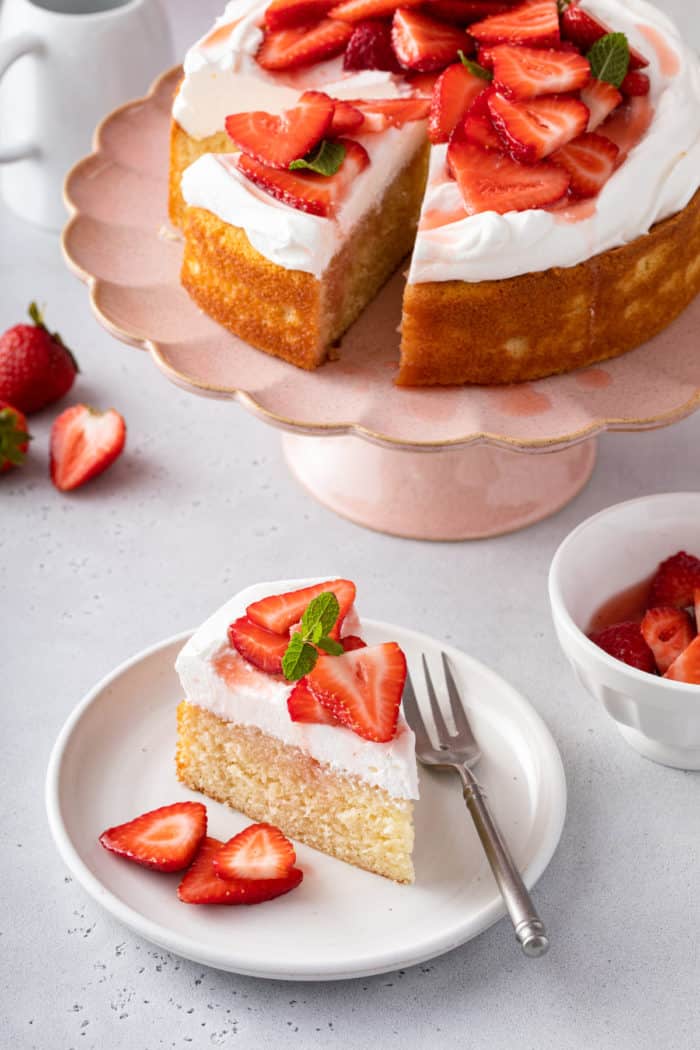
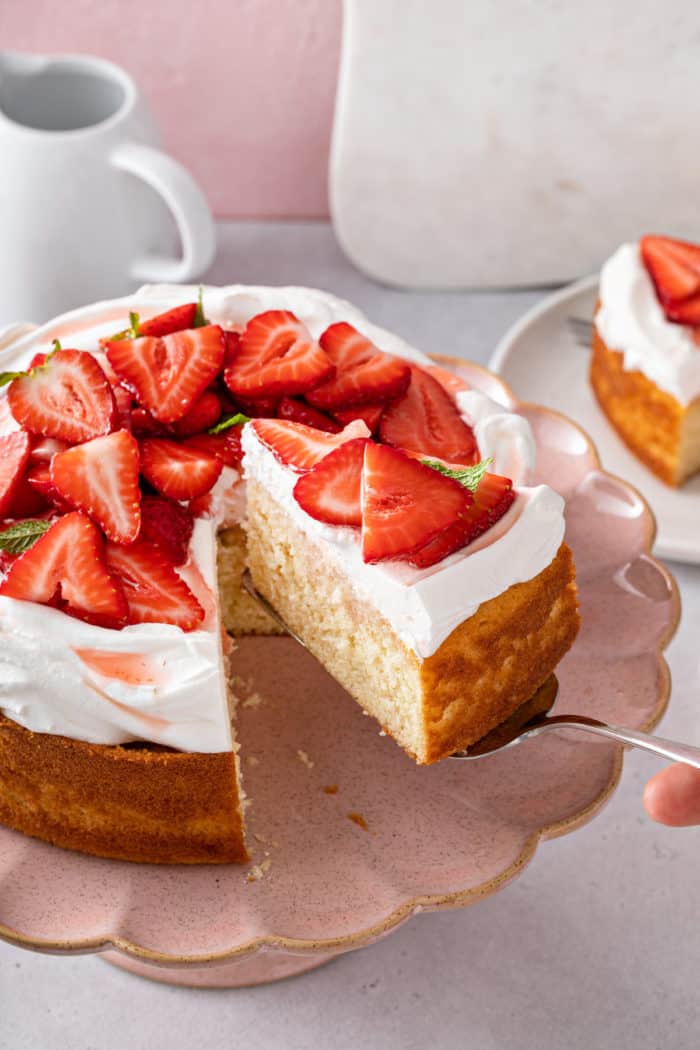
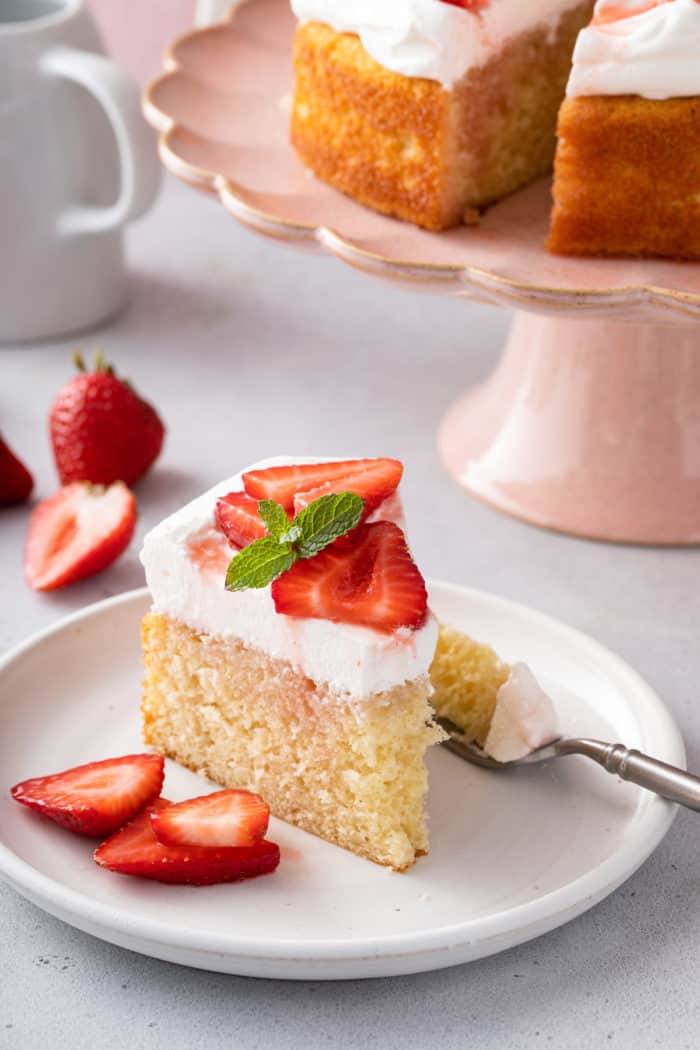
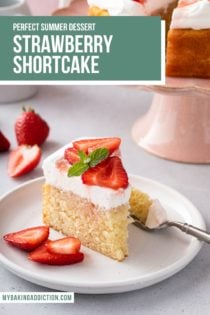
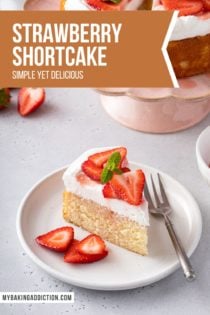
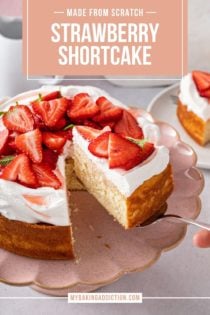
A yellow sponge cake is piled high with whipped cream and glazed strawberries in this beautiful strawberry shortcake recipe. This is one impressive cake that will have everyone asking for a second slice.
It seems like every summer I fall in love with a simple recipe and I keep making it over and over again.
Last year, I was all about eclair cakes and whipped up my banana cream pie eclair cake and lemon eclair cake pretty much all summer long. I mean, what’s better than a delicious no-bake dessert that you can make the night before you’re serving it?
This year, it’s strawberry shortcake. I grew up eating strawberry shortcake made with store-bought mini sponge cakes, macerated strawberries and Reddi-wip or Cool Whip.
This homemade version of strawberry shortcake takes those same summer flavors from my childhood and kicks them up a notch.
A simple homemade cake, freshly whipped cream and jam-coated strawberries make this strawberry shortcake the perfect summer dessert for any occasion.
My favorite strawberry shortcake recipe
I don’t know about you, but when you grow up in the Midwest, strawberry shortcake is a big part of childhood memories.
I think that everyone has a slightly different shortcake recipe that they grew up with. My friend Stephie grew up with a biscuit-style classic strawberry shortcake.
Did you know there’s even a Japanese strawberry shortcake??
But for our family, our shortcake was always the sponge-cake style. Piled high with whipped cream and sliced strawberries? That’s what summer is about.
So when my favorite local bakery posted a photo of the strawberry shortcakes they were making as a special last month, it only took me a few hours to recreate it at home.
I wanted a nice tall yellow cake base that was piled high with whipped cream and macerated strawberries. I found a sponge cake recipe on bon appétit that seemed promising and combined that with a strawberry jam syrup, homemade whipped cream, and fresh berries.
One bite and I knew that this was going to be my go-to strawberry shortcake recipe from now on. Not only is it beautiful, it tastes amazing!
How to make strawberry shortcake
Making the cake base for this strawberry shortcake recipe takes a bit of work, but in the end I don’t think it’s any more difficult than making my banana cake or whipping cream cake.
Shortcake cake pan
The shortcakes that my local bakery made had a beautiful, tall cake base. I knew I wanted my cake to be similar, so I reached for my 8×3-inch cake pan.
I highly recommend using an 8×3-inch cake pan for this recipe. You can bake it in a standard 8×2-inch pan, but the pan will be VERY full and may overflow in the oven.
Trust me, you’ll want to make this strawberry shortcake recipe so often that you’ll find the small investment in an 8×3-inch pan to be totally worth it!
Pin this now to find it later
Pin ItMaking this recipe
There are three main components to this recipe:
- Sponge cake base
- Strawberry jam syrup
- Topping
To start with the cake, heat the milk and butter in a saucepan until the butter has melted. Remove this from the heat and let it cool.
Whisk together the flour and baking powder. Set this aside.
(Psst! When you make a recipe like this, it’s really important that you know how to measure flour so that you start off on the right foot.)
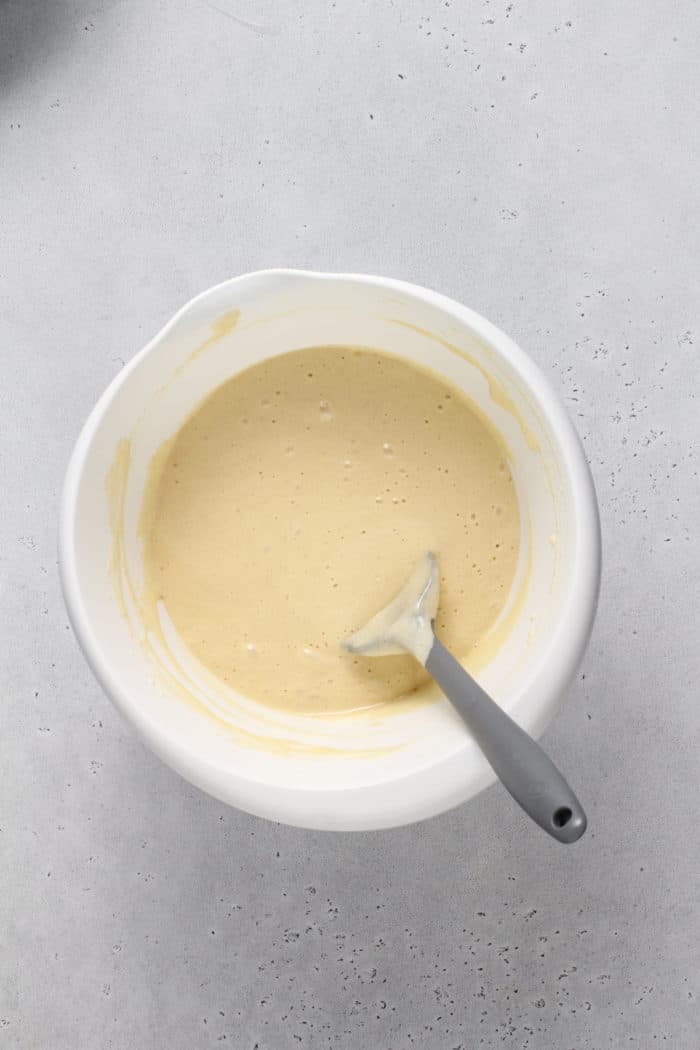
Grab your electric mixer and beat the eggs in a large bowl on low speed, gradually increasing the speed of the mixer until the eggs are well beaten. Add the salt and continue beating until the eggs start to foam.
Lower the speed of the mixer and gradually add in the sugar, then increase the mixer to high and beat for about 5 minutes. You want the eggs to be very light and voluminous in texture and pale yellow in color.
Turn the mixer back to low speed and add the cooled milk mixture and the vanilla and mix until combined; this should take less than a minute.
Use a rubber spatula to gently fold the flour mixture into the wet ingredients. You want to use a gentle hand here so you don’t break up too many of the delicate air bubbles you just beat into the eggs.
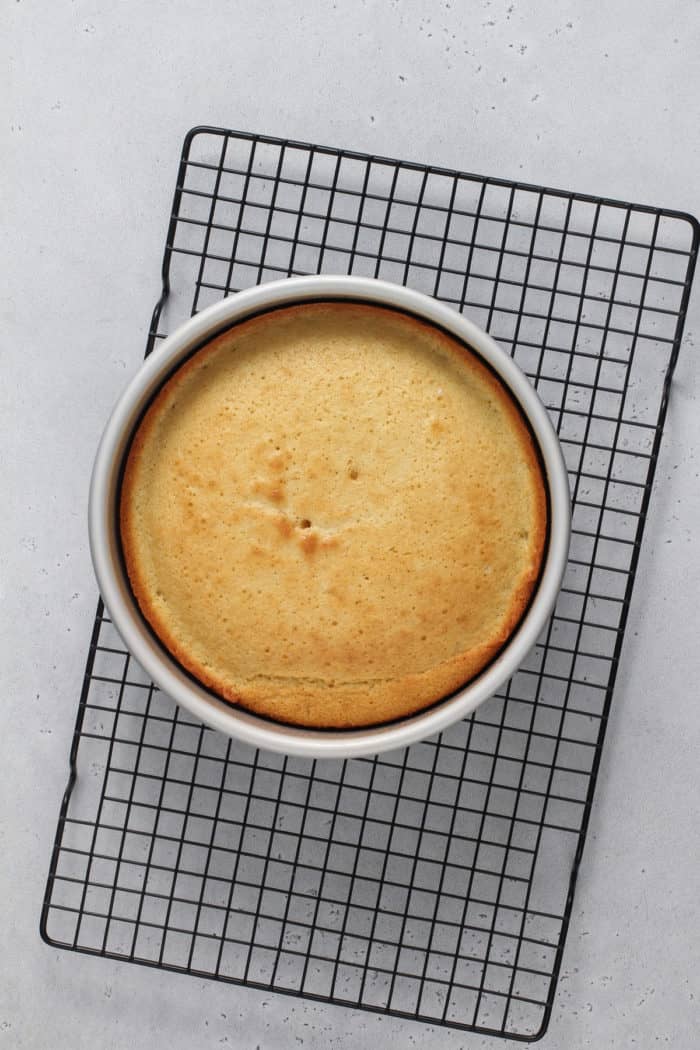
Pour the batter into the greased cake pan and bake for about half an hour, then let the cake cool for about 15 minutes.
Assembling the shortcake
Once the cake is done, you can finish with the other components and start assembling the strawberry shortcake.
Make the strawberry syrup by bringing the water and sugar to a boil in a small saucepan until the sugar has dissolved. This is a simple syrup. Stir in strawberry jam and let the syrup cool for about 10 minutes.
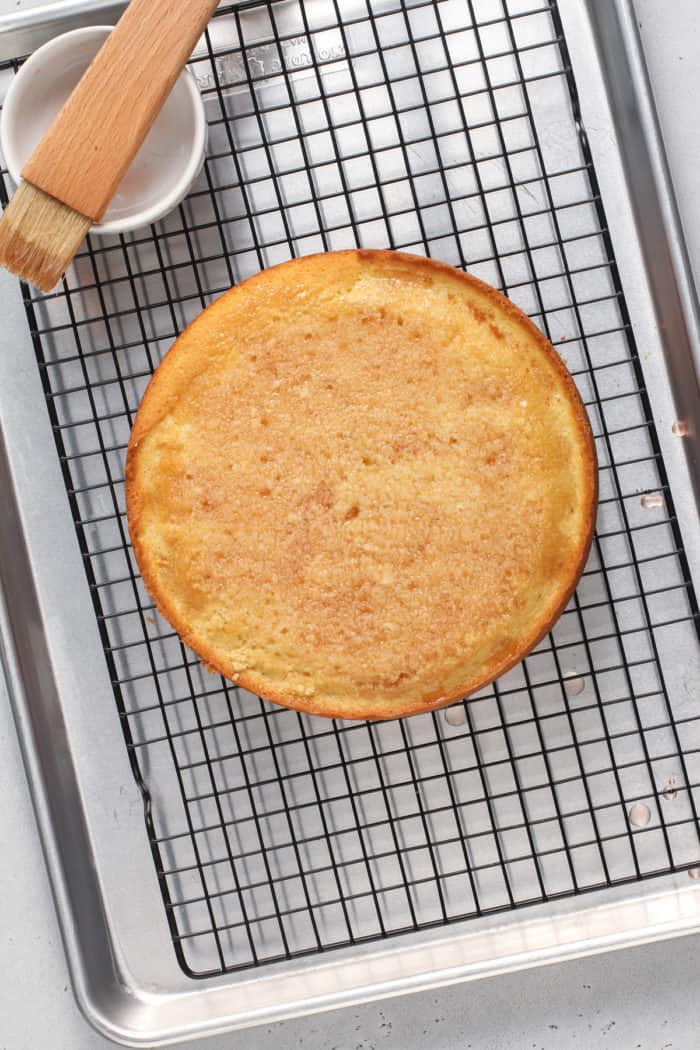
Remove the cake from the pan and use a large serrated knife to level the top of the cake.
(Don’t throw away the bit of cake you just cut off! That’s the perfect snack for the baker.)
Use a pastry brush to brush half of the syrup onto the top of the cake, then let the cake finish cooling. Don’t toss the rest of the syrup – we’ll use that for the berries.
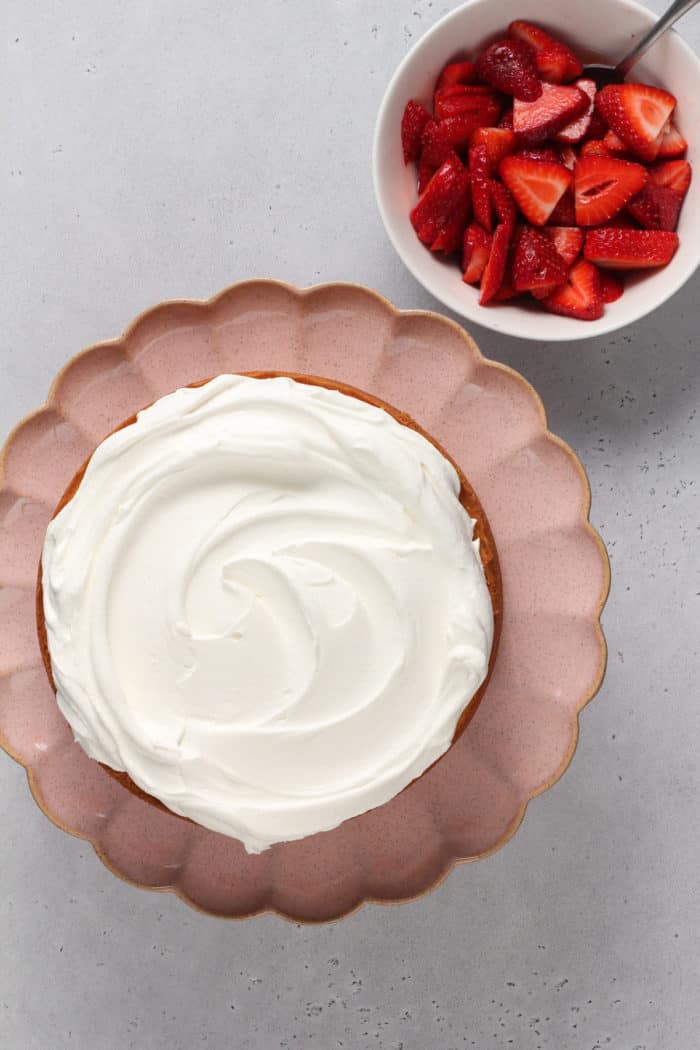
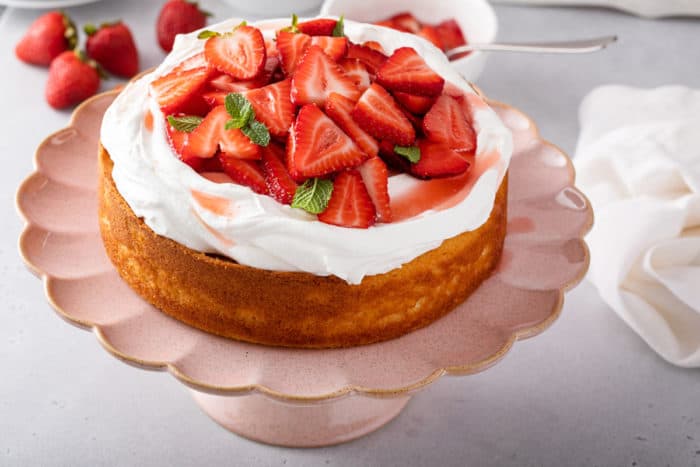
Right before you’re ready to serve, gently toss the sliced fresh strawberries with the rest of the syrup. Top the cake with whipped cream or whipped topping, then pile on the glazed berries.
Can you use frozen strawberries?
I really recommend using fresh strawberries for this recipe.
Frozen strawberries have a totally different texture after they have thawed, so they’ll end up being a little bit mushy on top of the shortcake. You really want the nice texture of fresh, juicy strawberries on here instead!
If it’s not strawberry season but you still want shortcake, try making this with different fresh fruits. Skip down to “Other Shortcake Variations” for some ideas!
Make-ahead tips
Once this strawberry shortcake has been assembled, it’s best served the same day. But if you need to, you can make some of the components ahead of time!
The strawberry syrup can be made a day in advance and stored in the refrigerator until you’re ready to assemble the cake.
Make the cake up to a day in advance. Let it cool completely, then wrap it and store it at room temperature.
If you want to make the cake further ahead of time, wrap the cooled cake in a layer of plastic wrap followed by a layer of foil and freeze for up to 1 month. Thaw at room temperature.
When you’re ready to assemble, level the top and let the strawberry syrup soak into the cake for 30 minutes before topping with the whipped cream and berries.
Other shortcake variations
Even though this is my new go-to strawberry shortcake recipe, that doesn’t mean you can’t use this base to make other types of shortcake!
Instead of strawberries, try using fresh peaches or even a mix of your favorite stone fruits or your favorite mixed berries. Any fresh summer fruit would be delicious!
If using berries, stick with using the strawberry jam or even raspberry jam in the simple syrup. If topping the cake with stone fruits, swap out the strawberry jam for apricot jam.
Whether you stick with the classic strawberries or use your own favorite fruits, this shortcake is one that will impress anyone you make it for!
Strawberry Shortcake
Equipment
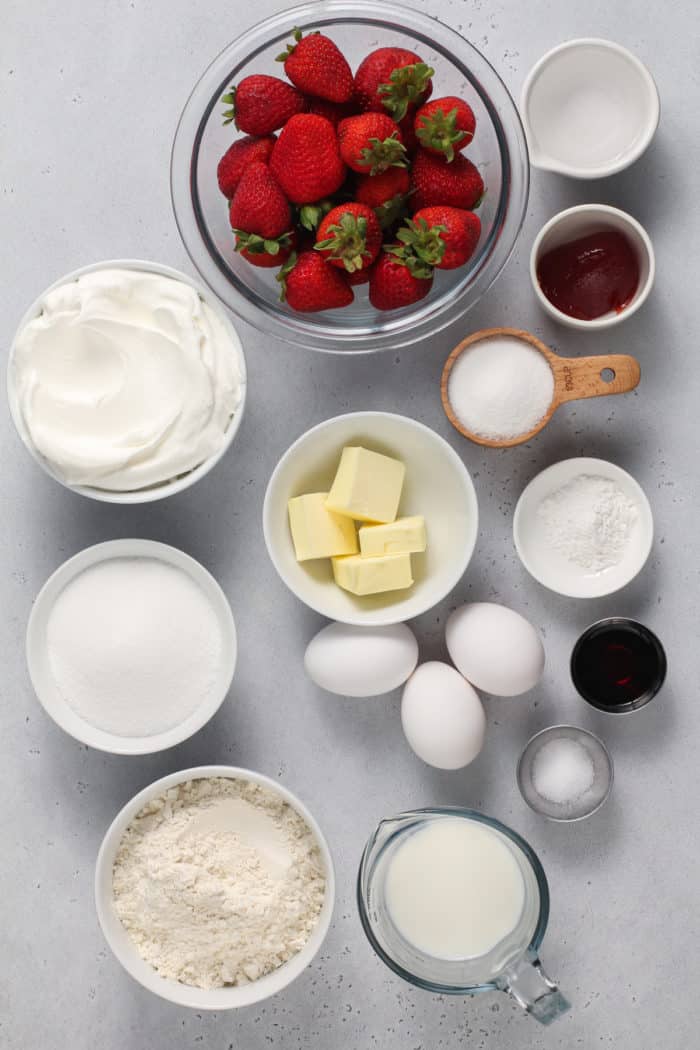
Ingredients
For the Cake
- ½ cup whole milk
- ¼ cup unsalted butter 4 tablespoons / ½ stick
- 1 ½ cups all-purpose flour
- 2 teaspoons baking powder
- 3 large eggs room temperature
- ¾ teaspoon kosher
- ¾ cup granulated sugar
- 2 teaspoons vanilla extract
For the Simple Syrup
- ⅓ cup water
- ⅓ cup granulated sugar
- 2 tablespoons quality strawberry jam
For the Topping
- 2 ½ cups sliced strawberries or mixed berries
- Homemade whipped cream or whipped topping
Instructions
- Preheat to 350°F. Lightly coat an 8×3-inch cake pan with nonstick spray, then line the bottom of the pan with parchment paper and lightly spray the parchment with nonstick spray.
- In a small saucepan over medium heat, warm the milk and butter, stirring, until the butter has fully melted. Set aside to cool.
- In a mixing bowl, whisk together the flour and baking powder.
- Using an electric mixer on low speed, beat eggs in a large bowl, gradually increasing speed to medium-high, until well beaten. Add salt and continue to beat until mixture begins to foam, about 1 minute.
- Reduce mixer speed to low and gradually add in the sugar; increase speed to high and beat until the eggs are voluminous, and very light and pale yellow in color, about 5 minutes. With the mixer back on low speed, add in the butter and milk mixture and vanilla and mix until combined, about 45 seconds.
- Gently fold the dry ingredients into the wet ingredients using a rubber spatula. Scrape the batter into the prepared pan.
- Bake in preheated oven until the cake is golden golden and a tester inserted into the center comes out clean, 30-35 minutes. Let cool for about 15 minutes.
- While the cake is cooling, make the simple syrup by combining the water and sugar in a small saucepan. Bring to a boil, stirring, until sugar has dissolved. Remove the pan from the heat and stir in the jam. Allow to cool for about 10 minutes.
- Trim the top of the cake using a large serrated knife to create an even cake top. Use a pastry brush to brush about half of the simple simple syrup onto the top of the cake, reserving the rest of the syrup for the berries. Allow the cake to cool completely.
- Just before serving, gently toss the berries with the remaining simple syrup. Top the cake with whipped cream and pile the berries onto the whipped cream.
Video
Notes
- This cake is best served the day it is made.
- While this cake does best in an 8×3-inch cake pan, you can use an 8×2-inch pan if you do not have one. Note that the pan will be VERY full in this case, so I recommend placing it on a sheet pan in the oven in case of overflow.
- Cake base barely tweaked from bon appetit.
Nutrition
Nutrition information is automatically calculated, so should only be used as an approximation.


Hello! This looks amazing! Excited to try and make it but by any chance do you have the whip icing recipe? Thank you for your time
I made this today and it came out lovely and simple to make thank you my 2yo boy loved it ♡
So glad to hear it! Thanks so much for sharing. Happy baking!
Jamie
Thank you for this because my young daughter started learning how to make cake
You’re welcome! Thanks so much for stopping by and commenting. Happy baking!
Jamie