This post may contain affiliate links. Please read our privacy policy.
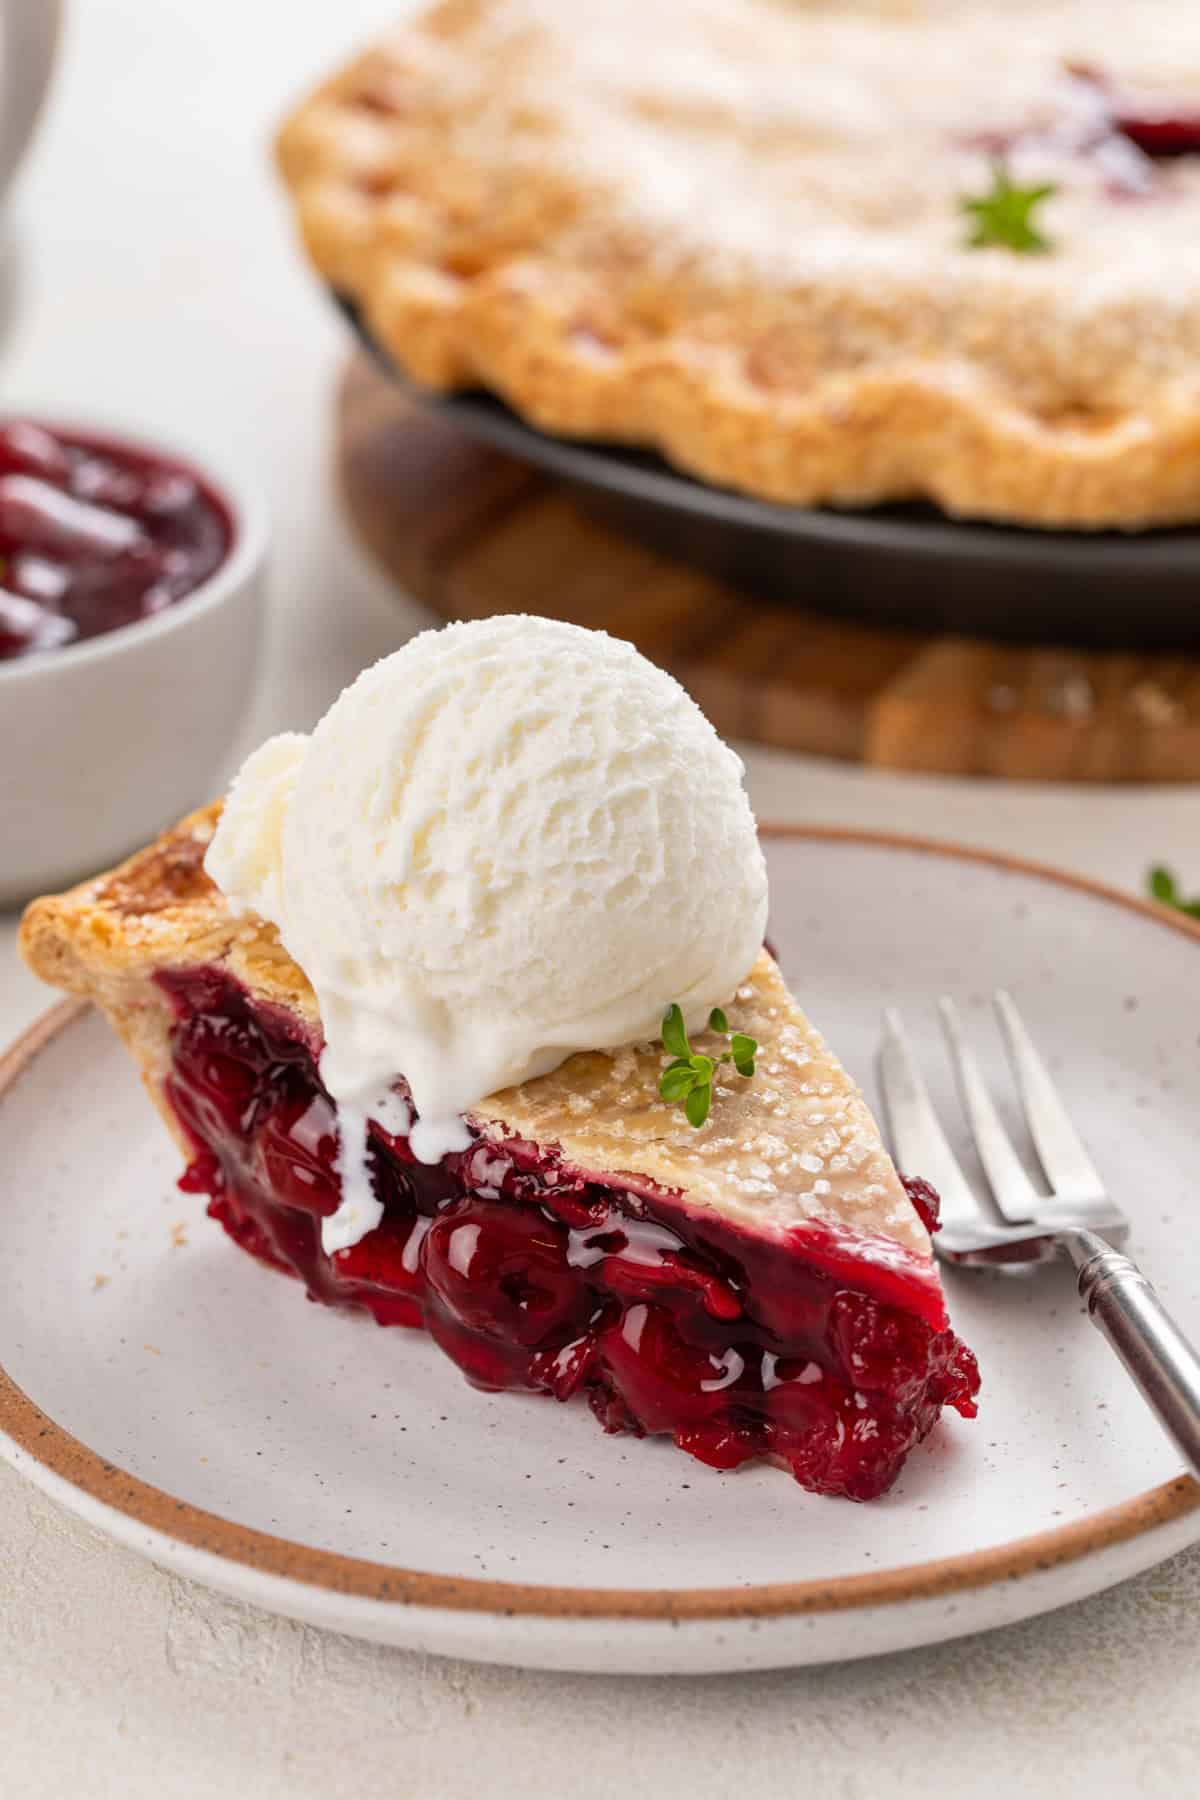
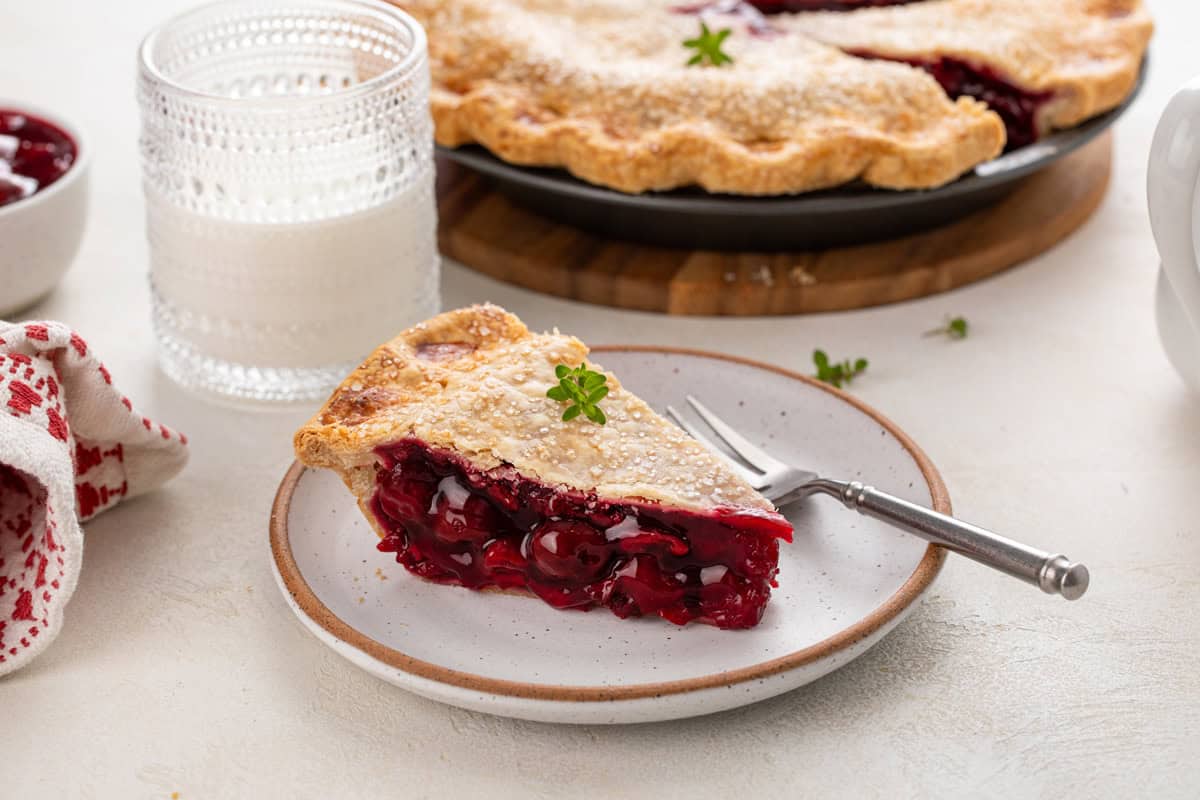
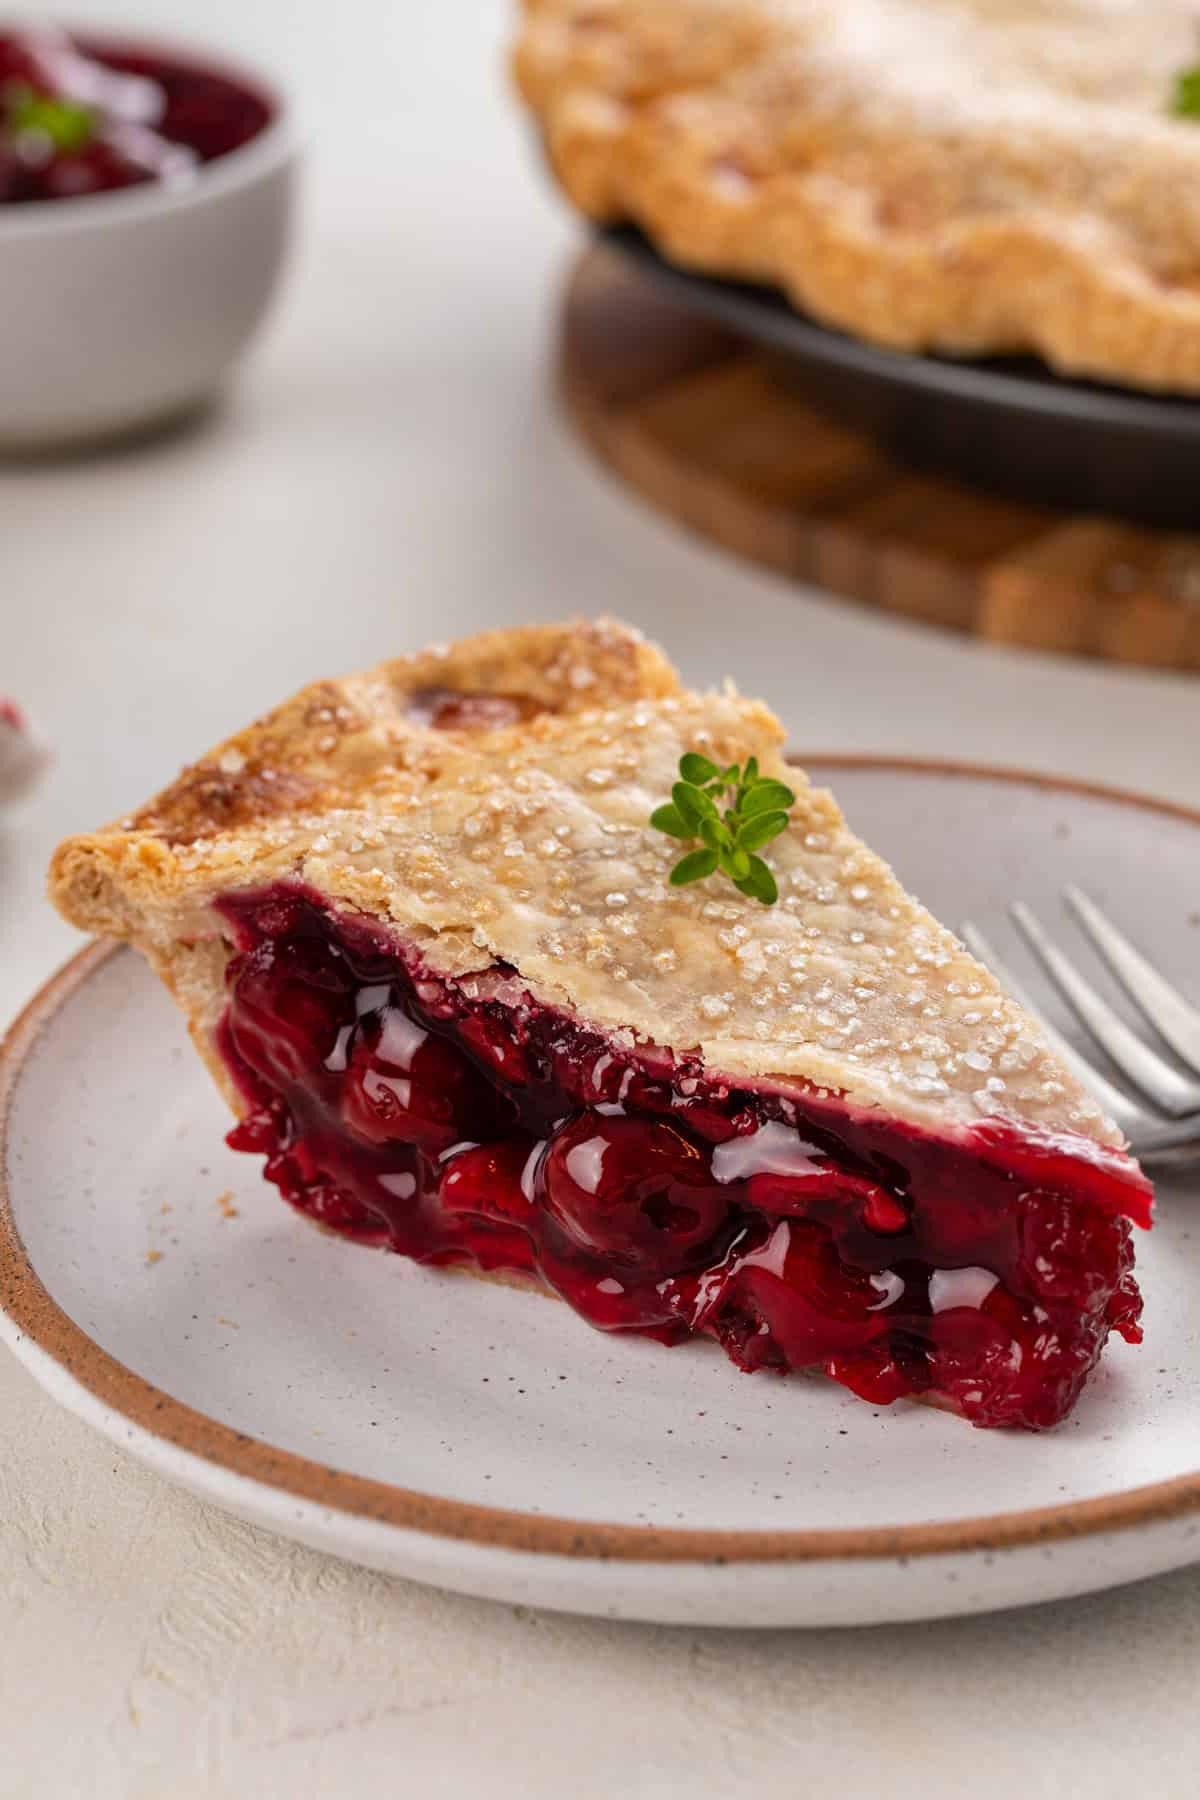
Made with tart cherries and flaky pie crust, sour cherry pie is the ultimate summer pie. Serve it with a scoop of vanilla ice cream to savor every bite of the season.
One thing we do really well here in the Midwest is summer produce. From the very best sweet corn to the juiciest strawberries and blueberries, our farmers sure know what they’re doing.
Most of the country’s tart cherries come out of Michigan. If you live in Michigan or one of the neighboring states, you probably have seen piles of these bright red beauties at your farmers’ markets.
This year, make sure you grab some and bring them home to make this sour cherry pie.
Sour cherries vs. sweet cherries
I have been using my homemade cherry pie filling to make everything from homemade cherry pie to cherry crisp and cherry turnovers for years now.
The only downside to that pie filling is that it uses sweet cherries. And while sweet cherries are great and easy to find at most grocery stores during the summer, sour cherries are a seasonal favorite for many folks.
So what is the difference between sour cherries and sweet cherries?
Sweet cherries, such as Bing or Rainier cherries, are large and typically are a deep red color or a golden-pink color. They’re what you will most often find in American grocery stores.
As the name suggests, sweet cherries have a very sweet flavor and a firm texture. They are fantastic for snacking – I can’t get enough of them during the summer months!
Sour cherries, also known as tart cherries, are bright red with a less firm texture. And, as the name tells us, they have a more tart flavor than sweet cherries.
Most people don’t like to snack on sour cherries, and since the fruit is more delicate than sweet cherries, they are popular to cook and bake with.
The tartness of sour cherries adds a whole new flavor profile to recipes like cherry clafoutis, cherry simple syrup, sour cherry cobbler, and – of course – sour cherry pie.
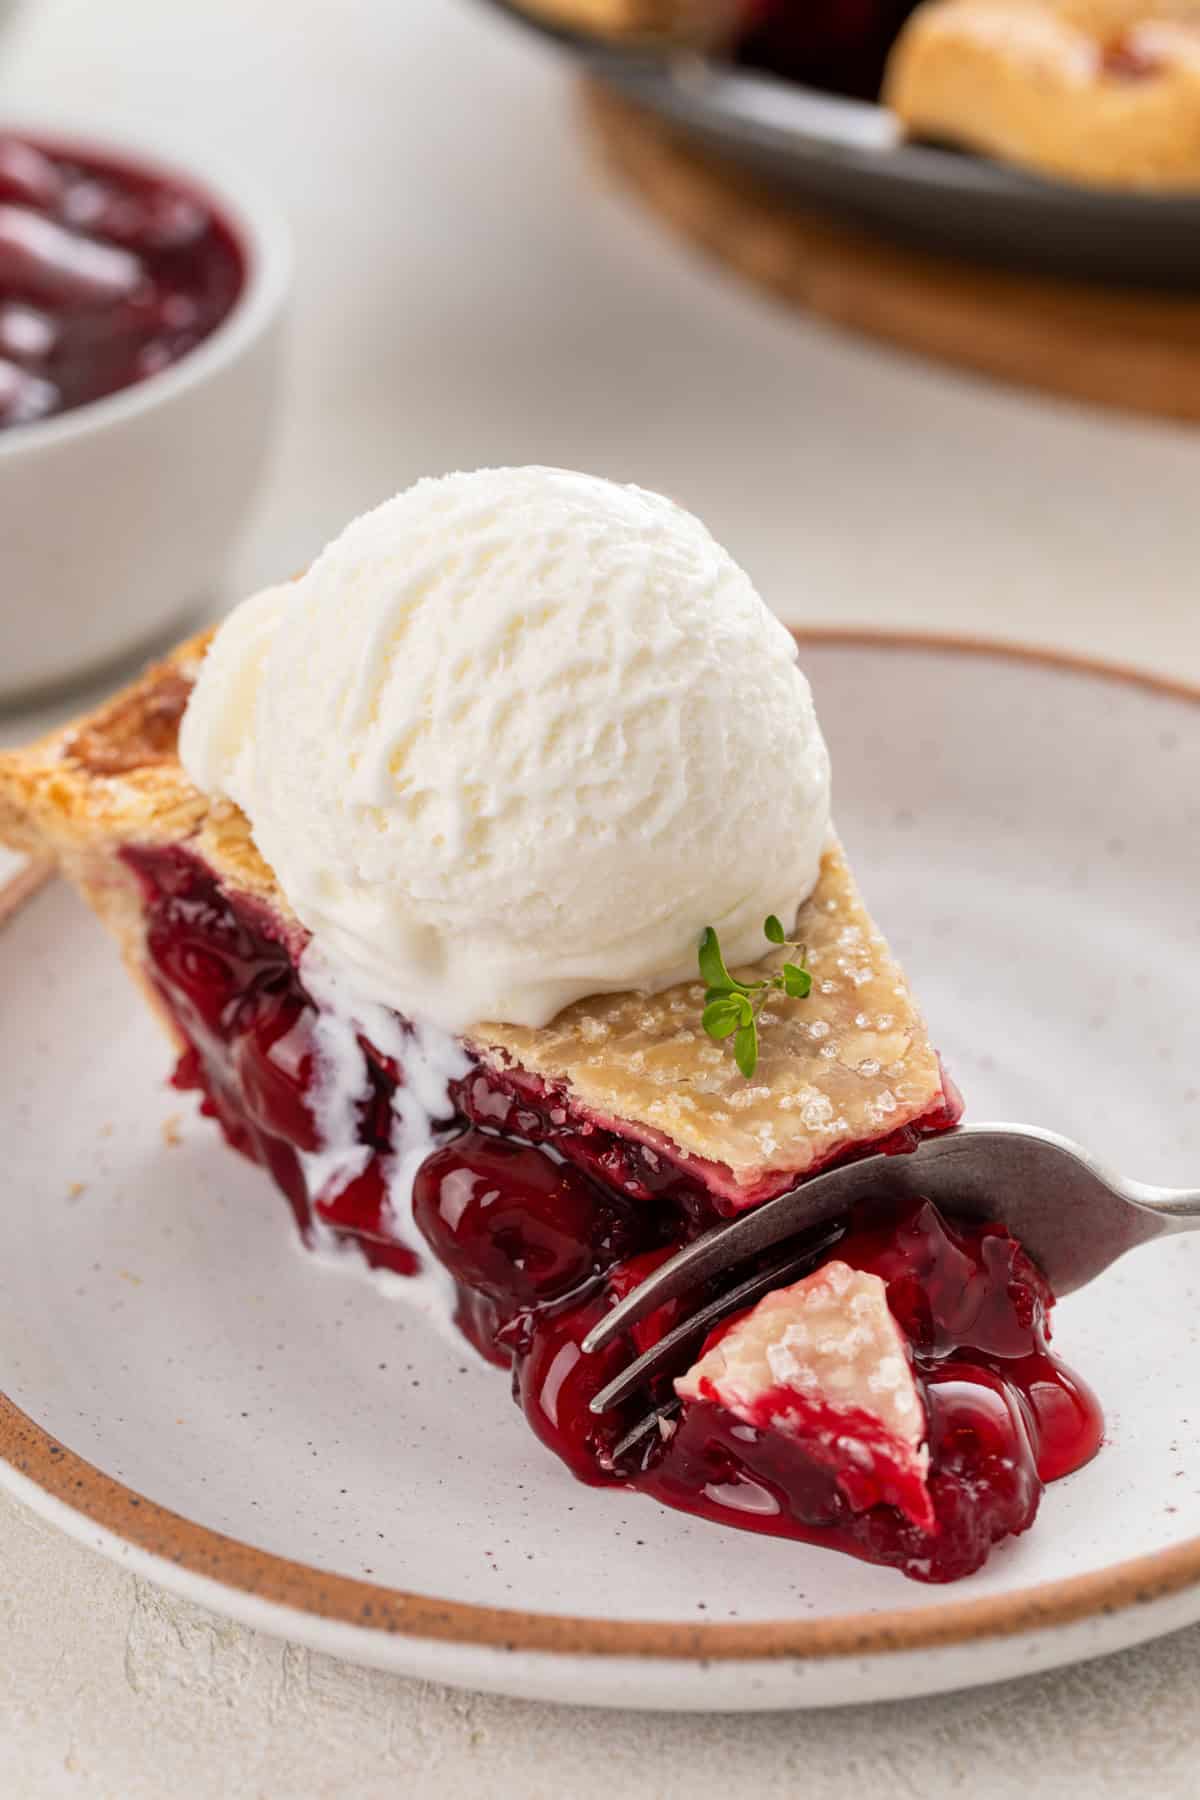
How to make sour cherry pie
Sour cherry pie is the ultimate classic summer dessert, especially if you’re from anywhere near Michigan, where most of the country’s sour cherries are grown.
If you grew up loving sour cherry pies made by your grandma, you’re going to adore this nostalgic recipe. And even better news, it’s easier to make than you think!
Pin this now to find it later
Pin ItIngredients you’ll need
To make my sour cherry pie, you’ll need a few required ingredients:
- 2 pounds fresh or frozen tart/sour cherries
- ½ cup water
- 2 tablespoons lemon juice
- ¾ cup granulated sugar
- 4 tablespoons cornstarch
- 1 teaspoon pure vanilla extract
- Pie crust for a 9-inch double-crust pie
If you live in an area where sour cherries are grown, chances are good that you’ll be able to find some fresh sour cherries at your farmers’ markets starting in June.
If you can’t find any fresh sour cherries where you live, or you’re craving sour cherry pie in the middle of winter, look for frozen pitted sour cherries. They will work just as well in this recipe as fresh cherries!
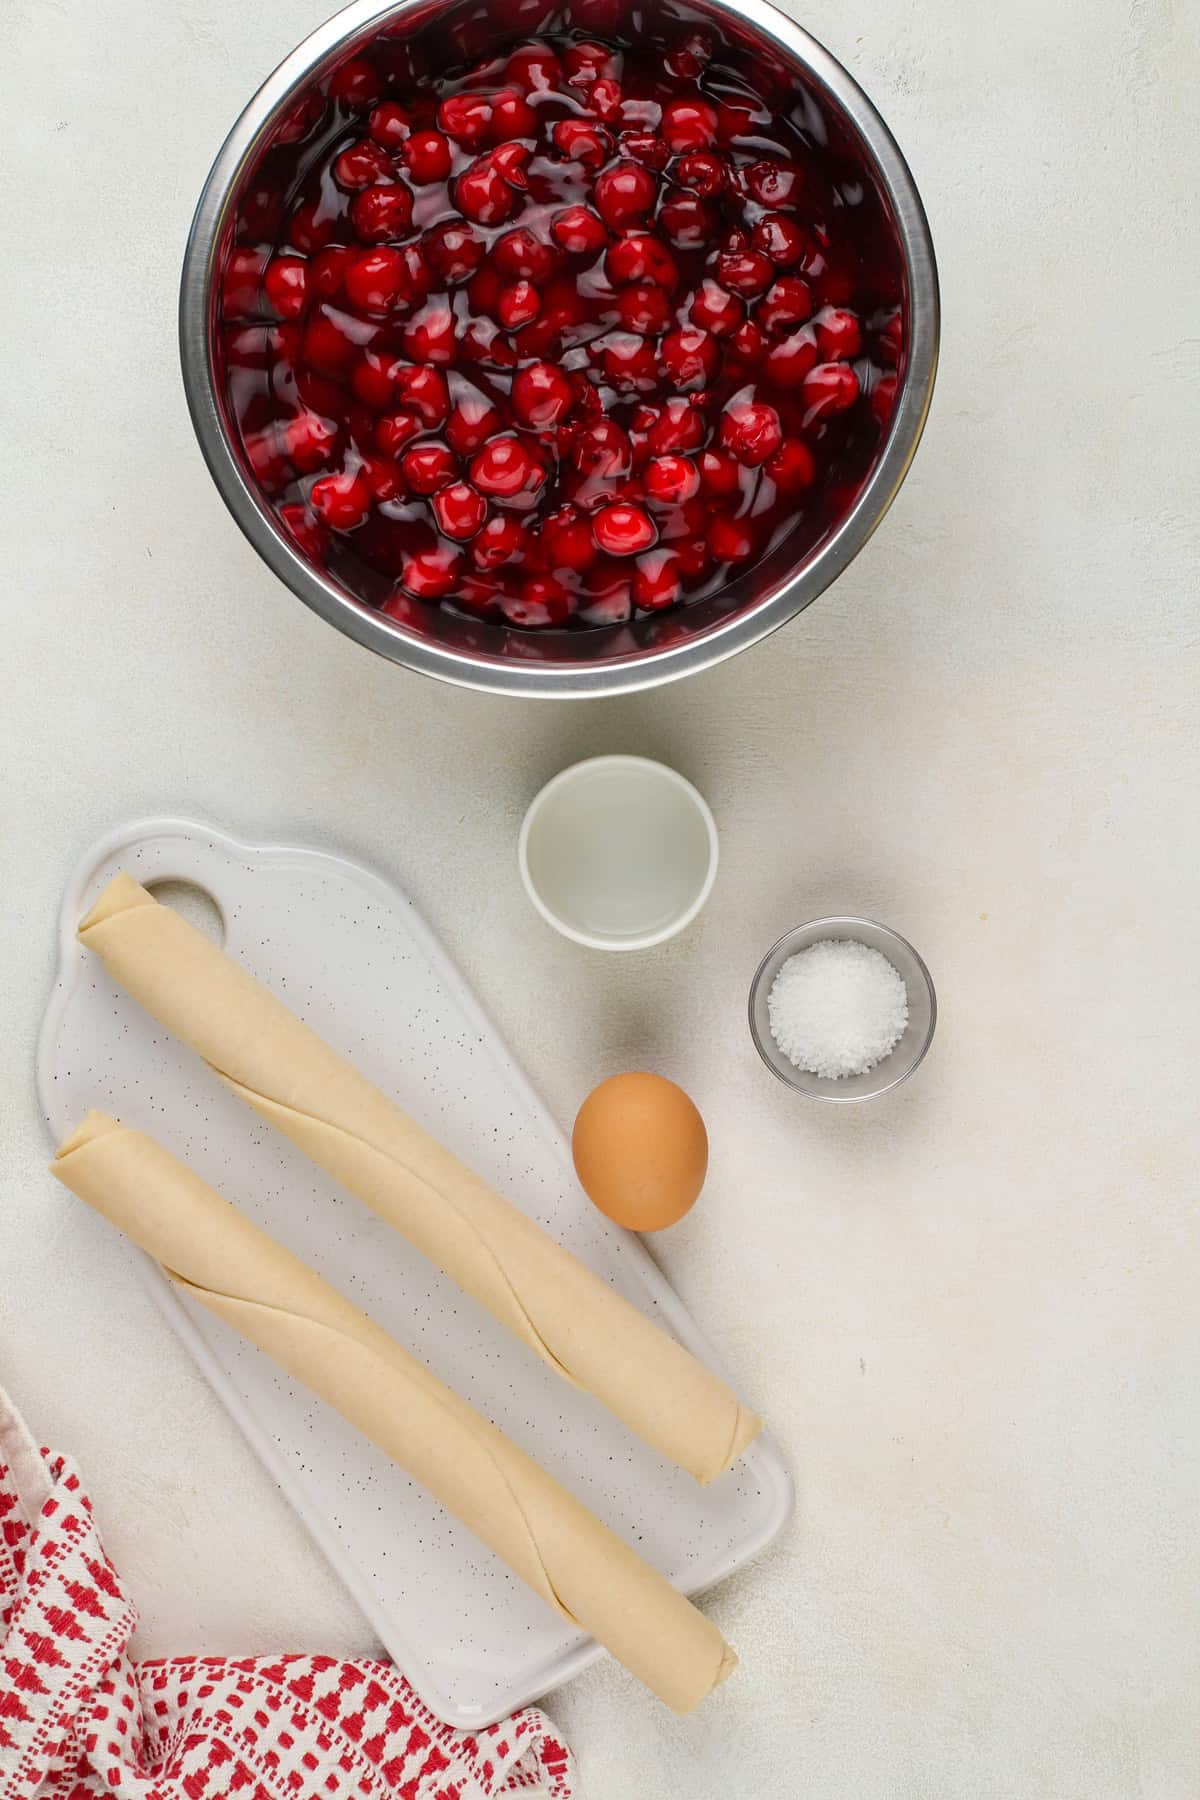
Your pie crust can be a homemade pie crust, but it doesn’t have to be. You can use your favorite store-bought pie crust, too.
There are a couple additional ingredients you can use to make your sour cherry pie even more special:
- ¼ teaspoon almond extract, to add to the filling
- Egg wash, for the crust
- Granulated sugar, for sprinkling on the crust
Cherries and almonds go great together, so I love adding a bit of almond extract to my cherry recipes, such as cherry cheesecake and whipped cherry butter. It’s definitely optional though, so feel free to leave it out if you don’t like almond extract.
An egg wash and a sprinkle of sugar on top of the crust before baking will give a sparkly, pretty finish to your pie.
Making sour cherry pie
To make your sour cherry pie, you first need to make the pie filling.
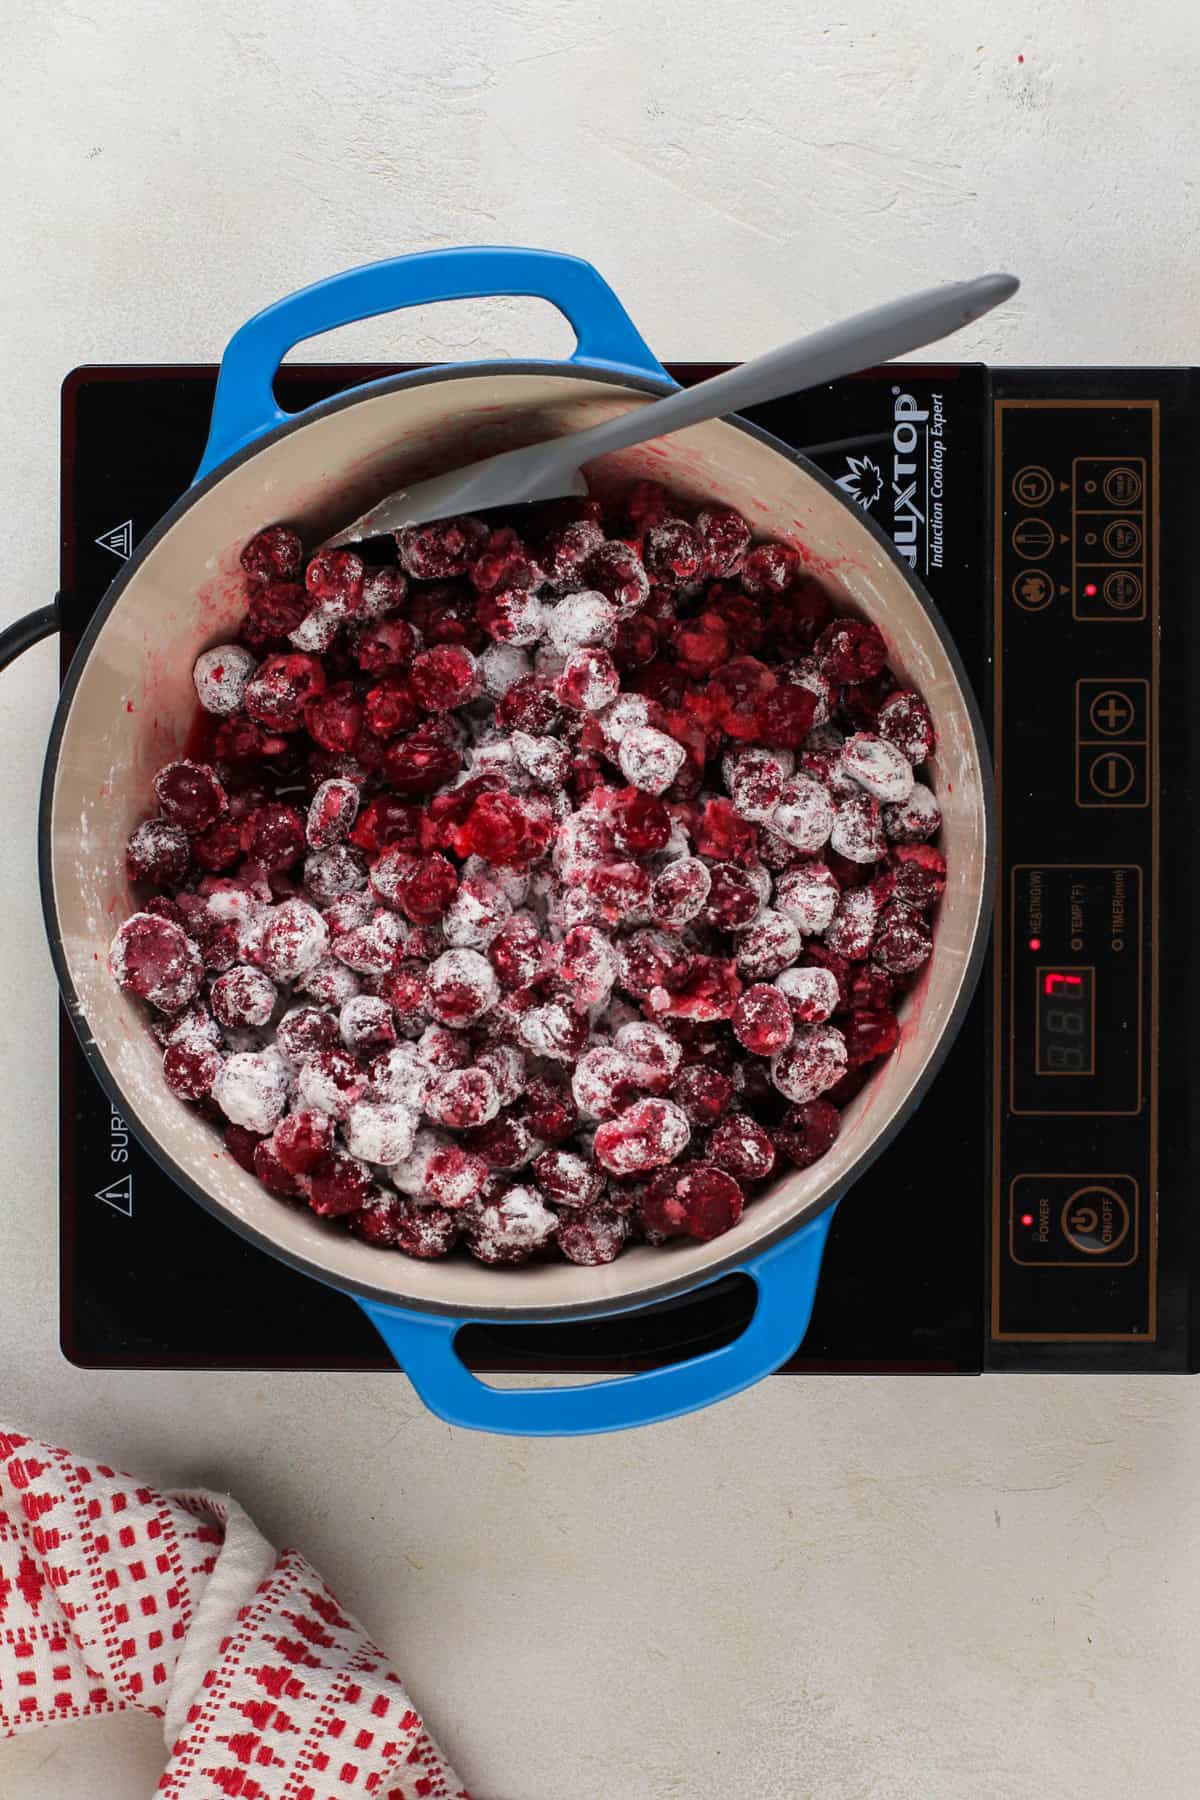
Add the cherries, water, lemon juice, sugar, and cornstarch to a large saucepan over medium heat. Bring the mixture to a boil, then reduce the heat to low and cook, stirring frequently, for 5-10 minutes.
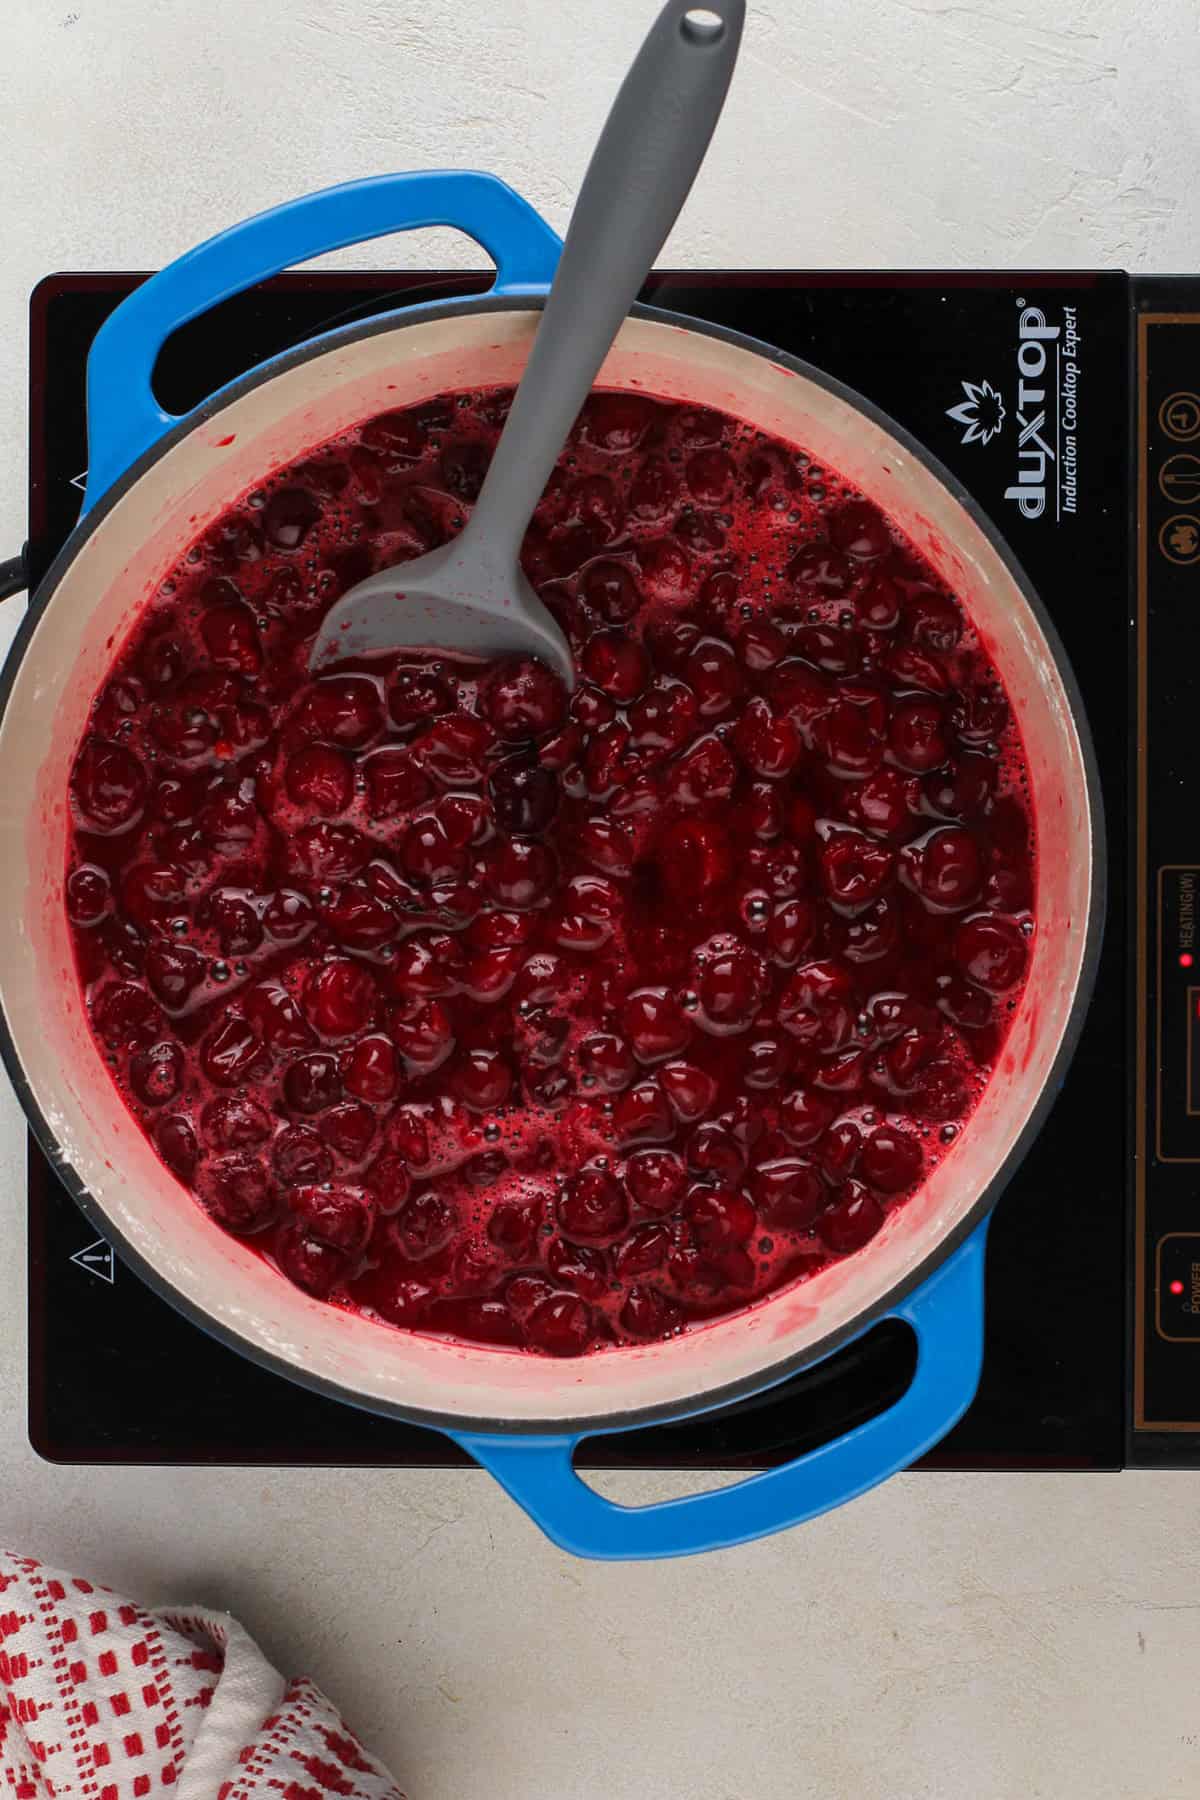
The filling is done when the cherries have released their juice and the “goo” is thick and a clear, deep red color.
Remove the pan from the heat and add the vanilla and the almond extract, if using.
Let the filling cool before assembling the pie. You can easily make the filling ahead of time and store it in the refrigerator for up to 3 days or in the freezer for a couple of months.
When you’re ready to assemble the pie, preheat the oven to 425°F. Place one of the oven racks in the bottom third of the oven, preferably on the lowest rack setting.
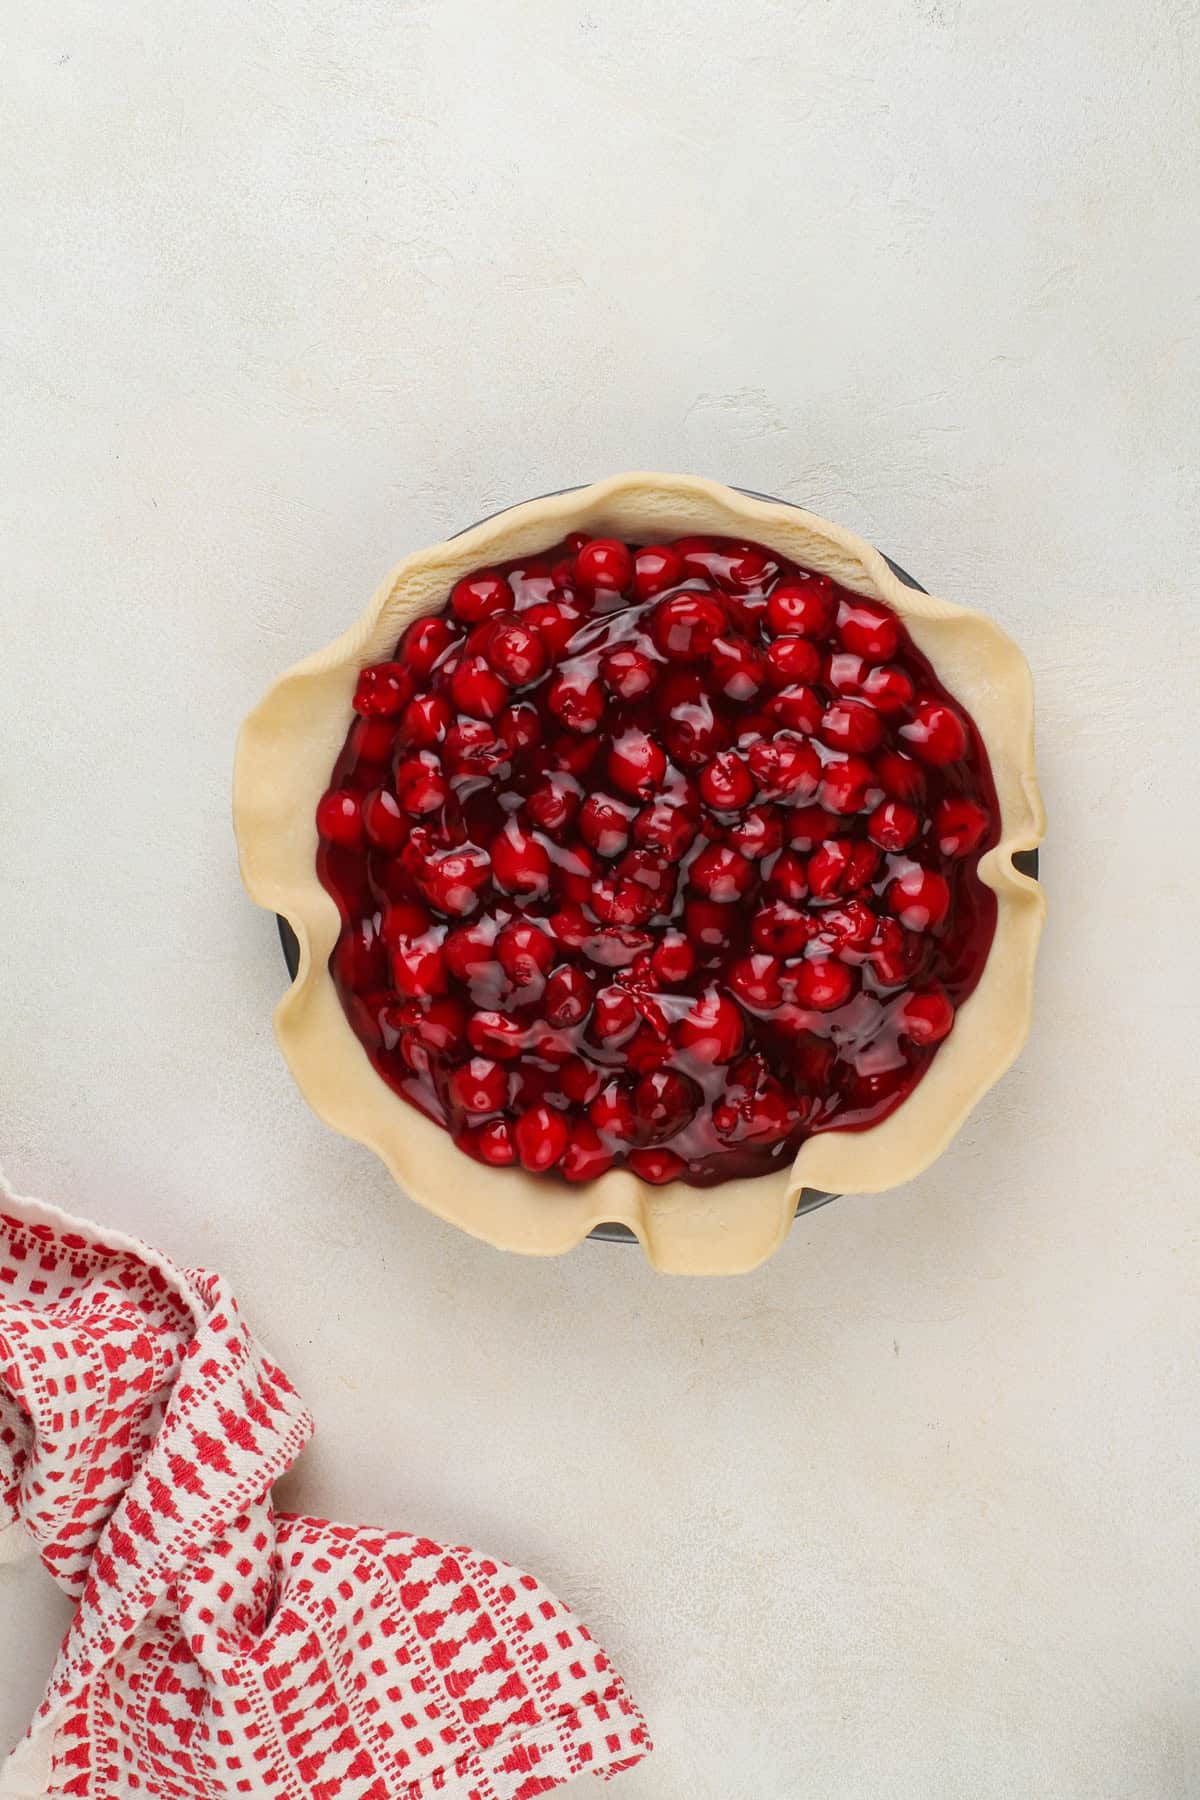
Roll half of the pie dough and place it in a 9-inch pie plate and trim the edges as needed. Add the cherry filling to the pie crust.
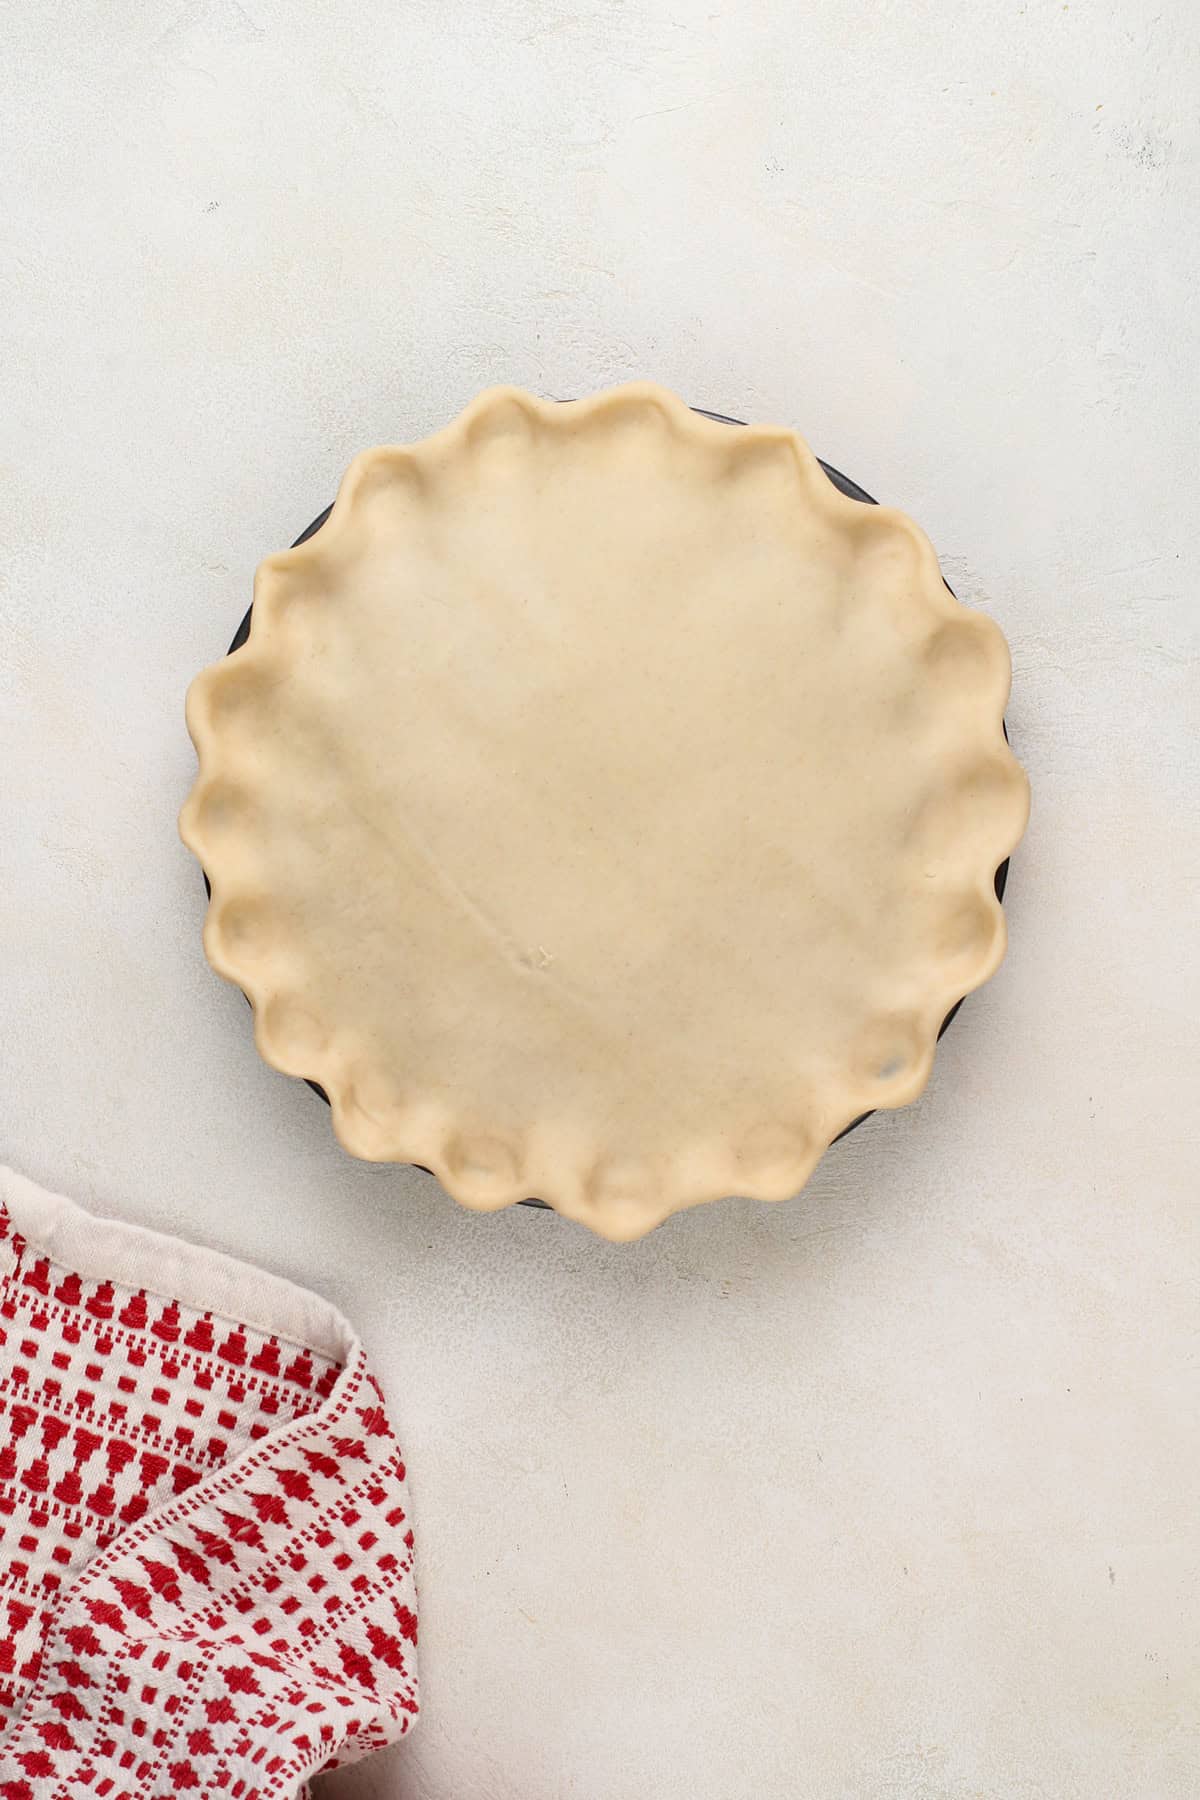
Roll the remaining dough until it is big enough to cover the pie. Place it over the filling and seal and crimp the edges. You could also do a lattice pie crust if you like!
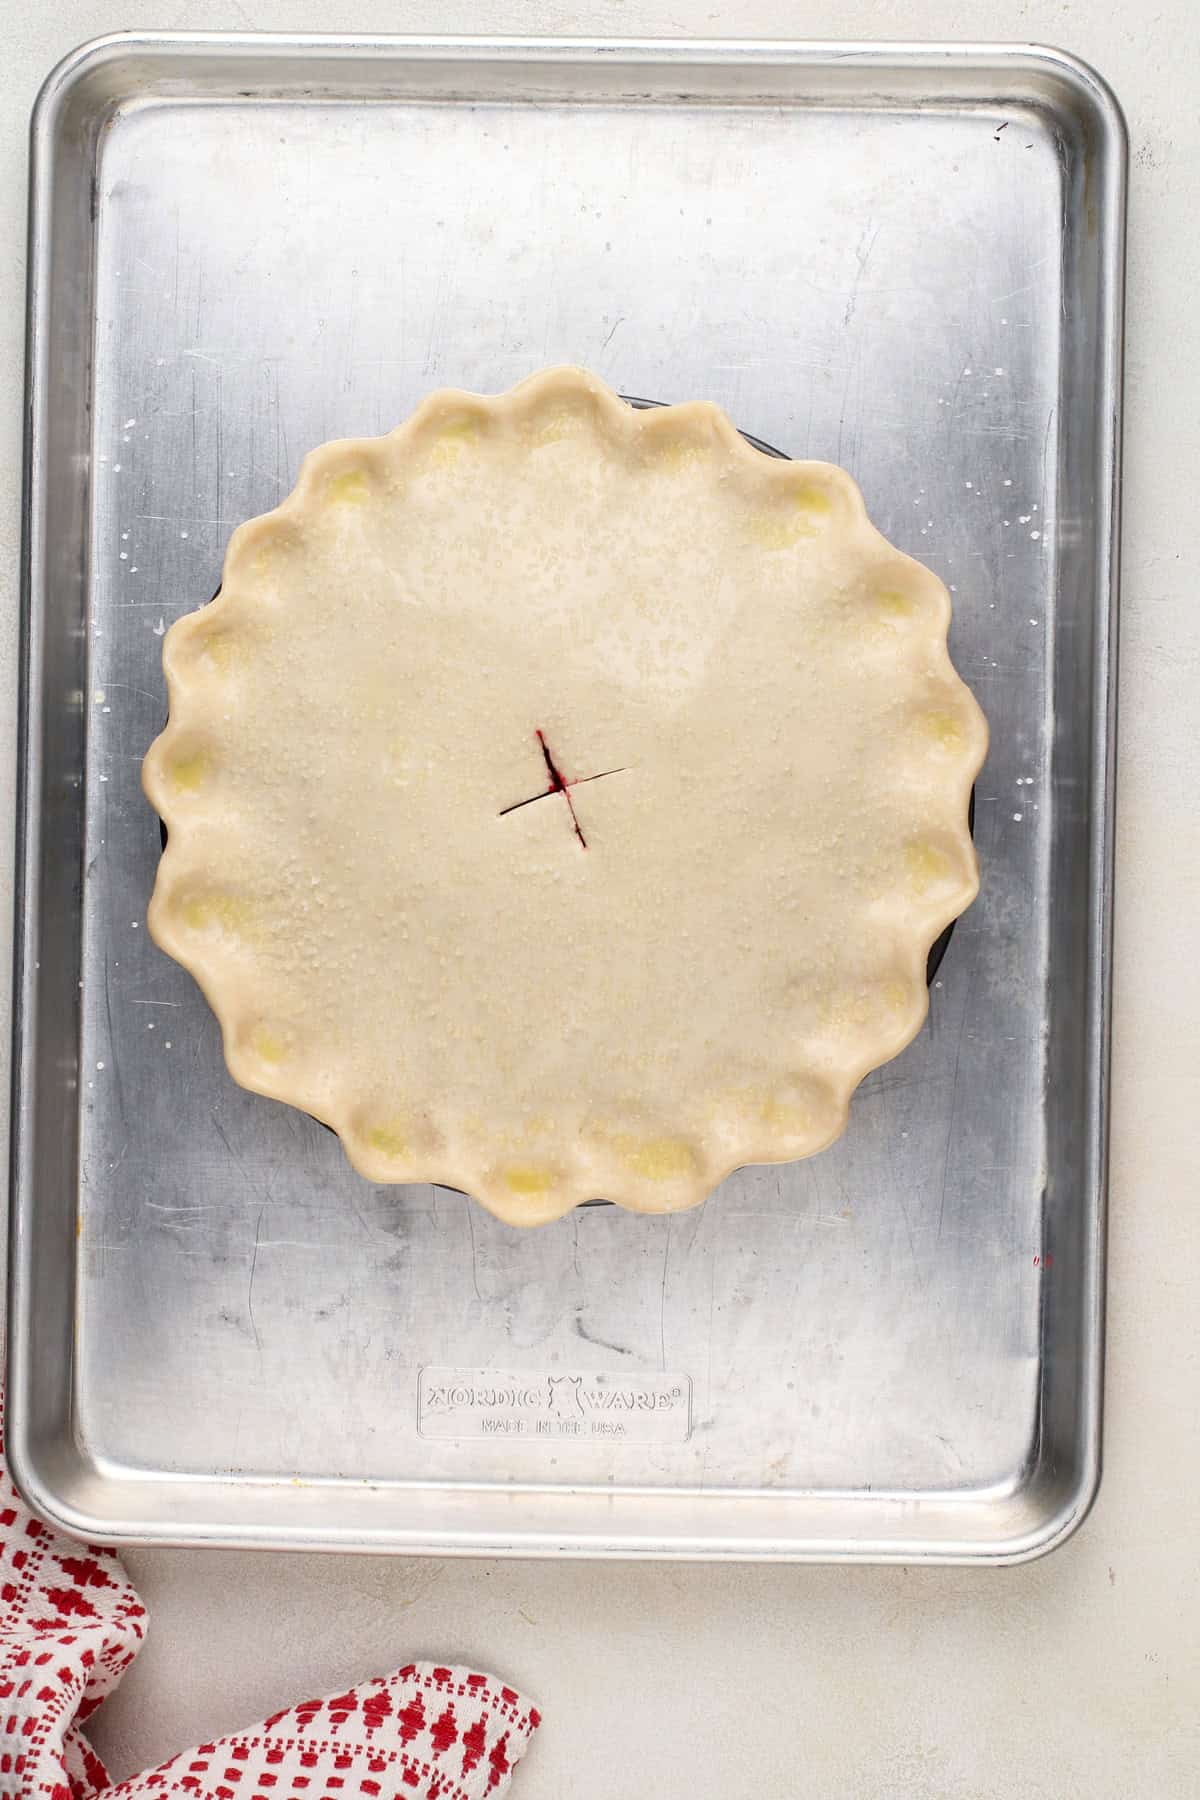
Place the pie on a rimmed baking sheet. Whisk together the egg and water and gently brush it over the top of the pie, then sprinkle with the sugar.
Cut vents into the top of the pie with a sharp knife to allow steam to escape.
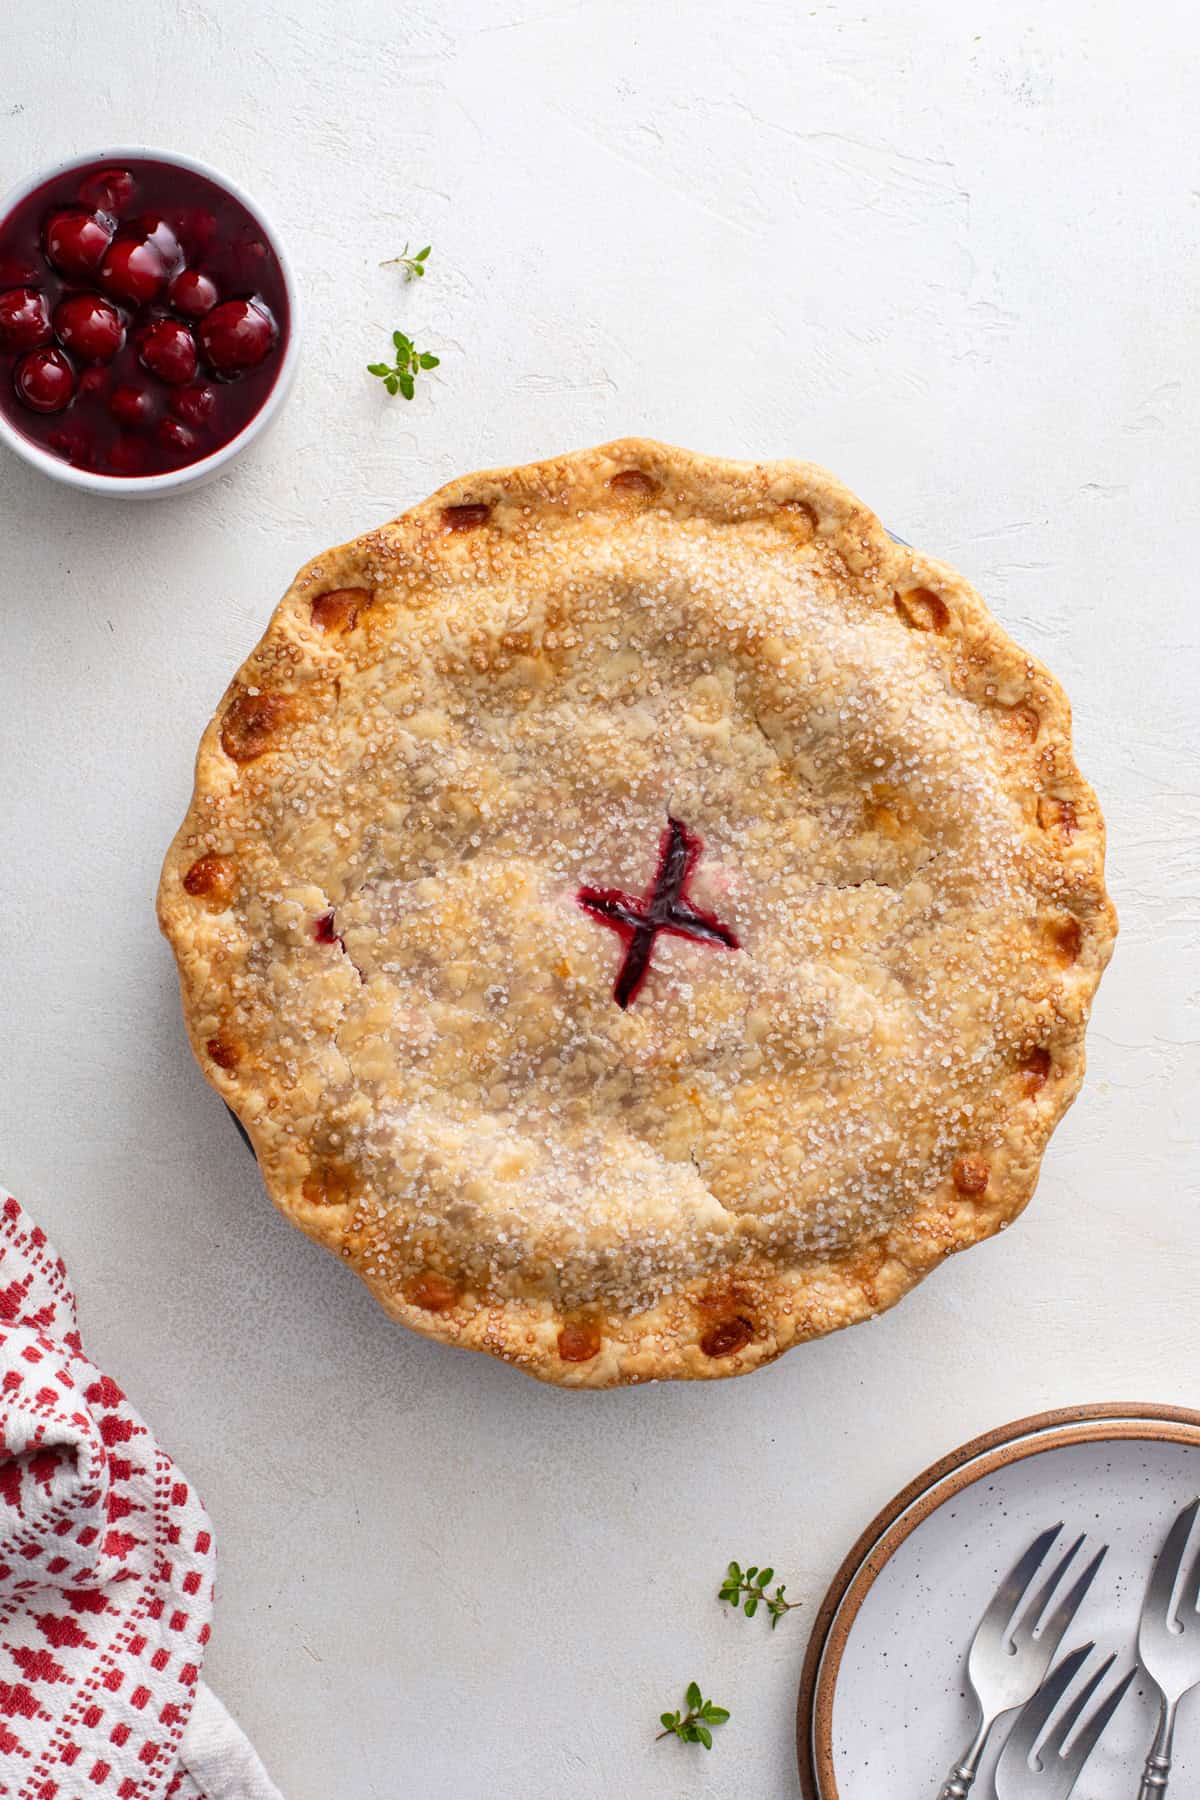
Bake the pie at 425°F for 15 minutes. Leaving the oven closed, reduce the temperature to 350°F and continue baking for 40-45 minutes, until the crust is golden and the filling is bubbly.
Let the pie cool for at least 2 hours before cutting.
Storage and freezing
Store leftover cherry pie in the refrigerator for up to 3 days. You can cover it with plastic wrap, foil, or store it in a pie keeper.
If you want to freeze your sour cherry pie, I recommend either freezing the filling or freezing the assembled, but unbaked, pie.
If you freeze the whole pie, make sure to use a metal or disposable pie pan. Assemble the pie but skip the egg wash. Place it in the freezer for 2-3 hours, or until frozen solid.
Wrap the frozen pie in plastic wrap, then heavy-duty foil. Freeze for 2-3 months.
When you’re ready to bake the pie, unwrap it while the oven preheats. Brush with the egg wash. Bake at the directed temperatures. You will likely need to add an extra 20-30 minutes of extra time at the end since the pie was frozen.
FAQs
If you are using frozen cherries, you do not need to thaw them before you start making the filling. Just keep in mind that if you do not thaw them, the filling will take a little longer to come to a boil than if you use thawed cherries.
One of the best ways I’ve learned to prevent a soggy bottom crust on fruit pies is to bake the pies in the lower third of your oven. Since this puts the bottom of the pie closer to the heat source, it helps the bottom crust to cook through better.
The edges of a pie tend to brown quicker than the rest of the crust, so you want to make sure they don’t burn before your sour cherry pie has fully baked.
I like to check on the pie periodically starting around the 20-30 minute mark. If you see that the edges are beautifully browned, but the rest of the pie is not, you want to cover those edges.
You can use strips of foil and gently wrap them around the edges, or you can buy a pie guard/pie shield and gently place that over the pie. This prevents the edges from browning more while the pie finishes baking.
Sour Cherry Pie
Equipment
Ingredients
For the filling
- 2 pounds tart/sour cherries fresh or frozen, pitted
- ½ cup water
- 2 tablespoons lemon juice
- ¾ cup granulated sugar
- 4 tablespoons cornstarch
- 1 teaspoon pure vanilla extract
- ¼ teaspoon almond extract optional
For the pie
- 1 Pie crust for a 9-inch double-crust pie
- 1 large egg
- 3 tablespoons water
- 1 teaspoon granulated sugar
Instructions
- In a saucepan over medium heat, combine cherries, water, lemon juice, sugar and cornstarch.
- Bring to a boil; reduce heat to low and cook, stirring frequently, for about 5-10 minutes. You’ll know the filling is done when it is thick, the cherries have released their juices, and the “goo” goes from being an opaque pinkish color to a clear, deep red color.
- Remove from the heat and add the vanilla extract and almond extract.
- Let the filling cool before adding to the pie crust. Filling can also be made ahead of time and kept in an airtight container in the refrigerator for up to 3 days or in the freezer for 2-3 months.
- When you are ready to make the pie, preheat the oven to 425°F. Place one of your oven racks in the bottom third of your oven, preferably on the lowest setting.
- Roll out one half of the pie crust so it will fit a 9-inch pie plate. Gently place the crust into the pie plate, trimming around the edges as necessary.
- Add the pie filling to the pie crust. Roll out the remaining half of the pie dough until it is big enough to cover the top of the pie with some overhang.
- Place the pie crust on top of the pie. Tuck the overhang under. Seal and crimp the edges of the pie.
- Place the pie on a rimmed baking sheet. Whisk together the egg and water; gently brush the top of the pie with the egg wash and sprinkle with the teaspoon of sugar. Use a sharp knife to cut slits into the top of the pie for venting steam.
- Place the baking sheet with the pie on the rack that you placed in the bottom of the oven. Bake at 425°F for 15 minutes. Leave the oven closed and set the temperature to 350°F; continue baking for another 40-45 minutes, or until the crust is golden and the filling is bubbly.
- If the crust, particularly the edges, brown too quickly before the pie is finished baking, feel free to cover them lightly with a pie guard or foil.
- Let the pie cool for at least 2 hours before cutting and serving.
Video
Notes
Nutrition
Nutrition information is automatically calculated, so should only be used as an approximation.

