This post may contain affiliate links. Please read our privacy policy.
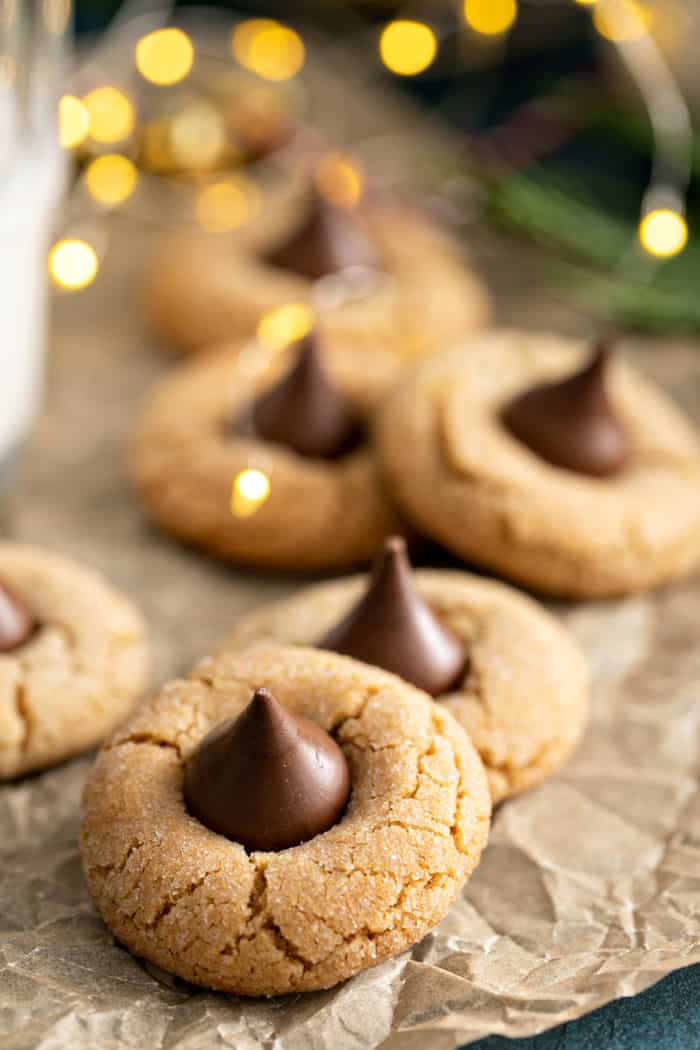
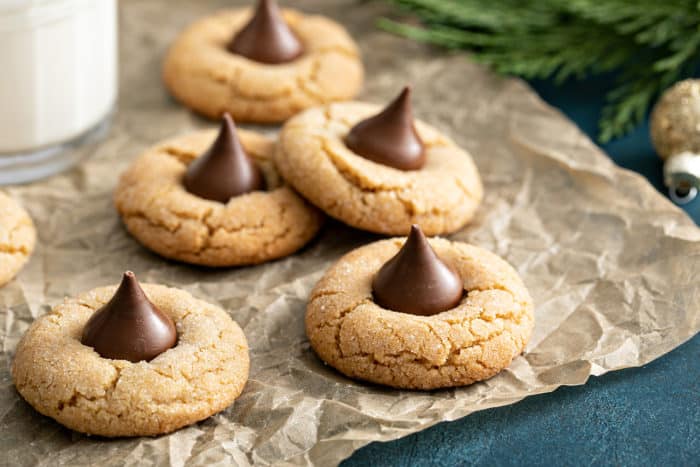
Peanut Butter Blossoms – sometimes known as Hershey Kiss Cookies or Peanut Butter Kiss Cookies – are the perfect classic holiday cookie to make with kids or bring to a cookie exchange.
Long-time readers know that I used to teach school full time – more specifically junior high.
I found myself with an extra period each Friday and had to figure out something to do with the 50 minutes that would both keep the kids busy and force them to interact with each other in a positive manner.
I remember sitting at the computer when it hit me – I could have them cook and bake together.
I quickly pretty much relinquished all control over what we cooked and baked to my students. I allowed them to choose the recipes, create the shopping lists and make the dish from start to finish (minus any knife work).
Although I was a little bit nervous with the whole process, the students displayed an amazing amount of teamwork and enthusiasm – honestly, I couldn’t have been more proud of them.
During the holidays, we decided to make Peanut Butter Blossom cookies. I thought there was no more perfect time of year to introduce them to this classic chocolate-peanut butter cookie.
Even though I haven’t taught full-time in years, I’m still grateful for the opportunity to allow my students to channel their creativity and curiosity in a positive way. I hope they still remember making Peanut Butter Blossoms together and taking them home to share with their families.
What are peanut butter blossoms?
I think that just about anyone who has ever been to a holiday cookie exchange has at least seen, if not eaten, Peanut Butter Blossoms.
They’re a holiday staple!
The name might change – I have heard them called Hershey Kiss Cookies, Peanut Butter Kiss Cookies, and even Chocolate Kiss Thumbprint Cookies – but the cookie itself stays the same:
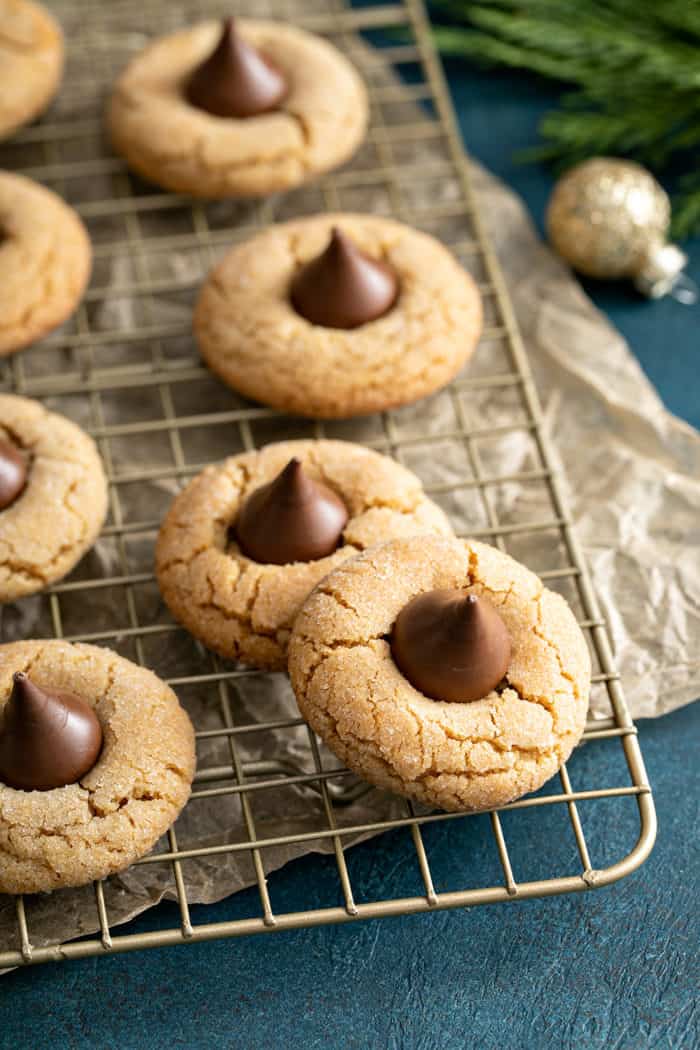
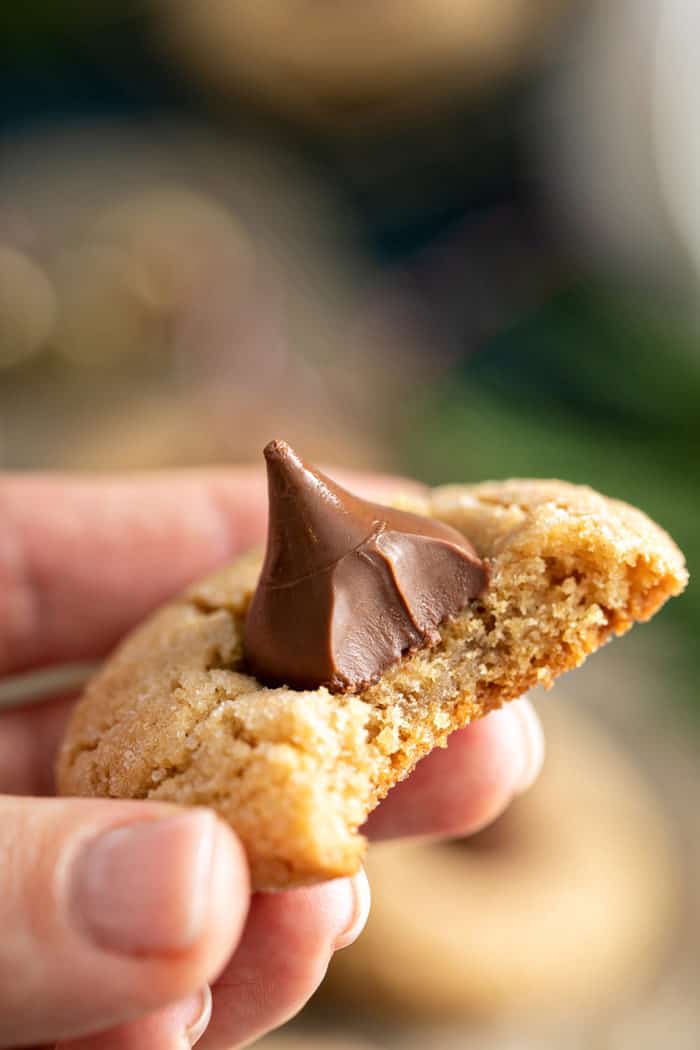
A peanut butter-flavored sugar cookie with a chocolate kiss pressed into the middle.
The dough is essentially a simple no-chill sugar cookie dough with peanut butter added to it. As soon as the cookies come out of the oven, a Hershey Kiss gets pressed into the top.
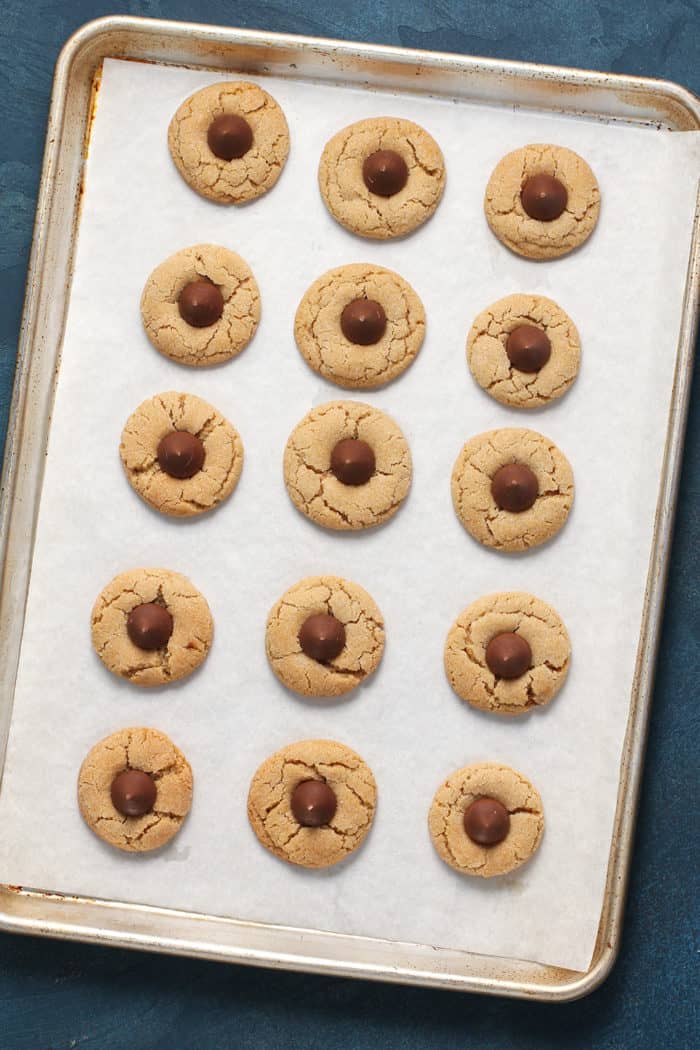
As the cookies cool, the chocolate hardens and the cookie holds its shape around the kiss, holding it in place and creating the perfect chocolate-peanut butter bite.
Looking for something with EXTRA peanut butter? Try Peanut Butter Cup Cookies!
How to make peanut butter blossoms
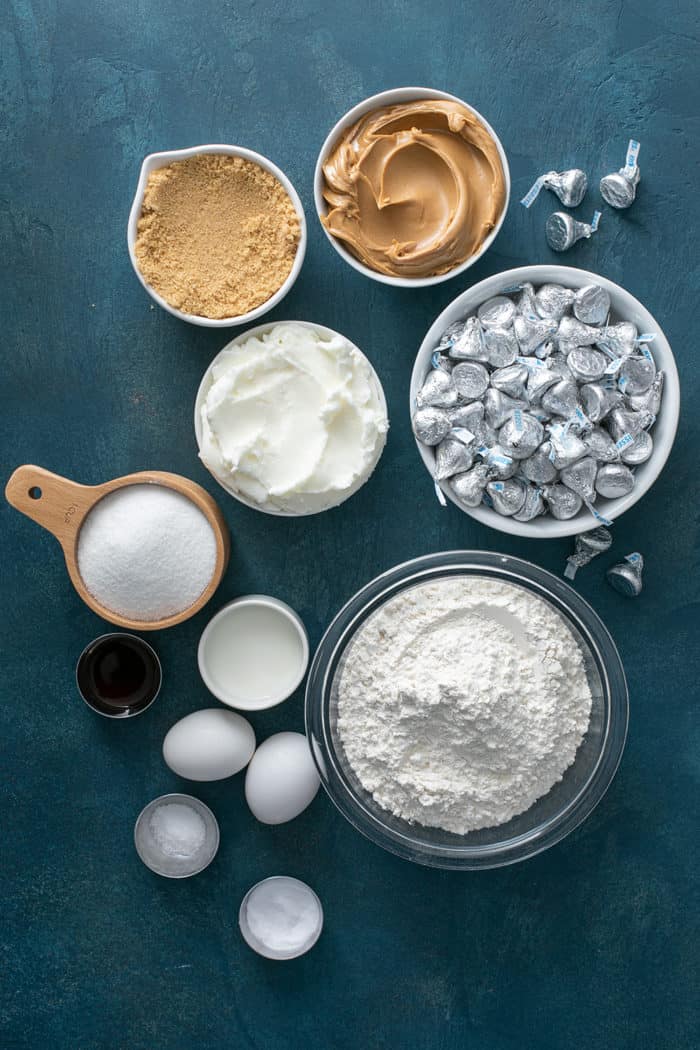
Like all of our baking recipes, start these cookies by getting your ingredients ready:
- 1 cup shortening
- 1 cup peanut butter
- 1 cup packed brown sugar
- 1 cup granulated sugar, plus ½ cup for rolling the cookies
- 2 eggs
- 1/4 cup milk
- 2 teaspoons vanilla extract
- 3 1/2 cups all-purpose flour
- 2 teaspoons baking soda
- 1 teaspoon salt
- 2 (9 ounce) bags milk chocolate candy kisses, unwrapped
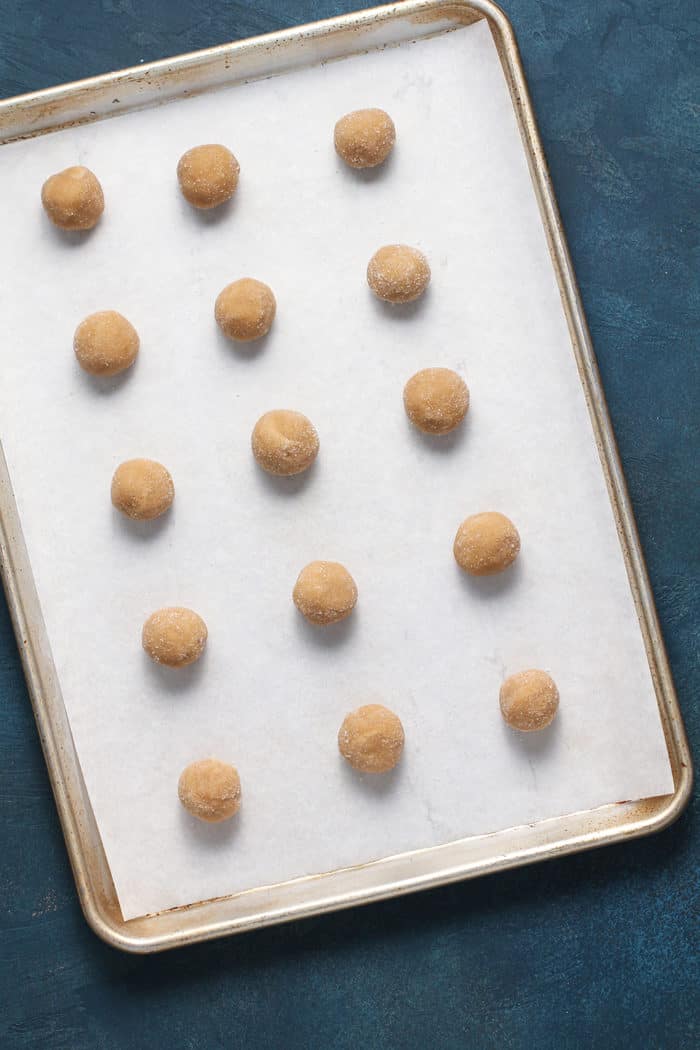
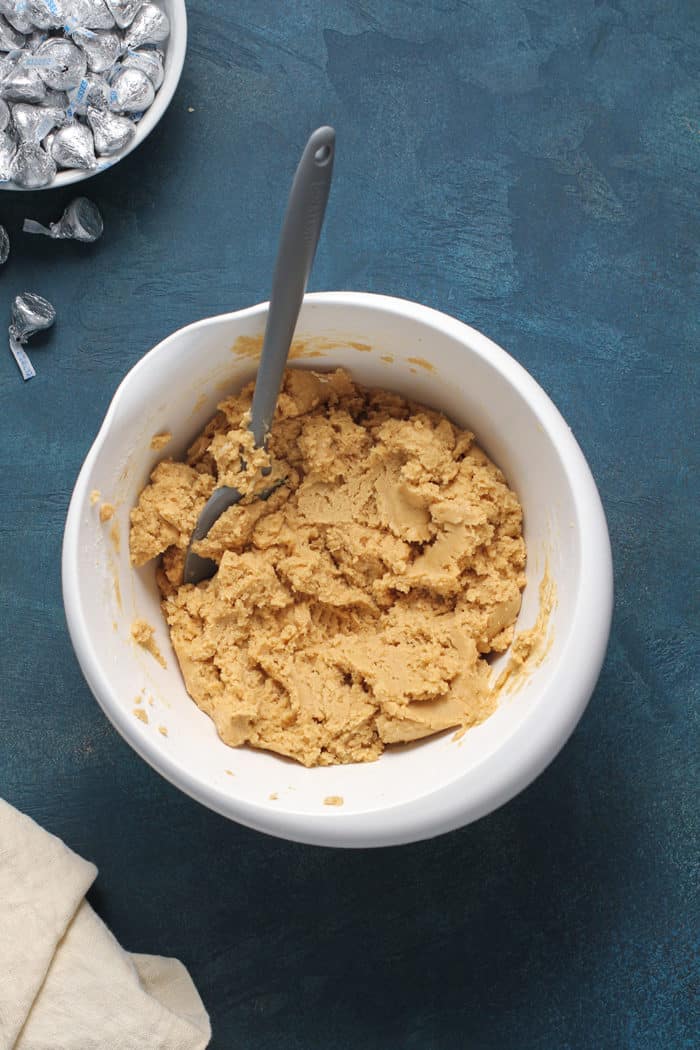
In a large bowl, cream together the shortening, peanut butter, brown sugar, and 1 cup of the granulated sugar until smooth. Then add the eggs, one at a time, followed by the milk and the vanilla.
Separately, whisk together the flour, baking soda, and salt. Add this to the peanut butter mixture until well combined.
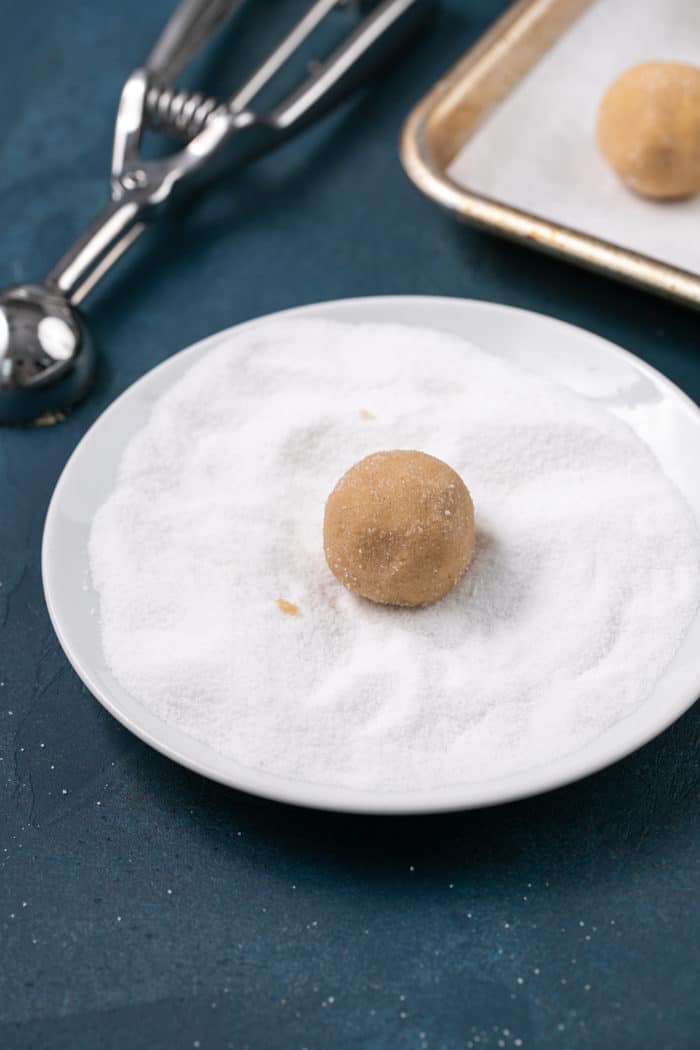
Scoop up tablespoons of the dough and roll them into balls. Roll each ball into the remaining granulated sugar and place them 2 inches apart on lined baking sheets.
While this entire recipe is easy for kids to help make, they really love to help with shaping and rolling the dough balls!
Bake the cookies for 10-12 minutes. As soon as you remove them from the oven, carefully press a chocolate kiss into the top of each cookie.
Remember that the cookies are hot, so be careful with this step, especially if you have little hands helping you.
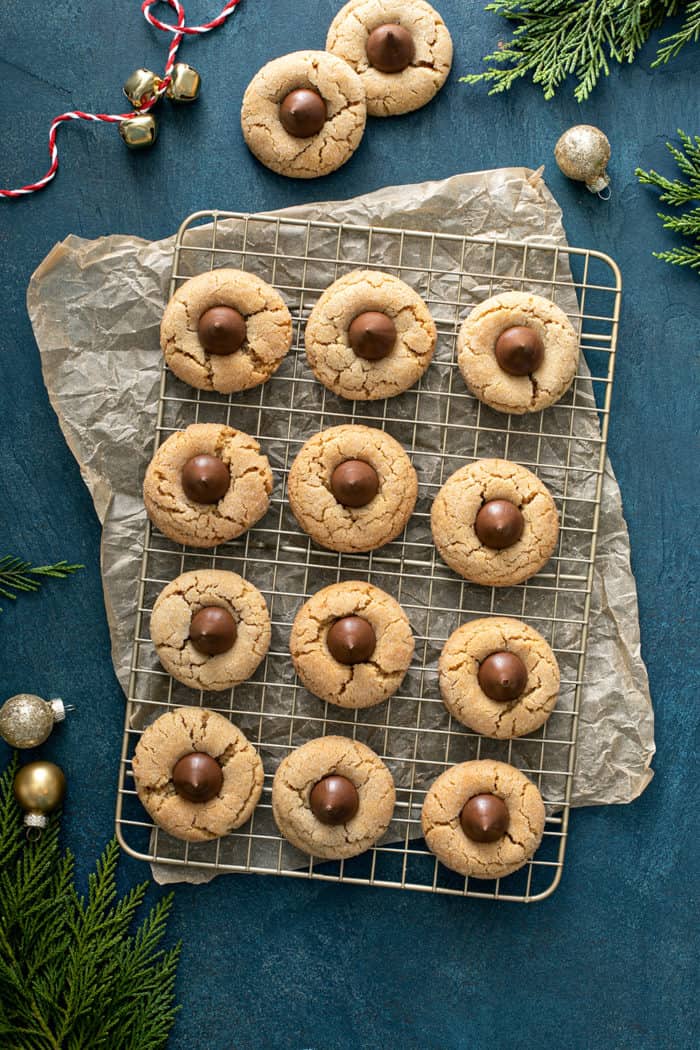
Let the cookies cool completely before serving or boxing up to gift to a neighbor or loved one.
Allergy-friendly variations
If you or someone you know has a peanut allergy, you might be wondering how you can make these Hershey Kiss cookies without peanut butter.
Sunflower seed butter, aka Sunbutter, is a great substitute for peanut butter in recipes. It has a similar texture and flavor to peanut butter but without the nuts and should work just fine in this recipe.
If you are allergic to peanuts but still able to have tree nuts, you can give my Chocolate Almond Kiss Cookies a try. They use almonds instead of peanut butter for a slightly different seasonal flair.
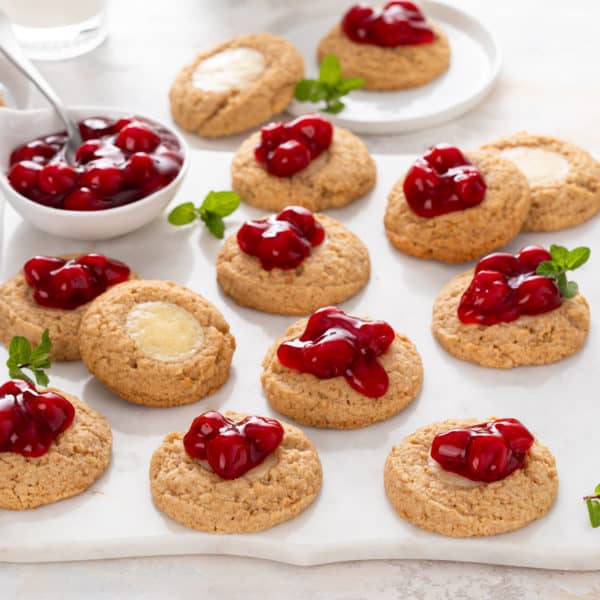
Or make Candy Cane Kiss Cookies for an entirely chocolate-free version or cherry kiss cookies for a nut-free version!
Even though the original recipe uses milk chocolate kisses, you can swap in any type of Hershey’s Kiss that you like – dark chocolate, caramel, hot cocoa, white chocolate..the options are endless!
Storage and freezing tips
Store Peanut Butter Blossoms in an airtight container at room temperature for up to 3 days.
Because they don’t need to be refrigerated and will stay good for a few days, they are perfect for taking to a cookie exchange or even overnighting to friends and family.
You can also freeze these cookies! Follow my steps for how to freeze cookie dough to freeze the dough balls and bake off as many as you like whenever you like.
Alternatively, package up the baked cookies in airtight containers and freeze them for up to a month. Let them come to room temperature before serving on a cookie platter alongside other holiday favorites such as Chocolate Crinkle Cookies, Peppermint Oreo Balls, and Snowball Cookies.
Peanut Butter Blossoms
Equipment
Ingredients
- 1 cup shortening
- 1 cup peanut butter
- 1 cup packed brown sugar
- 1 cup granulated sugar plus 1/2 cup for rolling
- 2 eggs
- ¼ cup milk
- 2 teaspoons pure vanilla extract
- 3 ½ cups all-purpose flour
- 2 teaspoons baking soda
- 1 teaspoon fine sea salt
- 18 ounces milk chocolate candy kisses, unwrapped
Instructions
- Preheat oven to 375 degrees F. Line two baking sheets with parchment paper.
- In a large bowl, cream together shortening, peanut butter, brown sugar, and 1 cup granulated sugar until smooth. Add in the eggs one at a time, beating until fully incorporated. Mix in milk and vanilla.
- In a large bowl, combine flour, baking soda, and salt. Gradually add to the peanut butter mixture until well blended.
- Shape tablespoonfuls of dough into balls, and roll in remaining granulated sugar. Place cookies 2 inches apart on the prepared baking sheets.
- Bake in preheated oven for 10 to 12 minutes. Remove from oven, and immediately press a chocolate kiss into each cookie. Allow to cool completely; the kiss will harden as it cools.
Video
Notes
- This makes a lot of cookies, but it’s perfect for cookie exchange prep or holiday parties.
- I have not attempted this recipe using butter instead of shortening.
- Store cookies in an airtight container at room temperature for up to 3 days.
Nutrition
Nutrition information is automatically calculated, so should only be used as an approximation.


you know you can make these cookies gluten free. and it makes quite a good science lesson. what is gluten, what is protein, why does gluten add to cookie structure, what is the role of sugar in cookie structure, what is the difference between baking soda and baking powder, why do cookies come out better if the dough is refrigerated, what role do eggs play in cookie structure.
Gluten Free Peanut Butter Blossoms
2 cups peanut butter
2 eggs
2 cups sugar
2 tsp baking powder
beat all together and chill
use small cookie scoop, roll in palm
roll balls in sugar
place on parchment lined tray
bake in 340 degree oven on high rack
they are finished when just turning brown on bottom (about 12 mins)
careful not to burn. they will continue browning on bottom after removal from oven so err on the side of light brown on bottom
squish in hersheys kiss (or rollo etc) on top immediately
do not attempt to remove from pan till cool.
Ann Marie-
Thanks so much for sharing! Happy Holidays and thank you for following MBA!
-Jamie
That is so amazing and inspiring! Teachers like you, who go above and beyond, are truly the backbone of a great start in life.
I use nonpareils instead of Hershey Kisses. At holiday time they are available w/green, red & white pellets. They are much easier to stack and store. Nothing to unwrap and they taste great too!
Love these cookies, they are a classic and rightfully so. I have tried many variations on this but will use yours this year. Echoing all the praise for your work in the classroom ( from a fellow teacher), not sure why “they” ever thought getting rid of Home Ec. or Family and Consumer Science, as it was later called, was the right move. We need to be teaching these life skills to all our students. Keep up the good work and keep us posted on what the kids are making!
I think it’s great that those companies helped you and the kids out like that! Thumbs up!!!
I agree with each and every comment above! Wholeheartedly!
But, now, I simply MUST comment that I also LOVE those milk containers in the photo. Care to share where you found them. I’m the same person who asked you about the other vintage milk jars you used in another post some time back, But I think these are different. Lovely photos!
These milkbottles along with other antiques can befound at the link below:
https://www.etsy.com/listing/183835394/two-vintage-dairy-milk-bottles-pint-half?
Specifically can you tell me what kind of shortening do you use? I usually use Crisco butter flavored but mine never turn out as tasty as others. Also they tend to dry out quickly.
Misi-
I used regular Crisco this time, but have used butter flavored Crisco in the past. I don’t find that they dry out too quickly, in fact I shipped these to my dad and he said they were perfect although a few were missing the kisses. Hope this helps.
-Jamie
Thanks for taking the time to reply. Also thanks for the inspiration you must be in and out of the classroom. Happy Baking!
I thank you for sharing your personal story. I too am a full time teacher and teach at middle school level. The students that I dedicate my teaching too are in a functional skills program. I too have a enormous love for baking and want to share this with each and every child that I work with. To be very honest this is why I have started putting in for every “giveaway” I can find. I am in the same situation with a very make-shift kitchen. I am just lucky enough to have a sink in my classroom. Can you please share with me how I too can contact these generous organiztions and be able to start putting something more functional together for these students. I just sincerely want to thank you for sharing because I have really been trying to brainstorm ideas on how I could provide a better cooking environment. Right now everything I do have, I bring from home.
Thank you again!
This is such a wonderful post and you are a wonderful teacher. What a wonderful idea to use that period to help the students create in such a way that enables them to develop their skills in such a fun and cohesive learning environment! Corporations have been using cooking/baking to foster team-building and it is fabulous that you, as a teacher are enabling your students to do the same. My hat goes off to you, to your students and to the generous organizations that are helping you to run this class.
The peanut butter blossoms you made are lovely and I can only imagine how proud the students were of theirs.