This post may contain affiliate links. Please read our privacy policy.
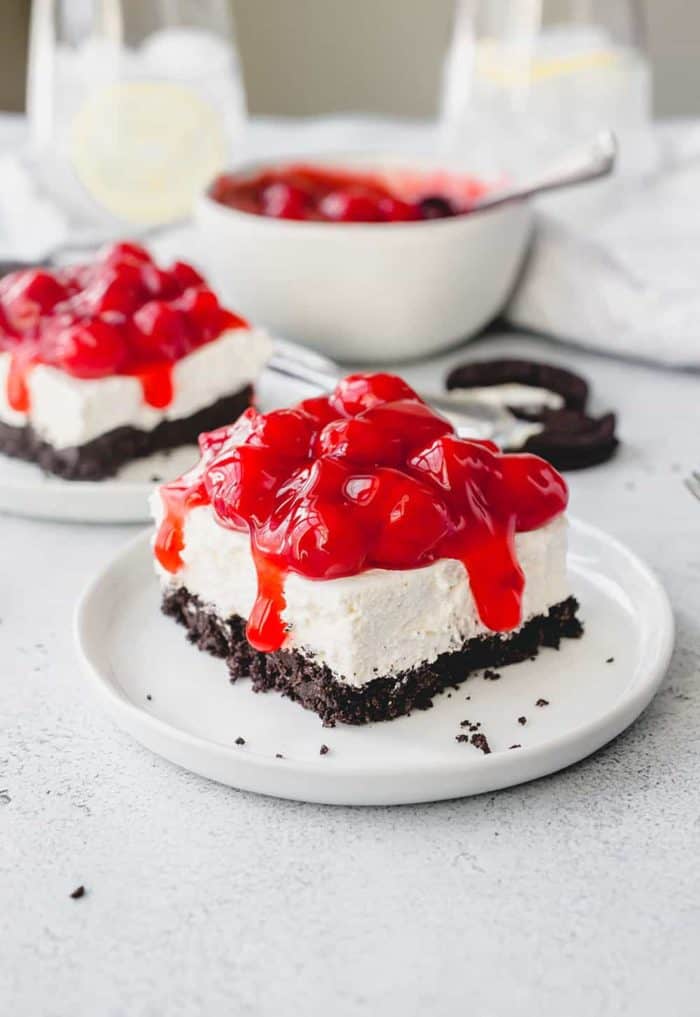
No Bake Oreo Cheesecake combines pretty much all your favorite things in one sweet, no-bake dessert. Easy, a total crowd pleaser, and hello – Oreos!
I know this July 4th isn’t going to exactly look how any of us are used to.
With fewer fireworks, cookouts, and general merriment, we have to find ways to celebrate within our small groups.
And you know if I need to celebrate, I’m reaching for one of my cheesecake recipes.
You guys know that I have a pretty serious thing for cheesecake – especially when it requires minimal prep work and zero baking time.
Add in an Oreo crust and I’ll fall hook, line and sinker every single time.
NO BAKE OREO CHEESECAKE RECIPE
When I first whipped up this No Bake Oreo Cheesecake recipe, it took me months to get around to sharing it here. Not because it wasn’t amazing, but because it kept disappearing before I could photograph it.
Yes, it is that good.
So good that my non-dessert loving husband has been known to eat almost an entire cheesecake by himself in less than one day. Okay, okay, I may have helped just a little bit. Maybe.
Aside from being easy to make, one of my favorite things about No Bake Oreo Cheesecake is that it only uses 6 ingredients:
- Cream cheese,
- Powdered sugar,
- Vanilla,
- Frozen whipped topping,
- Butter,
- and Oreos! (Of course!)
Honestly, I keep most of those ingredients in my fridge or pantry pretty much all of the time. Which is pretty handy any time I feel the need to make some Oreo cheesecake.
HOW TO MAKE NO BAKE OREO CHEESECAKE
I love a classic vanilla cheesecake with graham cracker crust, but in the summer I don’t always want to turn on the oven.
No-bake recipes to the rescue!
This No Bake Oreo Cheesecake comes together in no time flat. It’s fluffy, creamy and will undoubtedly become one of your go-to desserts for summer entertaining.
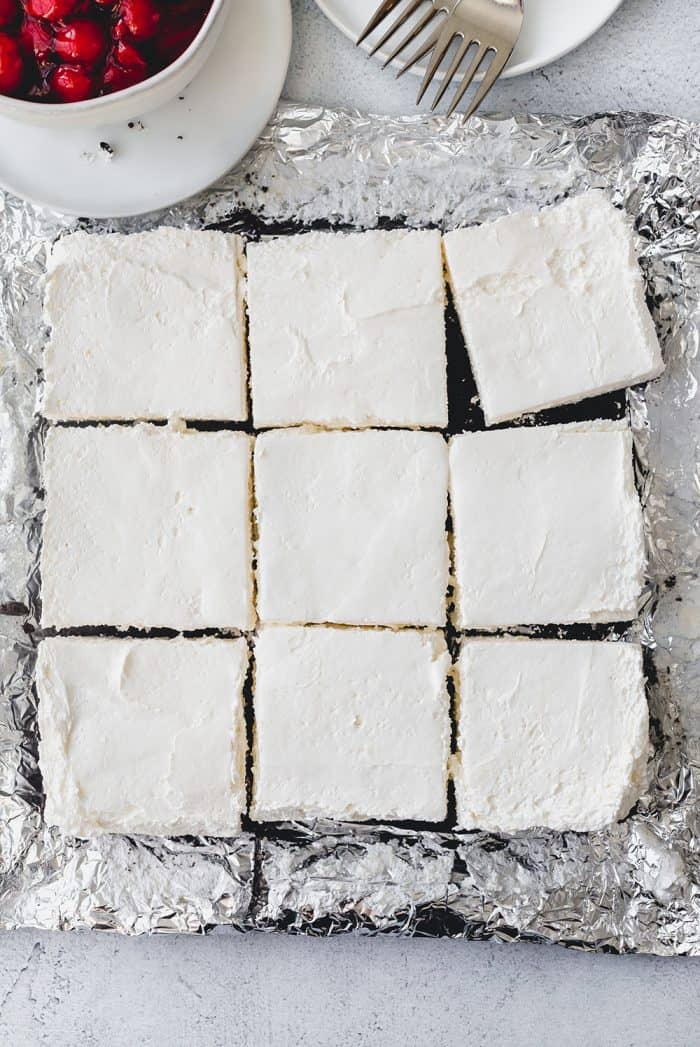
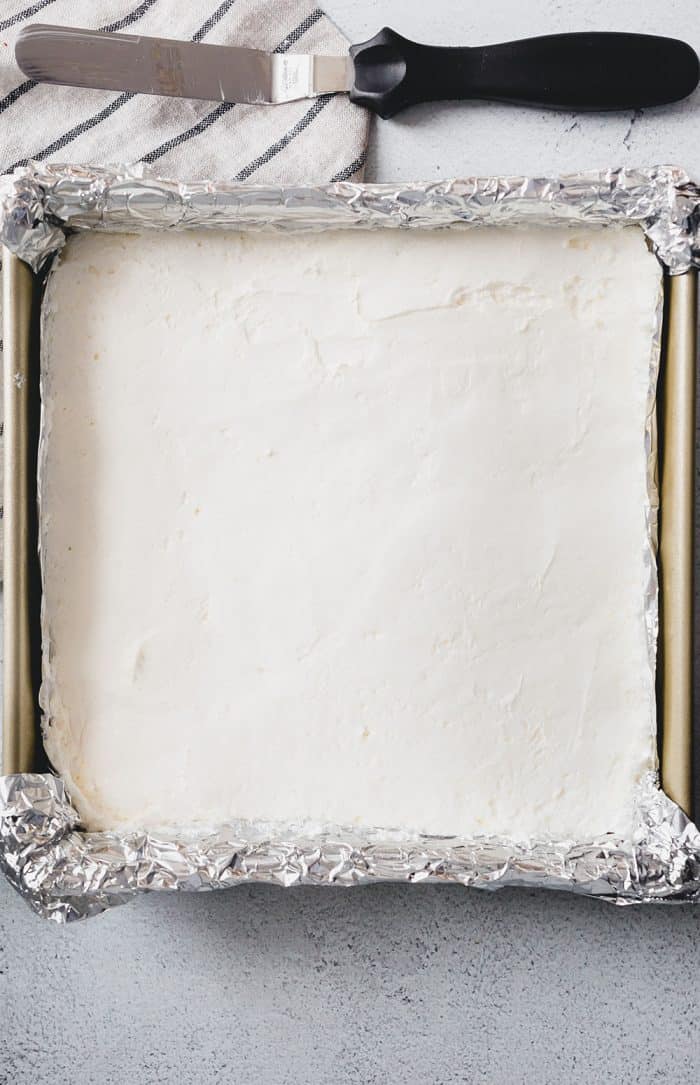
Before you get started, line an 8×8-inch pan with foil. Make sure to leave at least 1 inch of foil hanging over the sides of the pan. This will give you a “handle” to lift the cheesecake from the pan later for easy slicing and serving.
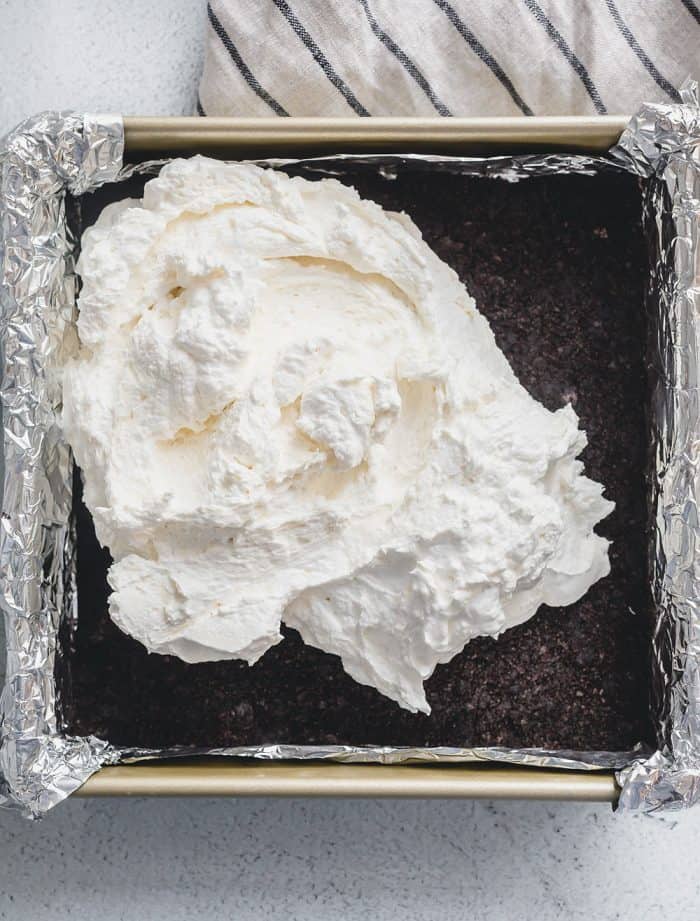
To make the crust, just stir together the crushed Oreos and the melted butter and press this mixture into the pan.
Tip: Use the flat bottom of a measuring cup to press the crust into the pan evenly!
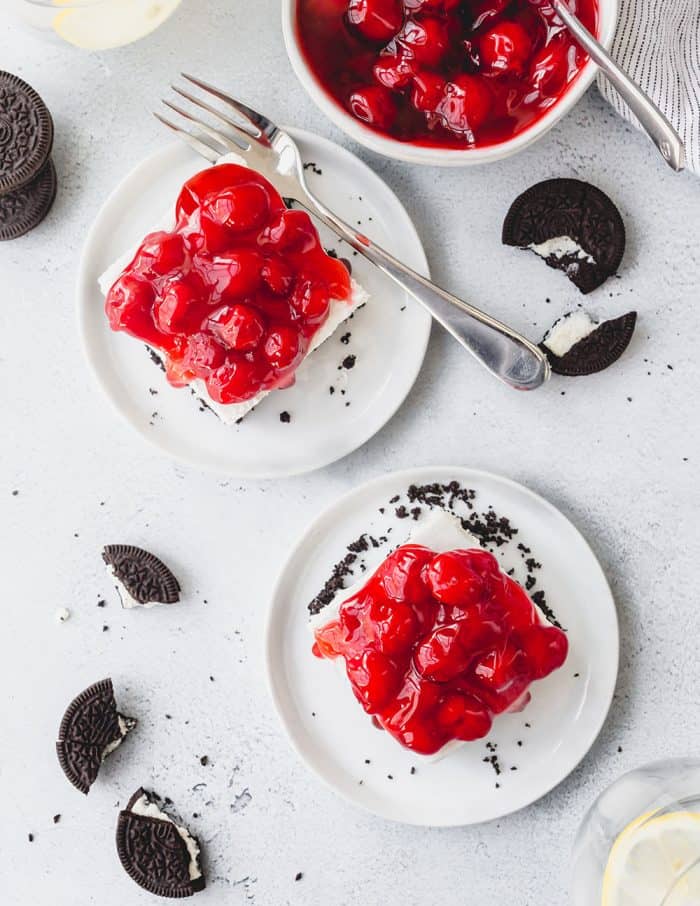
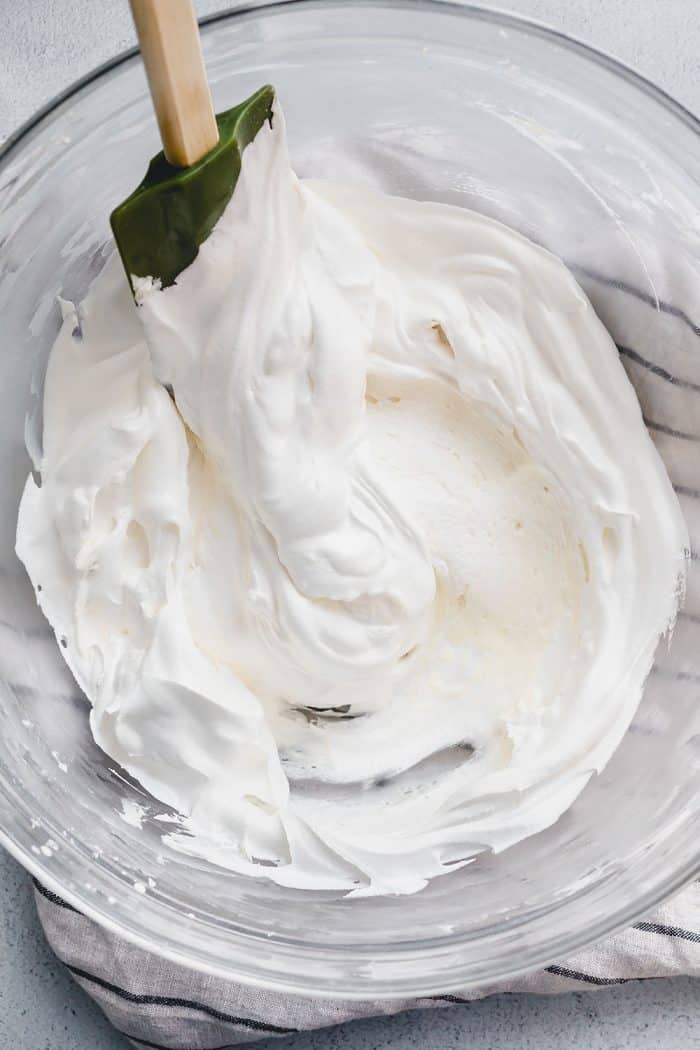
To make the filling, beat the cream cheese with an electric mixer for 2 minutes before gradually adding the powdered sugar and vanilla extract.
Then grab a spatula and fold in the whipped topping. And into the pan it goes!
Cover and refrigerate the cheesecake for at least 3 hours.
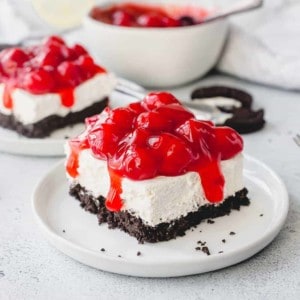
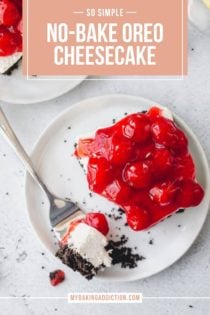
To serve, use those handy foil edges to lift the cheesecake from the pan, slice it, top with cherry pie filling, and enjoy!
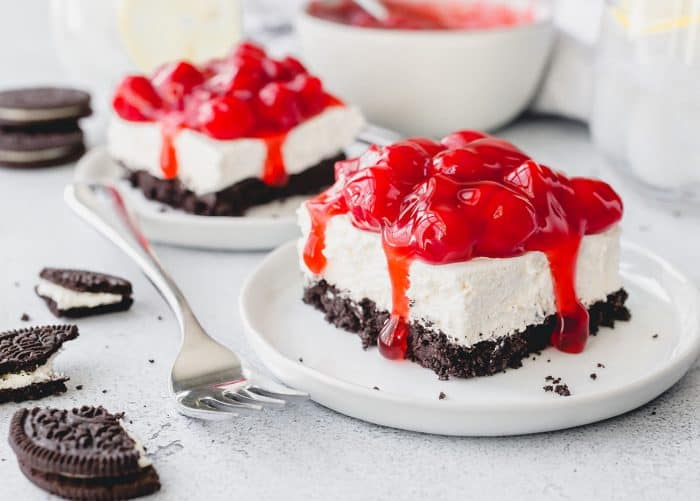
CAN YOU FREEZE NO BAKE OREO CHEESECAKE?
You could totally freeze No Bake Oreo Cheesecake if you want.
Instead of pulling it out of the pan and slicing it after chilling in the fridge, cover it tightly and freeze it for up to 2 months.
I recommend letting the cheesecake thaw in the fridge overnight before serving it, but you could absolutely eat it right from the freezer, too.
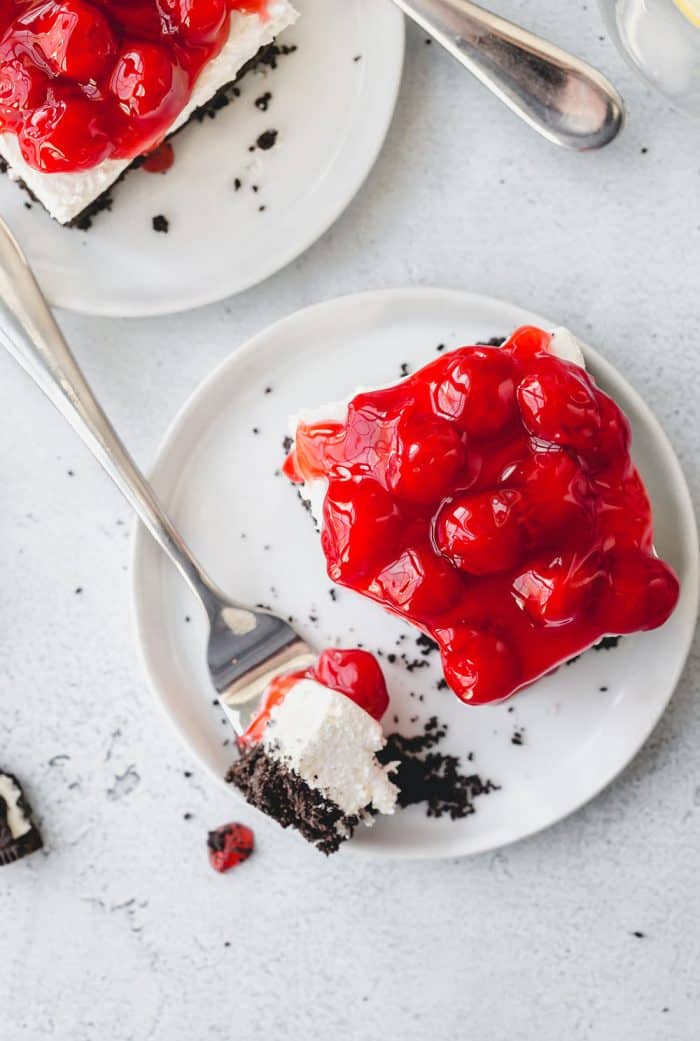
If you want to slice it while it is super cold, here’s a trick:
Dip a large knife in hot water and immediately wipe it dry with a clean towel. The knife will be warm enough to easily slice through the cold cheesecake!
If you love Oreos and cheesecake, you have to try this No Bake Oreo Cheesecake. It might just become your favorite way to celebrate any occasion, from July 4th to a random Tuesday.
No Bake Oreo Cheesecake
Ingredients
For the Oreo Crust:
- 25 regular Oreo cookies crushed into fine crumbs (I used a food processor)
- 3 tablespoons melted butter
For the Cheesecake:
- 8 ounces cream cheese room temperature
- ½ cup confectioners’ sugar sifted
- 1 teaspoon vanilla extract
- 8 ounces frozen whipped topping Cool Whip or TruWhip, thawed according to package directions
For the Topping:
- 21 ounce can of cherry pie filling
Instructions
- Line an 8×8 inch baking pan with foil, leaving about 1 inch of the foil extending over the edges of the pan. The extra foil will create handles that you can use to lift the No Bake Oreo Cheesecake from the pan.
- In a medium bowl, stir together the Oreo cookie crumbs and melted butter. Add crumb mixture into the bottom of prepared pan and press into an even layer.
- In a large bowl with an electric mixer, beat cream cheese for about 2 minutes. Gradually add in confectioners’ sugar and continue beating until smooth. Beat in vanilla until combined. Use a rubber spatula to fold in the whipped topping until completely incorporated.
- Spoon filling onto crust and spread into an even layer. Cover and refrigerate for at least 3 hours.
- When you are ready to serve, remove cheesecake from pan using the foil overhang and cut into squares. Before serving, top with cherry pie filling.
Notes
Nutrition
Nutrition information is automatically calculated, so should only be used as an approximation.



Do you remove the sugar filling in the cookies?
Hi Jane – You can use the whole cookie with the filling. Hope this helps.
-Jamie
Very good, thanks.
Thanks so much for stopping by, Linda! I appreciate you taking the time to comment. Happy Baking!
-Jamie
Can I use choc cookie pre made crust?
Sure can! :)
wow! it certainly looks stunning! I’ll try this one
Thanks so much!
Can you use condensed milk instead of powdered sugar?
I have not tried this substitution for this specific recipe, but I have made other no bake cheesecakes using sweetened condensed milk and it works beautifully. Thanks for stopping by.
Jamie
Looks delicious !
I’m thinking of making this with lemon Oreos and lemon extract instead of Vanilla. Any ideas for toppings?
Sounds wonderful, Christine! I bet crushed lemon Oreos on top would be amazing. Let me know how it turns out!
Hi! Does the confectioner’s sugar have to be sifted? Will it make a noticeable difference if it’s not?
Hi, Jen! I think you’ll be okay without sifting. Let me know if you like it!
I made this recepie. Great!
I’m so glad to hear that, Catia!
love to try your recipe but I do I print recipe only?
my pc is too big to lug around.
thanks
Hi, Louise! There’s an icon right below the picture in the recipe where you can print the recipe. I hope you enjoy it!