This post may contain affiliate links. Please read our privacy policy.
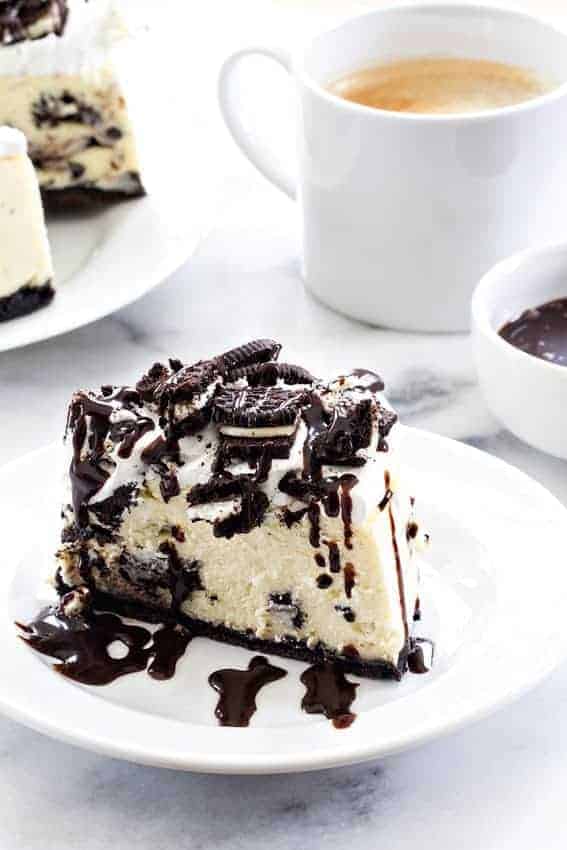
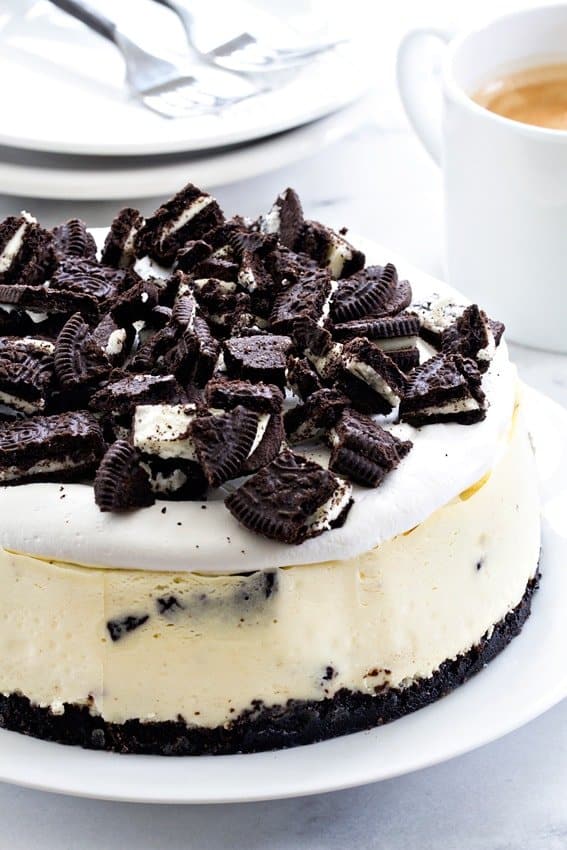
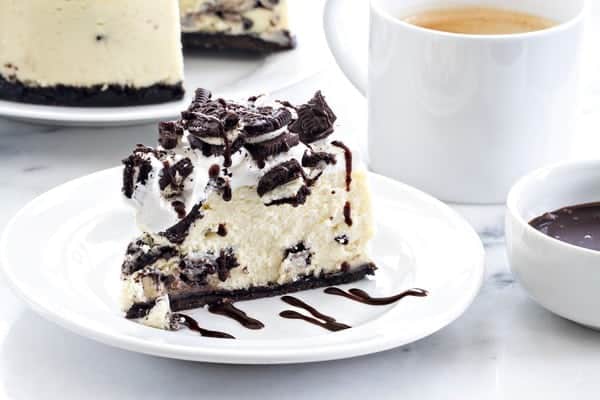
Instant Pot Oreo Cheesecake may be the easiest cheesecake you’ll ever make. It’s the perfect size for a small family celebration too!
I am typically not one to jump on board with trends- especially food related trends.
I like to stick to simple and tasty recipes I can trust, like my No Bake Cookies.
But when I stumbled across a Facebook page full of home cooks raving about the Instant Pot Programmable Pressure Cooker, I was sucked in immediately.
I’ve always read wonderful things about pressure cooking, but I’m kind of a pansy and the thought of cooking anything under pressure conjured up very scary, messy things in my head.
So when my Instant Pot arrived, I turned to my friend and fellow blogger, Barbara, who writes Pressure Cooking Today, for some advice.
Barbara recommended that I start with pressure cooking water. Yes, water. And much to my surprise, the process was easy and most importantly, nothing blew up in my face.
Total win, so I moved on to hard boiled eggs. Baby steps.
And let me tell you, pressure cooked hard boiled eggs are pretty much perfection.
No yucky green ring around the yolk and the shells slipped off like magic. I was instantly Instant Pot obsessed.
Since Eric and I both work from home, you’d probably think that our meal planning game is pretty strong, but that’s most definitely not the case.
We’re often scrambling at 5:00 to come up with something to feed our little family, so the thought of quick, one pot, home-cooked meals sold me.
I love slow cookers, but honestly, with both of us home all day, by dinner time, I’m kind of over whatever dish I’ve been smelling all day. So the Instant Pot seemed perfect for remedying that problem.
Also, the fact that you could supposedly make cheesecake in a pressure cooker definitely had a little something to do with the purchase. I’m thinking this Instant Pot Rice Pudding would be a great one to try next.
INSTANT POT CHEESECAKE RECIPE
As soon as I saw everyone in the Facebook group posting perfect little cheesecakes, I ordered a 7-inch springform pan, and may have even paid for one day shipping with Amazon Prime. I told you guys I was obsessed!
My first test cheesecake was perfectly cooked and had amazing texture. Creamy, but dense and not one single crack.
However, it smelled faintly of the Kahlua Pork that I had made a few days before.
You guys know that I love me some cheesecake, but pork scented cheesecake is something that I just couldn’t get behind.
Turns out the Instant Pot sealing ring holds odors like a magnet. An unfortunate fact I might have realized, had I read the instruction booklet cover to cover.
But after a little steaming with vinegar and lemon wedges, the smell quickly faded and I was whipping up this Instant Pot Oreo Cheesecake without a hint of pork.
If you want to avoid this problem yourself, they do sell sets of Instant Pot rings that are different colors, so that you can have one ring for desserts, one ring for savory food, and one ring for things like hard boiled eggs.
When the springform pan arrived, I got a good chuckle because the pan seemed so tiny in comparison to my 9-inch springform pans, but the size was absolutely perfect for the Instant Pot and our little birthday celebration for Elle.
No leftover Instant Pot Oreo Cheesecake hanging out in the fridge begging me to eat it, just 6 perfect pieces of cheesecake goodness, gone in one night.
PRESSURE COOKER CHEESECAKE
Don’t worry if you don’t have the Instant Pot brand multicooker. You could absolutely make this recipe in any brand of multi-cooker or electric pressure cooker.
And if the idea of pressure cooker cheesecake scares you (remember, I was there once, too), I have included instructions for making Instant Pot Oreo Cheesecake in the oven. Just take a look in the recipe card notes section below.
My friend Shelly of Cookies and Cups also whipped up a delicious Instant Pot Salted Caramel Cheesecake that you won’t want to miss!
You could even make this cheesecake with the new Cinnamon Bun Oreos, or the limited edition Hazelnut Cream ones. I’m pretty sure that’d be amazing! Oh the possibilities, my friends!
Looking for more delicious cheesecake recipes? Be sure to check out my Instant Pot Cheesecake,Sugar Cookie Cheesecake and No Bake Oreo Cheesecake! I also have a Low Carb Cheesecake recipe that is amazing!
Instant Pot Oreo Cheesecake
Ingredients
- 12 whole Oreo cookies crushed into crumbs
- 2 tablespoons salted butter melted
- 16 ounces cream cheese room temperature
- ½ cup granulated sugar
- 2 large eggs room temperature
- 1 tablespoon all-purpose flour
- ¼ cup heavy cream
- 2 teaspoons pure vanilla extract
- 8 whole Oreo cookies coarsely chopped
- 1 cup whipped cream or whipped topping
- 8 whole Oreo cookies coarsely chopped
- chocolate sauce optional
Instructions
- Tightly wrap the bottom of 7-inch springform pan in foil and spray the inside of the pan with non-stick cooking spray.
- In a small bowl, stir together the 12 crushed Oreo cookies and melted butter and press the crumbs into the bottom of the prepared pan.
- Place pan in freezer for 10-15 minutes.
- In the bowl of your stand mixer fitted with the paddle attachment, or in a large bowl with an electric mixer, beat the cream cheese until smooth. Add sugar and mix until combined. Add eggs, one at a time, fully incorporating each before adding the next. Making sure to scrape down the bowl in between each egg. Add in the flour, heavy cream, and vanilla and mix until smooth. Fold in 8 chopped Oreo cookies and pour batter into prepared pan.
- Cover the top of the pan with a piece of foil.
- Pour 1 1/2 cups of water into the Instant Pot and place the trivet in the bottom of the pot.
- Create a "foil sling" by folding a 20-inch long piece of foil in half lengthwise two times. This "sling" will allow you place and remove the springform pan with ease.
- Place the cheesecake pan in the center of the sling and carefully lower the pan into the Instant Pot. Fold down the excess foil from the sling to ensure the pot closes properly.
- Lock the lid into place and make sure the vent is closed "sealing". Press the "Manual" button and cook on high pressure for 35 minutes.
- When the Instant Pot beeps, hit the "Keep Warm/Cancel" button to turn off the pressure cooker. Allow the pressure to release naturally for 10 minutes and then do a quick release to release any pressure remaining in the pot.
- Carefully unfold the foil sling and remove the cheesecake from the pot to a cooling rack using the foil sling "handles". Uncover the cheesecake and allow it to cool to room temperature.
- Once the cheesecake has cooled, refrigerate it for at least 8 hours, or overnight.
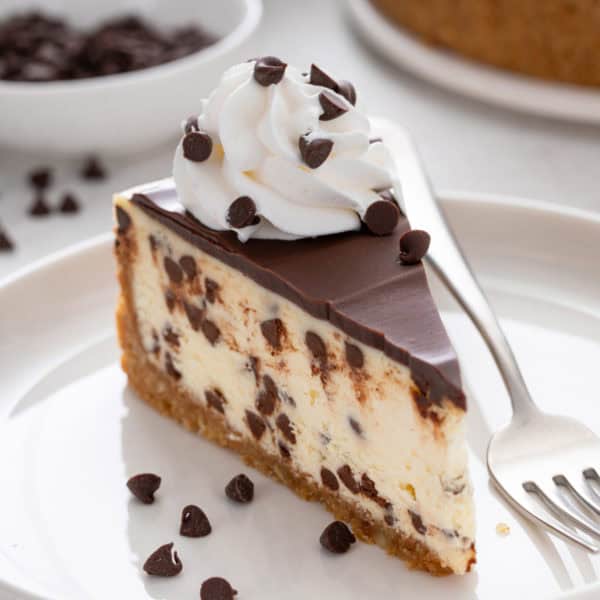
- Before serving, top with whipped cream, chopped Oreo cookies, and a drizzle of chocolate sauce.




Your cake looks delicious! I’ve been dying to try the cheesecake in my instant pot but was wondering if there is an alternative to using aluminum foil. Any suggestions? TIA
Hello! Unfortunately I have not found a good substitute for aluminum foil in this kind of application. If you happen to find something, would love to hear about it. Happy baking!
Jamie
Mine came out so flat. I believe I followed the instructions precisely. I made sure my ingredients were room temp. Do you think I beat it too long?
Um, your link for the 7″ springform pan goes to an 8″ one on Amazon. Is supposed to be 8″ or 7″?
I can’t wait to make this, but I have some questions. How do you know what size springform pan to use or should I just get a 7″ one? I have the IP Ultra and the trivet that came with it is horrible and put anything on it makes it doesn’t seem do-able as it, the trivet stands so high. (Once I let go, it collapse, terrible design) I can’t get it to stand up in the pot. Can you recommend a better one? How from the top of the IP will the springform pan be, the top edge of it? Will it be right at the top of the IP?
Thank you!
I’m new to Intant Pot and just had to look up how to use the trivet because I was confused too. It should sit very close to the bottom of the pot with the little flaps sticking up on the sides. Using it like this, I found I didn’t need to make the foil sling to pull the cheesecake out. This picture might help:
https://www.paintthekitchenred.com/wp-content/uploads/2018/01/Instant-Pot-Pot-in-Pot-Rice-Paint-the-Kitchen-Red-1024×1024.jpg
Hi love the recipe,i was wondering if a regular pressure cooker can be used to make this?
Hello! I haven’t attempted this recipe in a regular pressure cooker, so I am not sure of the result. If you happen to give it a try, I’d love to know how it turned out. Thanks so much for stopping by.
-Jamie
Hello, I’m planning on making this cheesecake but I was wondering instead of using heavy cream, can I use sour cream instead? Thanks.
Hi Stephanie-
I have used sour cream before in cheesecake, just not this particular recipe, but I think it will be fine.
-Jamie
Just got an 8-qt IP, can’t wait to try this. Should I stick with a 7-in pan for this recipe, or should I get a 8-in pan and double the recipe?
Hello! I haven’t attempted this recipe in an 8-inch pan, so I am not sure of the result. If you happen to give it a try, I’d love to know how it turned out. Thanks so much for stopping by.
-Jamie
Wow the cheese. Cakes look yummy. I whant to make this one
Thanks so much for stopping by, Maureen! I appreciate you taking the time to comment. Happy Baking!
-Jamie
Recipe was delicious! I did have to cook it for another 10 minutes though, as the recipe said 35 minutes. I was hoping the crust would come out better..it was kind of mushy instead of “baked” like in your other comments. It alsostuck to the pan instead. Any suggestions?
So happy to hear you enjoyed the cheesecake, Kate! Thanks so much for stopping by and leaving your feedback! Next time, you might try lining the bottom of your pan with some parchment paper to help prevent sticking. Happy baking!
-Jamie
This was awesome!
Do you know if I could put a piece of parchment paper on the bottom part of the springform pan before attaching the ring?
Hello! As long as the parchment doesn’t interfere with the seal of the springform ring, that should work just fine! Happy baking.
Jamie