This post may contain affiliate links. Please read our privacy policy.
These Simple Baked Apples use just a handful of ingredients to make a delicious fall dessert. Serve with caramel sauce for a more elegant twist on an apple crisp!
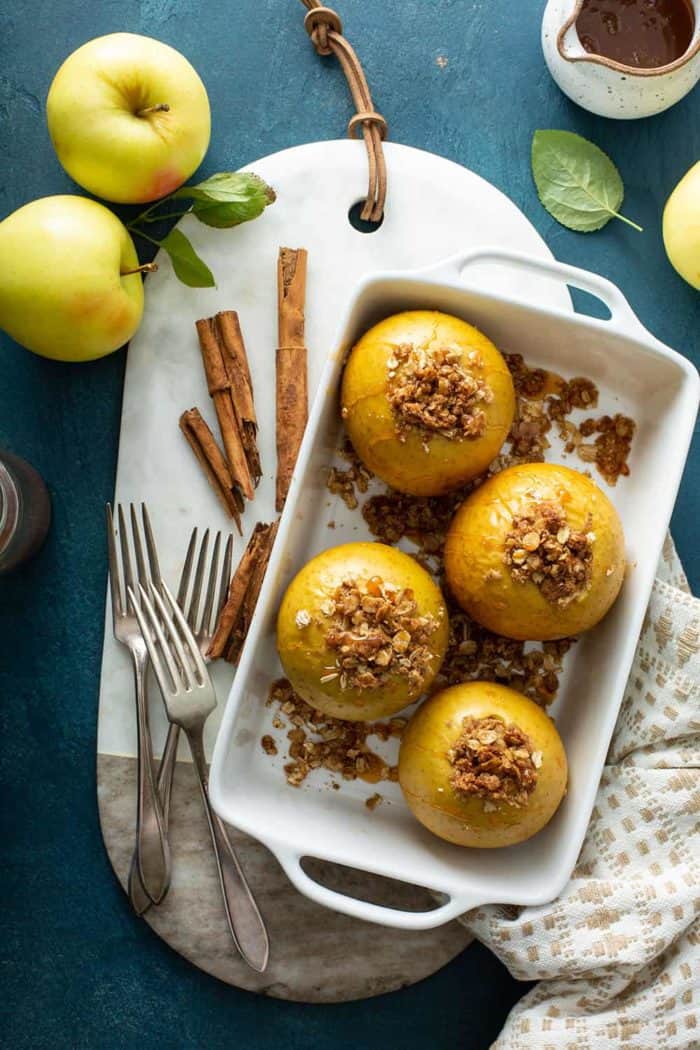
I don’t know about you, but I’ve been staring down a very large bag of apples we picked up at the orchard.
It was definitely a case of being in the moment and buying all the festive things at the little orchard store. From apples and handmade caramels to gallons of cider and cute pumpkins, we went all in.
These simple baked apples were the perfect way to use up some of those apples for a quick and delicious mid-week treat!
EASY BAKED APPLES
I don’t think that it’s any secret that most of us just don’t have energy to spare right now. This year has kind of taken it all out of us.
Easy desserts are where it’s at for me right now. Recipes like Apple Dump Cake and Banana Cream Pie Eclair Cake are my jam these days.
But with all of those fresh apples on my hands, a girl can only make so much Crockpot Applesauce or Slow Cooker Apple Butter.
So I decided that Simple Baked Apples were in order. They’re still really easy – they took me less than 10 minutes to prepare – but they seem much fancier than they actually are.
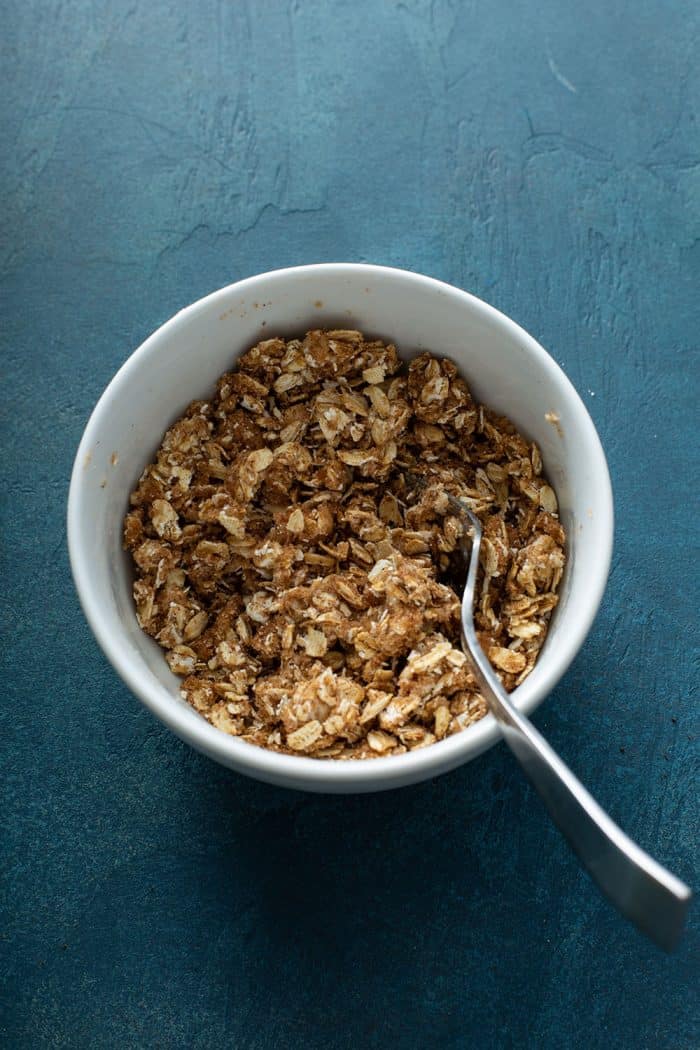
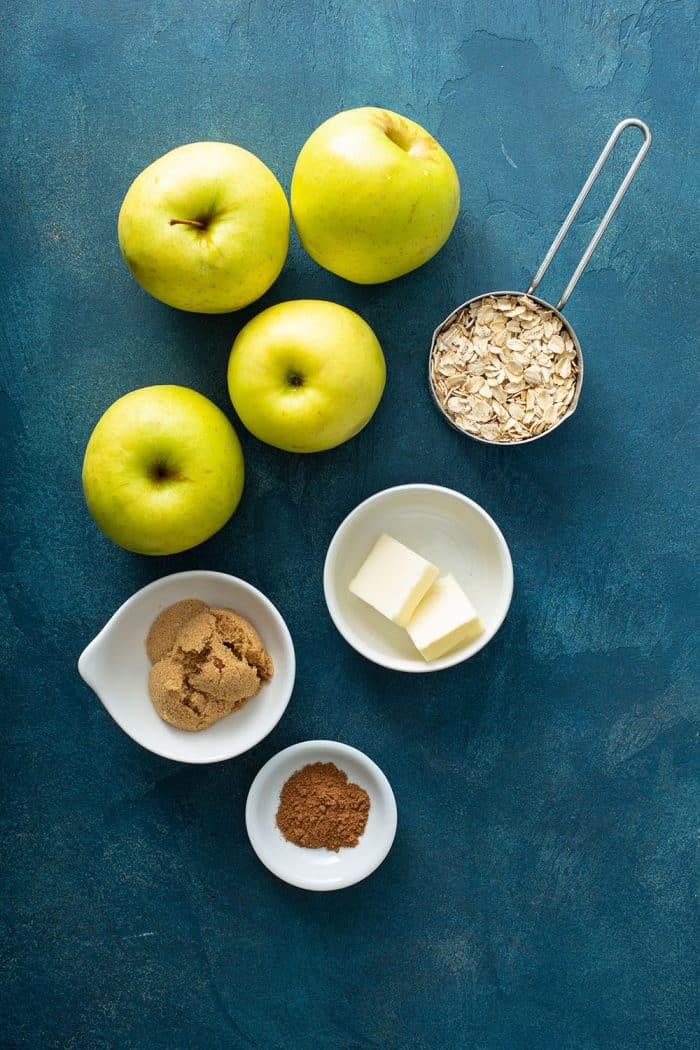
Stuffed with a simple mixture of butter, oats and brown sugar, they are sort of like individual apple crisps.
Of course, Old-Fashioned Apple Crisp isn’t exactly “elegant” when served. But these Simple Baked Apples are almost elegant enough to serve at Thanksgiving!
WHAT TYPES OF APPLES ARE BEST FOR THIS RECIPE?
If you haven’t baked much with apples, you might not realize that not every apple is the same for cooking and baking.
Some apples break down a lot more after cooking. You might not mind as much in a crisp or a pie, but you don’t want your baked apples to turn to mush!
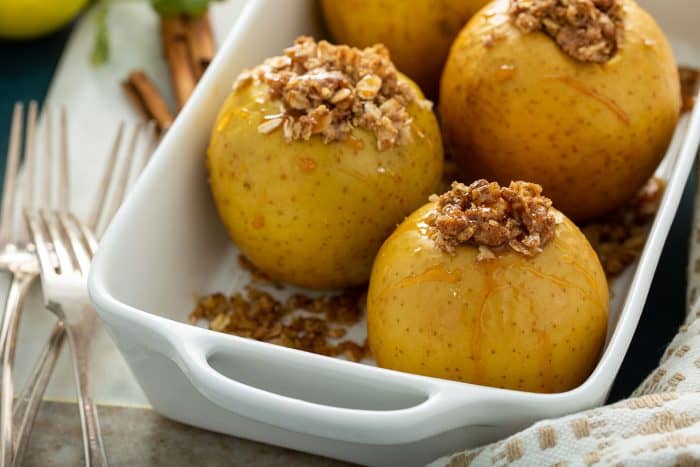
I recommend using a good baking apple. I like using Golden Delicious apples because they’re so easy to find and have a nice sweet/tart flavor. But some other varieties you could use include:
- Granny Smith
- Jonagold or Jonathan
- Honeycrisp
- Pink Lady
- Braeburn
HOW TO MAKE BAKED APPLES
These Simple Baked Apples are so easy, I promise they’ll only take you a few minutes to pull together. The rest of the time is hands-off while they bake!
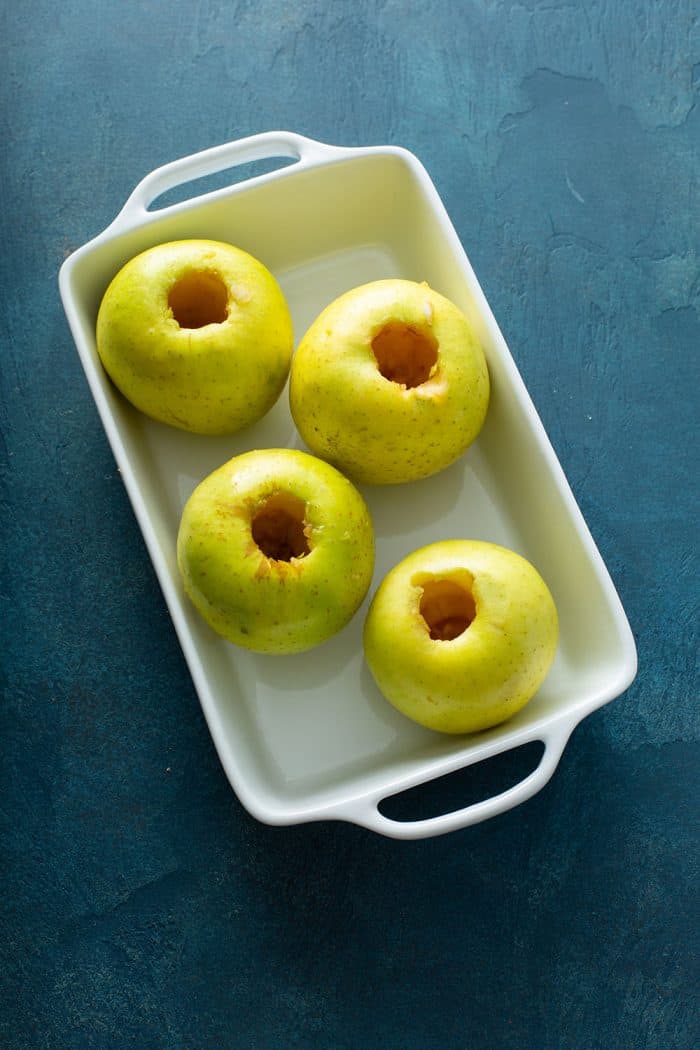
The hardest part of making these apples is hollowing them out. If you have an apple corer it will be much easier, but make sure not to go all the way through or else the filling will fall out the bottom!
I like to use a paring knife to cut out around the stem of the apple. Then I use a spoon (a grapefruit spoon is actually great for this) to dig out the center.
You want to get rid of the core and the seeds and make room for the filling, but leave the bottom of the apple intact so they don’t fall apart while baking.
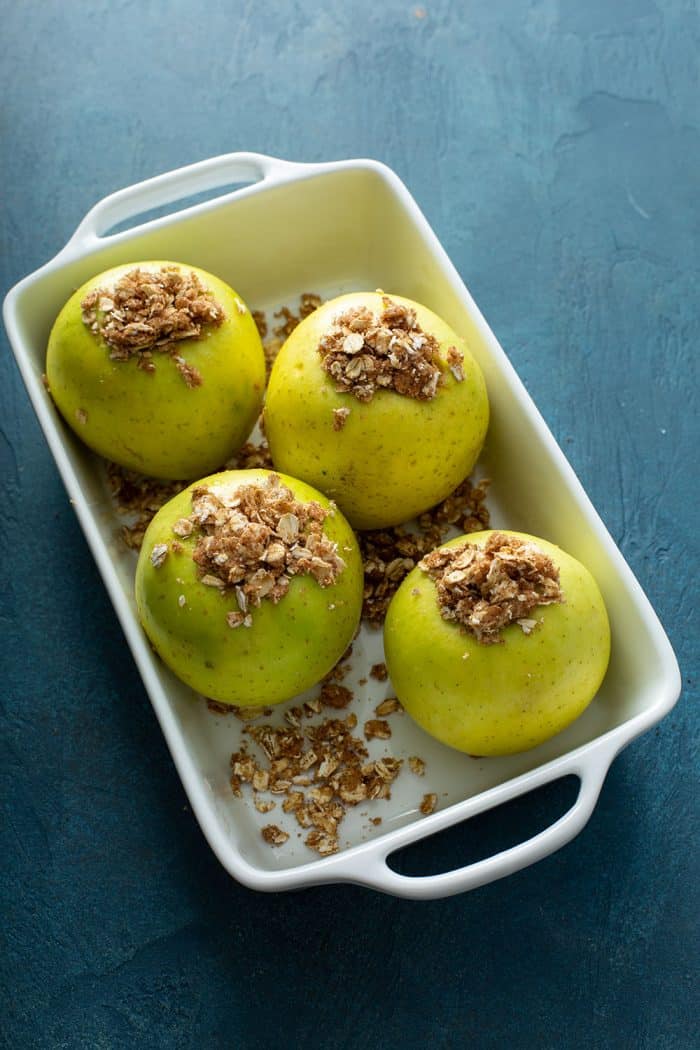
Set the apples in a baking dish and mix together the filling. Stuff the filling in the apples but be gentle; if you pack it in too tight, the apples will burst while baking!
(Ask me how I know.)
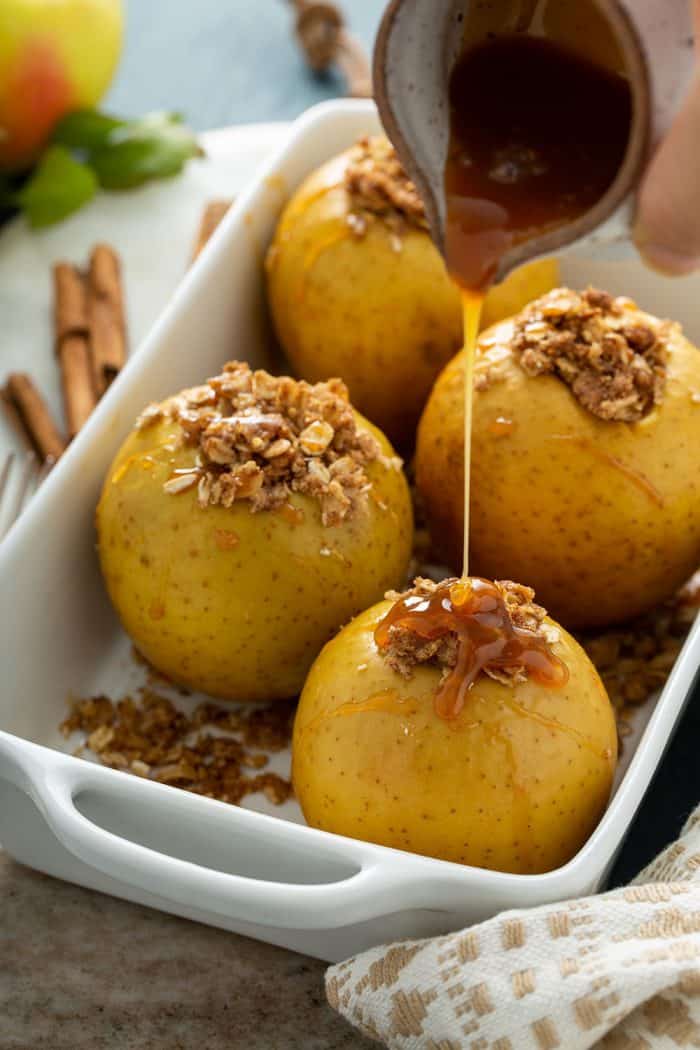
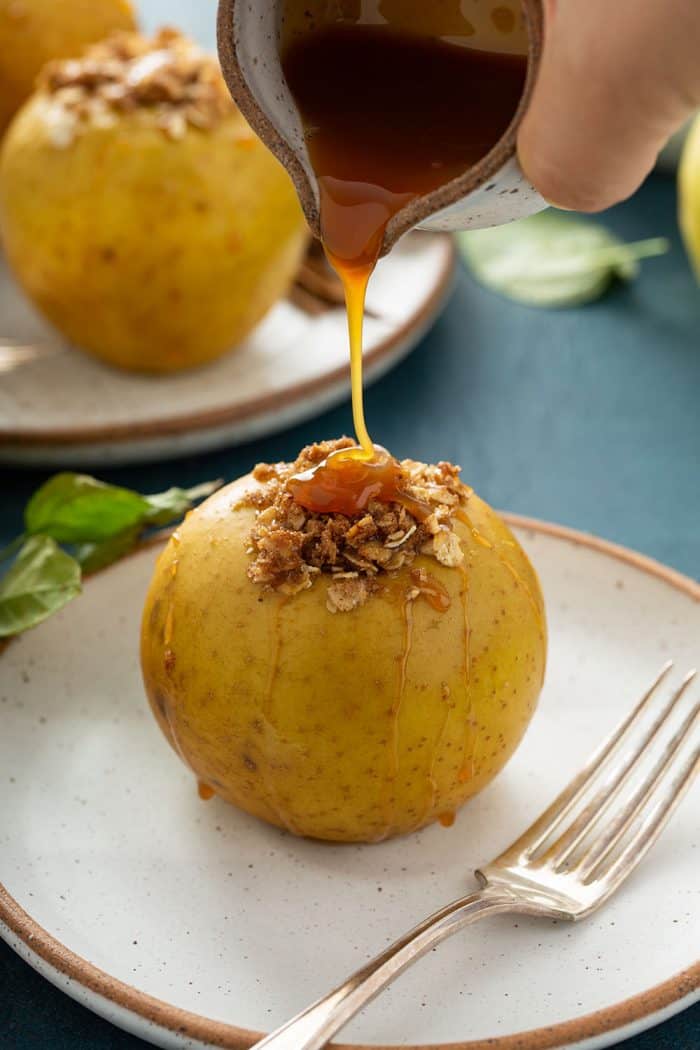
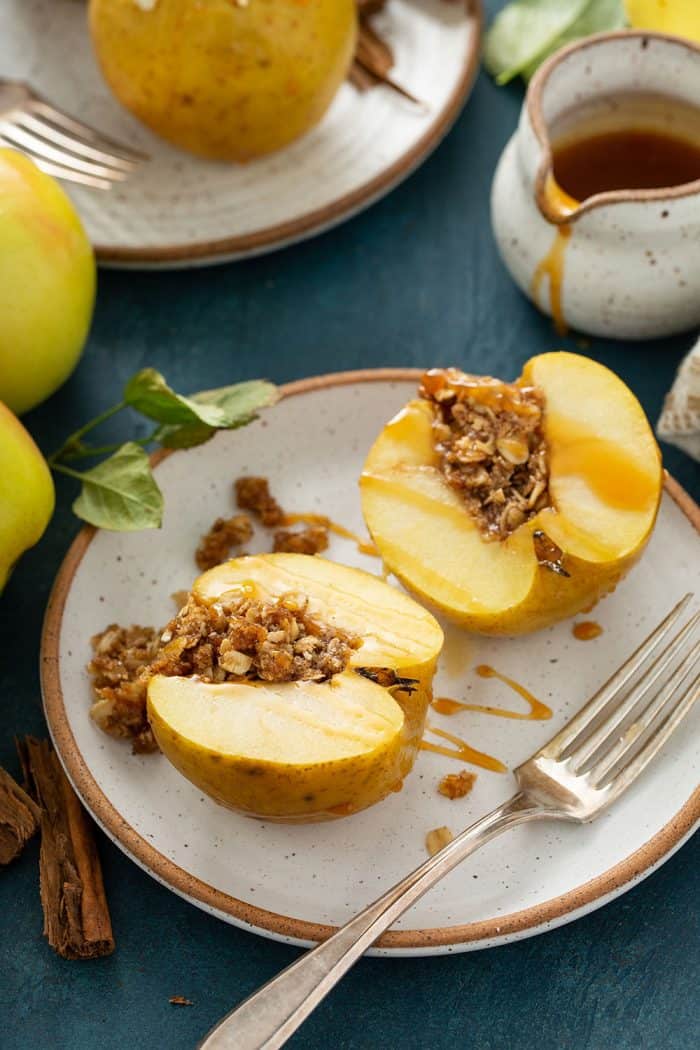
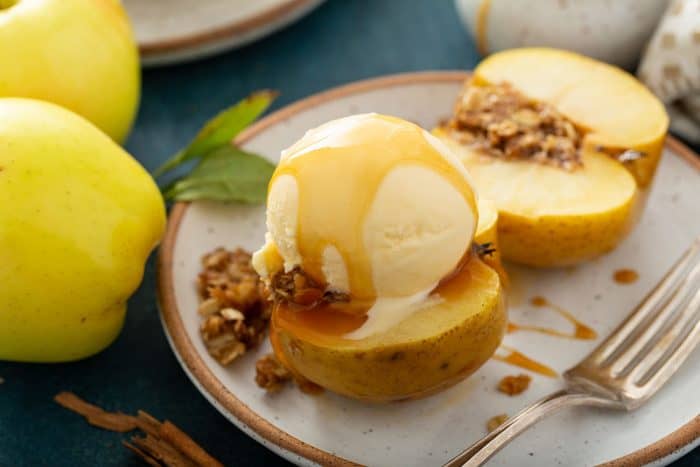
Serve these Simple Baked Apples with a drizzle of Homemade Salted Caramel Sauce and bask in the glory that is fall. Maybe even top them with a scoop of vanilla ice cream if you’re feelin’ extra.
CAN BAKED APPLES BE REHEATED?
If you have any leftover Simple Baked Apples, keep them in an airtight container in the refrigerator for up to 2 days.
Reheat them in the microwave for anywhere from 30 seconds to 1 minute, depending on your microwave.
You’re probably wondering if you can freeze the baked apples. I wouldn’t really recommend it. The freezing and thawing process is likely to make them mushier than we want them to be.
But they’re so quick and easy to make, you really won’t mind making them a few times before the end of apple season!
Simple Baked Apples
Ingredients
- 4 medium apples cored and slightly hollowed down
Filling:
- ½ cup rolled oats
- 3 tablespoons brown sugar
- 1 teaspoon of pumpkin spice
- Pinch of salt
- 2 tablespoons unsalted butter softened
- Caramel sauce for serving
Instructions
- Preheat oven to 350°F.
- Core and slightly hollow out the apples beyond the cored center. (Don’t go too far or the apple will lose its shape when baked). Place the apples in a baking dish.
- Mix together the oats, sugar, pumpkin pie spice and salt.
- Add the softened butter to the mixture, mixing gently with your fingers until thoroughly incorporated.
- Lightly add the filling to the apples. (Do not pack inside or the mixture will expand and the apple will burst!)
- Bake for 30 minutes.
- Serve warm, drizzled with caramel sauce.
Notes
Nutrition
Nutrition information is automatically calculated, so should only be used as an approximation.



This would be perfect for two, since it is just my husband and myself. I love baking apple pies, but this looks so much easier. Can’t wait to try it!
Oh my my my …these totally remind me of what my Grandma used to make me in the cold winters of Pittsburgh!! yum
Wow- what a great recipe! I need try this one ASAP!
Mmmm apple crisp is my fav. I’m so excited to try this one!
Oh My Goodness!!!!! I am so glad you posted this today, as I was just about to make something with my granny smith apples that I have so many of, and was not sure on the right recipe to use them for…., I must get down stairs and make these now! Thank you so much for always sharing some of the best and most unique recipes everrr!!!!
Michelle Torres
These are beautiful! I actually like the look of the wrinkly-ness. I bet they tasted wonderful!
Delicious! I am definitely making this soon… I even have a bit of caramel sauce leftover in my fridge for that extra touch of decadence :).
Gorgeous and delicious!!
Oh dear, that looks just so over the top beautiful and delicious! I would have never thought of filling an apple…mmm the caramel…I need to make this! and eat it with ice cream!
-Amalia
http://buttersweetmelody.wordpress.com
We want to go apple picking! And then make these…I mean, how could we not!? That drizzling caramel photo is insane…we want!