This post may contain affiliate links. Please read our privacy policy.
If you love going out for brunch for the perfectly poached eggs, you’re in luck! Learn how to poach eggs and enjoy a restaurant-quality brunch right at home – it’s easier than you think.

Long-time readers will know that I am a big fan of keeping a bunch of baking and cooking basics at your fingertips.
I can’t tell you how often I need to whip up a buttermilk substitute or know how to brown butter or how to roast garlic.
You could probably go your whole life without knowing how to poach eggs, but it’s a great trick to know if you want to take your brunch game to the next level. Or if you really love a runny egg yolk!
Luckily, poaching eggs is a lot easier than you probably think.
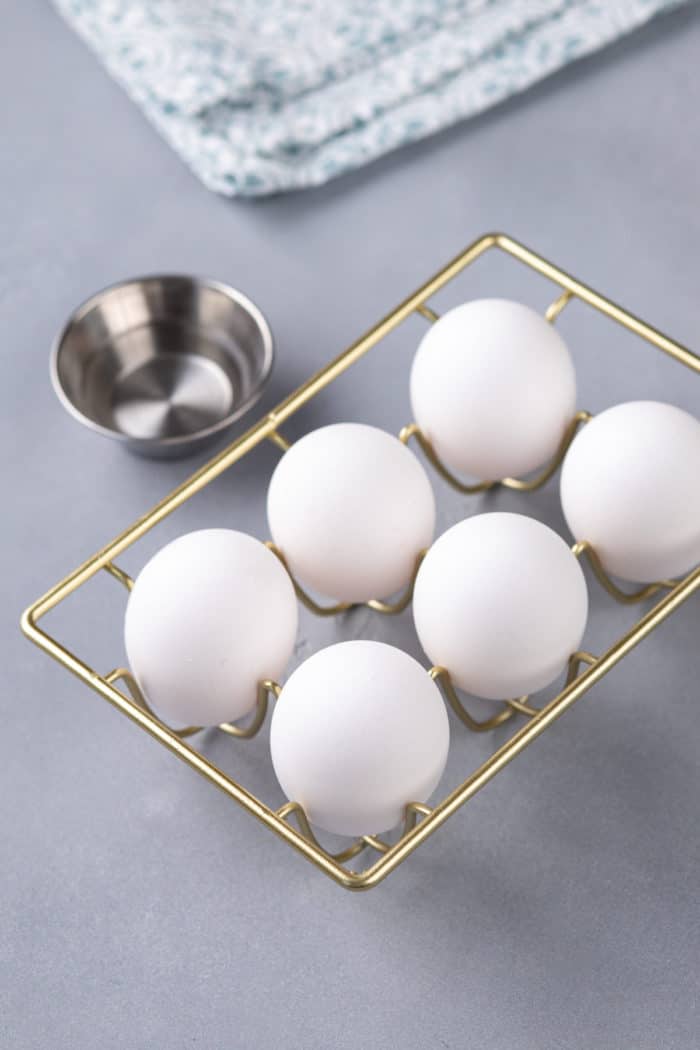
WHAT IS A POACHED EGG?
Poached eggs are eggs that are cooked outside of the shell in a bath of barely simmering water. The result is an egg where the white is solid and wrapped around a still-runny yolk.
Both the runny yolk and cooking outside of the shell are key to a poached egg – very different from a hard-boiled egg or even a soft-boiled egg!
(Psst! Learn how to hard boil eggs, too.)
Poached eggs are most famous for being a part of eggs benedict, but they are delicious in so many other ways. They are also infamous for being hard to cook.
But don’t freak out: Once you know a few key tips, you’ll find that poached eggs are actually not hard to make at all. And they’re an easy way to impress any brunch guest!
HOW TO POACH EGGS
Ok, so let’s talk about how to do this. There are endless shortcuts and gadgets out there claiming to make poaching eggs easier. But in my opinion, the traditional method is still the best way to go.
Poached eggs in the microwave
One of the many poached egg “hacks” is using the microwave. There are even microwave egg poaching gadgets you can get for this.
I’ll talk you through how to poach eggs in the microwave, but keep three things in mind:
- They won’t look exactly like a restaurant poached egg,
- Sometimes the white can still get a little rubbery, and
- If you’re not careful, the yolk can explode.
If you want to use the microwave method, add about ½ cup of water to a microwave-safe mug. Gently crack an egg into the cup, making sure it’s covered with the water.
Use a toothpick to prick the yolk. You can skip this step, but then it’s more likely that your yolk could explode during cooking.
Cover the mug with a plate or saucer and microwave on high for 30 seconds. Check the egg and continue cooking in 10-second increments until the egg has reached your desired doneness.
When done, remove the egg with a slotted spoon. Serve as desired. (Don’t forget to season with salt and pepper!
Make sure you only poach one egg at a time with this method.
How to poach eggs on the stove
So I’ve made it pretty clear: the microwave is fine, but learning how to poach eggs on the stove is the way to go. I just think it gives the best results!
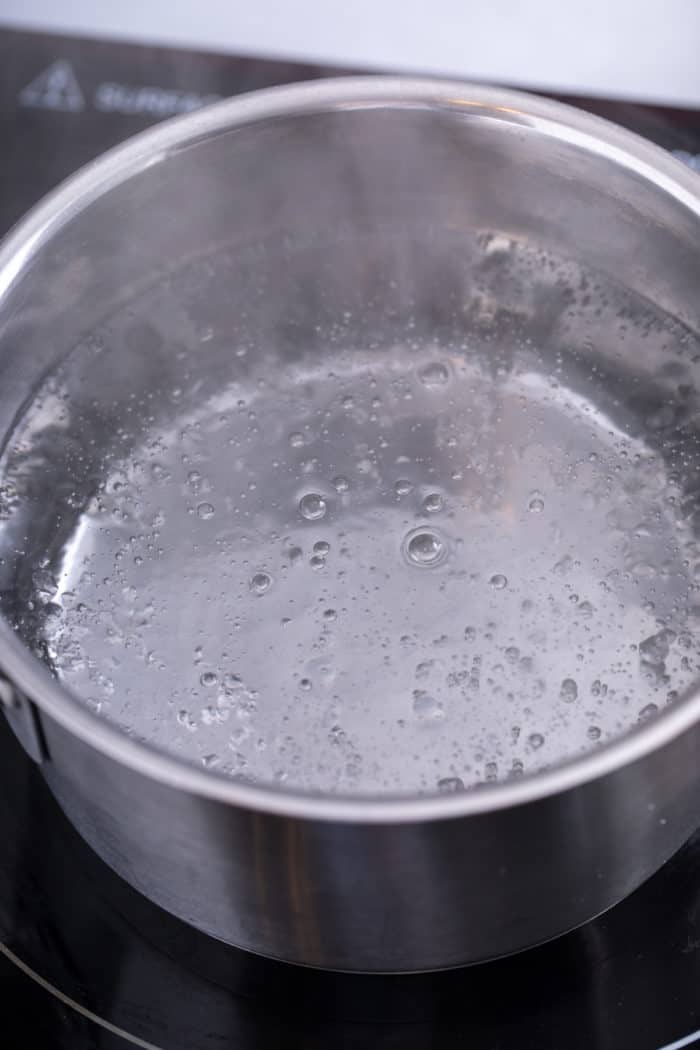
To poach eggs on the stove, bring a pot of water to a simmer. You want to have about 2 inches of water – you can use a sauce pot or a high-sided skillet.
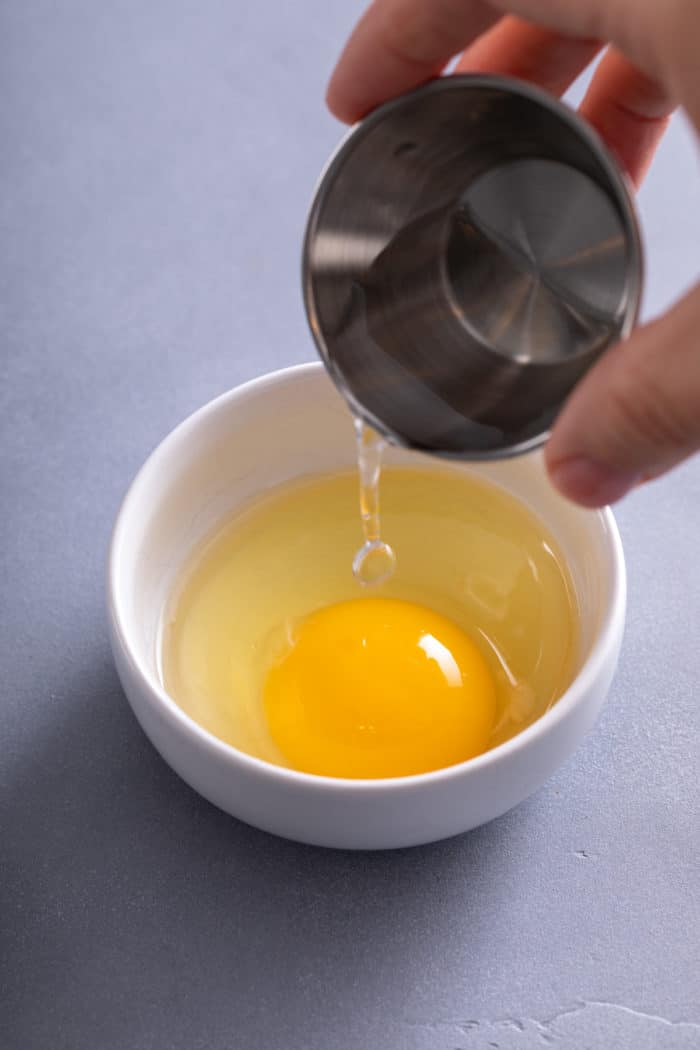
While the water comes to a simmer, crack an egg into a ramekin and add a tiny splash of vinegar to the egg. This will help the egg to hold its shape better.
(You’ll find that some people add the vinegar to the water, but my chef friend taught me to add it directly to the egg and it works great.)
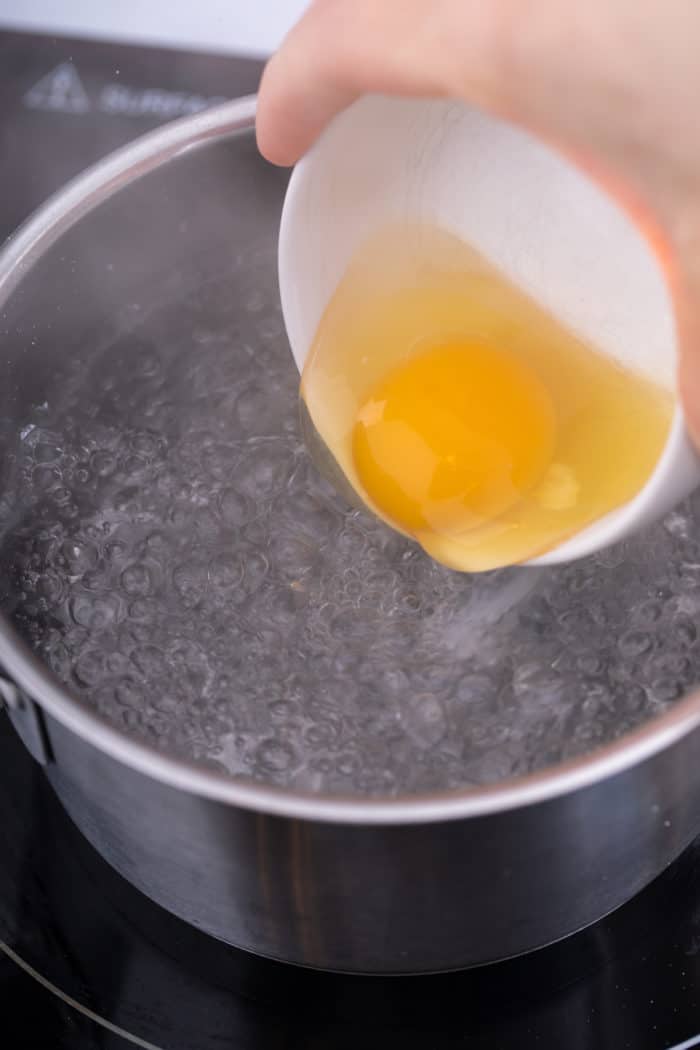
Once the water begins to simmer, grab a wooden spoon and stir the water to create a vortex or “whirlpool” in the center. Gently lower the egg into the water in the center of the vortex. The swirl of the water will help wrap the egg white around the yolk.
Cook at a gentle simmer for 3-4 minutes, until the white is set but the yolk is still runny. 3 ½ minutes is my preferred amount of time.
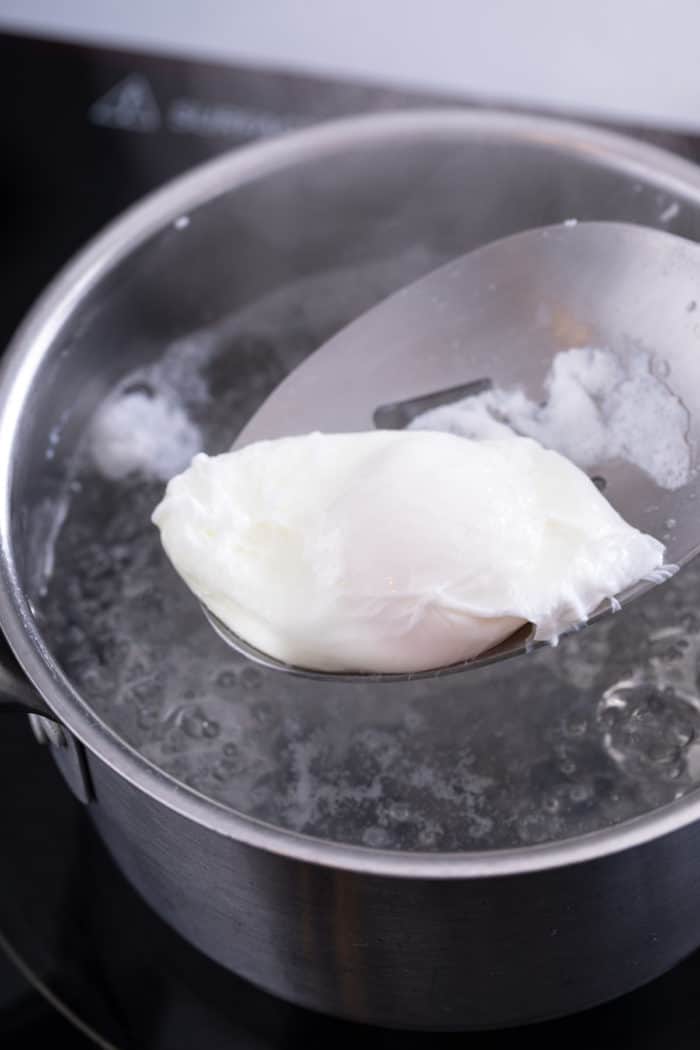
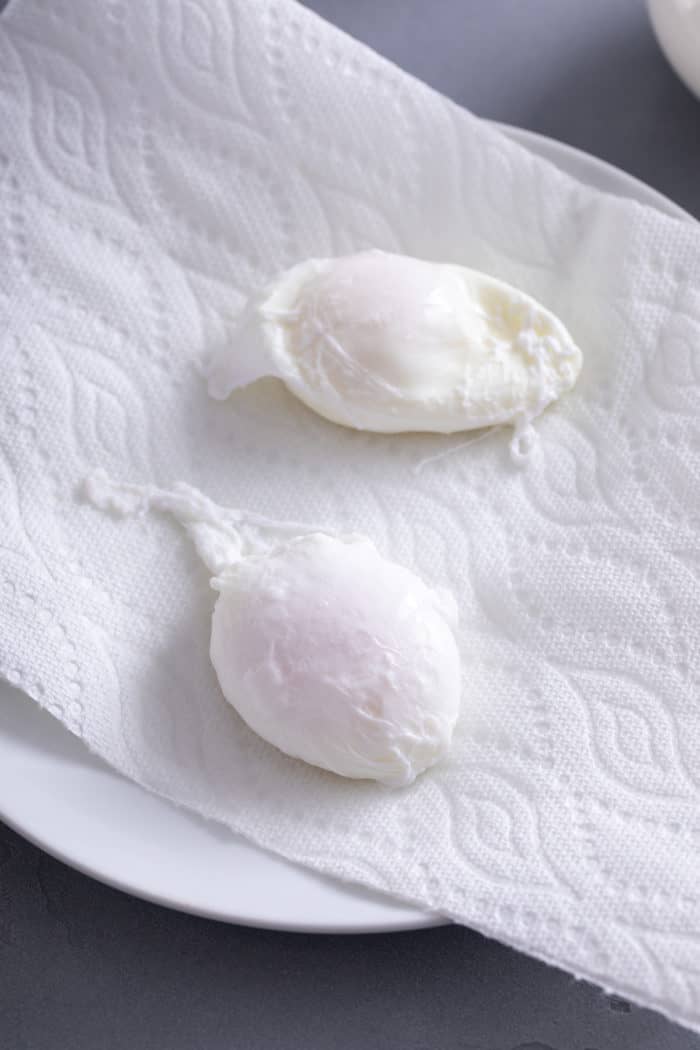
Use a slotted spoon to remove the eggs from the water. You can place the egg on a layer of paper towels to remove any excess water before serving.
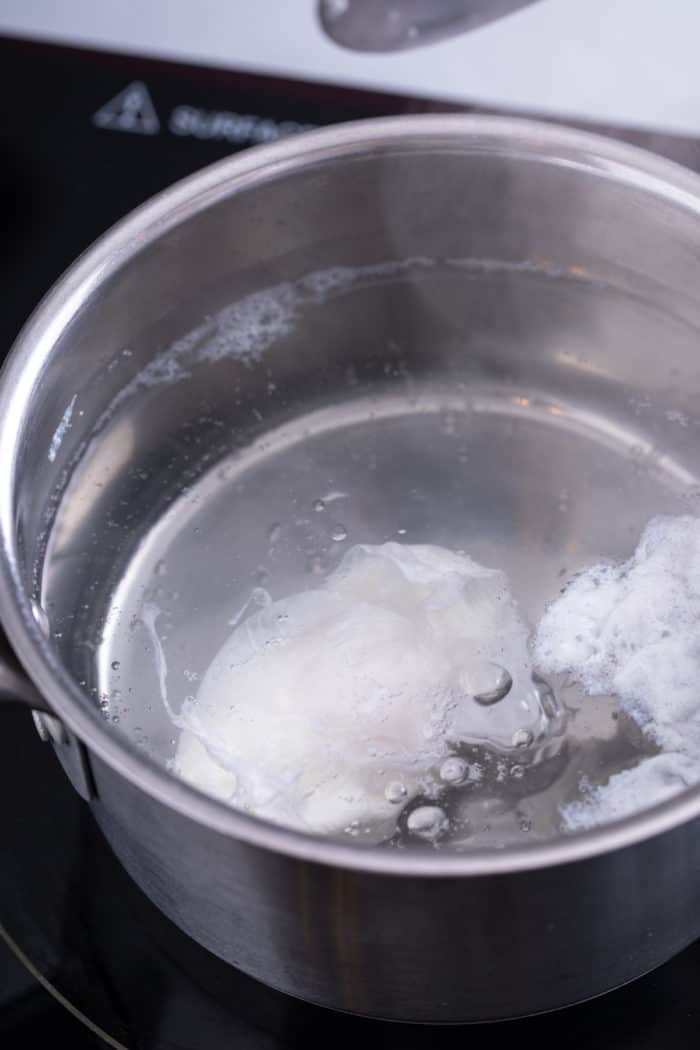
Continue poaching your eggs in the simmering water.
With this method, you can poach 2, 3 or even 4 eggs at once depending on the size of your pot – just keep the water swirling and add the eggs one after the other. But I recommend practicing with 1 egg first and then build up your confidence to do multiple eggs at once!
PREPARE AHEAD OF TIME
What if you are hosting a brunch and don’t want to spend all of your time over the stove poaching a dozen eggs?
You can poach the eggs ahead of time and quickly reheat them before serving!
Poach the eggs as instructed, but when you remove them from the pot, drop them into an ice bath.
Refrigerate the eggs until you’re ready to serve them, up to overnight.
When you’re ready to serve, add the eggs into simmering water for 1-2 minutes until heated through.
Tip: Add multiple poached eggs to a metal steamer basket and lower the basket into the simmering water, then lift up the basket when done to reheat several eggs at once!
SERVING SUGGESTIONS
Like I said above, eggs benedict is probably one of the most famous ways to serve poached eggs, but it’s not the only way!
Try serving your poached eggs on top of avocado toast or over steamed asparagus. Add on top of a piece of buttered sourdough toast.
Serve them alongside a bed of crispy potatoes or creamy grits. Basically anywhere you would enjoy a runny egg, you can enjoy a poached egg!

How to Poach Eggs

Equipment
- Pot filled with 2 inches of water
- Ramekin
- Slotted spoon
Ingredients
- 1 large egg
- Splash of white or apple cider vinegar
Video
Instructions
- Bring a pot filled with about 2 inches of water to a simmer.
- Crack an egg into a ramekin. Add a splash of white vinegar or apple cider vinegar.
- Once the water begins to simmer, use a wooden spoon to stir the water, creating a bit of a “whirlpool” in the center of the water. Gently lower the egg into the water; the swirling water will help to nest the egg white around the yolk.
- Simmer for 3-4 minutes, until the white is set and the yolk is still runny.
- Remove from the water with a slotted spoon. Place on a layer of paper towels to remove the excess water; serve immediately.
- If not serving immediately, place the eggs in an ice bath immediately upon removing from the pot. Refrigerate for up to overnight; reheat briefly in simmering water (about 1-2 minutes) before serving.


