This post may contain affiliate links. Please read our privacy policy.
Freezing cookie dough is an easy way to be just minutes from hot, gooey, fresh-baked cookies at all times. Learn how to freeze cookie dough in this step-by-step guide!
I’m pretty sure at this point that we’ve all bought (and secretly loved) the ready-made, pre-packaged cookie dough that comes in pre-portioned sheets.
If you’re like me, you love that you can grab just one or two (or three!) portions of cookie dough, bake them up, and have a sweet treat in minutes without temptation of several dozen cookies to come after them.
Well, I’m here to tell you that you simply do not have to buy pre-portioned cookie dough. You know why? Freezing cookie dough is so easy! You can do it yourself, with pretty much any drop cookie recipe that you love.
And the best part? You know exactly what went into it! No additives, preservatives, or funky unpronounceable ingredients.
You can also add fun things like candy (think Rolos, mini Snickers, etc), or make the dough balls as big or as small as you want.
Are you ready to learn how to freeze cookie dough?
TOOLS FOR FREEZING COOKIE DOUGH
You’ll need just a few tools to freeze cookie dough. But the good news is that it is almost all exactly what you’d need to bake cookies anyway!
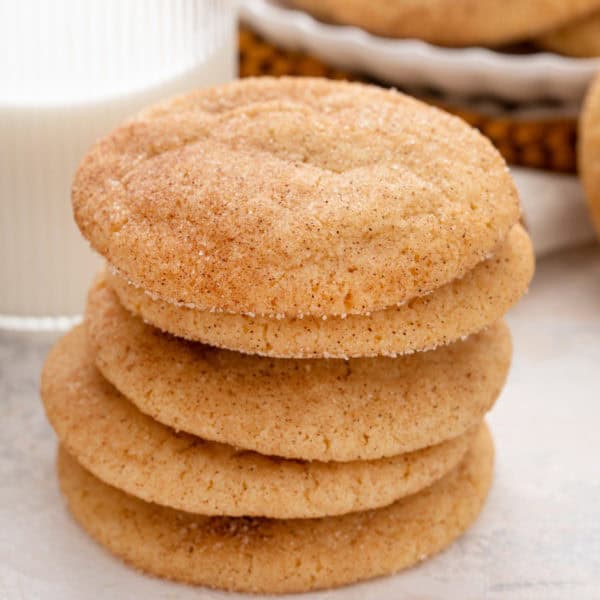
Of course you’ll need a batch of your favorite cookie dough. I like to use my favorite chocolate chip cookie dough, but you can use any drop cookie recipe. Give Granola Cookies, Easy Snickerdoodle Cookies, or Oreo Pudding Cookies a try!
I also think Oatmeal Almond Chocolate Chunk Cookies or Matcha Sugar Cookies would be great to try.
You’ll also want to have a couple of cookie sheets or jelly roll pans lined with parchment paper or silicone baking mats ready, as well as some zip-top bags.
I also like to use a cookie scoop for uniform cookie balls, though you could use a regular spoon as well.
HOW TO FREEZE COOKIE DOUGH
When your cookie dough is made, line one or two sheet pans with the parchment paper or silicone baking mats.
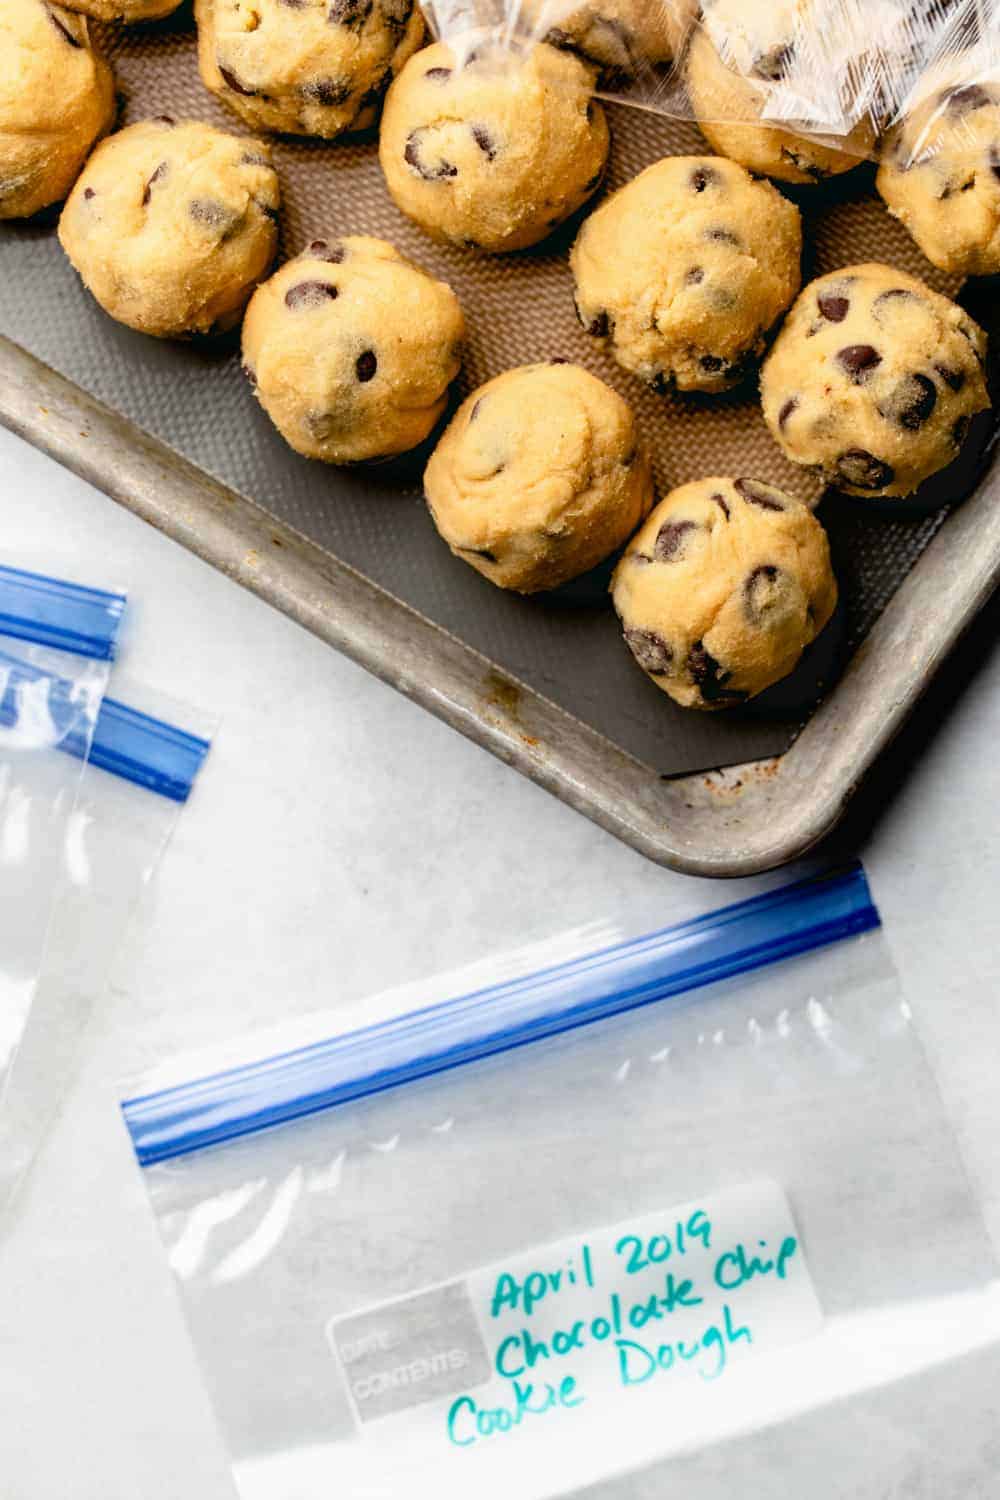
Use the cookie scoop to scoop out balls of the dough, placing each one on the prepared pans. If you use a spoon instead of a cookie scoop, try to make the dough balls as even in size as possible.
Unlike when you bake cookies, you can place the dough balls right next to each other on the pans. Don’t be afraid to fit as many on the tray as you can!
After all of the dough is portioned out, pop the pans into the freezer. Leave them in the freezer for at least 30 minutes or up to an hour, until the dough balls are frozen solid.
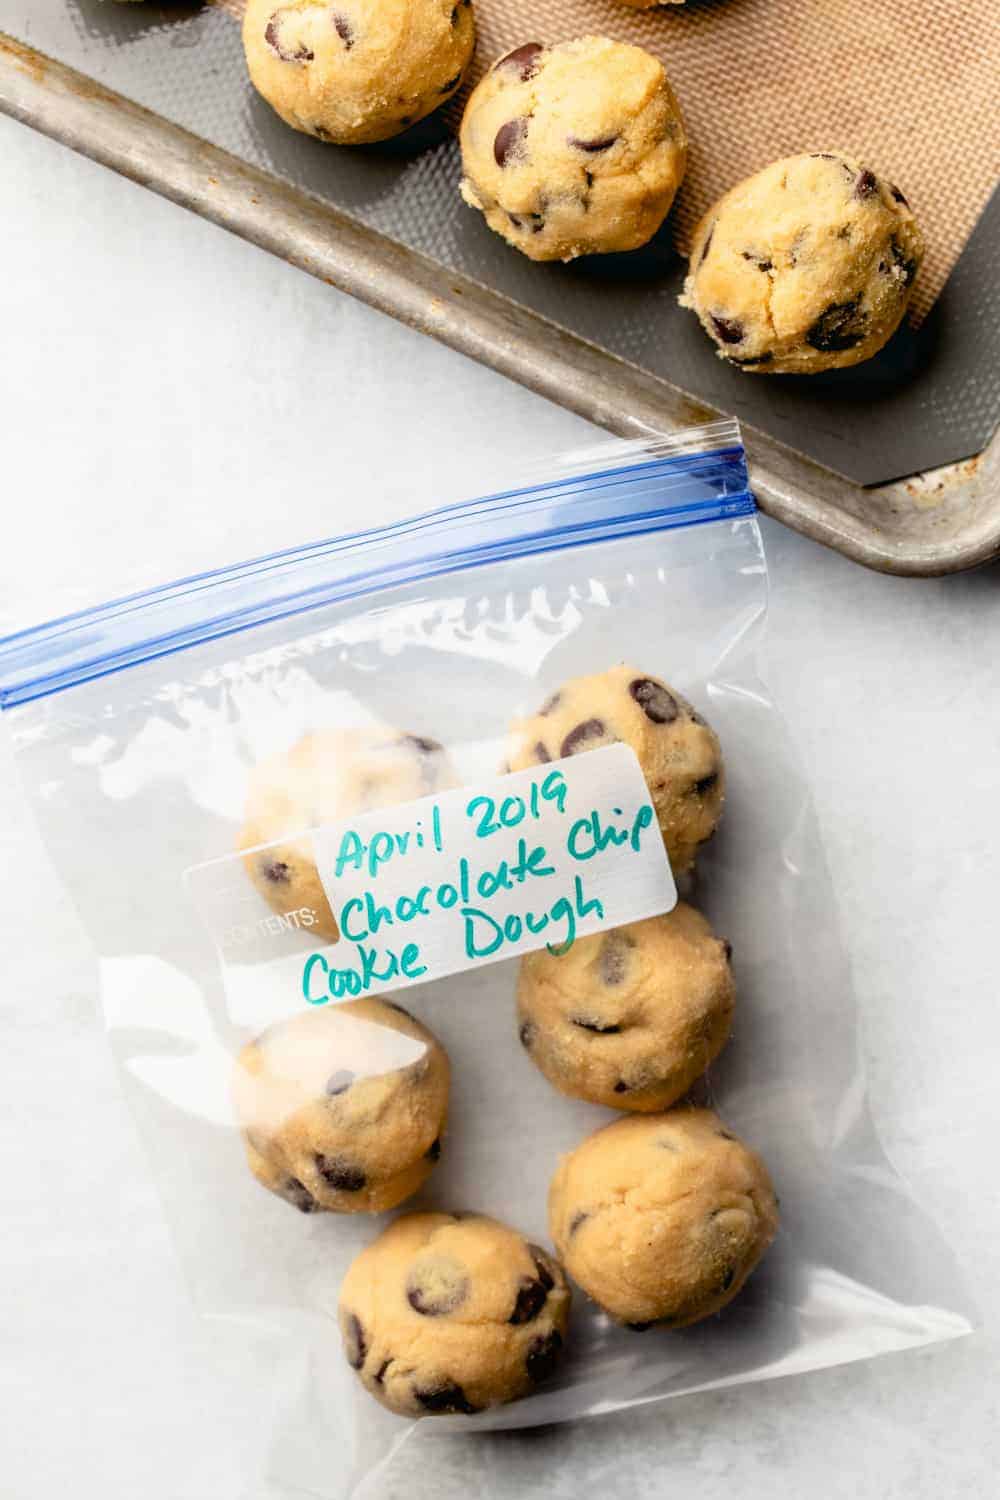
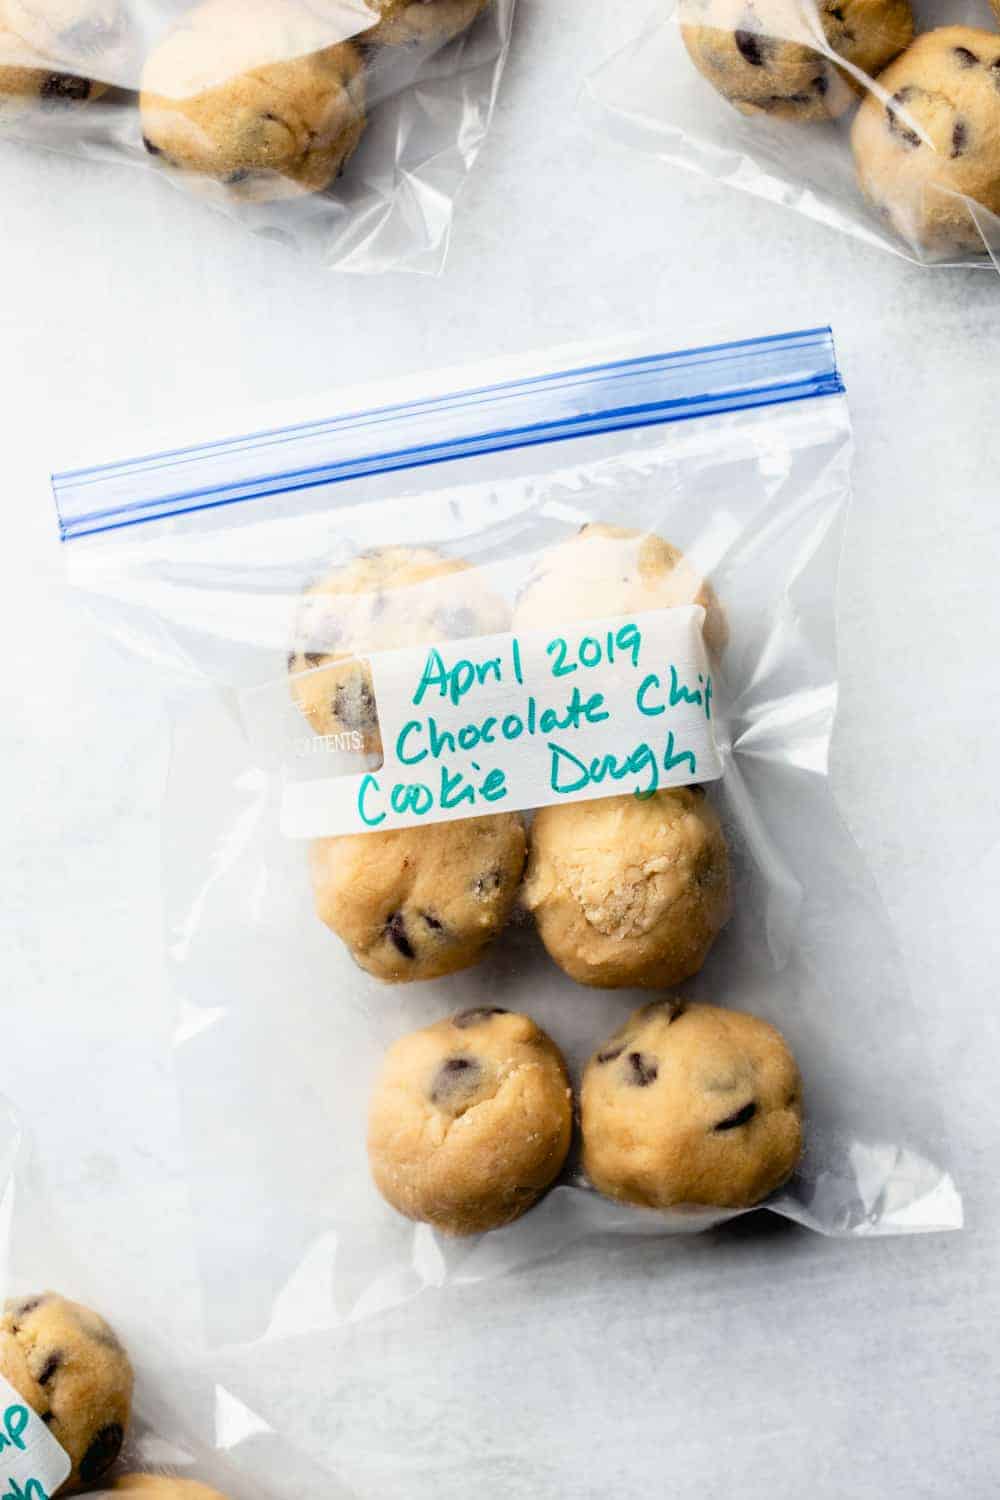
While the dough freezes, label a zip-top freezer bag with the type of dough, the baking temperature and time according to your recipe, and the date. Once the dough is solidly frozen, simply break the dough balls apart and pop them into the zip-top bag or bags.
Store the frozen cookie dough balls for up to 3 months – if they last that long!
HOW TO BAKE FROZEN COOKIE DOUGH
When you’re ready to enjoy a warm, fresh-from-the-oven cookie, simply grab as many frozen cookie dough balls as you like. Place them at least 2 inches apart on a baking sheet lined with parchment or a silicone baking mat.
You can allow the dough balls to thaw before baking or bake from frozen. If you thaw them first, you can bake them for the time specified in your original cookie recipe. If you bake from frozen, you will need to add a few more minutes, depending on how big they are.
There you have it – your own make-ahead, always-ready-when-you-want-it cookie dough! And I can promise it will be so much better than anything you can buy at the store.
New York Times Chocolate Chip Cookies

Equipment
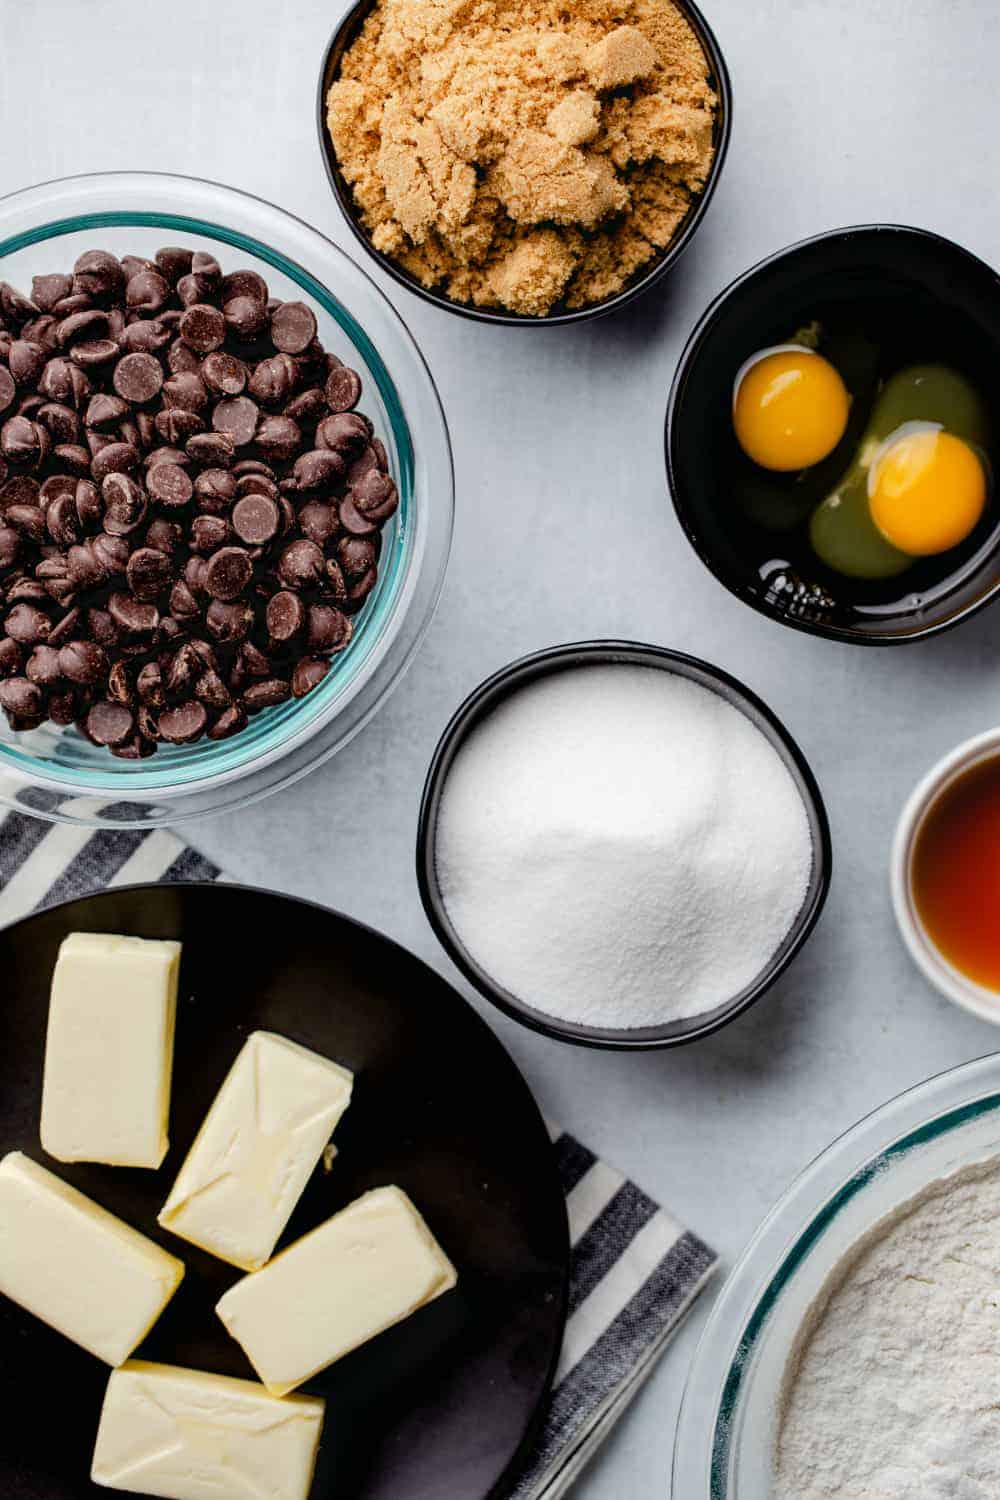
Ingredients
- 2 cups minus 2 tablespoons cake flour
- 1 ⅔ cups bread flour
- 1 ¼ teaspoons baking soda
- 1 ½ teaspoons baking powder
- 1 ½ teaspoons coarse salt
- 1 ¼ cups unsalted butter
- 1 ¼ cups packed light brown sugar
- 1 cup plus 2 tablespoons granulated sugar
- 2 large eggs
- 2 teaspoons pure vanilla extract
- 1 ¼ pounds bittersweet disks or fèves at least 60 percent cacao content (see note below)
- Sea salt sometimes I add this, sometimes I don't
Instructions
- Sift flours, baking soda, baking powder and salt into a bowl. Set aside.
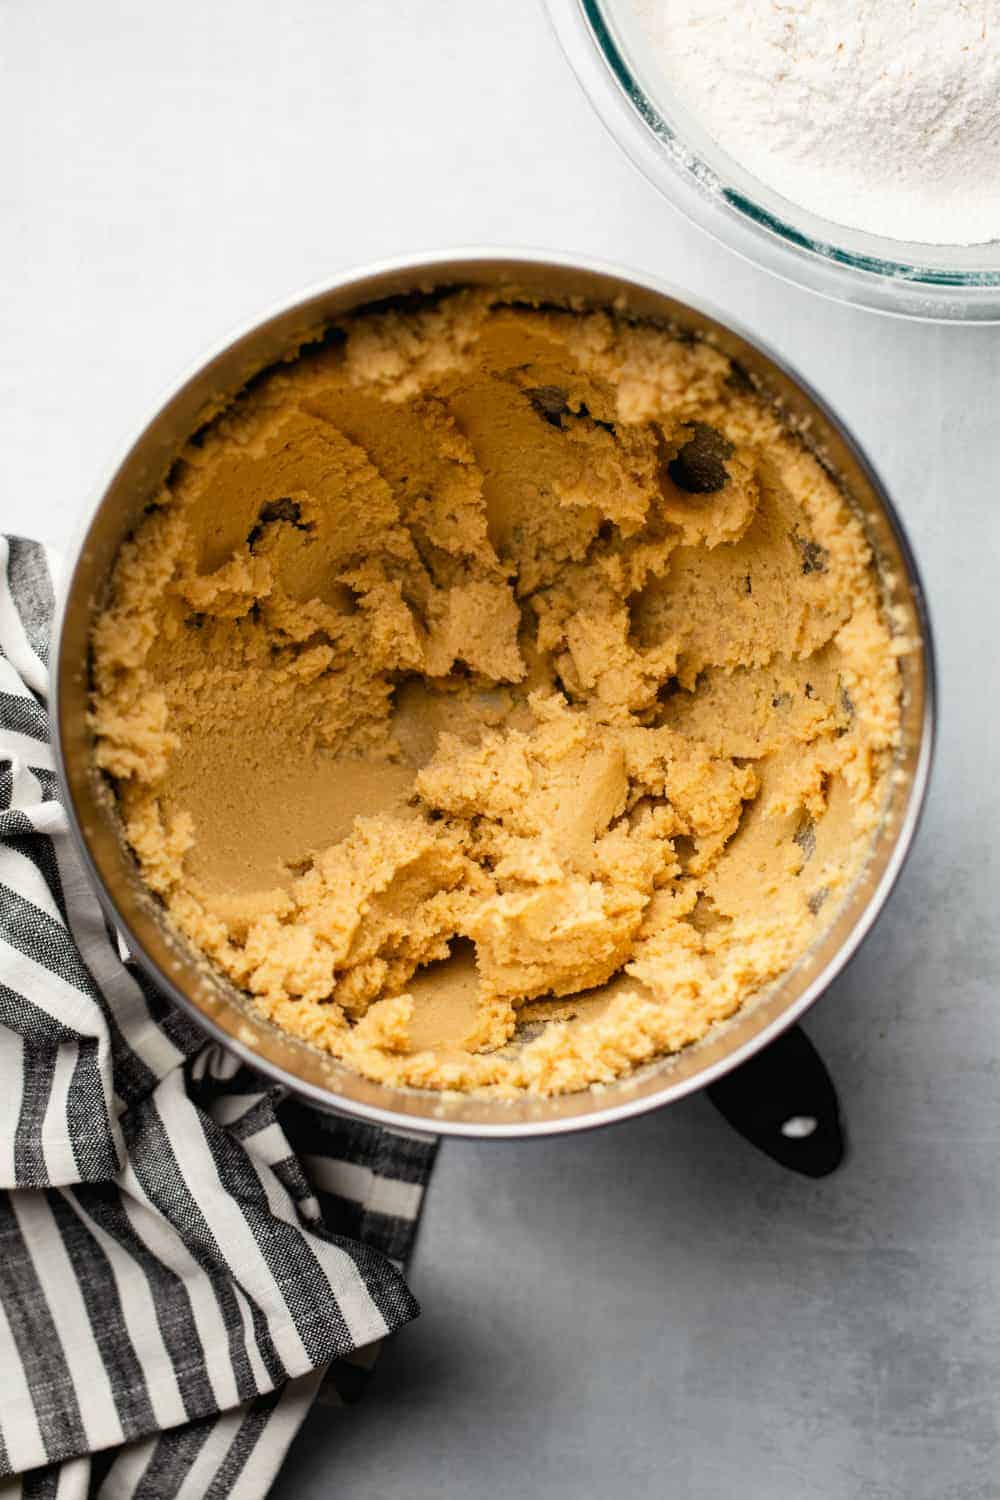
- Using a mixer fitted with paddle attachment, cream butter and sugars together until very light, about 5 minutes. Add eggs, one at a time, mixing well after each addition. Stir in the vanilla. Reduce speed to low, add dry ingredients and mix until just combined, 5 to 10 seconds. Drop chocolate pieces in and incorporate them without breaking them. Press plastic wrap against dough and refrigerate for 24 to 36 hours. Dough may be used in batches, and can be refrigerated for up to 72 hours.
- When ready to bake, preheat oven to 350°F . Line a baking sheet with parchment paper or a nonstick baking mat. Set aside.
- Scoop 6 3.5-ounce mounds of dough (the size of generous golf balls) onto baking sheet, making sure to turn horizontally any chocolate pieces that are poking up; it will make for a more attractive cookie. Sprinkle lightly with sea salt and bake until golden brown but still soft, 18 to 20 minutes. Transfer sheet to a wire rack for 10 minutes, then slip cookies onto another rack to cool a bit more. Repeat with remaining dough, or reserve dough, refrigerated, for baking remaining batches the next day.
Video
Notes
- For smaller cookies, use a heaping tablespoon and bake for 12 minutes.
- I have used regular chocolate chips in this recipe and they turn out just fine. Nestle recently released Dark Chocolate Morsels that work beautifully in this recipe.
- I have baked these before the full 24 hour chill time and they simply just aren't as good.
Nutrition
Nutrition information is automatically calculated, so should only be used as an approximation.







I am excited to make my first batch. Am I correct to assume that the refrigerated dough should be left out to soften in order to form cookie balks?
Excellent directions and tips! Thank you!
Thanks so much for stopping by, Jennifer! I appreciate you taking the time to comment. Happy Baking!
-Jamie
We used your directions and our dough balls came out perfectly for freezing.
So happy to hear this method worked for you, Sandi! Thanks so much for stopping by and leaving your feedback!
-Jamie