This post may contain affiliate links. Please read our privacy policy.
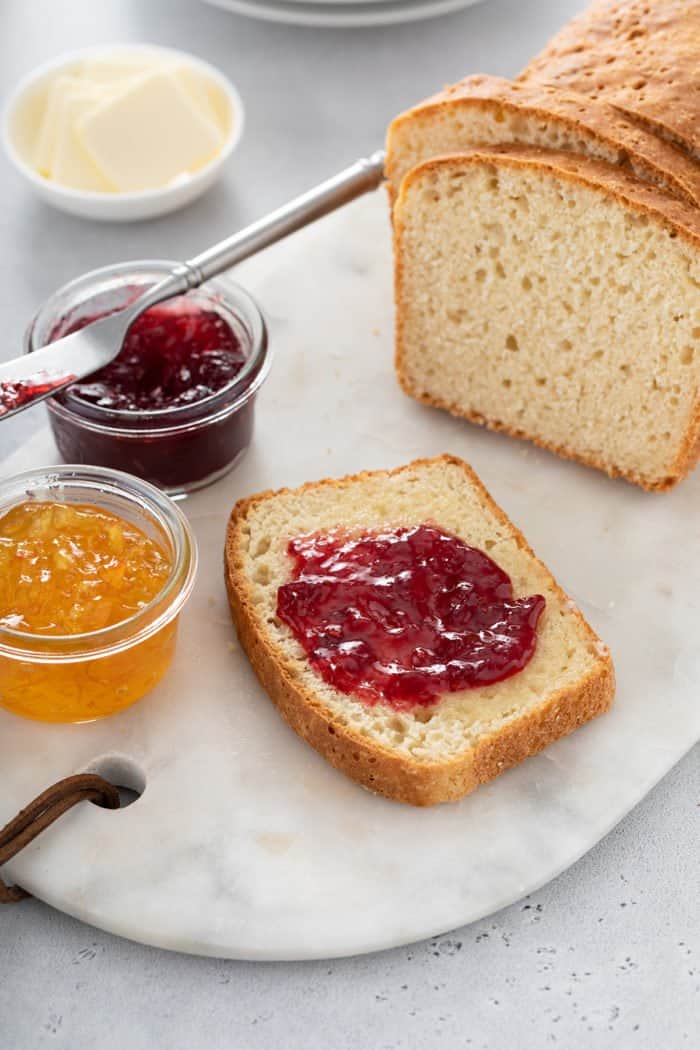
English Muffin Bread has all the same nooks and crannies as your favorite English muffins in a sliceable bread form. Pop it in the toaster and slather it with butter and jam for the best piece of toast you’ve ever had.
This post contains affiliate links.
Do you ever make a recipe where you aren’t expecting much, but the results blow you away?
The first time I ever made English Muffin Bread, I sort of haphazardly threw the loaf together as a way to procrastinate doing any of my other tasks at hand.
I honestly wasn’t expecting much, but in about an hour and a half, I had an amazing-smelling loaf of bread cooling on my counter.
As soon as it was cool, I cut myself a slice, toasted it up, and slathered it in butter. Turns out, it tasted just as amazing as it smelled!
I guess it’s not every day that procrastinating turns out in my favor, but in this case it definitely did. I highly suggest throwing together a loaf if you’re trying to avoid adulting, too.
WHAT IS ENGLISH MUFFIN BREAD?
You’ve probably had English muffins before…but have you ever had English Muffin Bread?
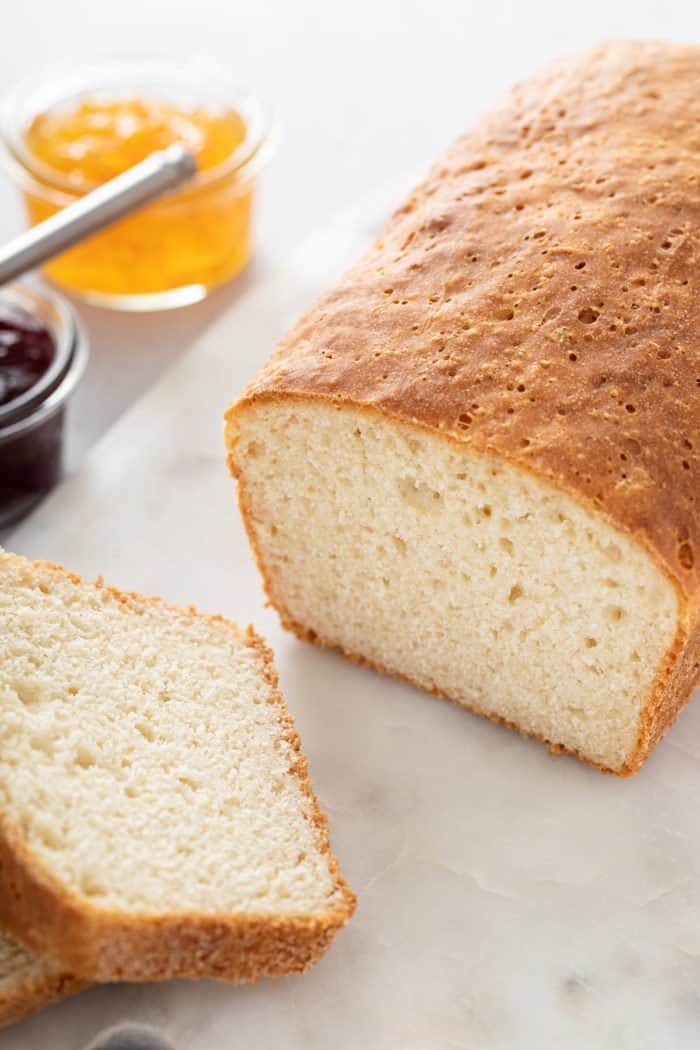
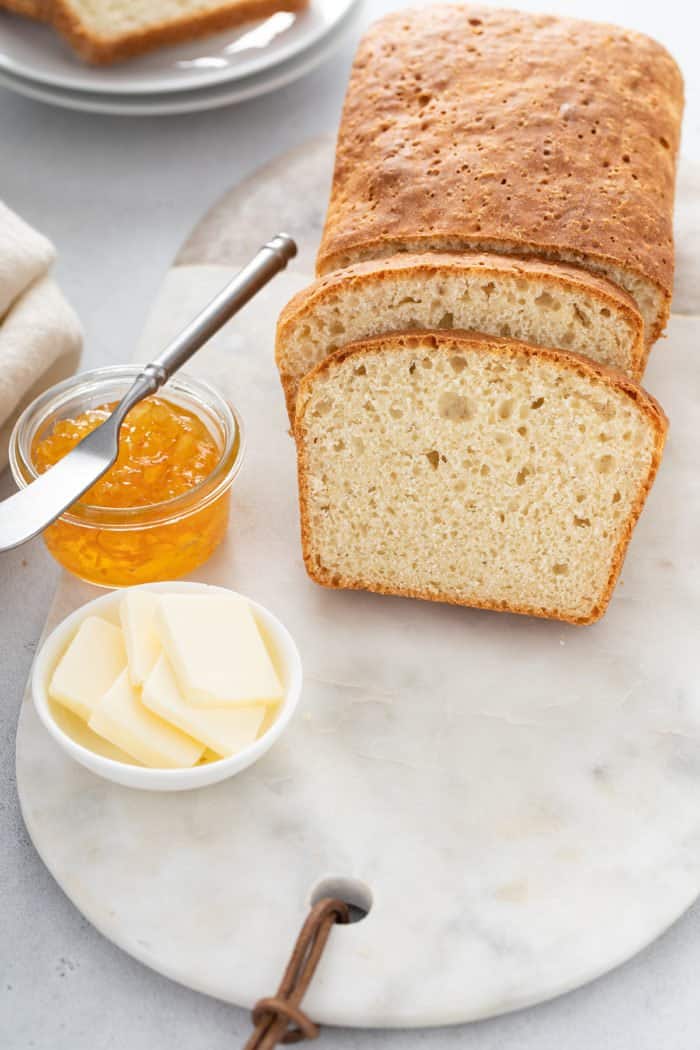
Just as the name suggests, this coarse-textured bread is the loaf version of those English muffins you love and is ideal for toasting!
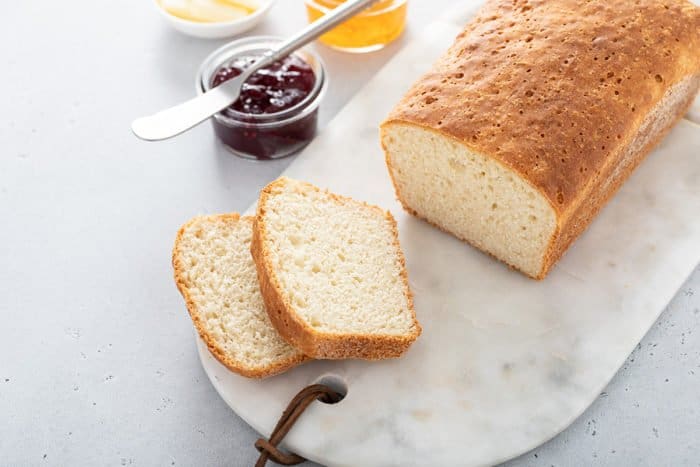
It’s full of those little nooks and crannies that are perfect for containing pools of melted butter and jam. The crust has an amazingly crisp texture that is only enhanced by toasting.
Not to mention, it’s quicker to make than homemade English muffins, since you are baking one loaf instead of cooking a dozen muffins on the griddle!
HOW TO MAKE ENGLISH MUFFIN BREAD
Not only is this bread undeniably delicious, it’s also ridiculously simple to prepare which makes it great for those of you just getting started with baking yeast breads.
You toss everything together, let it rise, bake it and you’ll pretty much be deeming yourself a master baker by the time the first slice is toasted.
Here, I’ll walk you through it!
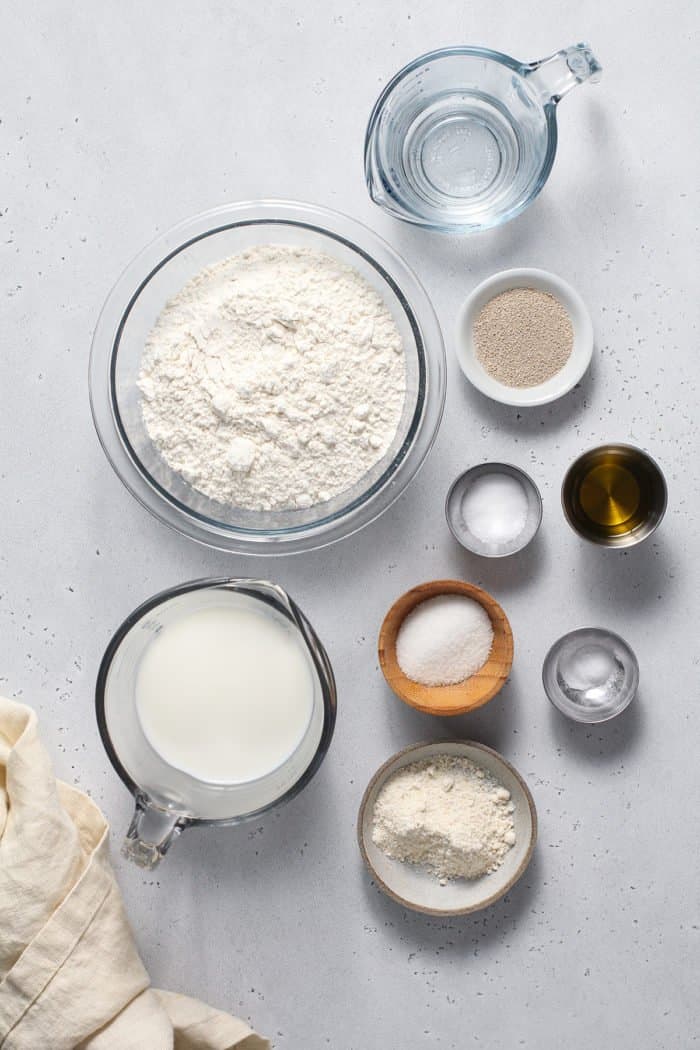
Ingredients you’ll need
If you keep yeast on hand (make sure to store it in the freezer!), you probably have everything you need to make this bread:
- 2 1/2 cups all-purpose flour
- 1 tablespoon sugar
- 1 ¼ teaspoon fine sea salt
- 1/4 teaspoon baking soda
- 1 packet (2 ¼ teaspoons) instant yeast
- 1 cup milk
- 1/4 cup water
- 2 tablespoons vegetable oil or olive oil
- cornmeal, to sprinkle in pan
Just like when we made Parker House Rolls or Cranberry Orange Cinnamon Rolls, this loaf uses instant yeast which makes it pretty quick and easy to throw together. The bread will only need to rise one time, so you’ll be on your way to fresh-baked bread faster than you’d think!
Tools you’ll need
In addition to measuring cups and spoons and a big mixing bowl, you’ll need an 8×4-inch loaf pan.
See? Nothing fussy about this bread! You don’t even need to use a mixer to make it.
Making this recipe
Grab your favorite large mixing bowl and add 2 cups of the flour along with the sugar, salt, baking soda, and yeast. Give that a stir to combine.
Mix together the milk, water, and oil in a microwave-safe bowl or measuring cup and microwave this in 30-second increments until the liquid is very warm, but not too hot. You’ll know it’s right when it’s hotter than lukewarm but wouldn’t be uncomfortably hot as bath water.
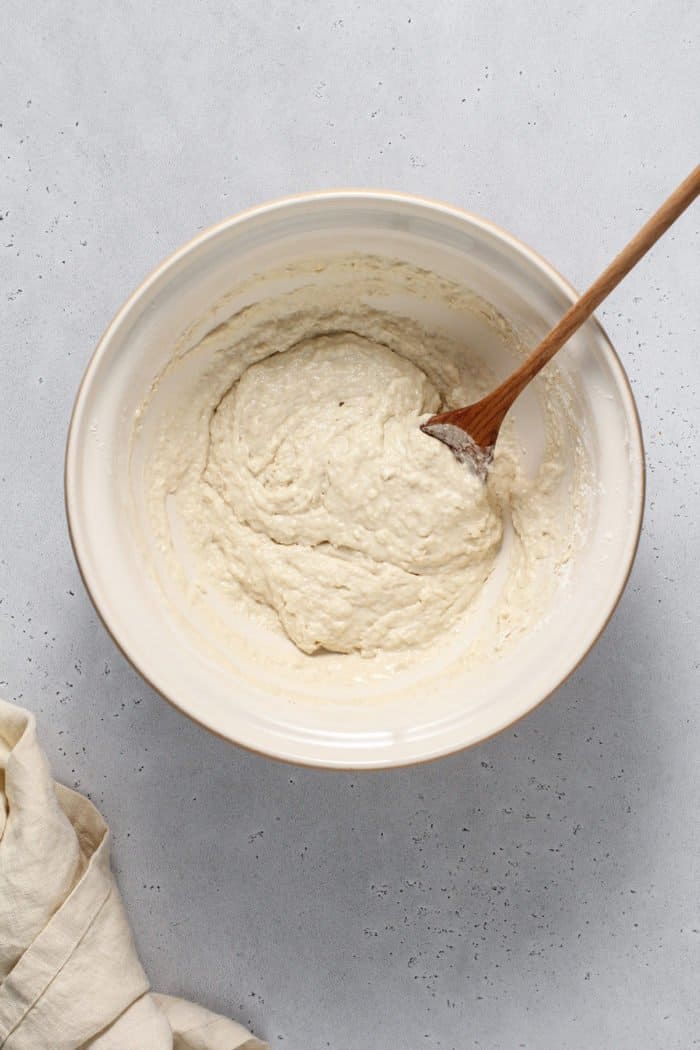
Add the liquids to the dry ingredients and stir until combined. The dough will be about the consistency of muffin batter.
Add in the last of the flour, ¼ cup at a time, until a very soft, sticky dough forms.
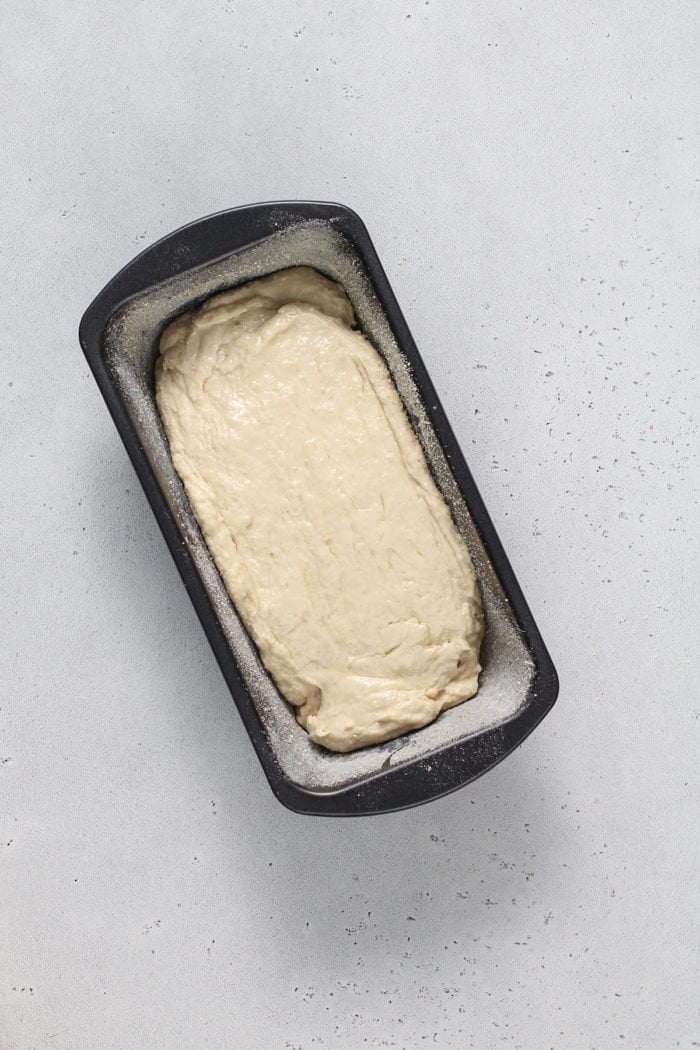
Now it’s time to prep your pan. Lightly grease your loaf pan and then toss in about ¼ cup of cornmeal. Tilt the pan, tapping the sides, to coat the sides of the pan in the cornmeal.
Scoop the dough into the pan. You might need to spray a rubber spatula with cooking spray to level it out, since the dough is so soft and sticky.
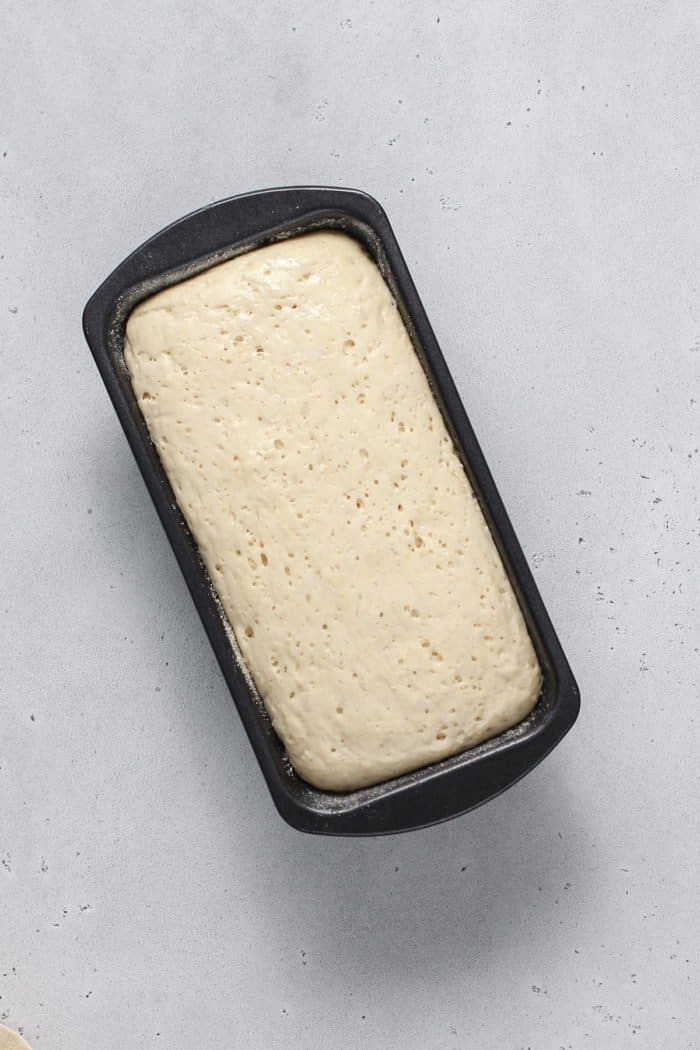
Spray a piece of plastic wrap lightly with cooking spray and cover the pan. Let the dough rise in a warm place for about 45 minutes to 1 hour. It will be fully risen when you can just barely see the dough over the rim of the pan.
While your dough rises, preheat the oven. Since my kitchen is often cold, I like to set my pan near the oven while it preheats, so it is warmed by the heat coming off the oven.
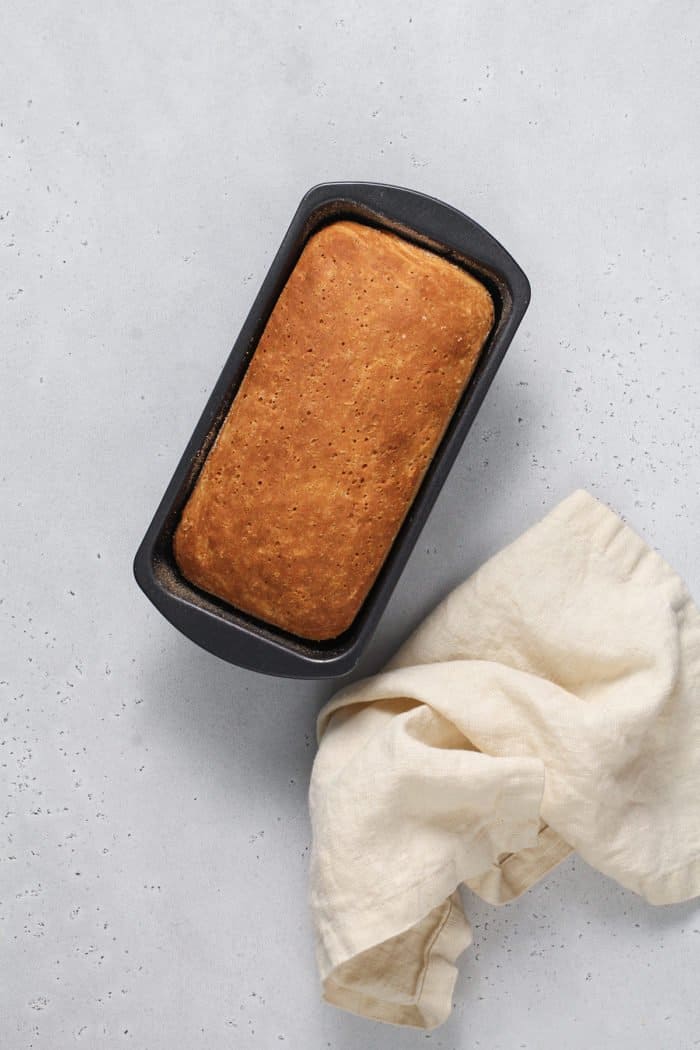
Once the dough has risen, take off the plastic wrap and bake it for about 22-27 minutes. When it is done, it will be golden and if you tap the top, it will sound a bit hollow.
Let the bread cool in the pan for about 5 minutes before turning it out onto a rack to finish cooling. I know it’s hard to wait, but let it cool completely before you dig in!
WHAT GOES WITH THIS BREAD?
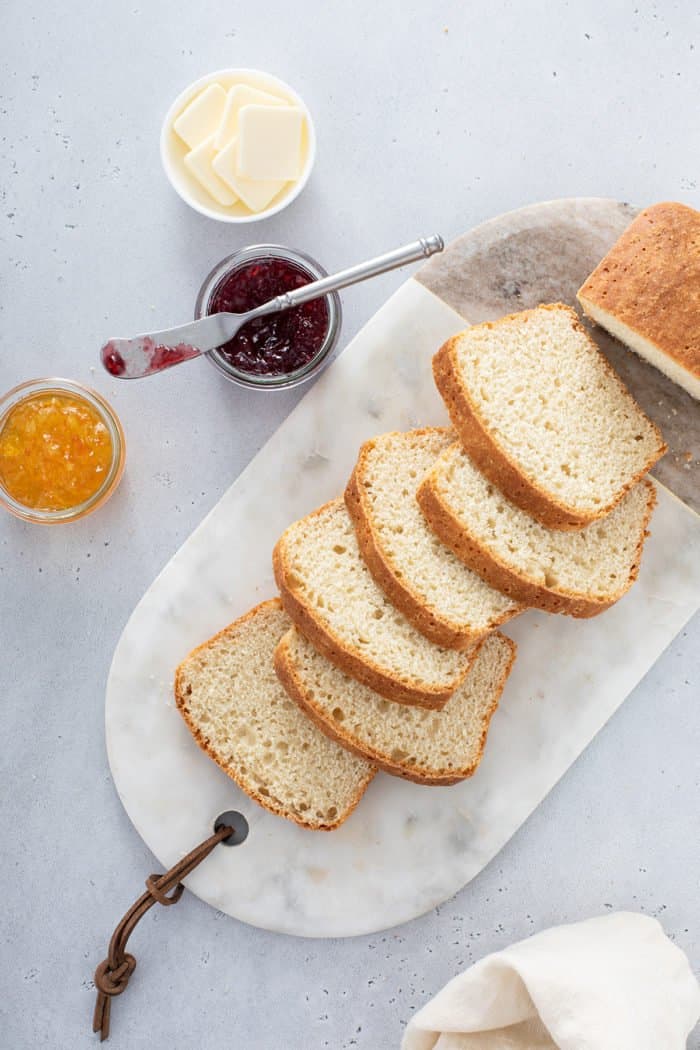
English Muffin Bread makes just about the best piece of toast you’ll ever have.
Slice it, toast it, and slather it in plenty of butter and top it with anything from cinnamon sugar to blueberry jam to slow cooker apple butter.
Out of English muffins but craving eggs benedict? Slice up a piece of this English Muffin Bread and use it instead – those nooks and crannies will be perfect for catching that rich hollandaise sauce.
BREAD STORAGE TIPS
As easy as it is, if you’re going to make your own English Muffin Bread, you should make sure you store it so it lasts as long as possible.
Here are a few bread storage tips – use these for storing homemade bread or a fresh-from-the-bakery loaf:
- Store loaves in paper or reusable bread bags. Don’t store them in plastic – plastic traps in moisture so the bread goes bad faster.
- Get a bread box. They look really nice on your counter and they are designed to keep bread fresh for longer!
- Keep bread in a cool, dry place. Try to store your bread away from warm and/or damp spots in your kitchen, such as near the fridge or dishwasher.
- When in doubt, freeze it! Bread freezes really well – this English Muffin Bread is no exception. Wrap the bread tightly and freeze it for up to 3 months. You can defrost it before slicing and toasting or place it in a warm oven to thaw and heat it through.
This English Muffin Bread is so easy to make, it might just become your new weekly bread recipe!
English Muffin Bread
Equipment
Ingredients
- 2 ½ cups all-purpose flour
- 1 tablespoon sugar
- 1 ¼ teaspoon fine sea salt
- ¼ teaspoon baking soda
- 1 packet instant yeast 2 ¼ teaspoons
- 1 cup milk
- ¼ cup water
- 2 tablespoons vegetable oil or olive oil
- cornmeal to sprinkle in pan
Instructions
- In a large bowl, add 2 cups of the flour along with the sugar, salt, baking soda, and instant yeast; stir to combine.
- In a microwave safe bowl or measuring cup, combine the milk, water, and oil. Microwave on high heat in 30-second increments until the mixture is between 120°F and 130°F. If you don’t have a thermometer, the liquid should feel quite hot (hotter than lukewarm), but not so hot that it would be uncomfortable as bath water.
- Add the hot liquid to the flour mixture and stir with a wooden spoon or spatula until combined. Mixture should resemble muffin batter in consistency. Add the last ½ cup of flour, ¼ cup at a time, until the mixture forms a very sticky, soft dough.
- Lightly grease an 8×4-inch loaf pan, and sprinkle the bottom and sides with cornmeal.
- Scoop the dough into the prepared pan. If needed, use a rubber spatula sprayed with nonstick cooking spray to level the top of the dough out a bit.
- Cover the pan with plastic wrap lightly sprayed with cooking spray and let the dough rise in a warm place until it has just barely crowned over the rim of the pan, about 45 minutes to 1 hour. When you look at the rim of the pan from eye level, you should see the dough, but it shouldn’t be more than about 1/4″ over the rim.
- While the dough is rising, preheat the oven to 400°F.
- Remove the cover and bake the bread for 22 to 27 minutes, until it’s golden brown.
- Remove the bread from the oven and allow to cool for 5 minutes before turning the bread out of the pan and onto a rack to cool. Let the bread cool completely before slicing.
Video
Notes
- Makes 1 8×4-inch loaf
- To coat the sides of the loaf pan with cornmeal, I just tossed in about a 1/4 of cornmeal and tilted the pan and tapped the sides until the inside was thoroughly coated.
- If you are using an instant-read thermometer to check your bread’s doneness, you will want to watch for an interior temperature of 190°F.
Nutrition
Nutrition information is automatically calculated, so should only be used as an approximation.



How crazy is that! My dogs’ feet smell like Doritos!
So Cool!! I am going to make this for sure!!
Yum! Making this tonight.
I love how bread recipes say “cool completely before slicing”. Riiiiiiiight. That is completely impossible when the whole house smells like yummy bread! this looks good, I’m going to make it this weekend.
You are killing me! This is the last day of a 7-day diet; I was just telling my sister it has stopped my sweets craving, but I’m still wanting some carbs. Then this!! Sigh, and today is brown rice and vegetables day. (10 pounds gone, so I can’t complain) Maybe tomorrow. I’ve printed and saved the recipe…sure think this is in my breakfast plan for morning! Thanks, Jamie…if this is the result of procrastination, I say “go for it!” Love the photography; it sure is enticing.
I have a recipe for this bread as well but it’s a little different than yours. Yours looks a bit browner for some reason. Mine is always very white and doesn’t brown up very well. However, I agree, it’s the BEST loaf of bread ever. It’s great for toast and grilled cheeses and even grilled pb &j!
I too have all the ingredients for this recipe! I love English muffins and I never thought about it in loaf form. This is going on my must make list for sure!
Super glad you decided to blog about this bread because it looks fantastic, though anything with the name “english muffin” in it will capture my attention. The crumb looks fantastic and, dare I say it, almost crumpet like. Cannot wait to make this!
I love the look of the crumb in this bread. I don’t make bread very often, but this looks very good :)
You had me at “undeniably delicious”, but I was definitely hooked with “ridiculously simple”. Bonus: I have all the ingredients!
Thanks for sharing.