This post may contain affiliate links. Please read our privacy policy.
Made with a devil’s food cake mix, Chocolate Crinkle Cookies are soft, slightly chewy, and ideal for making with your kids this holiday season.
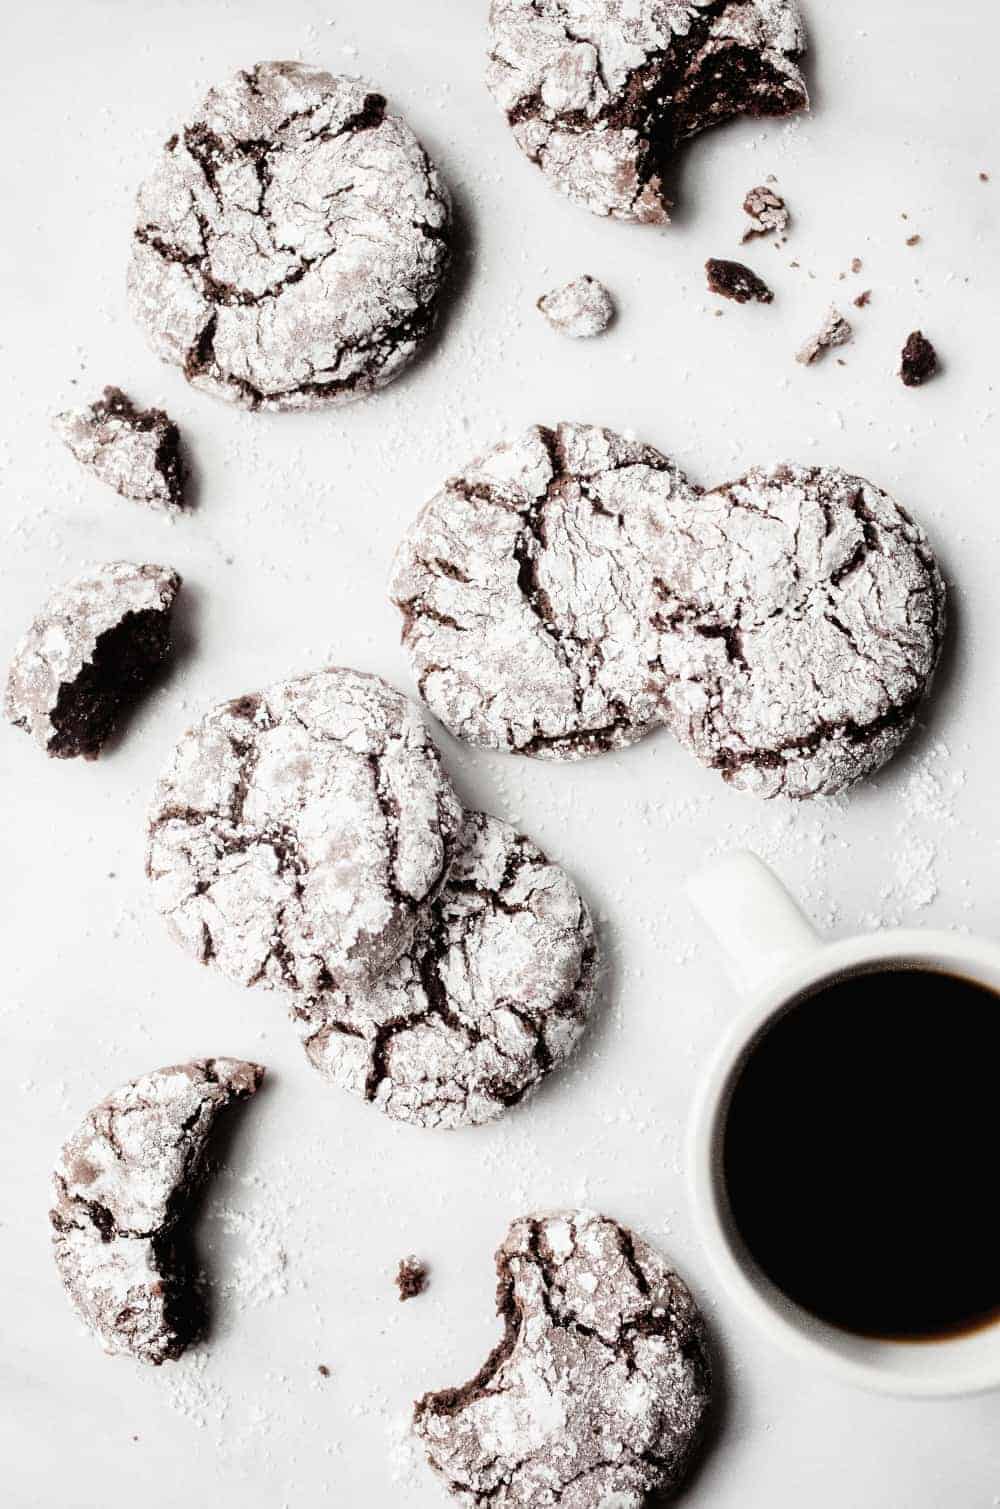
Alright, friends. We’re in the home stretch.
These little cake mix cookies are just the ticket when you need to make a last minute party dessert or gift. They whip up easily and taste so darn good!
I love how chewy these Chocolate Crinkle Cookies are, and you can customize them by adding flavors to the batter if you want. A little peppermint extract would be wonderful here (probably about 1/2 a teaspoon, if you decide to do it).
I’ve made these cookies for years, and we took them to several holiday parties this year. They’re a hit, whether it’s a school party, office potluck, or the proverbial ugly Christmas sweater party.
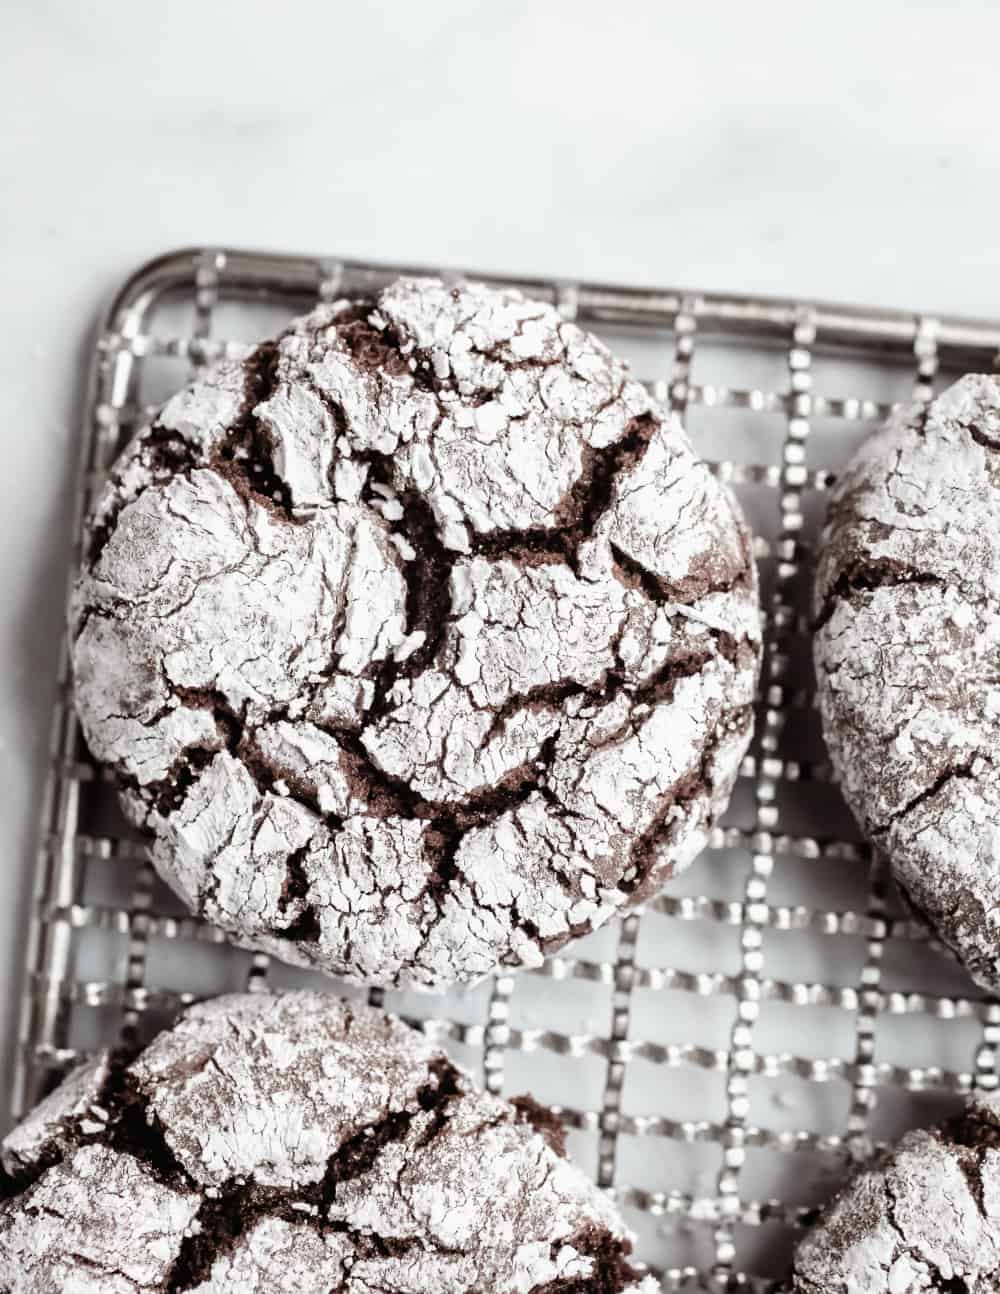
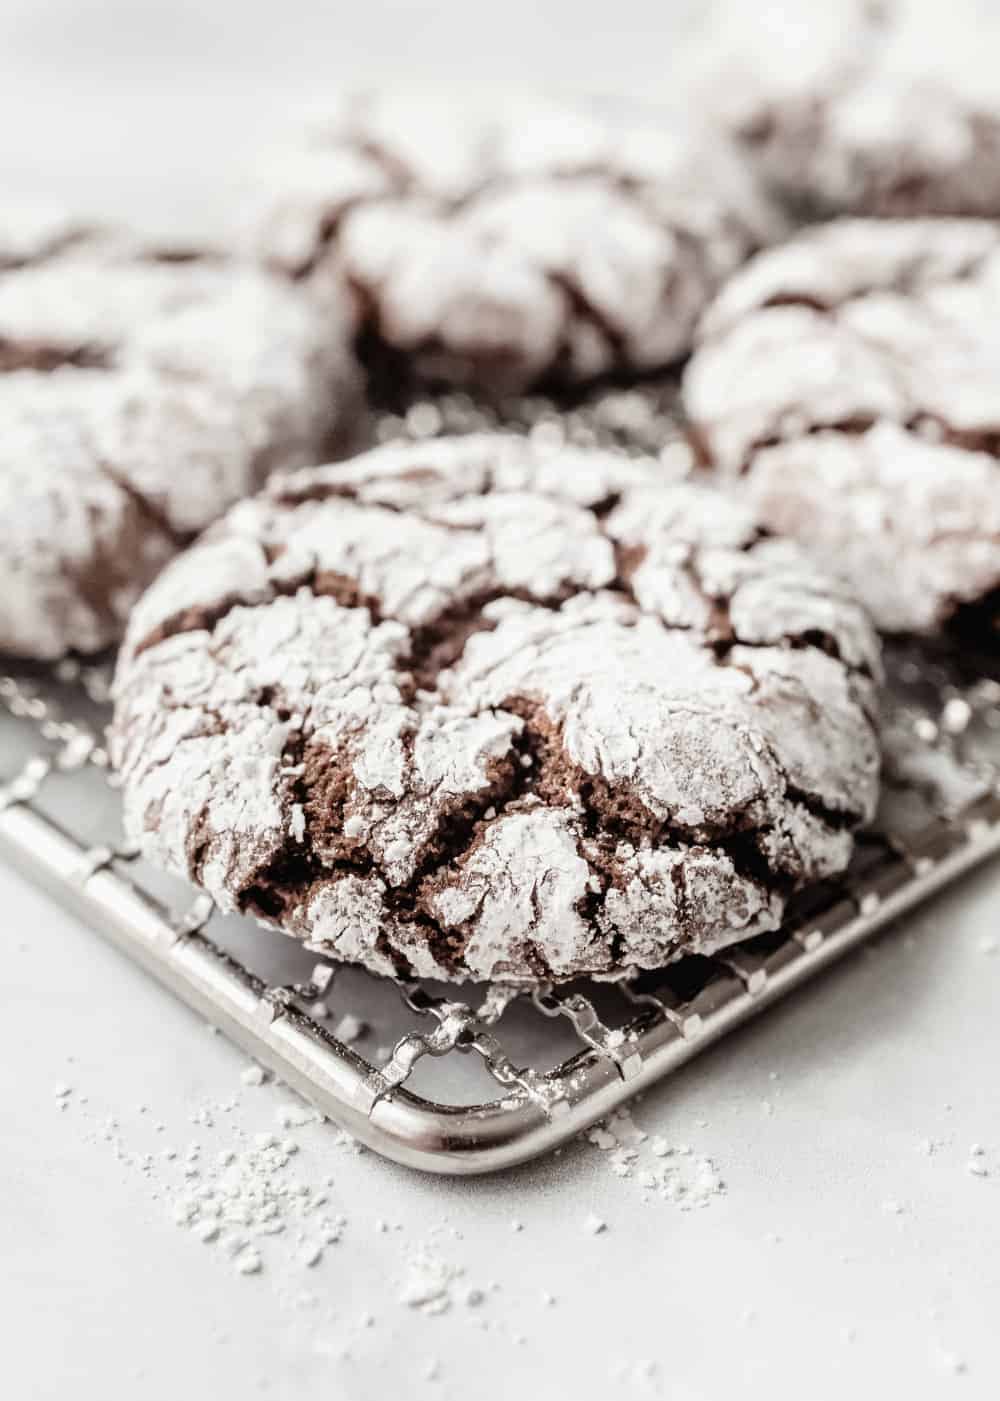
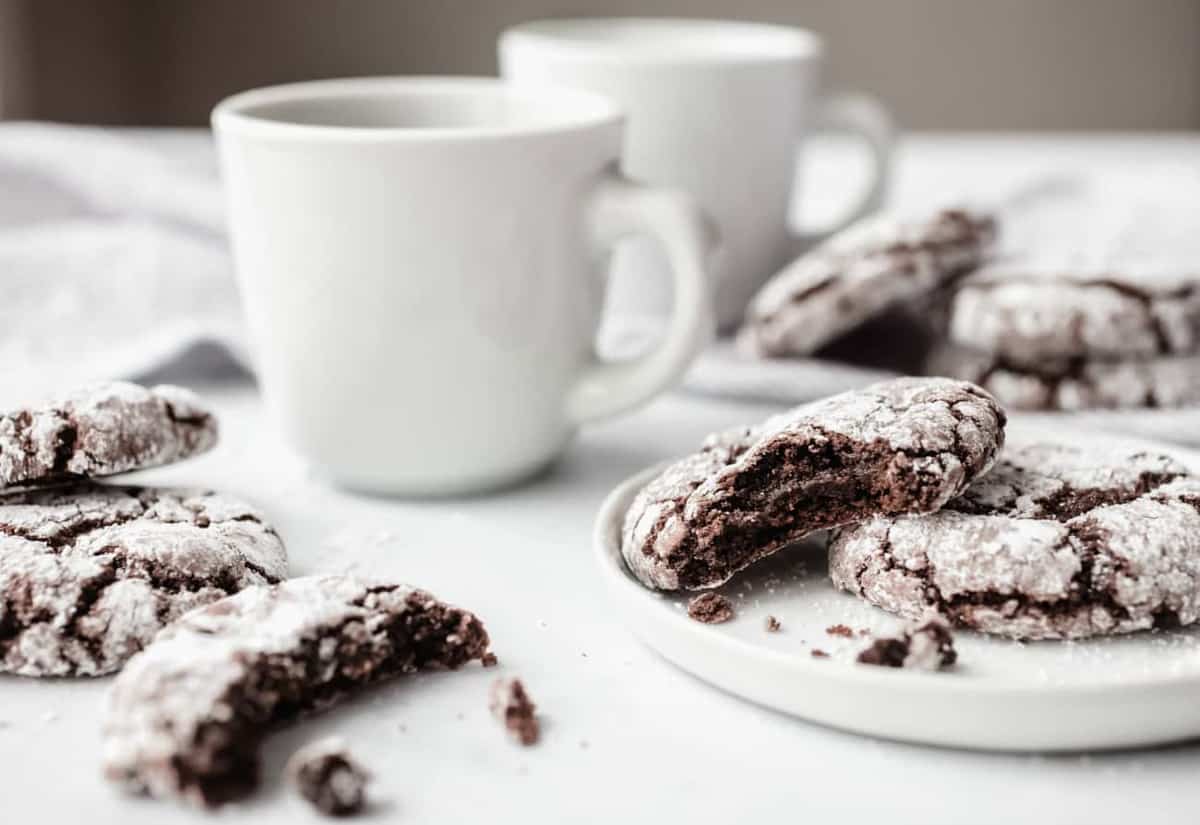
I love how these cookies look when fully baked. There’s some chemistry magic happening to make the powdered sugar with crackles and crinkles throughout look so pretty. You’re going to love them!
WHAT ARE CHOCOLATE CRINKLE COOKIES?
Have you ever had Chocolate Crinkle Cookies?
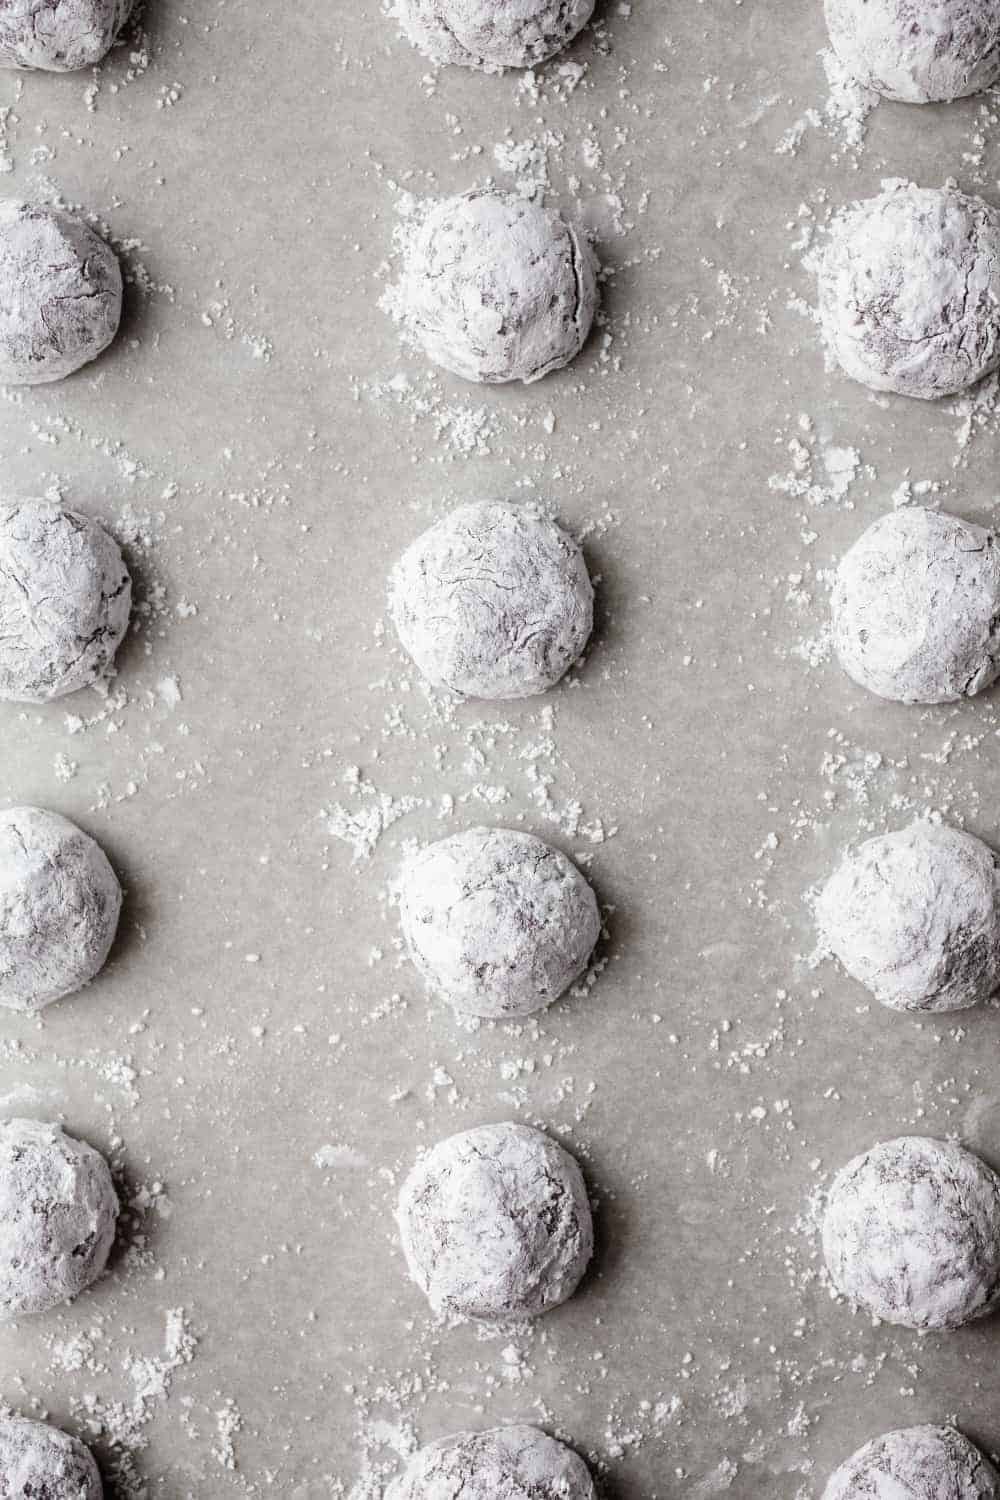
The dough for these chocolate cookies is rolled into balls, then coated in powdered sugar before baking. As they bake, the outside creates a crinkled appearance from the powdered sugar.
The best thing about Chocolate Crinkle Cookies, though, is how embarrassingly easy they are to make. That’s because they’re made with a cake mix!
If you like making Doctored Cake Mix, Pumpkin Crunch Cake or Caramel Apple Poke Cake, you’ll love this cake mix recipe as well!
HOW TO MAKE CHOCOLATE CRINKLE COOKIES FROM CAKE MIX
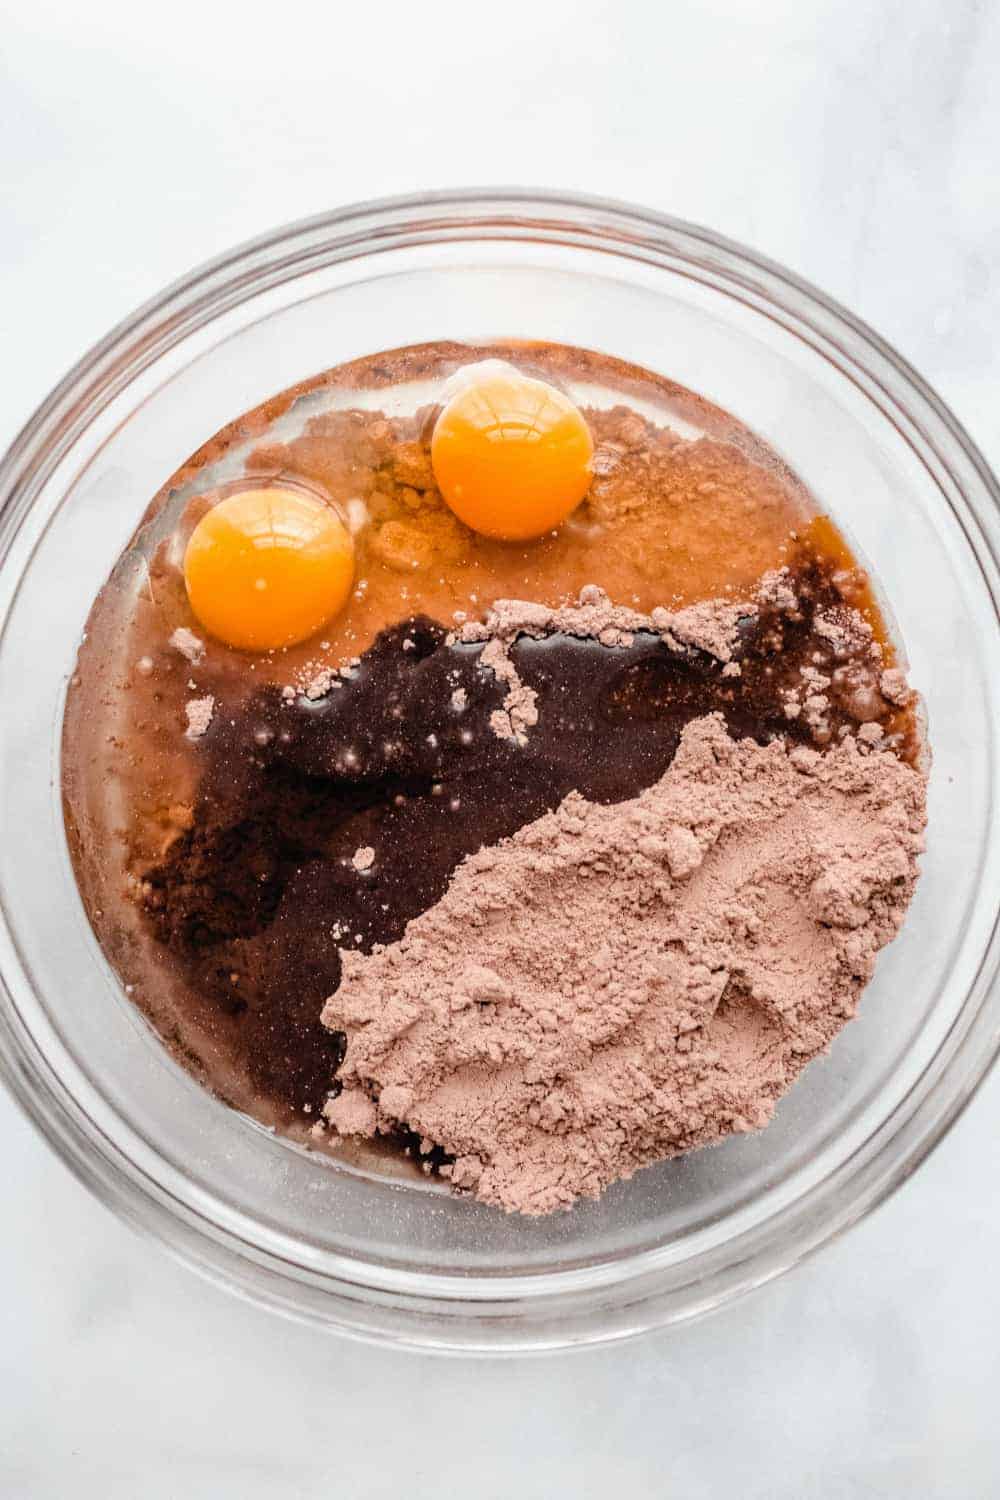
Because the base of this recipe is a devil’s food cake mix, you only need 5 ingredients to make these cookies:
- Devil’s food cake mix
- Eggs
- Vegetable oil
- Vanilla
- Powdered sugar (aka confectioners’ sugar)
Since they’re so simple to make, these are actually a great cookie for kids to make by themselves (aside from using the oven).
I use a mixer to mix together the dough – simply mix everything except the powdered sugar – but you could mix this dough by hand as well.
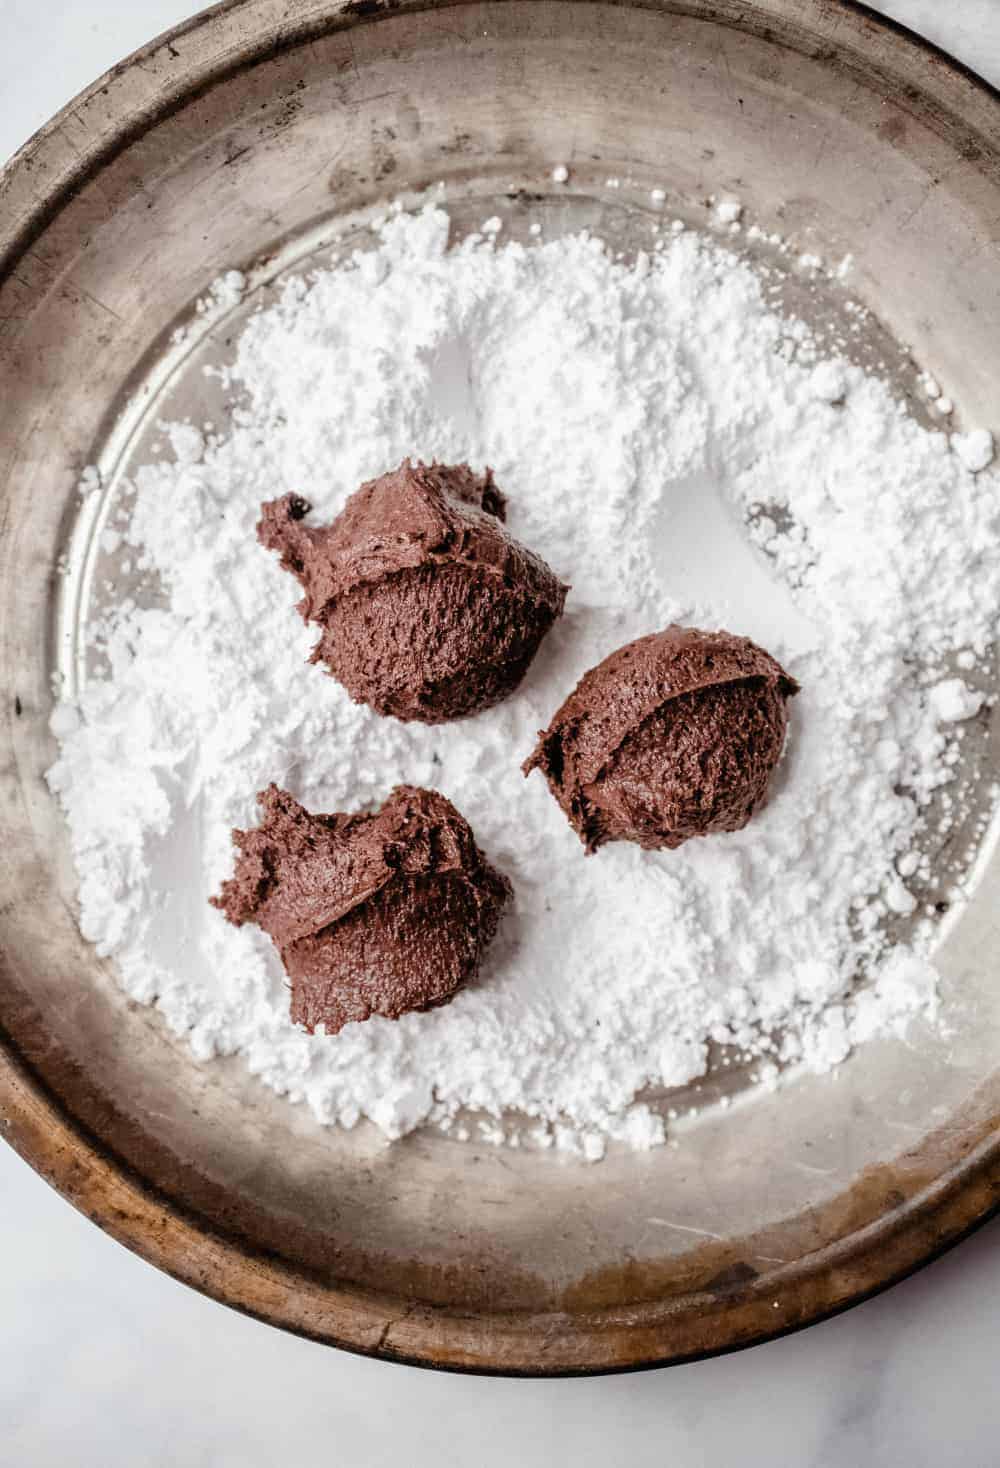
Once the dough is mixed, scoop balls of the dough and roll them in the powdered sugar before baking.
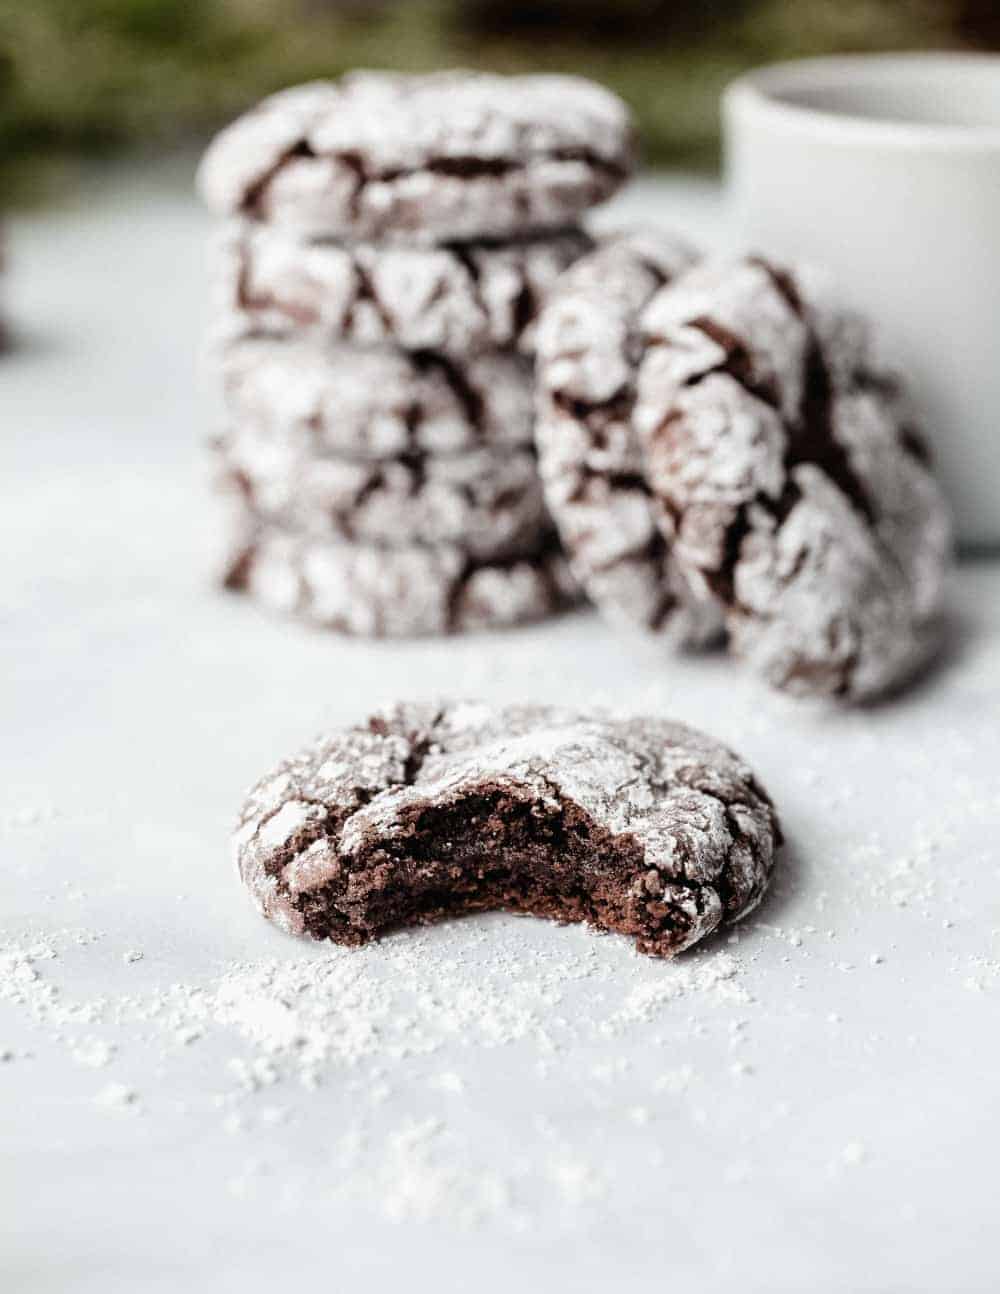
The cookies are done when the bottoms are set but the middles still appear slightly undercooked. It’s important not to overbake these cookies to keep that chewy texture!
CAN CHOCOLATE CRINKLE COOKIES BE FROZEN?
These Chocolate Crinkle Cookies are actually best fresh out of the oven, though they can be stored in an airtight container for up to 2 days.
While you probably can freeze them, I would not necessarily recommend it, as I don’t think the texture would be quite the same after freezing.
CRINKLE COOKIE VARIATIONS
There are lots of ways you could change up your Chocolate Crinkle Cookies.
For example, try adding a little peppermint extract to make chocolate peppermint cookies, or a bit of coffee extract for a mocha flavor.
You could even add a little orange zest to this batter!
I have also made these cookies with different flavors of cake mix. For example, using a lemon cake mix results in a delicious, chewy lemon cookie.
The sky’s the limit with these crinkle cookies! However you choose to make them, you’ll love how quickly you can quell a cookie craving with this recipe.
Chocolate Crinkle Cookies
Equipment
Ingredients
- 1 boz Devil’s Food Cake Mix 15.25 ounces
- 2 large eggs
- ⅓ cup vegetable oil
- 1 teaspoon pure vanilla extract
- ⅓ cup confectioners' sugar
Instructions
- Preheat oven to 375 degrees F (190 degrees C). Line a baking sheet with parchment paper, set aside.
- In the bowl of your stand mixer fitted with the paddle attachment, or in a large bowl with a hand mixer, combine cake mix, eggs, oil, and vanilla extract until well blended. Place confectioners’ sugar into a medium bowl.
- Using a medium cookie scoop (1 ½ tablespoons), drop balls of dough (dough will be sticky) into the confectioners’ sugar, roll to coat. Gently form dough into a ball by lightly rolling between your palms.
- Place dough balls on prepared baking pan about two inches apart.
- Bake in preheated oven for 7 to 9 minutes. The bottoms will be set but middles will look slightly undercooked. Allow cookies to cool for 5 minutes on pan before removing to a wire rack.
Notes
- These cookies are best served fresh out of the oven; however, they will keep in an airtight container for 2 days.
- Doctor up these cookies even more by playing with different extracts and add ins. I think a little orange zest would be a great addition, or try adding in a little mint extract for easy Chocolate Peppermint Crinkles.
- This base recipe does work well with other box flavor varieties, I have tried it with lemon cake mix which resulted in delicious, chewy lemon cookies.
Nutrition
Nutrition information is automatically calculated, so should only be used as an approximation.


Yum… These cookies look incredible!
love how fast and easy these are! im totally making these for my next chocolate attack.
Thank you SO much for these! I have a few boxes of mix that I’ve been wanting to use but haven’t felt like making what they’re intended for. I just might give this a shot.
I completely wouldn’t have guessed the recipe was so simple from looking at those gorgeous cookies! It’s so nice to have a few easy to assemble recipes on hand – love these!
Ahh…brings back memories – my Mom used to make these. Very yummy! Thanks for the trip down memory lane!
Delicious cookie. Nice photo!
My very favorite cookie is similar to this one but uses strawberry cake mix and cool whip. I only make it at Christmas time because it is too dangerous to have around, I eat the whole batch in a day!
Did you replace the oil with cool whip? I really want to make strawberry cookies
You might slowly be convincing me that it’s nice to have a cake mix on hand once in a while….Going to try making a few of my own to stash away. These look yummy!
I make similar cookies for a lot of my family events. I just use the cake mix, eggs, and oil in mine. My dad loves ones make with the carrot cake mix. Another thing I do when I make them with a lemon cake mix. I fill my 1/3 measuring cup about half full of oil, then finish filling with lemon juice.
These look great, Jamie. I love the photograph—so well lit. Beautiful.