This post may contain affiliate links. Please read our privacy policy.
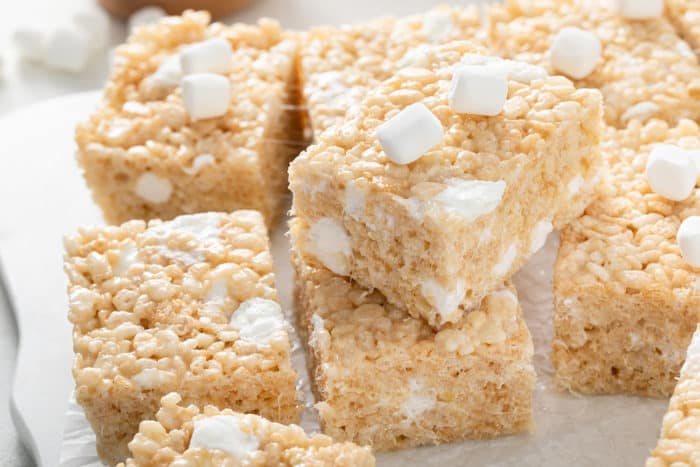
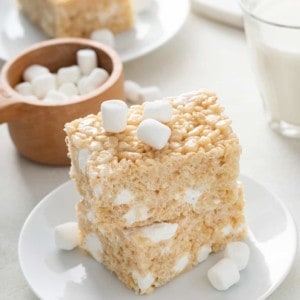
These Classic Rice Krispie Treats are a family favorite for a reason! Thick and gooey and filled with pockets of mini marshmallows, both kids and adults will love these.
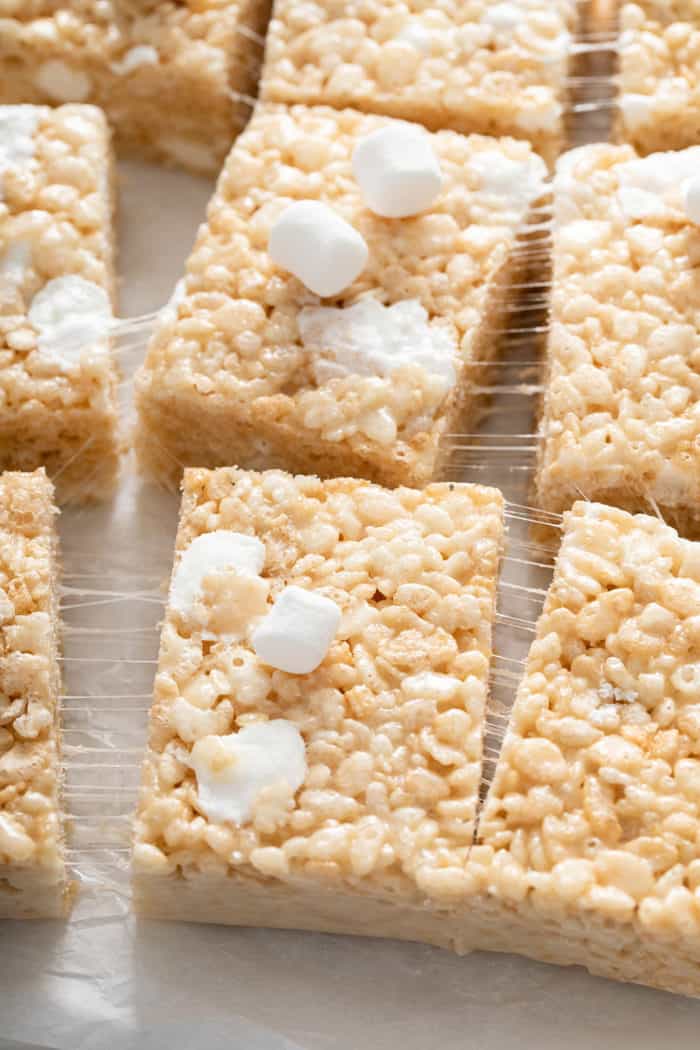
I know it might sound pretty strange coming from someone that creates recipes and bakes for a living, but one of my absolute favorite sweets are Classic Rice Krispie Treats.
Not only are they super simple to make, but there’s just something about the buttery, ooey-gooey marshmallow goodness that just makes me happy!
I also love that there are so many ways you can switch the recipe up once you have a good solid base recipe.
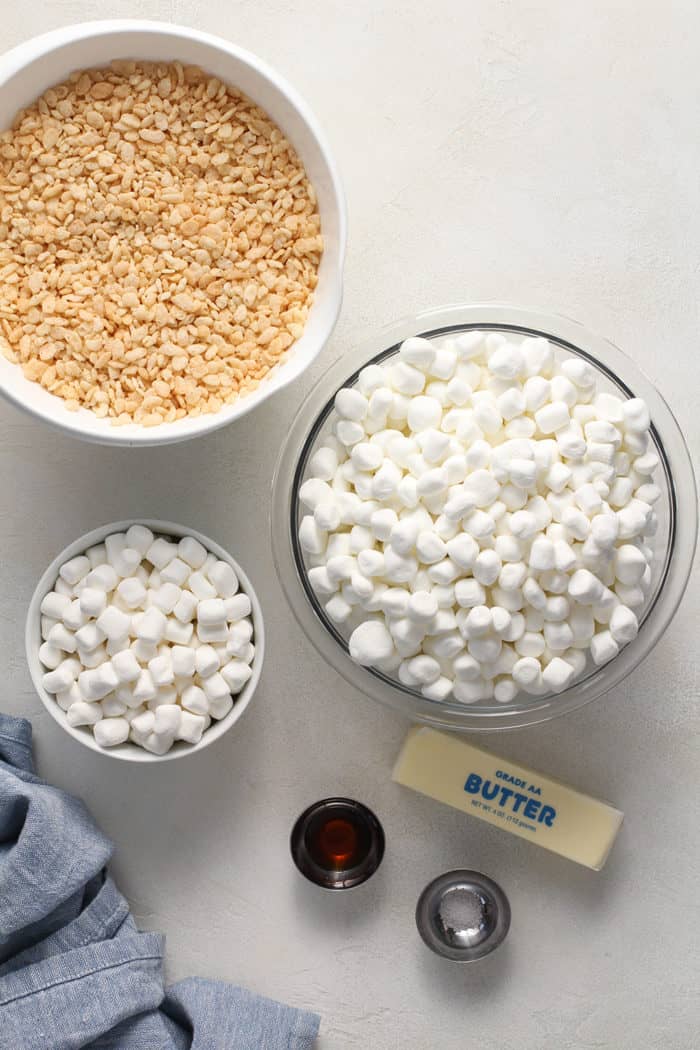
Classic Rice Krispie Treat Ingredients
A pan of ooey-gooey Classic Rice Krispie Treats is such an easy treat to make with kids or throw together last-minute for any gathering. Since they’re so easy to make, I like to keep the ingredients on hand all of the time:
- ½ cup (1 stick) unsalted butter
- 2 10-ounce packages mini-marshmallows, divided use
- Pinch of sea salt
- 1 teaspoon vanilla extract
- 8 cups Rice Krispies cereal
I know that the sea salt and vanilla might not be ingredients you added to your krispie treats as a kid, but I promise that they take these to the next level.
And after all, if we’re going to make the BEST rice krispie treats, we want them to appeal to both kids and adults alike, right??
Are Rice Krispie Treats Gluten Free?
Even though you might not realize it, if you make your Classic Rice Krispie Treats with Kellog’s Rice Krispies, they won’t actually be gluten free!
The name-brand Rice Krispies that are made by Kellogg’s contain malt, which is made from barley, so they are not gluten free.
That said, you can find other brands of crispy rice cereal that are labeled as gluten free. Just be sure to check the label if you need your treats to be gluten free!
Marshmallows do not naturally contain gluten, but make sure to check the label closely if you need a brand that is certified gluten free so that you know it’s free of any cross contamination.
How to Make Rice Krispie Treats
This Classic Rice Krispie Treat recipe is just as simple to make as you remember from when you were a kid.
Start by lining a 9×9-inch pan with parchment paper or foil and spraying it with nonstick spray. Make sure you do this before you start making the treats so it’s ready as soon as the cereal mixture is done!
Set aside 2 cups of the mini marshmallows. We’re going to do something special with those in a minute.
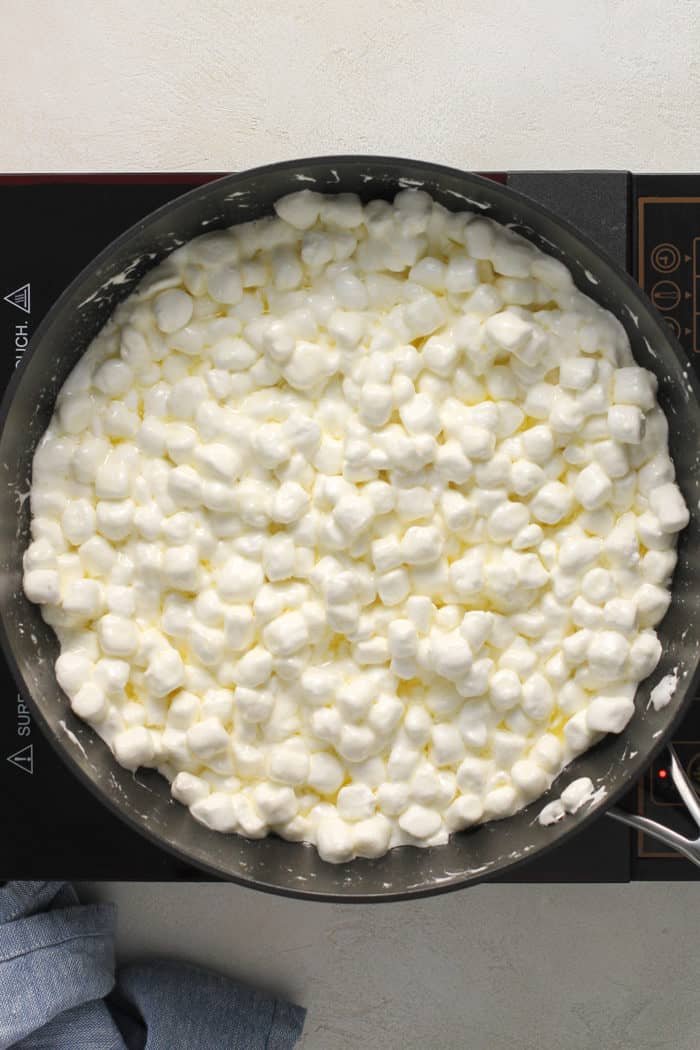
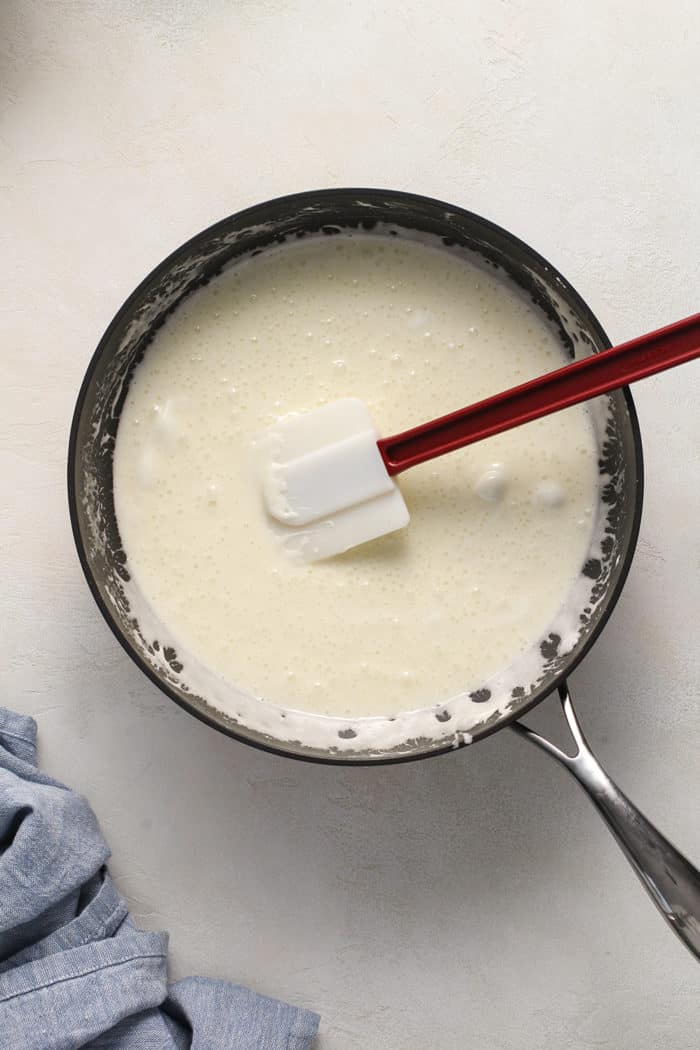
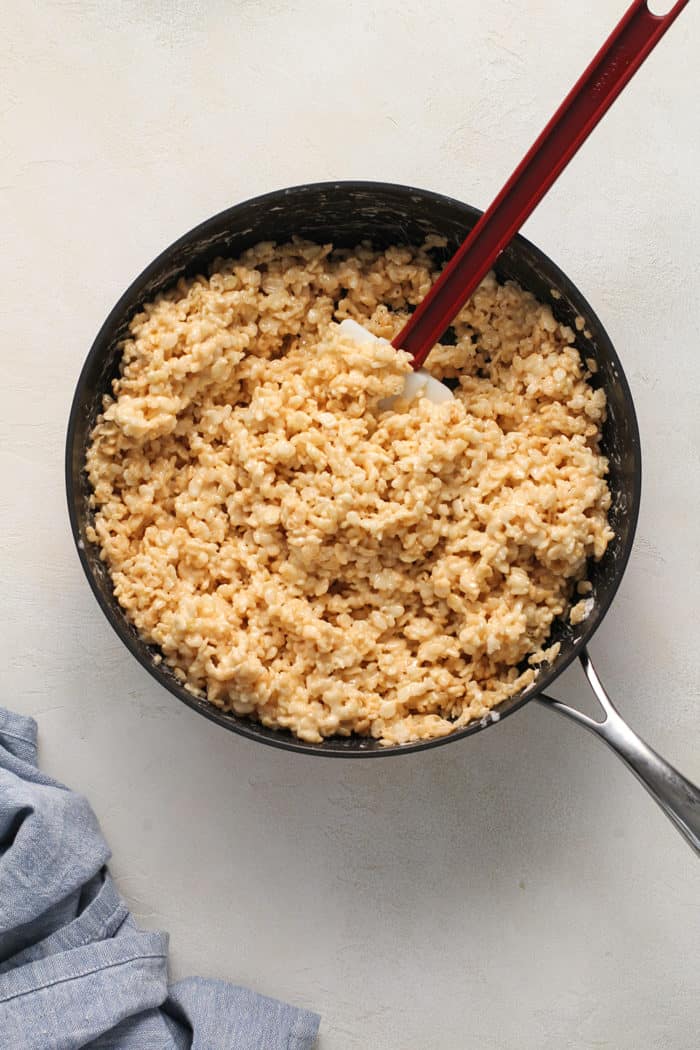
Grab a large pan – I like to use my dutch oven. Melt the butter over low heat. Add the rest of the marshmallows and stir until they are completely melted.
Remove the pan from the heat and stir in the vanilla and salt.
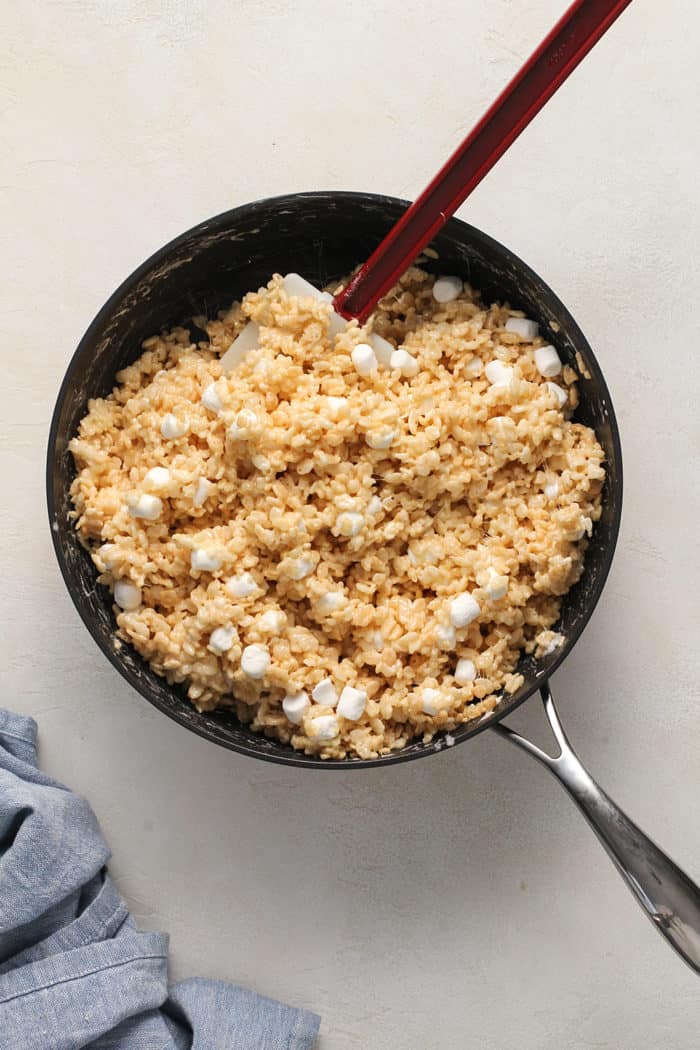
Gradually add the cereal, stirring until well combined and fully coated with the marshmallow mixture. Now we’re going to fold in the reserved 2 cups of marshmallows until they’re evenly distributed.
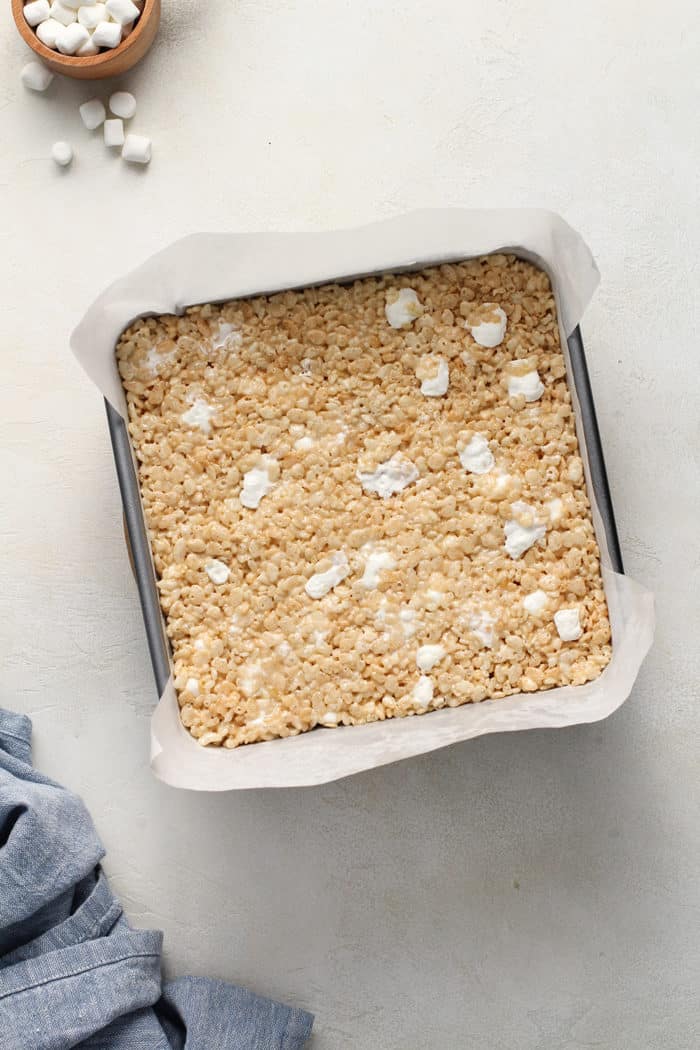
Use a greased spatula or hands to gently press the mixture into the prepared baking dish. Make sure you don’t push too firmly! We want the treats to stay nice and gooey.
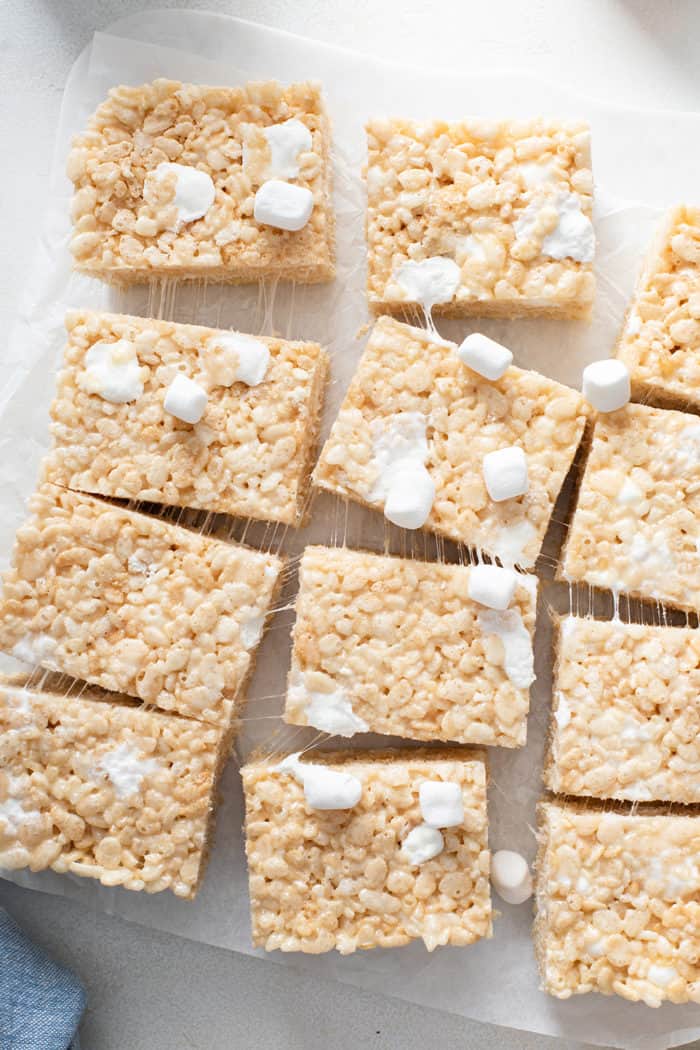
Let the treats cool at room temperature before cutting and serving.
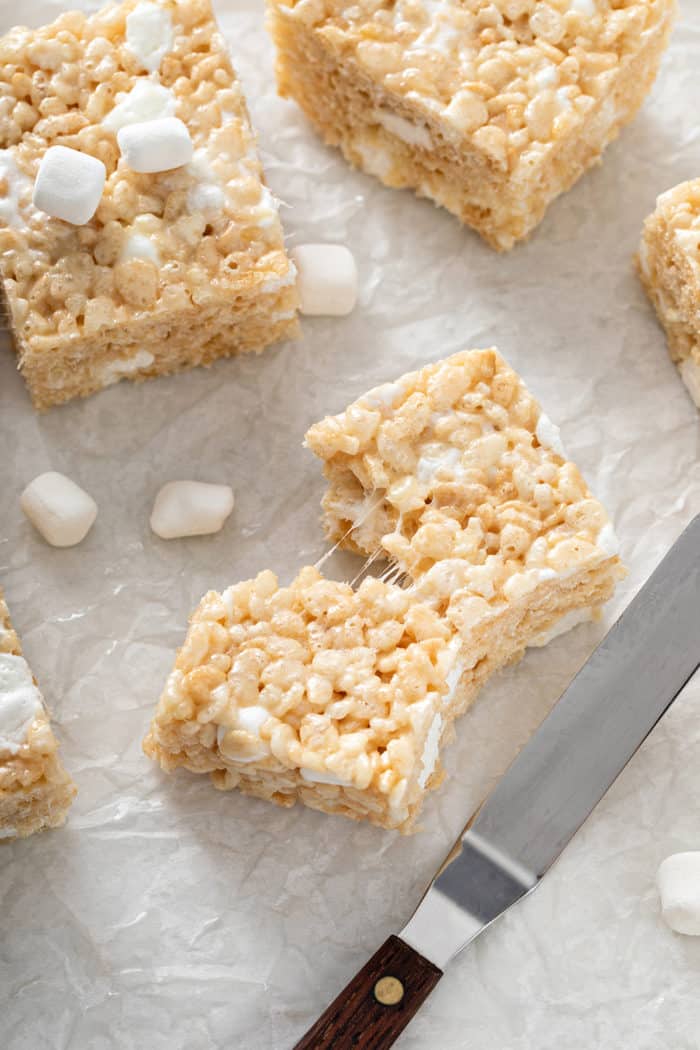
Tips and Tricks for the Best Rice Krispie Treats
I’ve made a LOT of rice krispie treats in my lifetime, so I have a few tips for you when it comes to making the best ones:
- Set aside 2 cups of mini marshmallows to mix in later. Adding some of the marshmallows after the cereal means that you get little pockets of marshmallow goodness throughout your Classic Rice Krispie Treats. If you don’t want there to be pockets of marshmallows in your krispie treats, simply add all the marshmallows to the butter and melt them before adding the rice krispies.
- Spray your hands with cooking spray. The melted marshmallows make this mixture super sticky! It’ll stick to everything – your spoon, a spatula, and definitely your hands. Lightly spray your hands with cooking spray before pressing the mixture into the pan to keep it from sticking to you.
- Don’t press the mixture into the pan too hard. We want nice soft rice krispie treats, not those tooth-breaking bricks from your childhood! Using a gentle hand when pressing the mix into the pan will keep them from getting too compact and will keep them nice and soft.
- Use a 13×9-inch pan for thinner treats. This recipe makes big, thick, bakery-style cereal treats. If you want to serve more people or make thinner treats, simply spread the cereal mixture into a 13×9-inch pan instead of the 9×9-inch pan called for in the recipe.
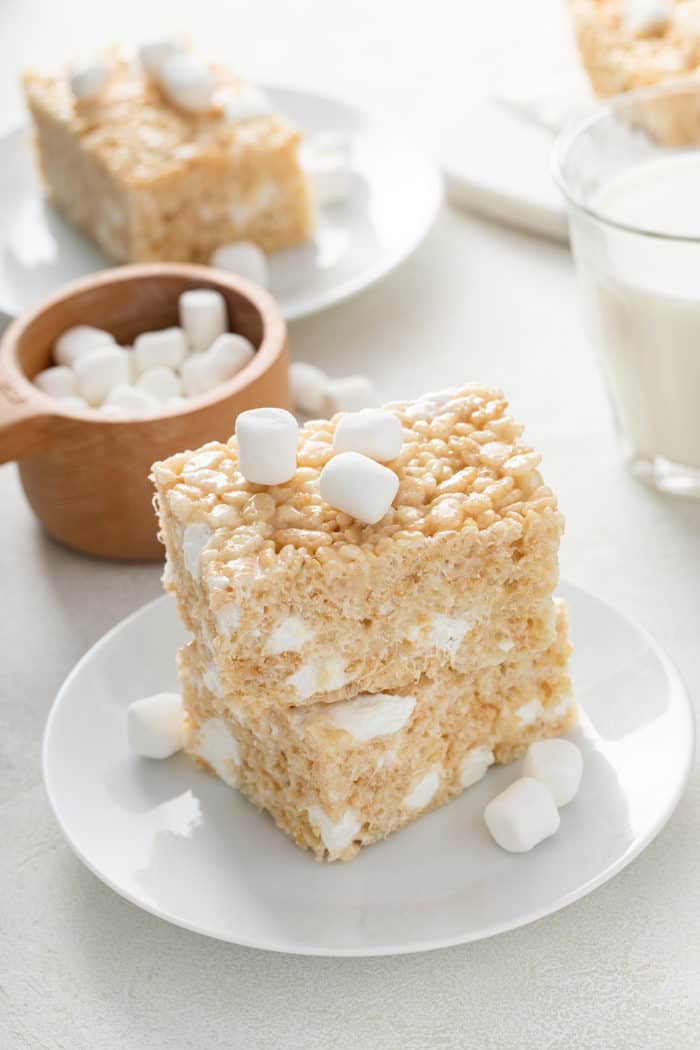
Storage Tips
These Classic Rice Krispie Treats will keep for about a week when stored in an airtight container at room temperature. Because we didn’t pack the mixture in too tightly when making them, they will stay nice and soft for several days.
You can technically freeze rice krispie treats if you want to. Wrap each cooled treat in plastic wrap and store them in a zip-top freezer bag in the freezer for up to a month.
That said, I don’t necessarily recommend freezing these Classic Rice Krispie Treats if you want them to stay nice and soft. And they’re so quick and easy to whip up, you can really make them any time a craving hits – don’t be shy about sharing them with your friends and neighbors, either!
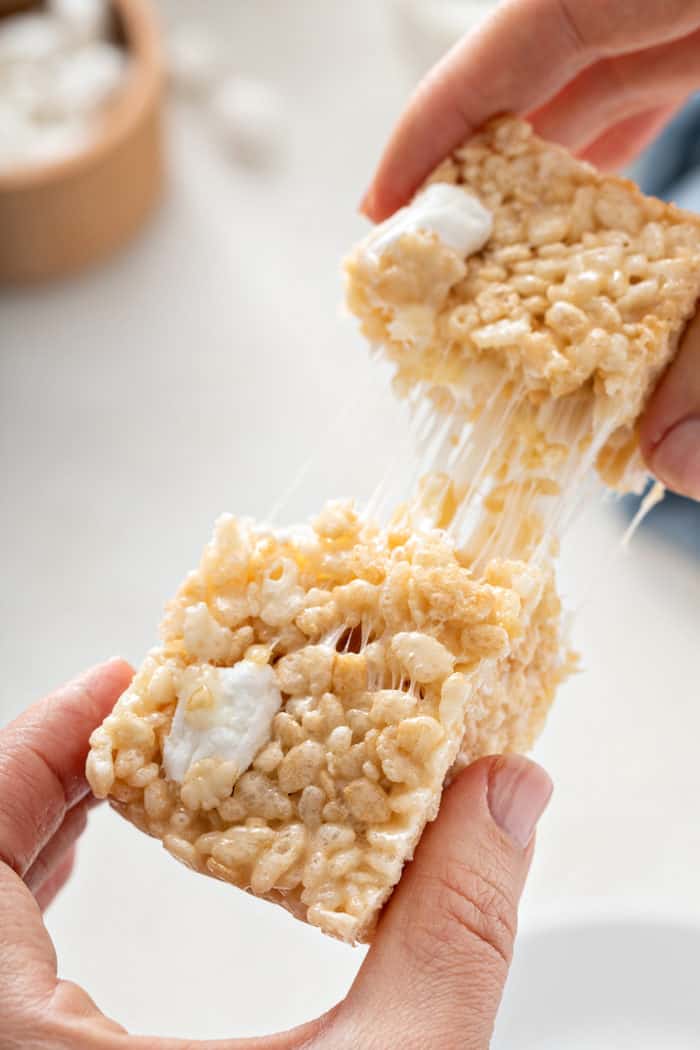
Fun Variations
Whether you use flavored marshmallows, different flavors of crispy rice cereal, or add frosting or other toppings and mix-ins, there are lots of ways to change up this fun treat! Below are a handful of my favorite rice krispie treat variations.
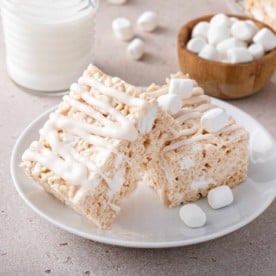
Strawberry Rice Krispie Treats
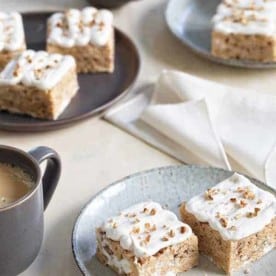
Brown Butter Rice Krispie Treats
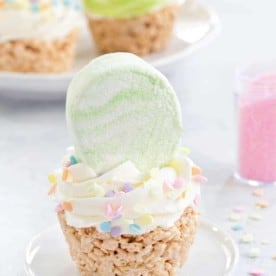
Frosted Maple Pecan Marshmallow Cereal Treats
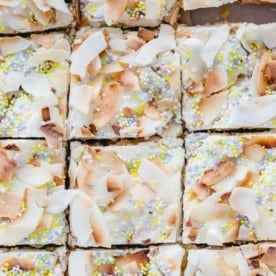
Marshmallow Treat Cupcakes
Toasted Coconut Marshmallow Treats
Classic Rice Krispie Treats
Equipment
Ingredients
- ½ cup unsalted butter
- 2 packages mini-marshmallows 10 ounces each, divided use
- pinch sea salt
- 1 teaspoon pure vanilla extract
- 8 cups Rice Krispies cereal
Instructions
- Line a 9 x 9-inch baking pan with parchment paper or foil and spray with nonstick cooking spray.
- In a large pan, melt butter over low heat. Set aside 2 cups of marshmallows. Add the rest of the marshmallows to the pan and stir until completely melted. Remove the pan from the heat. Stir in the sea salt and vanilla and mix until incorporated.
- Gradually add Rice Krispies cereal; stirring until well coated. Fold in the reserved 2 cups of marshmallows until thoroughly incorporated.
- Using a buttered spatula or clean hands to gently press the mixture into the prepared pan. Don’t push too firmly or you’ll lose a bit of the ooey-gooey factor that we’re looking for. Cool completely at room temperature.
Video
Notes
Nutrition
Nutrition information is automatically calculated, so should only be used as an approximation.


where can I download recipe
Hi Kay – If you go to the recipe card and hit “print,” you can either print it or save it as a PDF to your computer. Happy baking!
Jamie
Try them with golden graham cereal and chocolate bits in place of the rice and extra whole marshmallows, tastes like s’mores. What child or adult wouldn’t eat a Rice Krispie treat either way. Yours look delicious.
I love making them that way as well! Thanks so much for stopping by!
-Jamie
Can you add peanut butter to these?
I think you definitely could add some peanut butter! Thanks for stopping by!
-Jamie