This post may contain affiliate links. Please read our privacy policy.
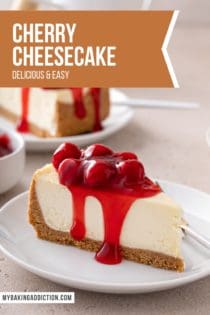
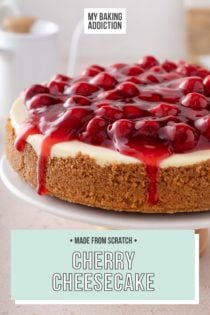
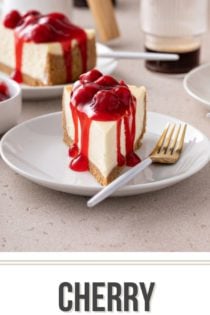
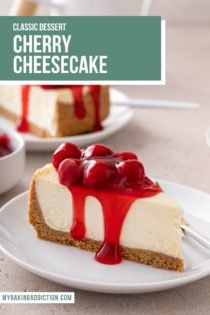
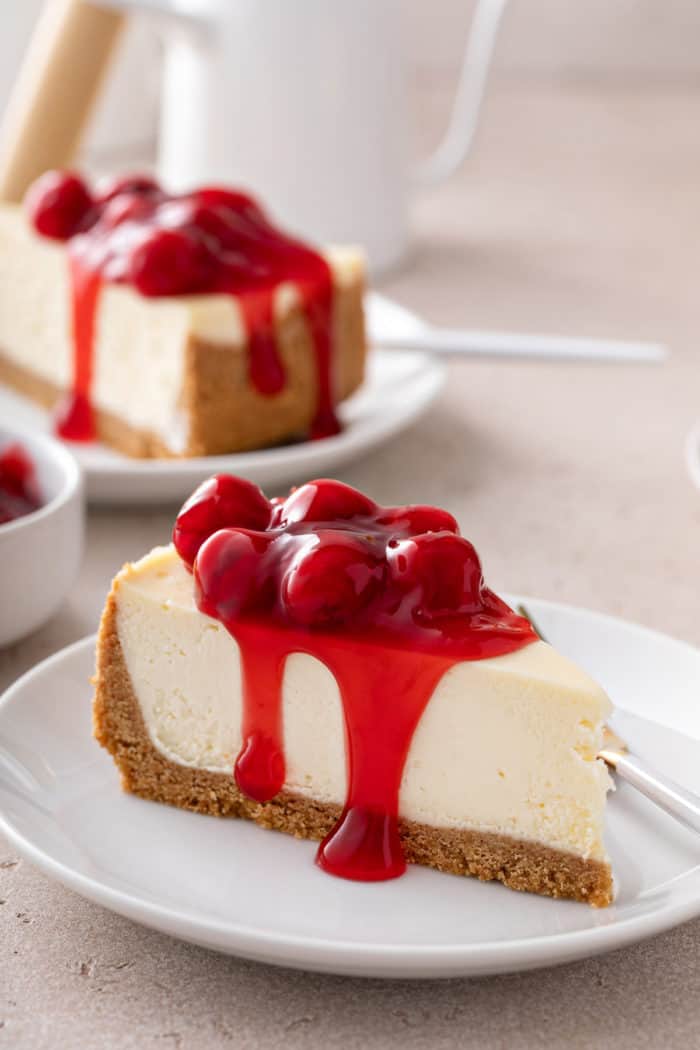
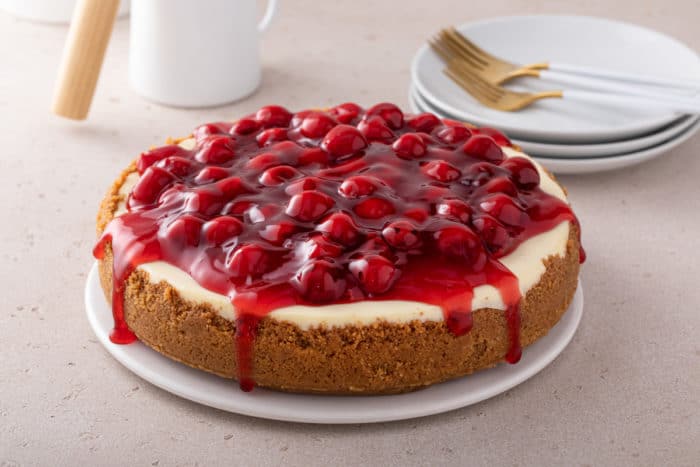
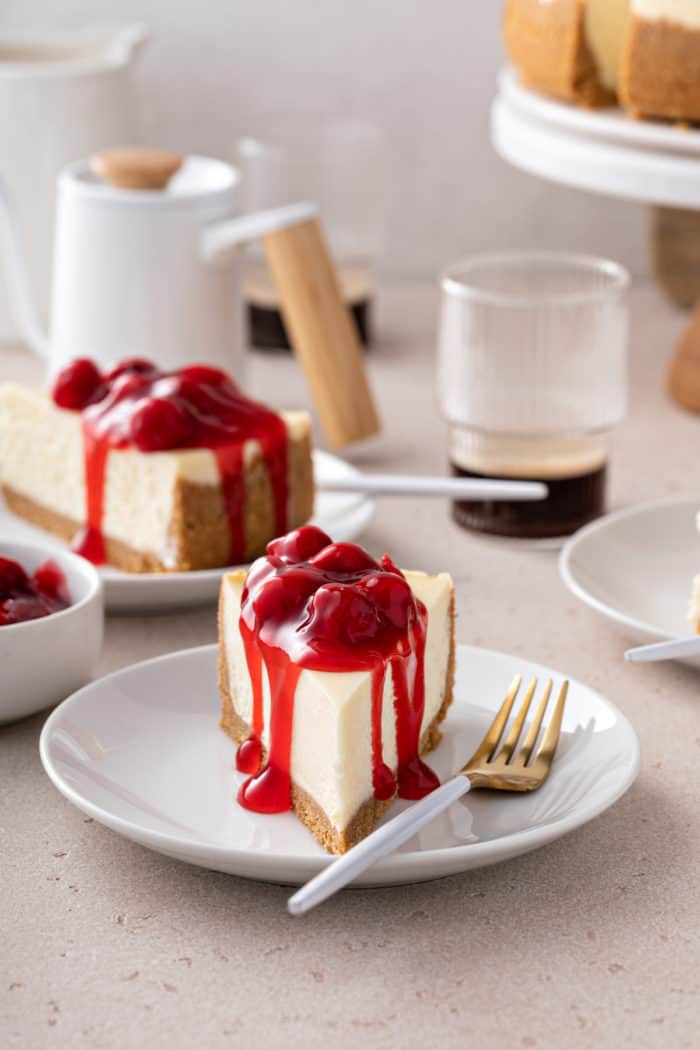
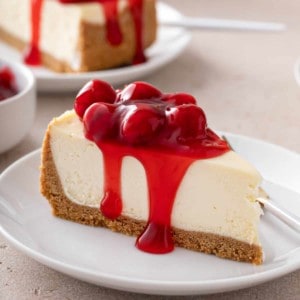
Is there anything more classic than a slice of cherry cheesecake? Creamy, tangy cheesecake filling with a hint of almond flavor is topped with cherry pie filling for a slice of perfection.
Here in the Midwest, we are solidly into fall.
The leaves are turning, the mornings are chilly, and I’m about to bust out all of my favorite scarves.
And I know that everyone is craving all things apple and pumpkin recipes right now, but I’m also craving some classics recently.
So I hope you don’t mind that I am taking a little break from the apple and pumpkin to share this cherry cheesecake with you. Trust me, after one bite, you’ll know it was worth it.
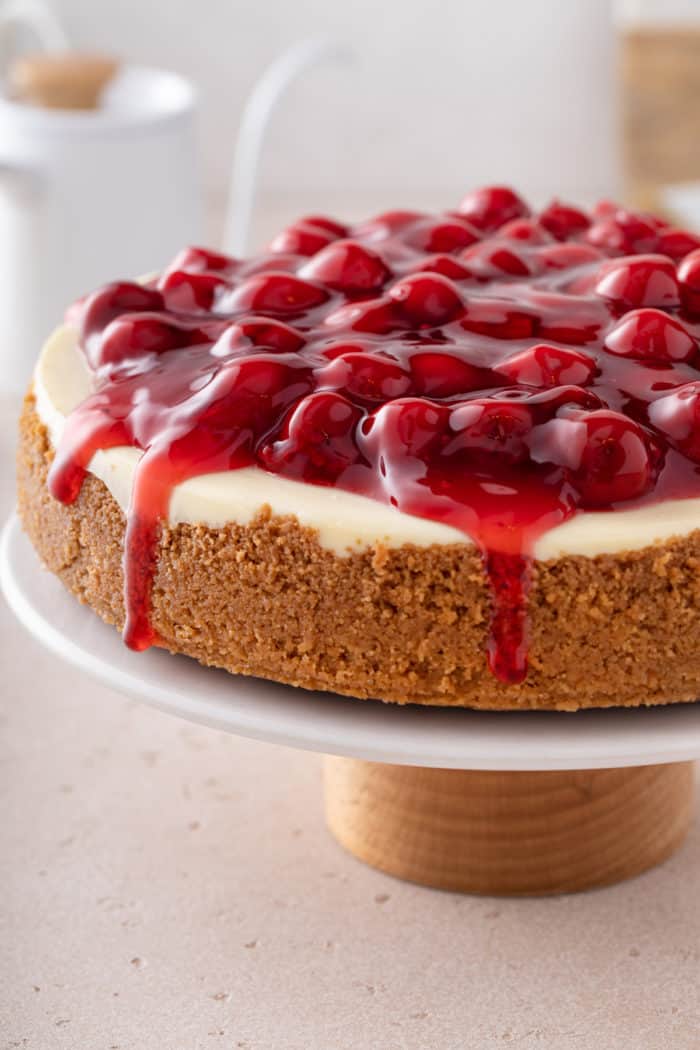
My Classic Cherry Cheesecake Recipe
It’s always nice to have some classic recipes up your sleeve that you can turn to when you’re expecting company.
After all, there aren’t many people who could say no to classics like blueberry coffee cake, homemade lemon bars, or the best chocolate cake.
Cherry cheesecake is one of those types of recipes. It’s a safe bet because it’s so universally loved!
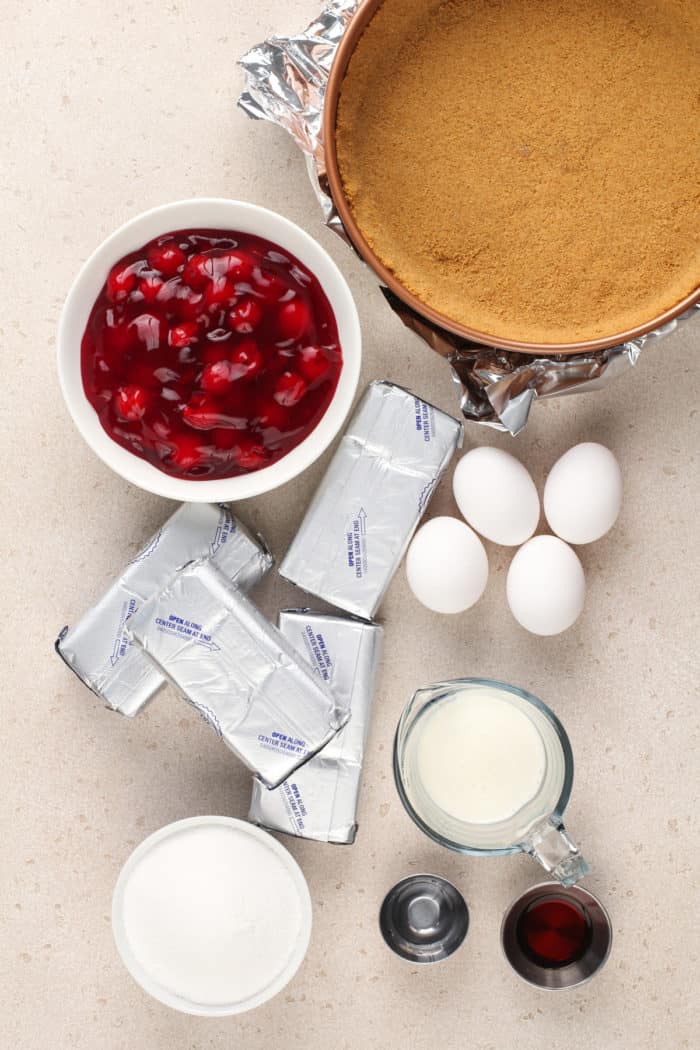
My cherry cheesecake recipe – like my blueberry cheesecake – is a slight twist on my vanilla cheesecake. I took that filling, added some almond extract to it, and topped it with my favorite cherry pie filling.
I think that almond and cherries go together perfectly, so it was a no-brainer to include some almond extract in this recipe. It gives the cheesecake that extra “something special” in my opinion!
How to Make This Recipe
I have probably made thousands of cheesecakes in my life and have dozens of cheesecake recipes here on MBA, so you might think that my ability to whip up a pumpkin cheesecake or this cherry cheesecake on the fly is just because I’m practiced at it.
But cheesecakes really aren’t that hard to make, and this one really only uses a handful of ingredients. Here, I’ll walk you through it.
Cheesecake components
Cherry cheesecake is made up of 3 main parts:
- Graham cracker crust
- Creamy cheesecake filling
- Homemade cherry pie filling topping
I use my homemade graham cracker crust recipe, but you could use a pre-made crust if you don’t want to make your own. You could also swap out the graham cracker crust for a sugar cookie crust, like the one I used in my sugar cookie cheesecake!
The filling is a classic vanilla cheesecake filling with a hint of almond in it. If you don’t like almond extract you can always leave it out, but I highly recommend including it!
You don’t need much to give the cheesecake that little extra “oomph.”
As for the topping, I like using my homemade cherry pie filling. You can of course use your favorite can or jar of cherry pie filling, but I recommend trying to find a high-quality one since the cherries play such an important role here.
Pin this now to find it later
Pin ItMaking this recipe
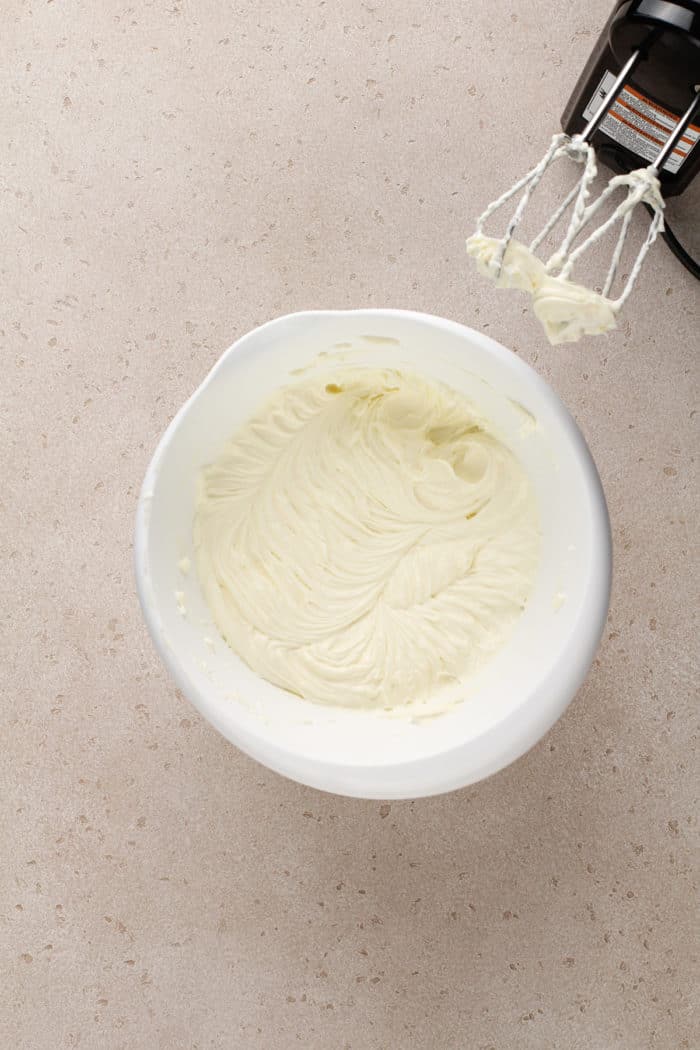
Using a stand mixer or your favorite hand mixer, start by beating the cream cheese with the sugar for about 2 minutes. Scrape down the sides of the bowl and beat for another 30 seconds.
Now you’ll add the eggs one at a time. Make sure to beat the mixture well after each addition, and to scrape down the sides of the bowl often. You want to make sure everything is really well mixed.
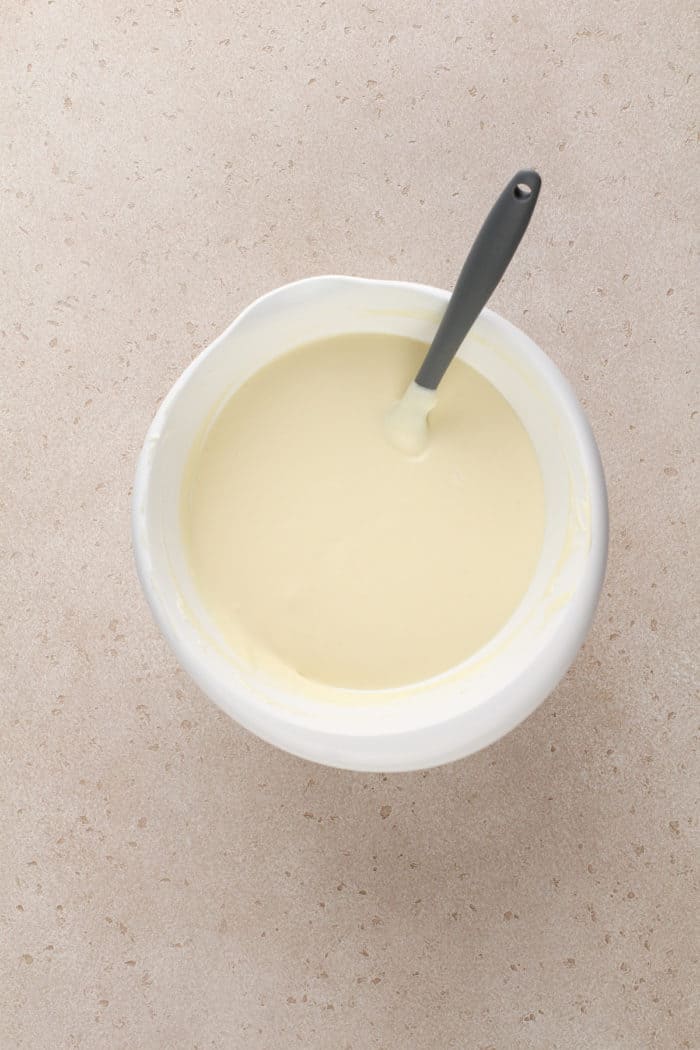
After you’ve added the last egg, the mixture should be smooth and creamy and ready for the vanilla and almond extracts and the heavy cream.
Mix those final ingredients for about 30 seconds before pouring the filling over the crust.
Now it’s time to prepare your water bath.
I have a full post on how to bake cheesecake in a water bath – I recommend checking it out for a full tutorial on this process, but I promise it’s not as hard as you think!
One of my favorite tricks is to place the cheesecake pan into a 10-inch cake pan, then place that pan into the roasting pan for the water bath.
The cheesecake pan will fit nicely into the 10-inch cake pan, and the cake pan will protect the cheesecake from any water leaks.
If you don’t have a 10-inch cake pan, you can nestle a roasting bag around the cheesecake pan to help protect it from the water.
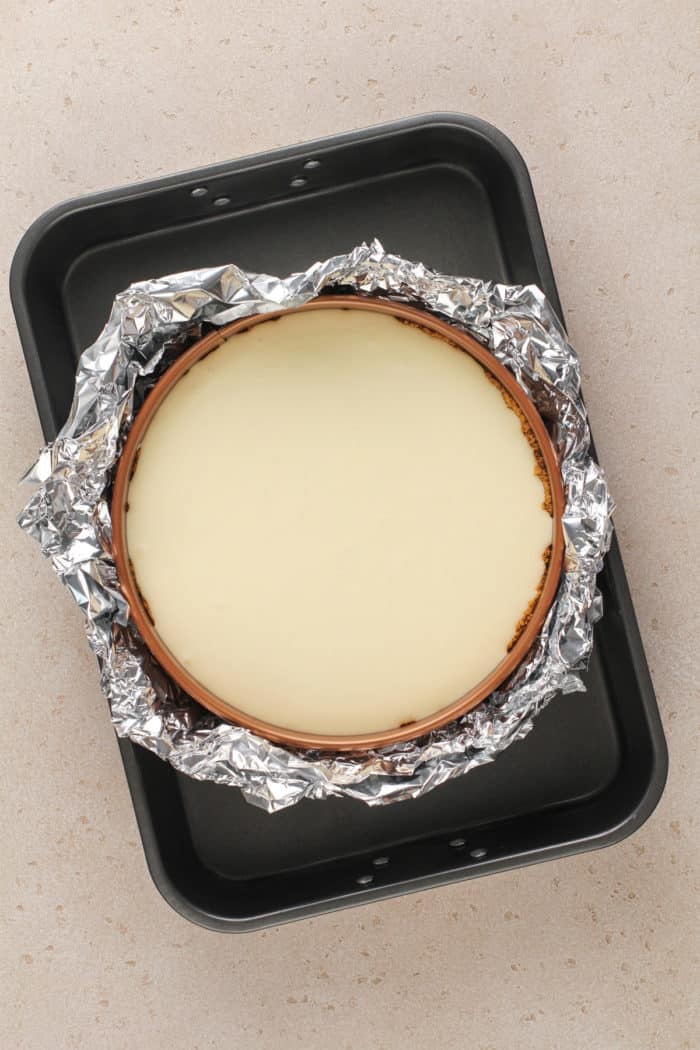
After pouring boiling water into the roasting pan to come halfway up the sides of the cheesecake pan, gently lay a piece of foil over the top of the cheesecake, but don’t tighten it. We want the air to still be able to circulate.
Bake the cheesecake for about an hour, until the edges are set but the center still has a jiggle to it. Turn off the oven, crack the door, and leave the cheesecake to rest in the oven for an hour.
Once the hour is over, remove the cheesecake from the water bath and let it cool completely before placing it in the refrigerator for at least 8 hours.
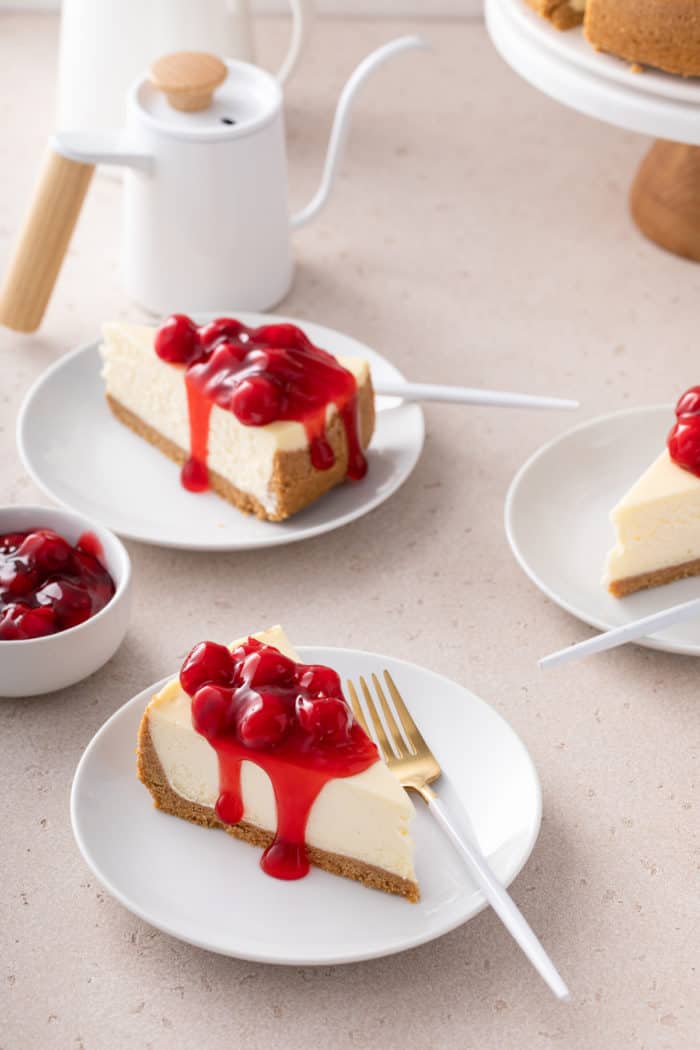
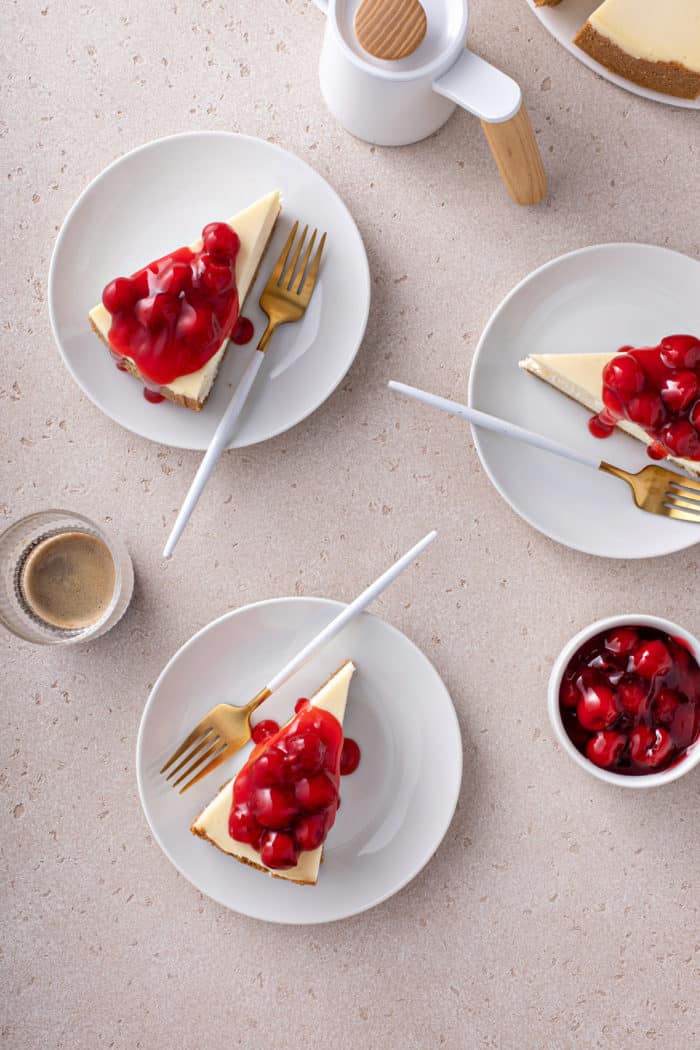
Just before serving, top the cheesecake with the cherry pie filling. Alternatively, you can top each slice of cheesecake individually, allowing each person to add as much cherry topping as they like.
Can you freeze cherry cheesecake?
Cheesecake freezes beautifully, and this cherry cheesecake is no exception!
Wrap the cooled and refrigerated cheesecake in a layer of plastic wrap, followed by a layer of foil. Freeze for up to 1 month.
Let the cheesecake thaw in the refrigerator overnight before topping with the cherry topping and serving.
You can also freeze individual slices. Make sure you wrap those twice as well. I like to place the individual slices in a zip-top freezer bag as well.
More Cherry Cheesecake Recipes
If you love this classic cherry cheesecake, you might want to check out some of these other recipes that were inspired by that classic cherry and cream cheese combination:
No-Bake Cheesecake Eclair Cake

Cherry Cheesecake Cookies
Cherry Cheesecake Cupcakes
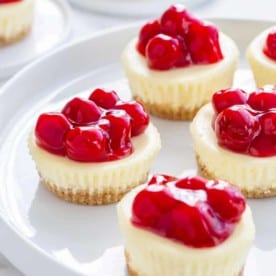
Mini Cherry Almond Cheesecakes
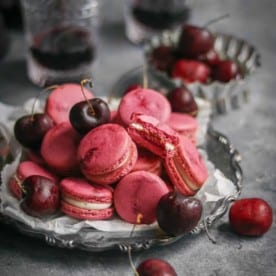
Cherry Cheesecake French Macarons
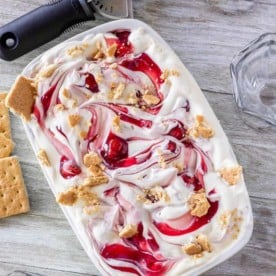
Easy Cherry Cheesecake Ice Cream
Cherry Cheesecake
Ingredients
- 1 9- inch graham cracker crust
- 1 cup granulated sugar
- 32 ounces cream cheese room temperature
- 4 large eggs room temperature
- 2 teaspoons pure vanilla extract
- ½ teaspoon almond extract
- ⅓ cup heavy cream
- Homemade cherry pie filling
Instructions
- Preheat oven to 350°F. Bring a kettle of water to boil for the water bath.
- In the bowl of a stand mixer fitted with the paddle attachment, or in a large bowl with an electric mixer, beat the cream cheese and the sugar for about 2 minutes. Scrape down the sides of the bowl and mix for an additional 30 seconds. Add in eggs, one at a time, scraping down the sides of the bowl after adding the second and fourth egg. After adding the final egg and scraping the sides of the bowl, mix again for 30 seconds. The mixture should be smooth and creamy. Add in the vanilla, almond extract, and heavy cream and mix for an additional 30 seconds.
- Pour the cheesecake filling over the prepared crust.
- Place pan into a larger pan (I use a roasting pan) and pour boiling water into the larger pan until halfway up the sides of the cheesecake pan. Gently lay a piece of foil over the pan – do not tighten the foil as we want to allow the air to still circulate.
- Bake 55-65 minutes, the edges will appear to be set, but the center will still have some jiggle to it. At this point, turn off the oven, and leave the oven door cracked. Allow the cheesecake to rest in the cooling oven for one hour.
- After one hour has passed, carefully remove the cheesecake from the water bath and place on a cooling rack to cool completely. Once the cake is completely cooled, place it into the refrigerator for at least 8 hours.
- Just before serving, top the cheesecake with cherry pie filling.
Video
Notes
- Use my tutorial to learn how to bake cheesecake in a water bath.
- Get my tips on how to soften cream cheese.
Nutrition
Nutrition information is automatically calculated, so should only be used as an approximation.
