This post may contain affiliate links. Please read our privacy policy.
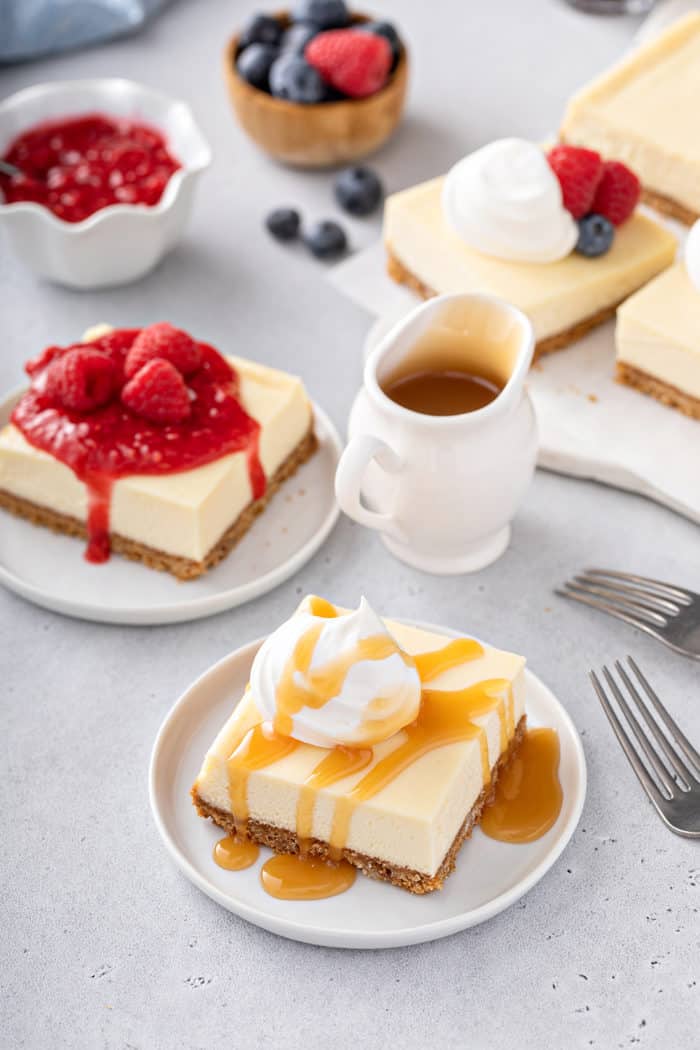
These Cheesecake Bars with their silky smooth filling and buttery graham cracker crust are a simple way to make classic cheesecake for a crowd. Top these bars with your favorite fruit-based sauce, caramel, or even chocolate ganache for so many ways to customize them.
If you happened to catch my recipe for Chocolate Chip Bread Pudding, you might remember me telling you that we like to treat our chiropractor to sweet treats.
Sure, those treats might help us out when we need to be squeezed into his schedule, but he’s also the absolute nicest guy. And not to mention, he’s very enthusiastic with with his dessert reviews – which is something that I just adore about him.
We took him several pieces of these cheesecake bars a few weeks ago and he hasn’t stopped talking about them since. Even proclaiming this cheesecake recipe to be better than his mom’s “blue ribbon winning cheesecake.” And I think that’s saying something.
Although these cheesecake bars are pretty basic, I think the crust is what makes them better than “blue ribbon winning.” It’s little on the thicker side, extra buttery, and the hint of cinnamon adds just a little something special.
CHEESECAKE BARS FOR A CROWD
If you don’t know by now, I have a deep love for making cheesecake recipes. If I have the choice between making a cake or a pie or a cheesecake, I’ll pick a cheesecake almost every time.
But as much as I love making cheesecakes, they aren’t always as great for feeding a crowd or taking to a gathering. But cheesecake bars? That’s where it’s at.
Cheesecake bars are great because you can make them in a 13×9-inch pan, they don’t require a water bath for baking, and you can easily cut them into as many pieces as you need, whether you want to serve large pieces or a lot of smaller bars.
As much as I love making recipes like Pumpkin Cheesecake Bars, No-Bake Cheesecake Bars, Cookie Dough Cheesecake Bars, and Maple Streusel Cheesecake Bars, there’s just something about that classic vanilla cheesecake flavor that you can’t beat.
These bars take that classic cheesecake filling and graham cracker crust and make them easy to share with as many friends as you like.
HOW TO MAKE CHEESECAKE BARS
If you’ve never made a cheesecake before, these bars are a great place to start.
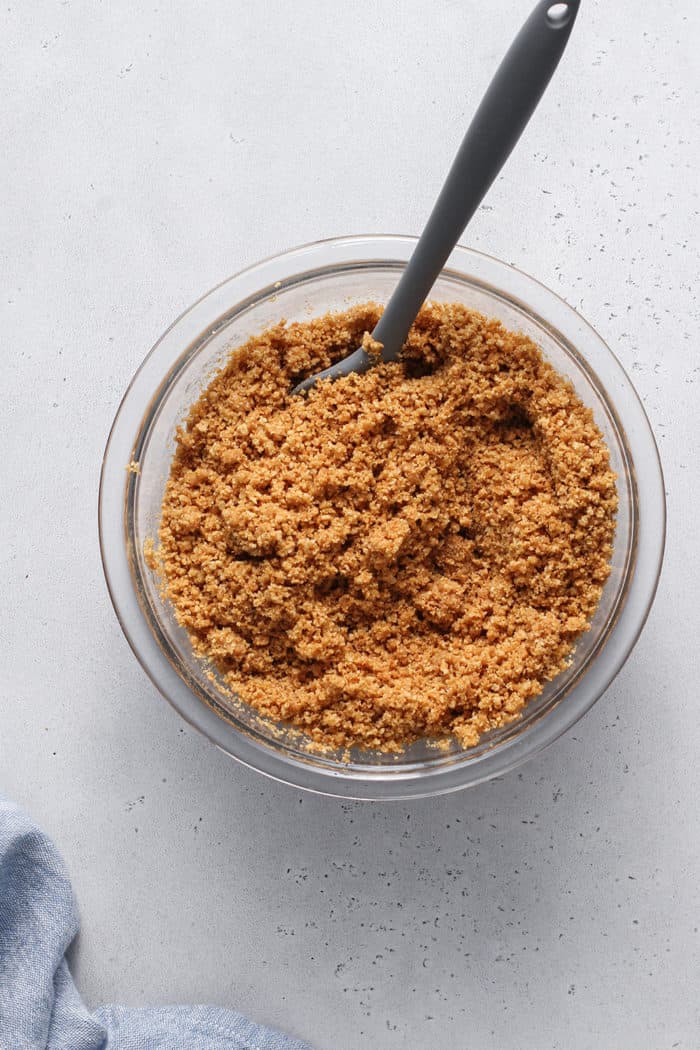
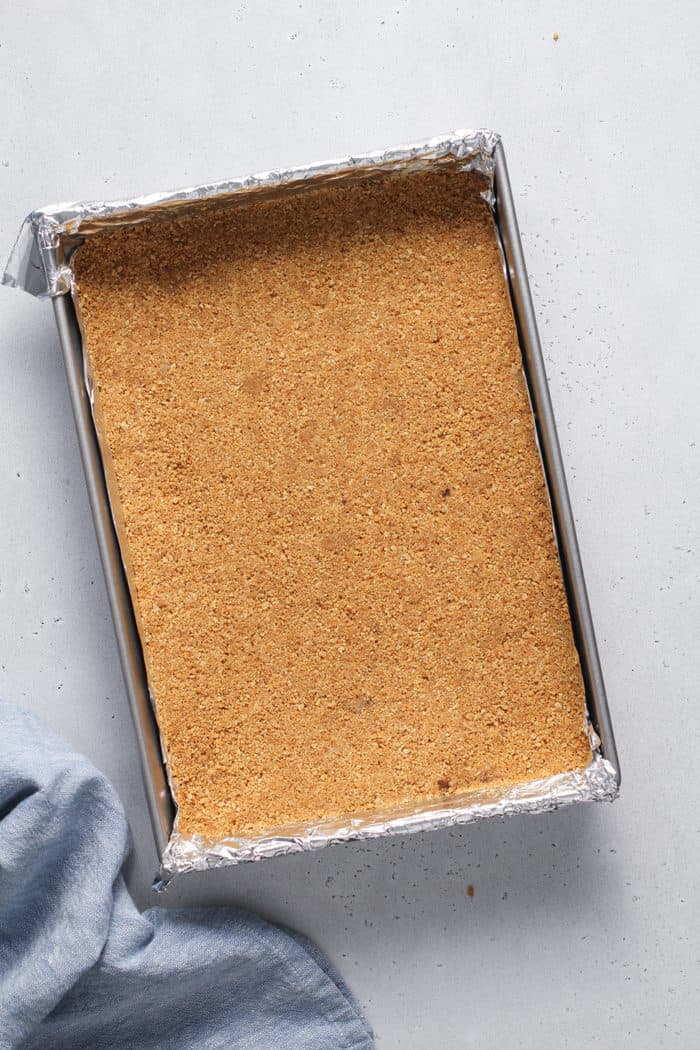
Start by making the crust. Mix together all of the crust ingredients, then press the mixture into the bottom of a prepared 13×9-inch pan. Bake the crust for 10 minutes and let it cool while you prepare the filling.
Using a stand mixer fitted with the paddle attachment or an electric hand mixer, beat the cream cheese and sugar until smooth.
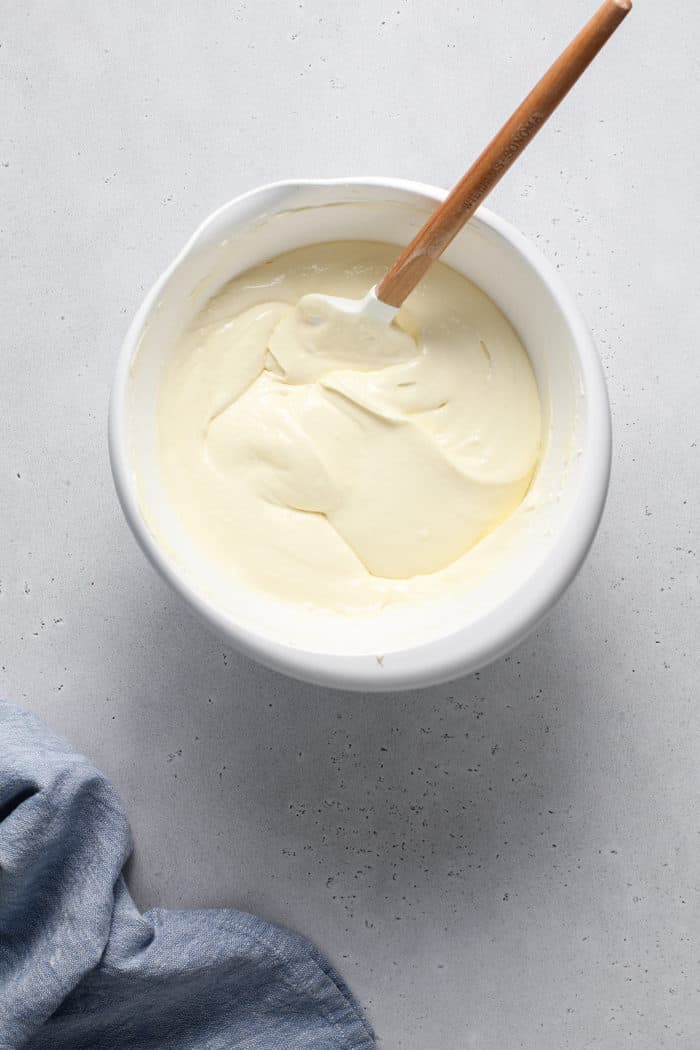
Add the eggs one at a time, making sure to fully incorporate each egg before adding the next one. Scrape down the sides of the bowl with a spatula as needed to make sure the filling gets well mixed.
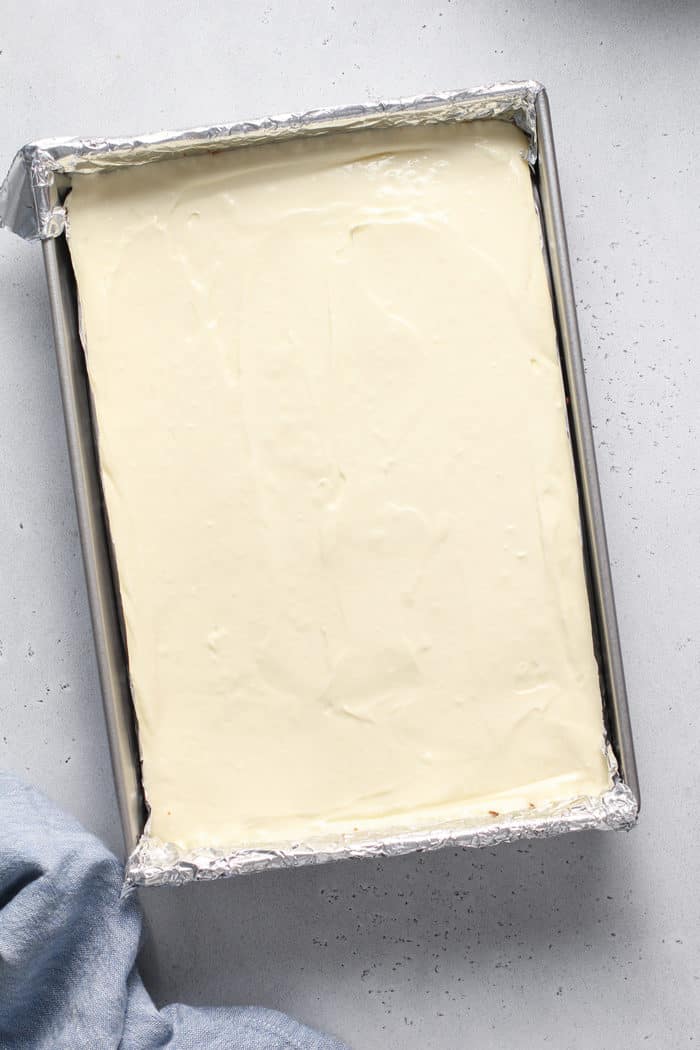
Add the sour cream and vanilla and mix until the filling is silky smooth and everything is fully combined. Pour the filling directly over the crust and bake until the center is set, about 45 minutes.
You may see some cracks around the edges, but this is normal. And something you can easily cover later with a topping!
Let the bars cool completely on a wire rack. Once they are at room temperature, place the pan in the refrigerator to chill for at least 8 hours before serving.
TIPS AND TRICKS
Like I said, I’ve made a LOT of cheesecake in my life, so I have a few tips and tricks for making the BEST cheesecake bars:
- Make sure your ingredients are at room temperature. Yes, really! Set out your cream cheese, eggs, and sour cream ahead of time so they can come up to temp – this will make for a much smoother filling. Forget to set them out early? Learn how to bring eggs to room temperature and how to soften cream cheese.
- Line the pan. Line the pan with foil or parchment paper before you add any of the ingredients to it. Once the bars are fully chilled, you’ll be able to lift them out of the pan and slice them so much more neatly.
- Don’t skimp on the mixing. Make sure you take the time to mix everything really well. Don’t try to rush this process!
- Scrape the sides of the bowl often. Use a spatula to scrape the sides and bottom of the bowl frequently throughout the mixing process. This will make sure you get every little bit of cream cheese and sour cream mixed in – we don’t want any lumps in our filling!
HOW TO CUT CHEESECAKE BARS CLEANLY
If I’m being honest, there has maybe been a time or two when I have dug right into the pan with my fork when eating these cheesecake bars. But I’m guessing that most of you probably want to know how to cut these bars into nice clean slices.
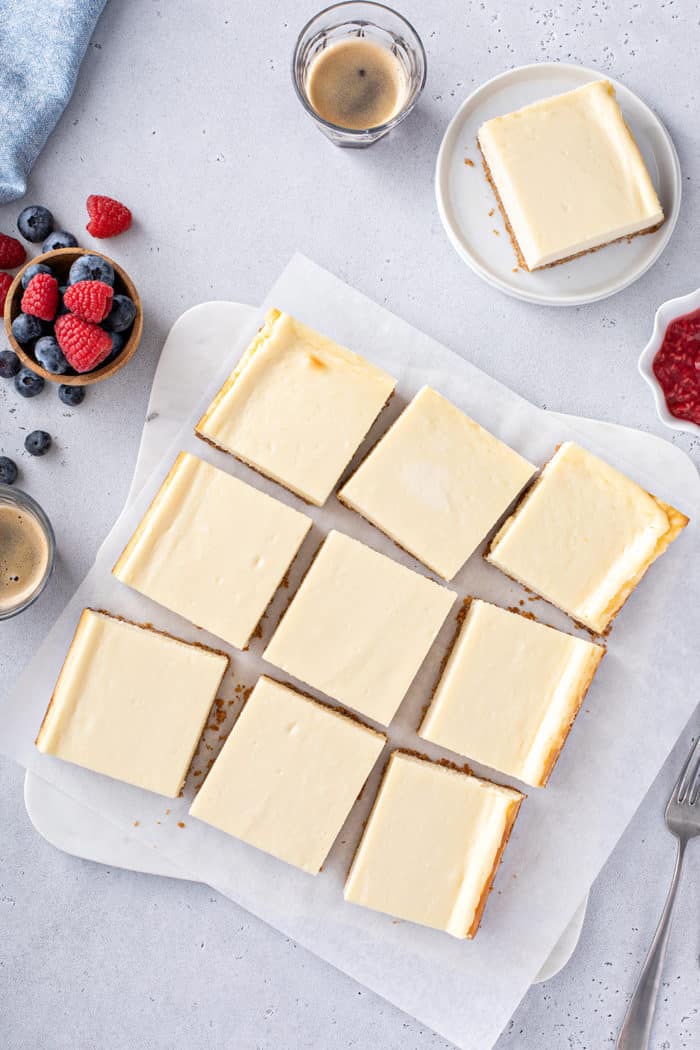
Make sure you let the bars chill in the refrigerator for at least 8 hours before you attempt to slice them. Once they are fully chilled, use the foil or parchment paper overhang to gently lift the bars out of the pan and onto a cutting board.
Take a large, sharp knife and run it under very hot water, or dip it into a container of hot water, for a few seconds. Immediately wipe it dry on a clean tea towel, then make a cut into the cheesecake bars.
Use a paper towel to wipe the knife clean and repeat for each cut.
Submerging the blade of the knife in hot water for just a few seconds and wiping it dry will heat up the blade just enough that it will make a nice clean cut though the filling.
It might seem tedious to wipe the blade clean and warm it up for each cut you make, but going slow and not rushing will make sure you get those beautiful slices!
WAYS TO SERVE THESE BARS
These bars are so flavorful on their own, but they are also a blank slate for adding any number of toppings you can think of!
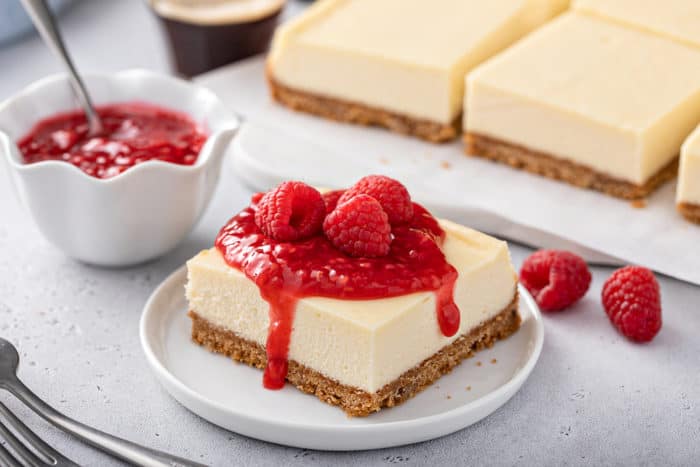
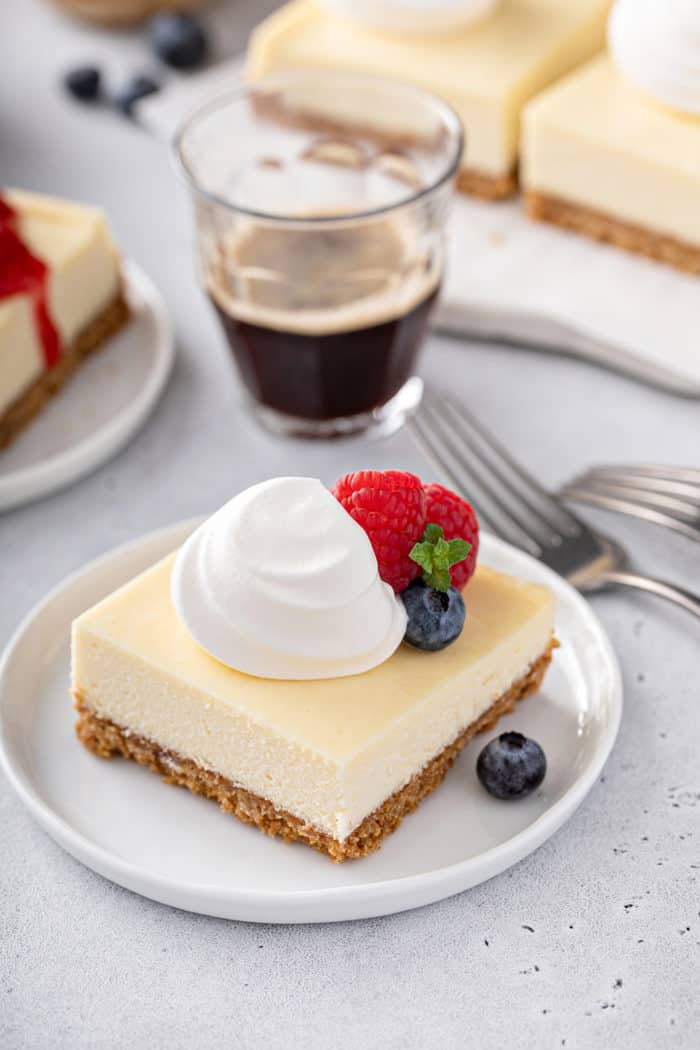
Try them with fresh fruit and a dollop of homemade whipped cream. Or reach for your favorite homemade blueberry sauce or raspberry sauce for a different fruity twist!
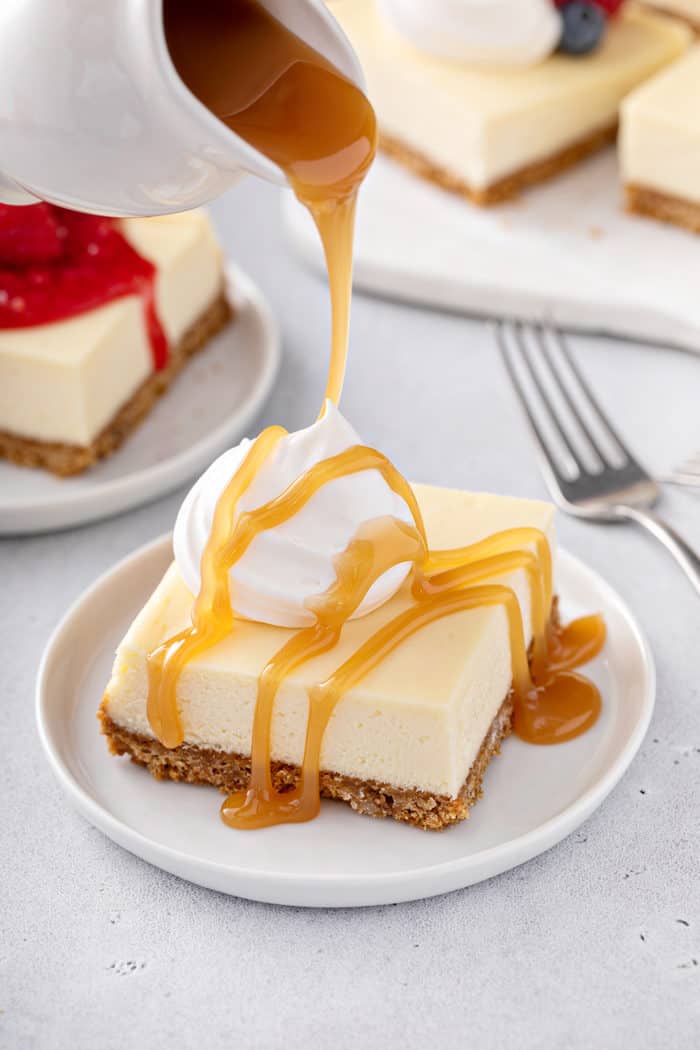
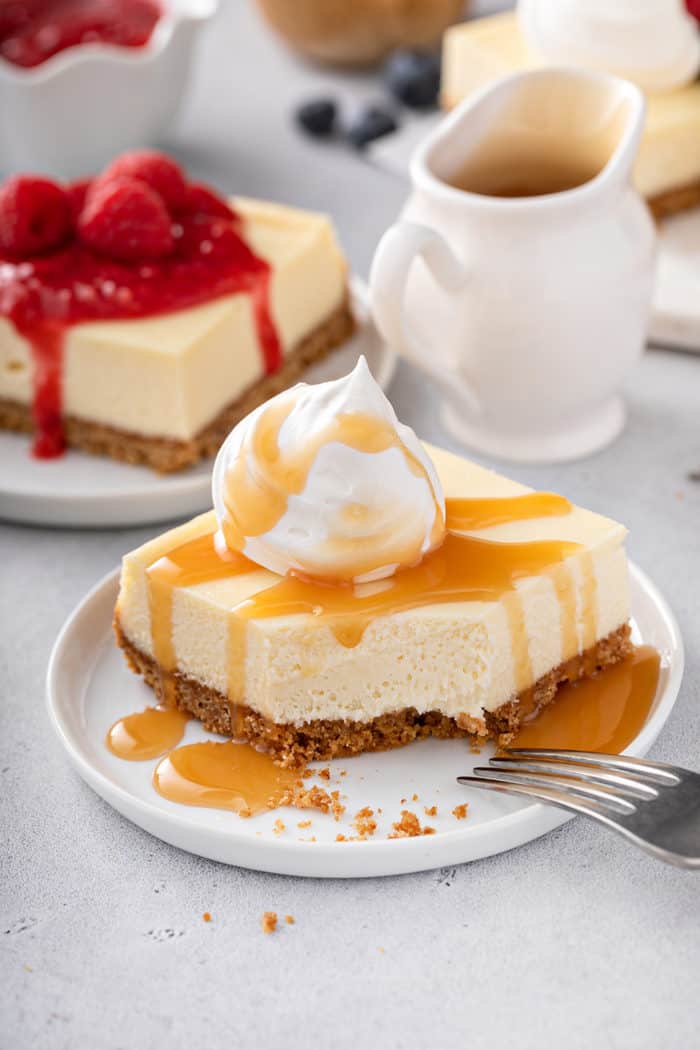
Love caramel? You can’t go wrong with a drizzle of salted caramel sauce.
Want a chocolatey take? Grab some homemade fudge sauce or a simple chocolate ganache.
You can really let your imagination run wild when it comes to topping these cheesecake bars!
STORING AND FREEZING
Before you cut these cheesecake bars, you can tightly cover the pan and store them in the refrigerator in the same pan you baked them in.
Once you slice the bars, store them in an airtight container in the fridge. If you need to stack the bars in the container, make sure to place a layer of parchment paper or waxed paper between the layers.
The bars will keep in the refrigerator for up to 5 days.
Obviously this recipe makes quite a few servings, so if you want to make cheesecake bars for a smaller group of people, feel free to freeze the leftovers for up to 1 month.
Cut the bars into slices and wrap each one well in a layer of plastic wrap and then a layer of foil. Place in the freezer.
When you want to enjoy a cheesecake bar, let it thaw overnight in the refrigerator, or set out at room temperature for about 2 hours.
Cheesecake Bars
Equipment
Ingredients
For the crust:
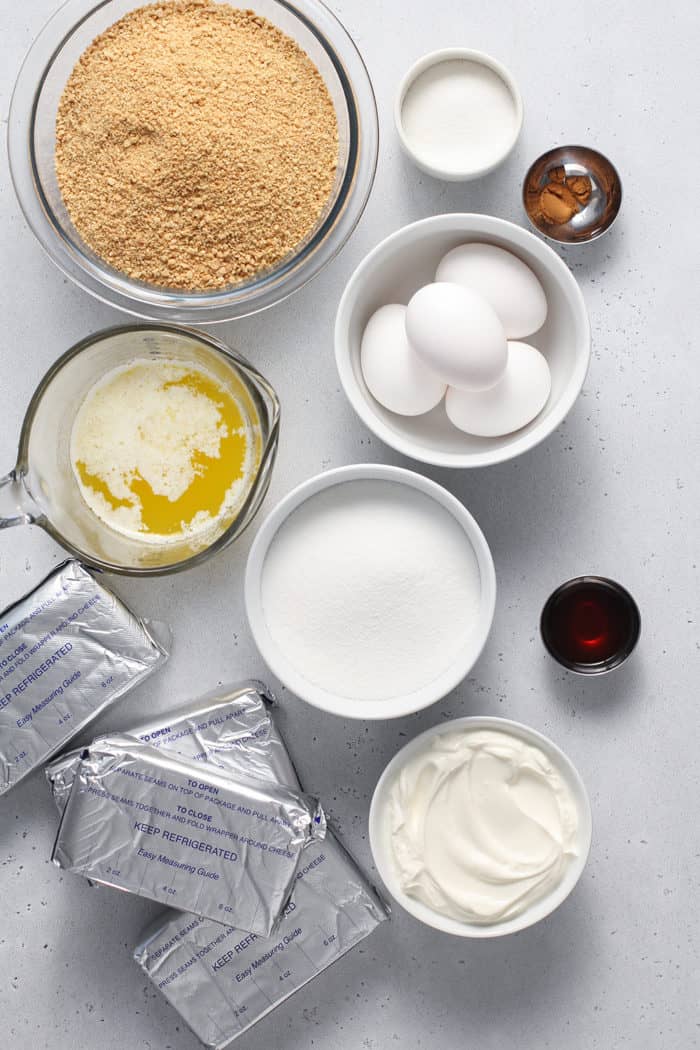
- 3 cups graham cracker crumbs about 22 full graham crackers crushed in food processor
- ¼ cup granulated sugar
- ¼ teaspoon ground cinnamon optional
- 10 tablespoons salted butter melted
For the filling:
- 32 ounces cream cheese at room temperature
- 1 1 /2 cups granulated sugar
- 4 large eggs at room temperature
- ⅔ cup sour cream at room temperature
- 1 tablespoon pure vanilla extract
Instructions
- Preheat oven to 350 degrees F. Line a 9 x 13-inch baking pan with foil and spray with nonstick cooking spray.
- In a large bowl, combine the graham cracker crumbs, sugar, cinnamon and melted butter. Mix until the crumbs are moistened. Evenly press crumb mixture into the bottom of the prepared pan. Bake crust in preheated oven for 10 minutes. Remove pan from the oven and cool on a wire rack while you prepare the filling. Reduce the oven temperature to 325 degrees F.
- In the bowl of a stand mixer fitted with the paddle attachment, or in a large bowl with an electric
- mixer, beat the cream cheese and sugar until smooth.
- Add in eggs one at a time, thoroughly incorporating each egg before adding in another. Be sure to scrape the sides of the bowl from time to time to make sure the filling ingredients are thoroughly incorporated and free of lumps.
- Mix in the sour cream and vanilla extract until the cheesecake filling is smooth and the sour cream is fully incorporated. Pour the cheesecake filling directly over the crust. Bake at 325 degrees F for 45 minutes or until the center appears to be set. You may see some minor cracking around the edges of the bars, this is totally expected. (Mine took 45 minutes to bake.)
- Remove cheesecake bars from the oven and cool completely on a wire rack. After cheesecake is cooled to room temperature, place the pan in the refrigerator to chill for at least 8 hours before serving.
- To serve, cut into squares and top with cherry pie filling, whipped cream with fresh berries, or a simple chocolate ganache.
Video
Notes
Nutrition
Nutrition information is automatically calculated, so should only be used as an approximation.


I made this for a party last week and it was perfect. The timing was as described, it cut cleanly when I followed the directions, and the taste was perfect. Thanks for the great recipe.
So happy you enjoyed, Anne! Thanks for stopping by and sharing your feedback. Happy baking!
Absolutely delicious! Made this a few days ago and we have just about devoured it all.
I’ve never baked a cheesecake before and was thinking about making this for a work party, but I’m going to make it in a pan double the size so I have enough for everyone. Do you think it would bake evenly in a 12×18 pan?
Hi Caitlyn – I haven’t tried this myself, so I can’t attest to the results. It may be safer to bake it in 2 pans, but if you give it a try in the larger pan, I’d love to hear how it goes. Happy baking!
Jamie
Hello! I’m wondering if it’s possible to make the filling a few days in advance.
Thanks!
Hi Michelle – I haven’t tried this, so I can’t attest to how it would work. I think it should be ok, but I probably wouldn’t do it more than a day in advance and would definitely whisk it really, really well before pouring it over the crust and baking. If you give it a try, I’d love to hear how it works for you. Happy baking!
Jamie
Hi, I have two questions. Can lemon zest be added to the cream cheese mix to give it a little zing. How about using chocolate wafers instead of Graham crackers for the crust?
Thanks!
Hi Enid – You could and should definitely give both of those a try! Happy baking!
Jamie
4-10-23
I made these for Easter this year. Only had a hand mixer, but that didn’t matter. These turned out beautiful. The crust is delicious, the cheesecake so smooth! The aluminum foil trick is genius, although next time I will try and find a heavier foil. This is the richest, creamiest cheesecake bars, EVER! I only had 4 people for dinner so everyone went home with a piece or two of this dessert. Thank you so much for the recipe.
So happy to hear this, Laurie! Thanks so much for stopping by and sharing your feedback. Happy baking!
Jamie
Why do you line the pan with foil? Could it be made without lining with foil?
Hi Debra – Lining the pan helps to make it easier to get the bars out of the pan after baking. You could try lining with parchment if you prefer. Hope this helps –
Jamie
Everyone loved them for Thanksgiving. I topped them with2/3 cup sour cream 1/3 cup sugar 1tsp vanilla 1/2 tsp cinnamon bake 10 min more I have never had a smoother cheesecake.I chilled them over night took them out and cut into slices gave them a piece of pumpkin pie and a slice of Cheesecake. Too good thanks for the recipe
So glad you loved these, Sally! Thanks so much for stopping by and sharing your feedback. Happy baking!
can I add items to the cheese mix like chocolate, cocoa powder or even tinned strawberries etc.. your thoughts. Like can I use this recipe as a base?
Hi Ezra – You certainly could do that, although the base might have to be tweaked slightly depending on what you add. I recommend checking out my cheesecake archives for some ideas: https://www.mybakingaddiction.com/cheesecake/ Happy baking!
Jamie
I absolutely love the idea of making Cheesecake into squares, but was wondering if I can take my recipe for Key Lime CC and turn it into squares instead of the Springform pan and a water bath ? I understand that because the squares pan is larger, the amount of the ingredients is alittle larger. Like, your squares recipe calls for 4- 8oz packages of Cream Cheese but my Key Lime recipe calls for 3- 8oz Cream cheese. So could I increase my ingredients to match your recipe and then add the key lime juice and flour from my recipe ?
Hi Janine – It’s hard to know for sure how it would work without giving it a try. If you do try it, I’d love to hear how it goes. Happy baking!
Jamie