This post may contain affiliate links. Please read our privacy policy.
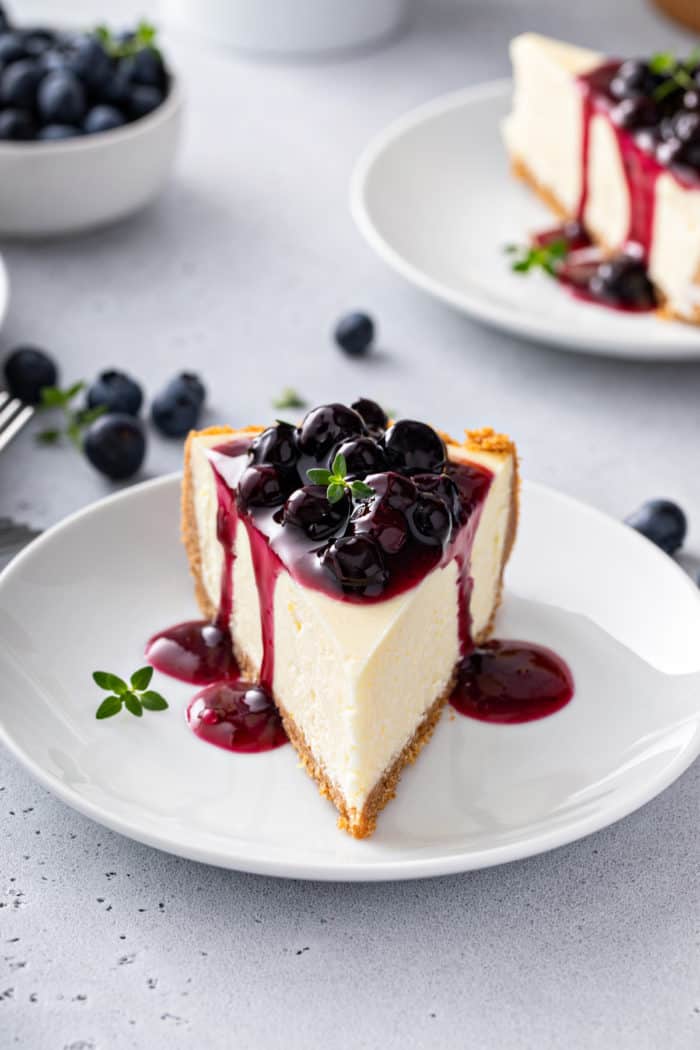
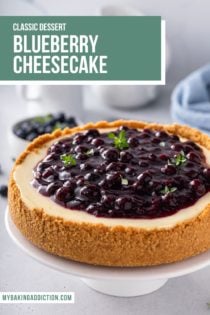
Creamy, rich cheesecake flavored with a bit of lemon zest is crowned with blueberry topping in this lovely blueberry cheesecake. This is one dessert you’ll want to make all year round!
This post contains affiliate links.
Well, we’re officially back to school.
Now that the busyness of getting ready to go back to school is over, we get to enter the busyness of getting back into the swing of things for the school year. Plus figuring out our new routine for all of the after-school activities, getting homework done, and everything else that comes with fall.
I’m already exhausted.
For me, cheesecake is the ultimate comfort dessert. There’s nothing like a slice of sweet, tangy cheesecake, especially when it’s topped with blueberry sauce.
If you’re also looking for a bite of comfort this week, give this blueberry cheesecake a try. It’s an instant classic!
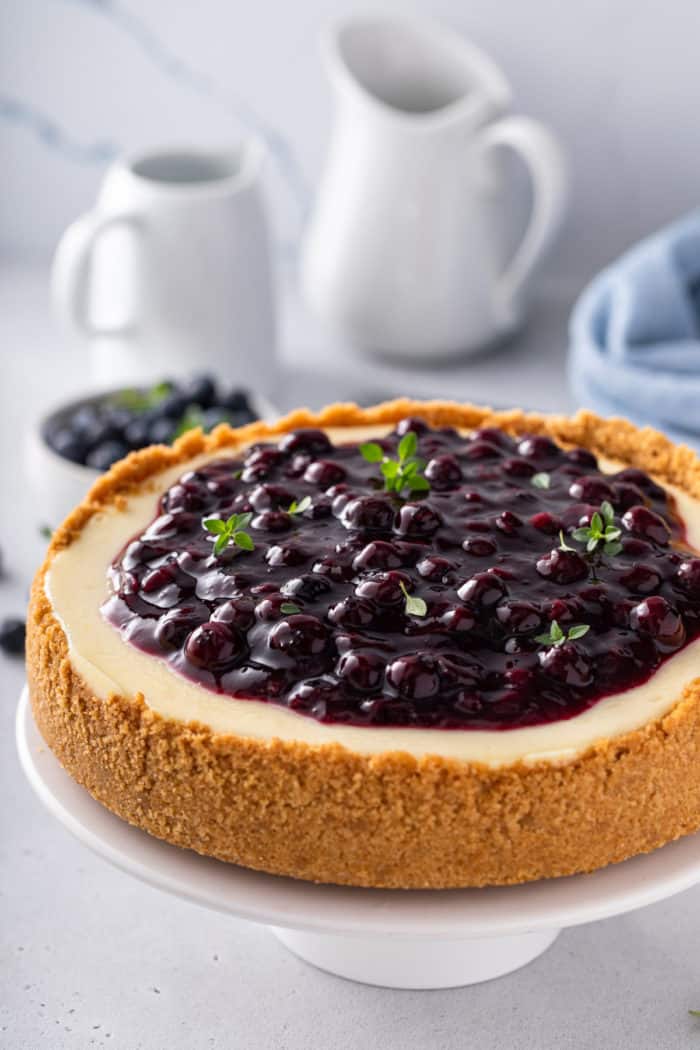
MY GO-TO BLUEBERRY CHEESECAKE RECIPE
When I am looking for a dessert that is sure to please a crowd, I head into my cheesecake recipes archive.
Cheesecake is one of those desserts that most people enjoy, especially when it’s a homemade cheesecake.
This blueberry cheesecake is absolutely one of those crowd-pleasing cheesecakes. It’s a take on my vanilla cheesecake and always disappears in a snap.
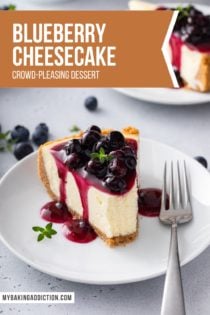
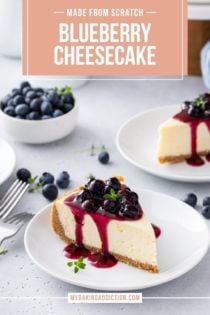
In this recipe, a creamy cheesecake filling sits on top of a classic graham cracker crust and is topped with a flavorful blueberry sauce.
Because blueberries pair so perfectly with lemon, I like to add a bit of lemon zest to the filling. If you really want to amp up the lemon flavor, feel free to spread the top of the cheesecake with a bit of lemon curd before adding the blueberry topping.
HOW TO MAKE BLUEBERRY CHEESECAKE
Through the years I’ve learned that cheesecake is one of those things that really intimidates beginner bakers. I promise you, though – making a homemade blueberry cheesecake is so much simpler than you might think!
Recipe components
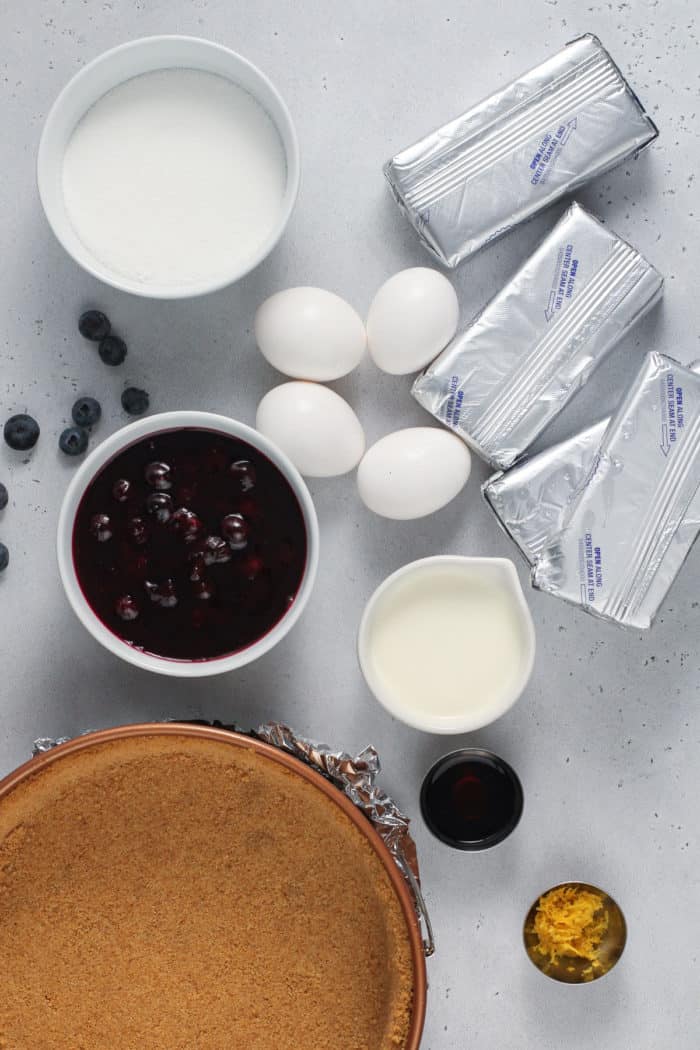
My blueberry cheesecake recipe is made up of 3 main parts:
- Graham cracker crust
- Creamy filling
- Homemade blueberry sauce topping
While the classic graham cracker crust is my go-to crust here, that doesn’t mean it’s your only option!
Try the almond-graham cracker crust from my lemon cheesecake or even the sugar cookie crust from my sugar cookie cheesecake!
Using blueberry sauce as the topping means that you can make this blueberry cheesecake any time of year, since you can make the sauce with fresh or frozen blueberries. You can even freeze some so it’s ready any time you get a cheesecake craving.
Equipment you’ll need
Making your own cheesecake isn’t complicated, but I do have a few tools that I think are helpful to have:
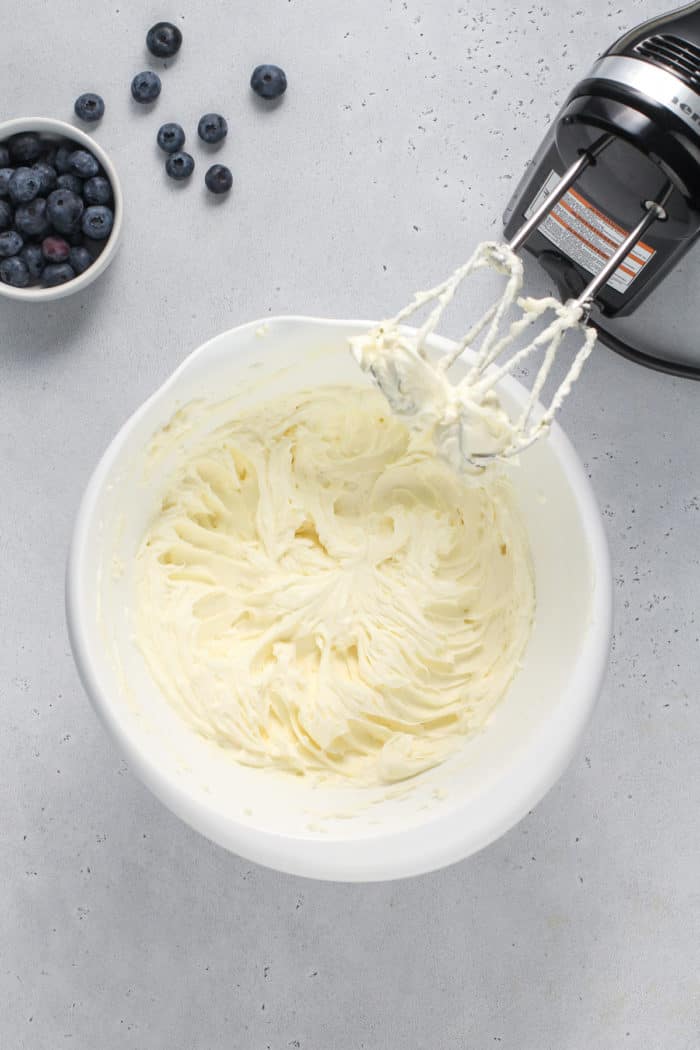
- A stand mixer or electric hand mixer
- 9-inch springform pan
- Roasting pan
- Roasting bags or a 10-inch cake pan
The mixer makes it easier to get a super smooth cheesecake filling, which is not something that’s really possible by hand.
The roasting pan and bags are necessary for the water bath you’ll use when baking the cheesecake. If you’ve never done this before, I have a helpful tutorial on how to bake cheesecake in a water bath.
If you are still nervous about the water bath, one of my favorite tricks is to set the springform pan inside of a 10-inch round cake pan. I then set the 10-inch cake pan into the roasting pan and add the water around the 10-inch pan for an even tighter water barrier!
Making this recipe
Start by prepping your desired crust, whether it is a graham cracker crust or another type of crust.
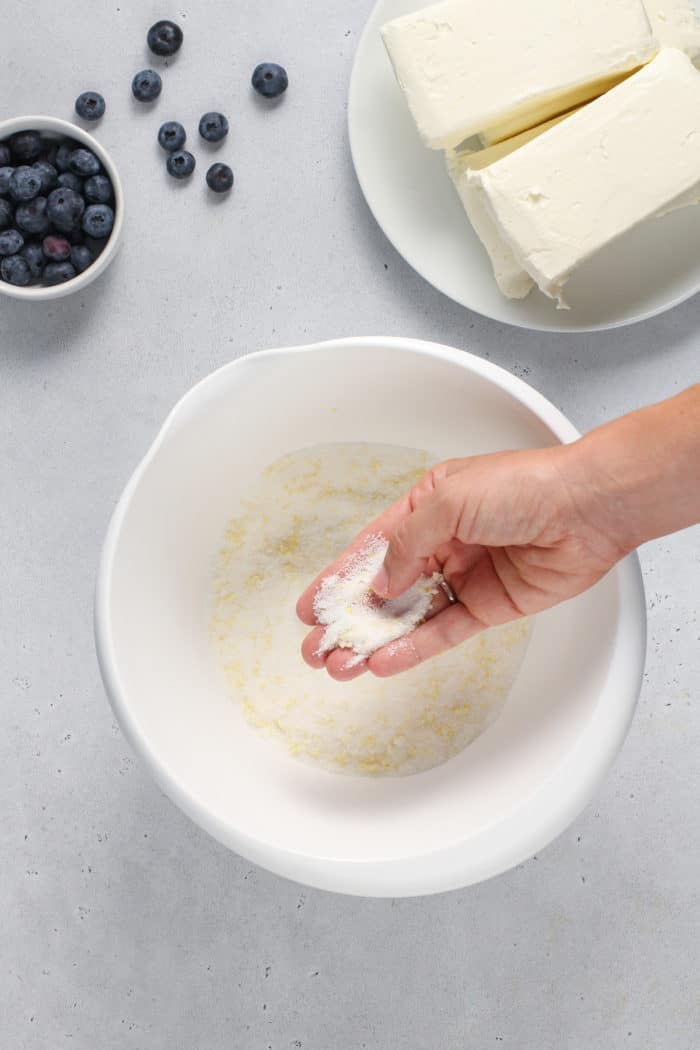
Next, make the cheesecake filling. To really infuse the lemon zest flavor throughout the cheesecake, rub the zest with the sugar until the sugar is moistened and fragrant.
Add the cream cheese to the sugar and use your mixer to cream the two together. Add the eggs, one at a time, followed by the vanilla and heavy cream.
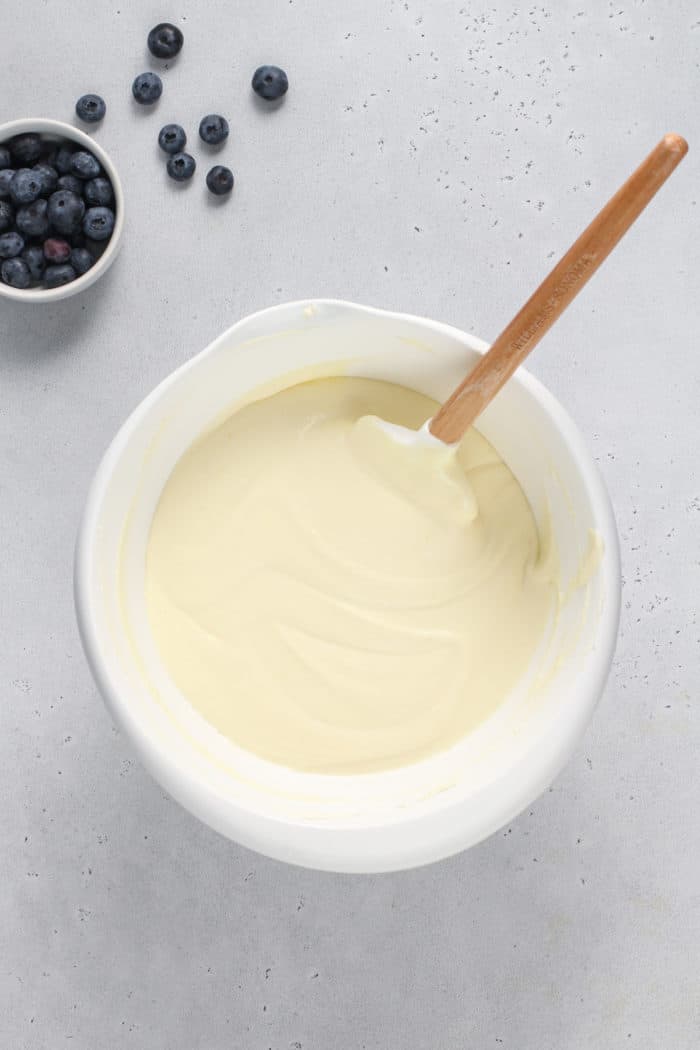
Make sure you scrape down the sides and bottom of the bowl throughout the mixing process and make sure the filling is nice and smooth before adding it to the crust.
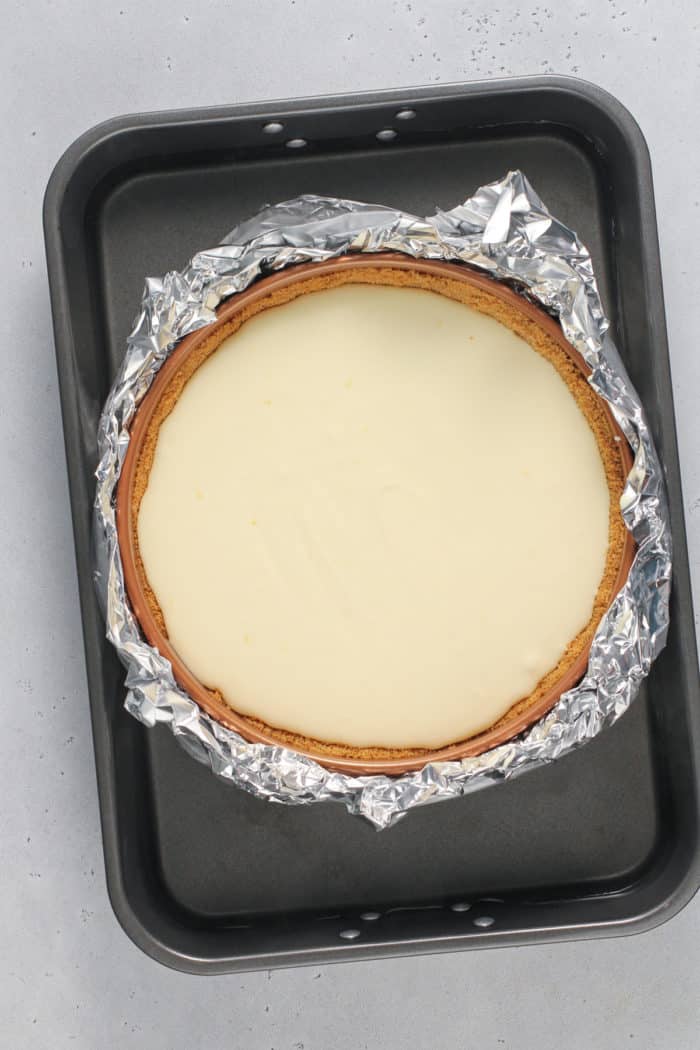
Pour the filling over your prepared crust, then follow the instructions for setting up your water bath.
Gently lay a piece of foil over the pan, but don’t tighten the foil. You want the air to be able to circulate.
Bake for 55-65 minutes. The cheesecake is done when the edges are set but the center still has a bit of a jiggle to it.
Turn off the oven but leave the cheesecake in the oven. Crack the oven door open and let the cheesecake rest in the cooling oven for 1 hour.
After 1 hour, remove the cheesecake from the water bath and place it on a wire rack to cool completely. Once it has cooled, chill it in the refrigerator for at least 8 hours.
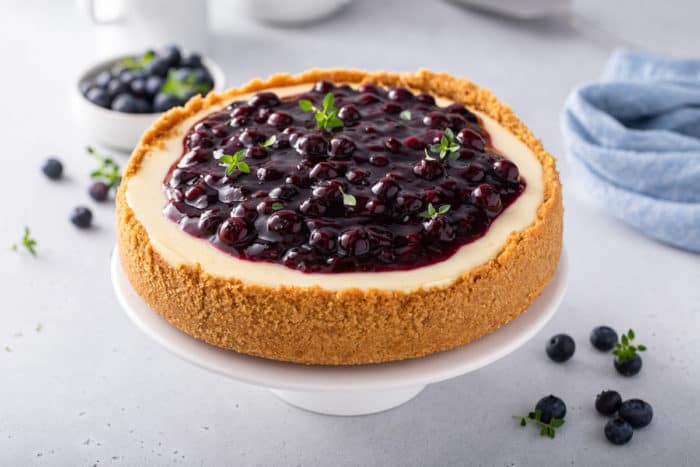
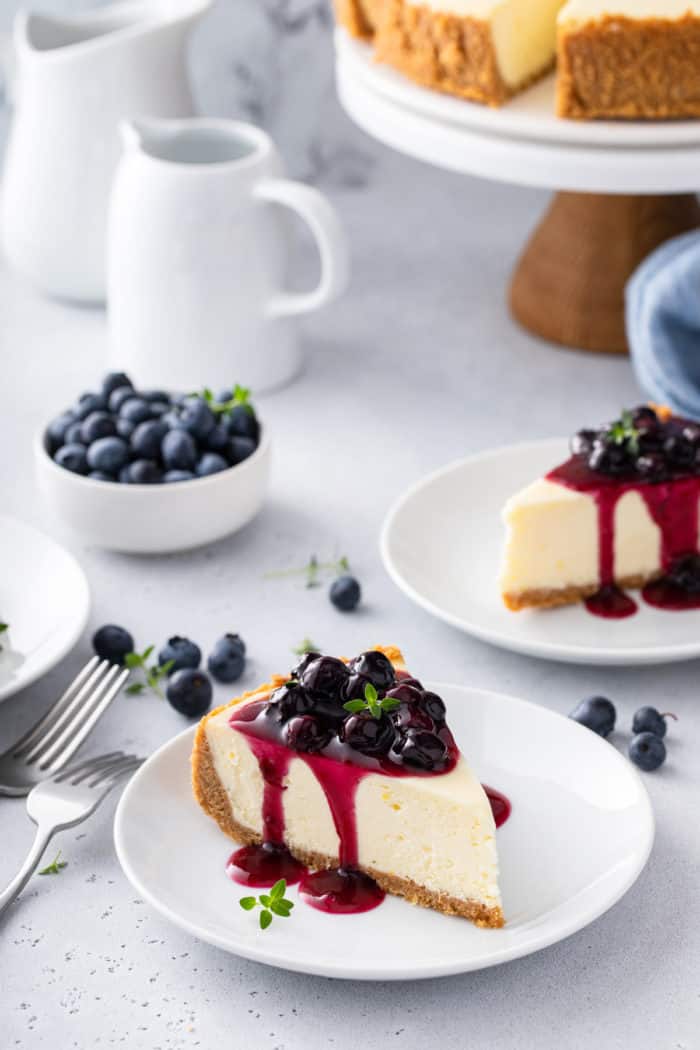
Before serving, top the cheesecake with the blueberry sauce.
STORAGE AND FREEZING
Make sure you store the cheesecake in the refrigerator. It will keep for up to 3 days.
When I plan to serve the entire cheesecake at once, I will go ahead and spread the blueberry topping over the entire cheesecake before serving.
If I am only going to serve a few slices at a time, however, I add the blueberry sauce to each slice as I plate it.
You can also freeze this blueberry cheesecake if you’d like.
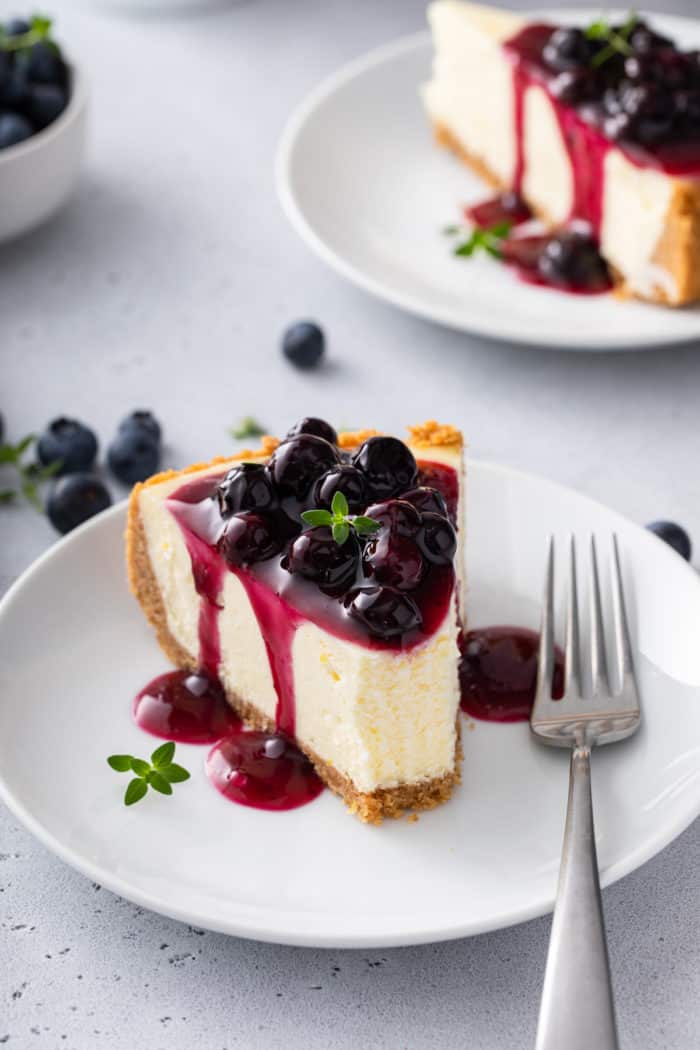
Cut the cheesecake into slices and wrap each slice well in a layer of plastic wrap and then a layer of foil. Place in the freezer.
Freeze the blueberry sauce in portions, either in small containers or in quart-size freezer bags.
When you want to enjoy a slice of blueberry cheesecake, let a slice and some blueberry sauce thaw in the refrigerator overnight or at room temperature for about 2 hours.
Whether you serve this blueberry cheesecake at a dinner party, at a family holiday, or at a casual cookout, it’s sure to be a hit.
Blueberry Cheesecake
Equipment
Ingredients
- 1 9- inch graham cracker crust
- 1 cup granulated sugar
- Zest of 1 large lemon
- 4 8- ounce packages cream cheese room temperature
- 4 large eggs room temperature
- 2 teaspoons pure vanilla extract
- ⅓ cup heavy cream
- Homemade blueberry sauce
Instructions
- Preheat oven to 350°F. Bring a kettle of water to boil for the water bath.
- In the bowl of a stand mixer fitted with the paddle attachment, or in a large bowl with an electric mixer, mix together the sugar and lemon zest, rubbing the two between your fingertips until the sugar is moistened and fragrant.
- Add the cream cheese to the bowl and beat with the lemon sugar for about 2 minutes. Scrape down the sides of the bowl and mix for an additional 30 seconds. Add in eggs, one at a time, scraping down the sides of the bowl after adding the second and fourth egg. After adding the final egg and scraping the sides of the bowl, mix again for 30 seconds. The mixture should be smooth and creamy. Add in the vanilla and heavy cream and mix for an additional 30 seconds.
- Pour the cheesecake filling over the prepared crust.
- Place pan into a larger pan (I use a roasting pan) and pour boiling water into the larger pan until halfway up the sides of the cheesecake pan. Gently lay a piece of foil over the pan – do not tighten the foil as we want to allow the air to still circulate.
- Bake 55-65 minutes, the edges will appear to be set, but the center will still have some jiggle to it. At this point, turn off the oven, and leave the oven door cracked. Allow the cheesecake to rest in the cooling oven for one hour.
- After one hour has passed, carefully remove the cheesecake from the water bath and place on a cooling rack to cool completely. Once the cake is completely cooled, place it into the refrigerator for at least 8 hours.
- Just before serving, top the cheesecake with homemade blueberry sauce.
Video
Notes
- Makes 1 9-inch cheesecake.
- Use my tutorial to learn how to bake cheesecake in a water bath.
- Store cheesecake in the refrigerator, covered, for up to 3 days.
Nutrition
Nutrition information is automatically calculated, so should only be used as an approximation.


Is cheesecake is thick and delicious everybody loves them and wants me to make them one I’m in the process of making two for other people LOL
I like the recipe
Delicious! I’ve been making this recipe for years, so yummy! The cheesecake and the blueberry sauce are wonderful!
I’m so glad you enjoy it, Carrie! Thanks for stopping by and sharing your feedback, happy baking!
Jamie