This post may contain affiliate links. Please read our privacy policy.
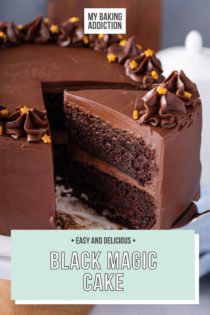
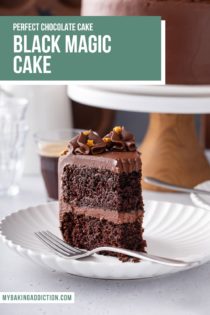
If you’re looking for a rich, decadent chocolate cake, look no further than black magic cake! Buttermilk makes this classic chocolate cake moist and tender, while coffee brings out all of its chocolatey goodness.
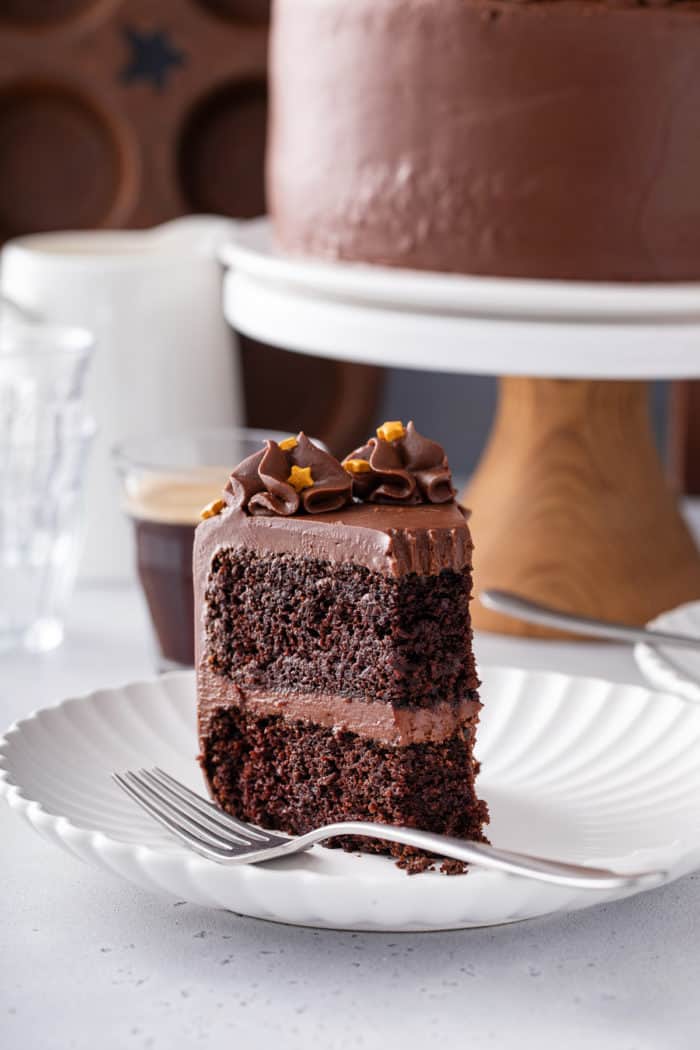
When it comes to cake, most people in my family are team chocolate all the way! If you’ve ever made Hershey’s Black Magic Cake, you know that this cake is a chocolate lover’s dream come true, so it’s one of the must-make cake recipes around here.
Black Magic Cake is rich, moist and comes together with ease. I also love that it bakes up perfectly regardless of if you use a bundt pan, two 9-inch round baking pans or a 9×13-inch baking pan. You can frost it, drizzle on a simple ganache, or even dust it with powdered sugar and serve it alongside fresh berries.
If you love chocolate, this cake recipe is sure to become a family favorite.
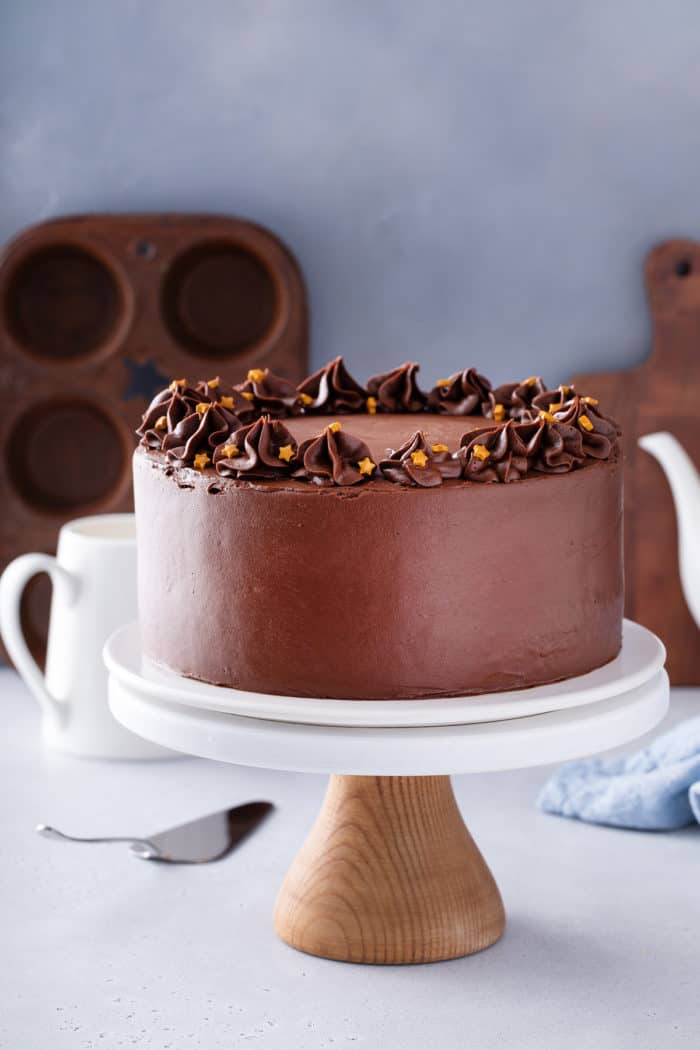
WHAT IS BLACK MAGIC CAKE?
Black magic cake is a Hershey’s classic. I can only assume that it’s called a “black magic cake” because it is so rich and chocolatey, and so good it almost tastes like magic.
What makes it so magical?
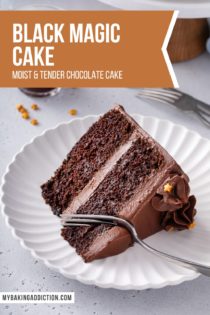
The cake is super moist, thanks to a combination of oil and buttermilk in the batter. The buttermilk also gives the cake a super tender crumb, so every bite practically melts in your mouth.
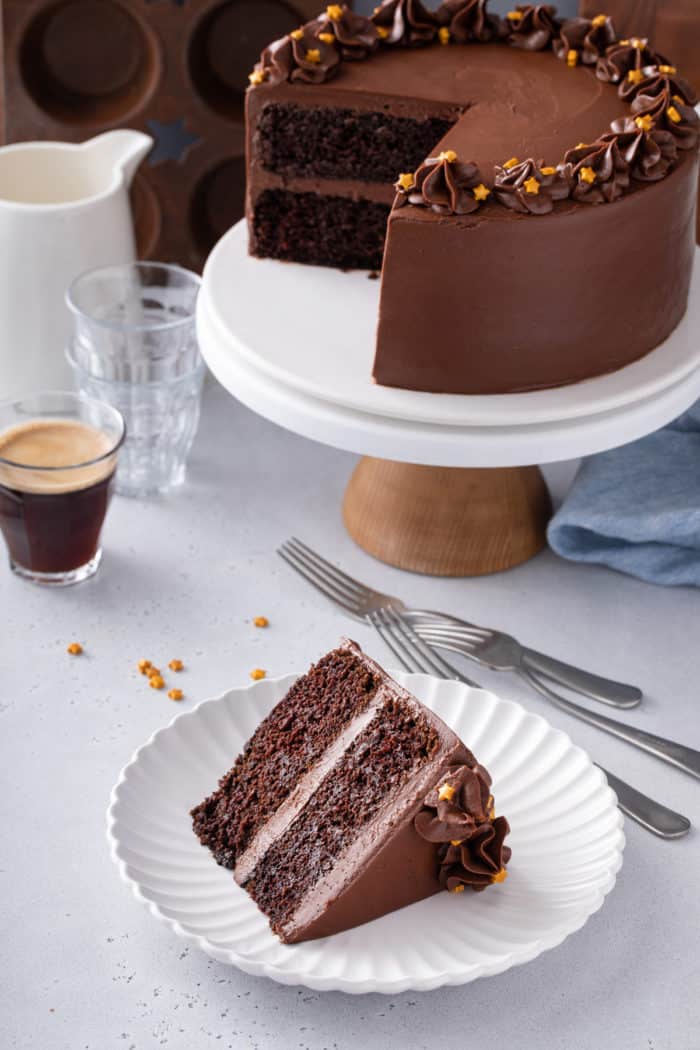
The other thing that makes this cake so amazing is strong black coffee in the batter.
Don’t panic if you don’t like coffee. I promise that this cake doesn’t actually taste like coffee at all!
Coffee does this magical thing when it is paired with chocolate; it enhances the flavor of the chocolate and makes it somehow taste even more…well, chocolatey!
Combine these things together and you’re left with a chocolate cake that is even more incredible than the classic Hershey’s chocolate cake.
HOW TO MAKE BLACK MAGIC CAKE
Much like the best chocolate cake, this is one cake that will have everyone begging you to give them the recipe.
But the real secret is that it’s so simple to make. You don’t even have to use a mixer if you don’t have one!
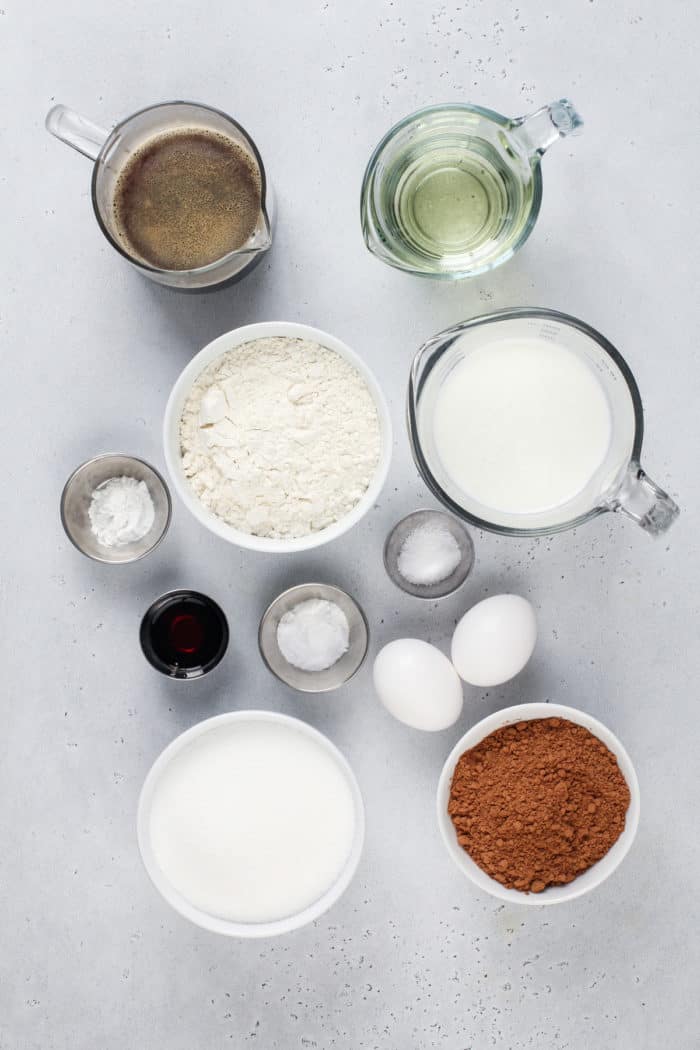
Ingredients you’ll need
Black magic cake is made with unsweetened cocoa powder. Don’t worry about buying a specific type or brand; I find any unsweetened cocoa powder works well here!
In addition to the buttermilk, vegetable oil, and coffee that we talked about earlier, you’ll also need:
- 2 cups granulated sugar
- 1 3/4 cups all-purpose flour
- 2 teaspoons baking soda
- 1 teaspoon baking powder
- 1 teaspoon salt
- 2 eggs
- 1 teaspoon pure vanilla extract
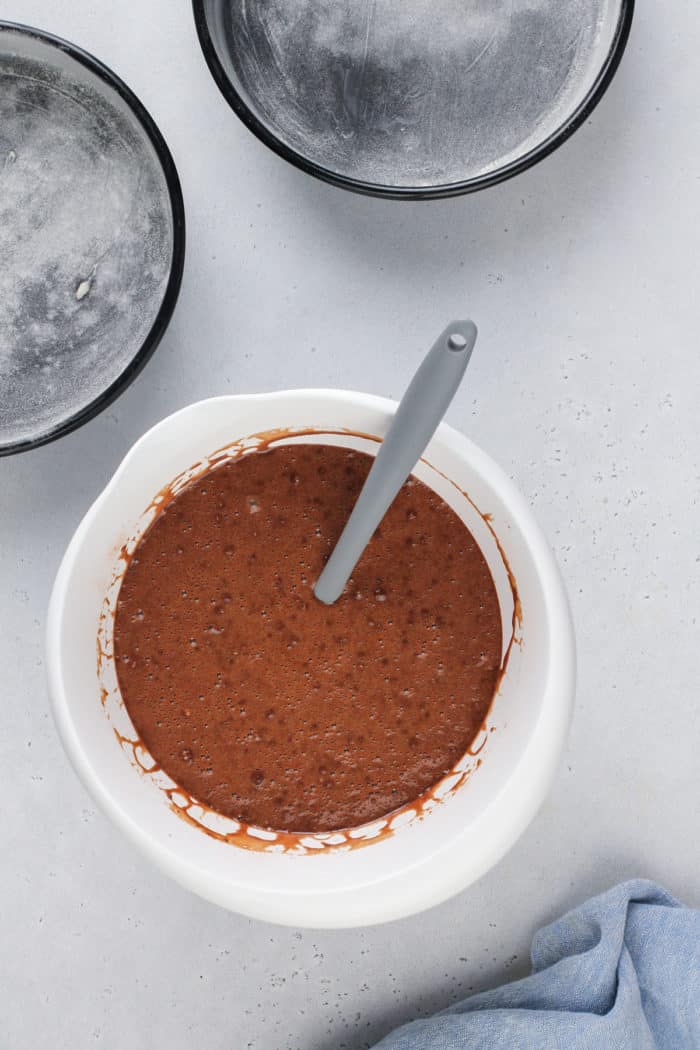
Can you make this cake without coffee?
I know I sound like a broken record, but I really can’t emphasize enough: This can’t doesn’t taste like coffee.
But if you can’t use coffee in the cake or are really opposed to the idea, you can use 1 cup of water instead.
Helpful resources for making black magic cake
If you’re a beginner baker (or even if you’re a baking veteran), I’ve got some helpful posts that you may want to check out as you make this cake.
The first step to baking success is making sure you’ve properly measured your ingredients. Learn how to measure flour to get off on the right foot with this recipe.
If you forgot to buy buttermilk at the store, don’t worry! You can use my simple buttermilk substitute in this recipe instead. (Make sure you save that post because it’s useful for so many recipes!)
Making this cake
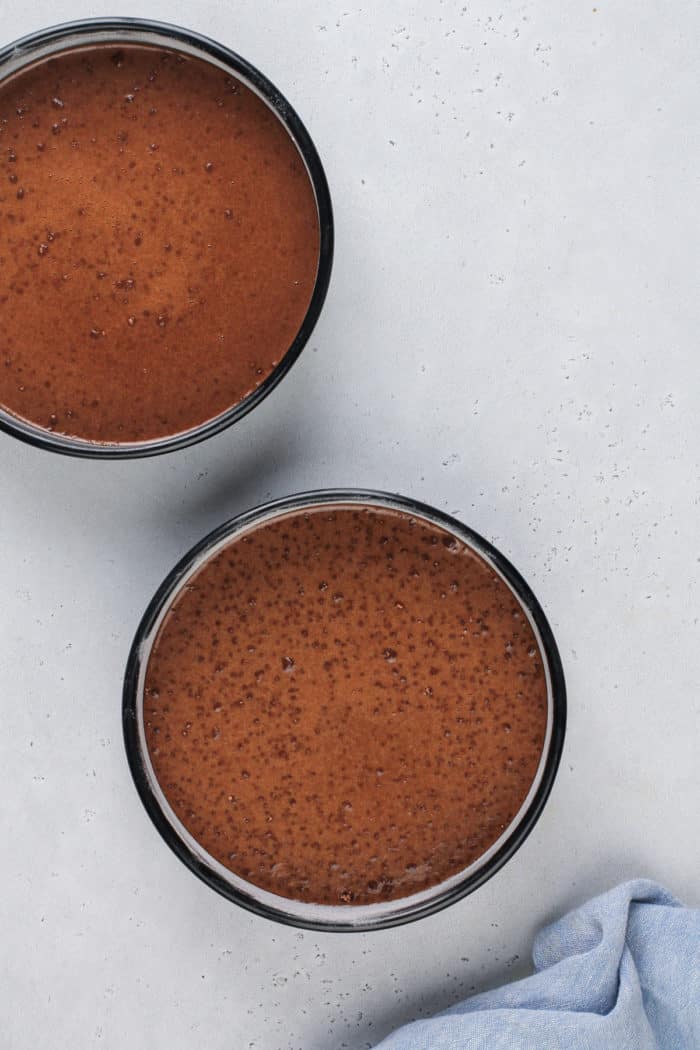
I love making black magic cake as a layer cake. Prep two 9-inch round cake pans by greasing and flouring them. This will help the cake layers release cleanly after baking.
In a large bowl, whisk together the dry ingredients: sugar, flour, cocoa powder, baking soda, baking powder, and salt.
In a separate bowl, whisk together the rest of the cake ingredients: eggs, buttermilk, coffee, vegetable oil, and vanilla.
Add the wet ingredients to the dry ingredients. If you have an electric mixer, use your mixer to beat on medium speed for 2 minutes. If you don’t have a mixer, whisk vigorously for 2 minutes.
The batter will be quite thin – don’t worry, it’s supposed to be!
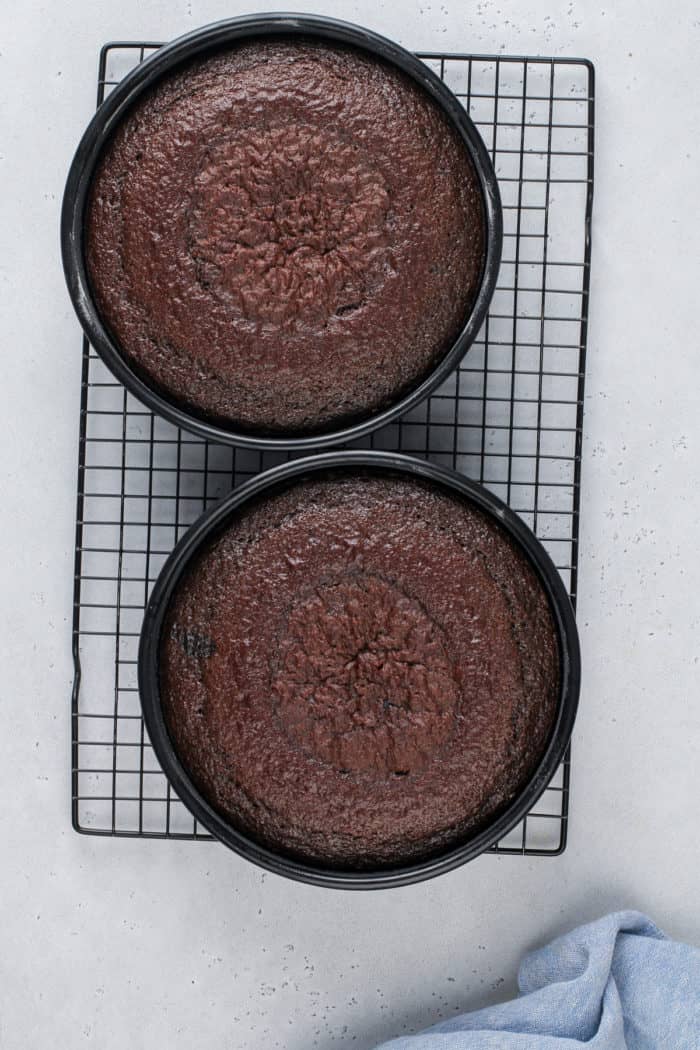
Divide the batter evenly between the two pans and bake for about 30-35 minutes. A toothpick inserted in the center of the cakes should come out with a few moist crumbs clinging to it, but no wet batter on it.
Let the cakes cool in the pan for 10 minutes before turning them out onto a cooling rack to cool completely before frosting.
FROSTING OPTIONS AND TIPS
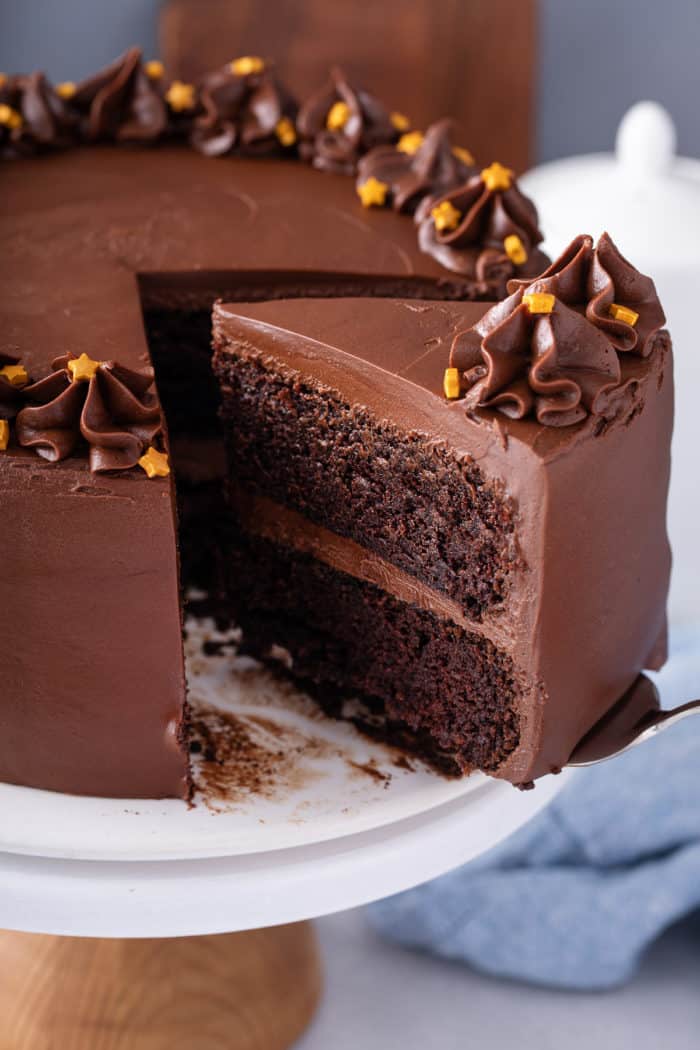
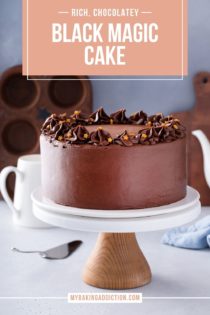
Personally, I think the ultimate way to eat black magic cake is with homemade chocolate frosting. The double chocolate combo is so decadent – it’s any chocolate lover’s dream!
But that doesn’t mean that’s the only way to finish this cake!
Try my favorite buttercream frosting or cream cheese frosting. Or you could get a bit creative and pair this black magic cake with peanut butter frosting or marshmallow frosting!
Frosting tips and tricks
Because this cake is so moist, it does make it a little more difficult to frost than some other cakes.
It won’t affect the flavor at all; it just means that you might end up with some crumbs in your frosting if you don’t think ahead a bit.
For a really clean look, do a crumb coat on this cake. Freezing the cooled cake layers for 1-2 hours will also make them easier to frost cleanly.
CAKE STORAGE
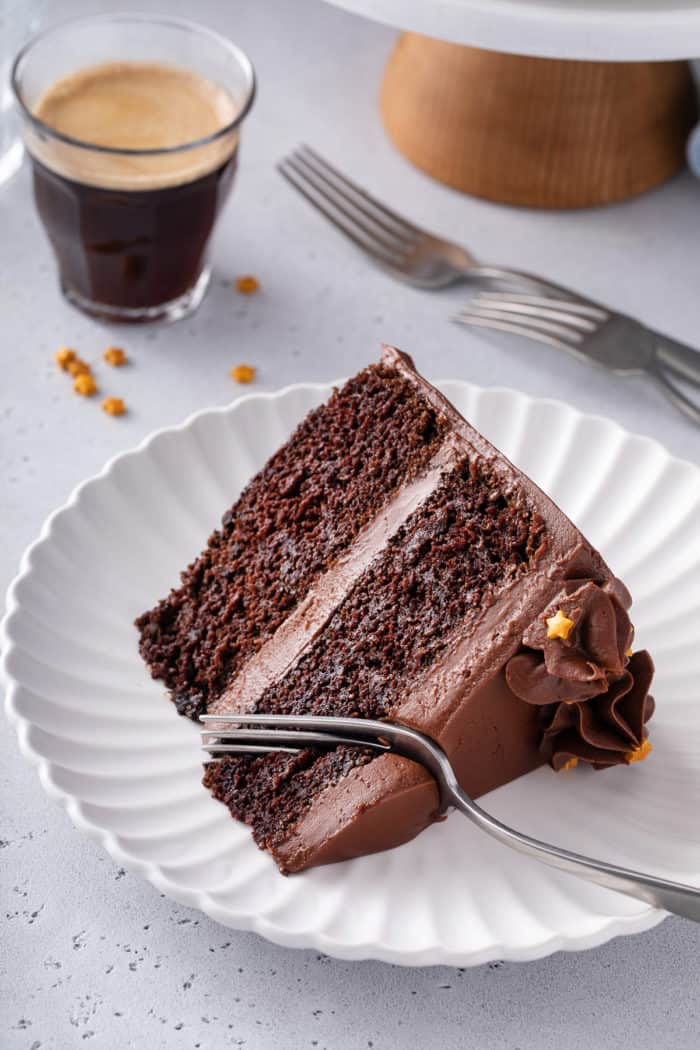
Store this cake covered at room temperature for up to 3 days. It will stay nice and moist – no dried-out chocolate cake leftovers here!
If you choose to use a cream cheese-based frosting, make sure to store the cake in the refrigerator instead of at room temperature.
Dig into a slice of this black magic cake with a big, cold glass of milk and enjoy pure chocolate cake bliss.
Black Magic Cake
Equipment
Ingredients
- 2 cups granulated sugar
- 1 ¾ cups all-purpose flour
- ¾ cup unsweetened cocoa powder
- 2 teaspoons baking soda
- 1 teaspoon baking powder
- 1 teaspoon salt
- 2 eggs
- 1 cup buttermilk
- 1 cup strong black coffee OR 2 teaspoons powdered instant coffee dissolved in 1 cup boiling water cooled
- ½ cup vegetable oil
- 1 teaspoon pure vanilla extract
Frosting as desired, such as:
Instructions
- Heat oven to 350°F. Grease and flour two 9-inch round cake pans.
- Stir together sugar, flour, cocoa, baking soda, baking powder and salt in a large bowl.
- Whisk together eggs, buttermilk, coffee, oil, and vanilla. Add to the dry ingredients; beat on medium speed of mixer 2 minutes (batter will be thin). Pour batter evenly into prepared pans.
- Bake 30 to 35 minutes, or until a wooden pick inserted in the center comes out clean.
- Cool for 10 minutes; remove from pans to wire racks. Cool completely.
- Frost as desired.
Video
Notes
- If baking in a 13×9-inch pan, bake for 35-40 minutes.
- If baking in a 12-cup bundt pan, bake for 50-55 minutes.
- This is a very moist cake, so consider using a crumb coat when frosting, and/or freezing the cake layers before frosting.
- Store leftover cake covered at room temperature for up to 3 days.
- From Hershey’s.
Nutrition
Nutrition information is automatically calculated, so should only be used as an approximation.


I have been making this cake since 1979 when a friend shared it with me! I always use the cooked whipped cream frosting with it. I have my 3 best favorite chocolate cakes and this is one of them!
Thanks for taking the time to comment, Dawn! Happy baking!
Yes Jamie, have been making this for years. In fact, since I bought Ina Garten’s book Barefoot Contessa At Home. This is Beatty’s Chocolate Cake. Changing the order of the ingredients doesn’t make it yours.
It is however the only chocolate cake I make. Didn’t print it because I have it in Ina’s cookbook.
Hi there – I never claimed this recipe was mine. I state in the post and in the recipe card that this recipe is a Hershey’s classic. In fact, it seems that the Hershey’s version existed before Ina published her version, and it has been widely speculated that Ina was the one who took inspiration from Hershey’s. Hope this helps next time you feel like being a keyboard warrior. Happy baking!
Jamie
@K. Campbell,
Wow! There’s no need to be so nasty! Just enjoy the damn recipe and stop being the recipe police! The author never claimed she invented the recipe.
@K. Campbell, Hey girlypop, just wanted to say that for your future crusades across the internet, it would definitely be better to fact check yourself before you throw some nasty comment out there. This unnecessary comment kinda brought the whole mood down, not going to lie.
@Jamie, I think she was referring to In a Garden using the recipe and not the author of this site. She said that it’s in Tina’s cookbook, but the ingredients are listed in a different order.
Can I use Black Cocoa in place of the cocoa in recipe?
Hi Shelly – I have not made this cake with black cocoa, so I cannot attest to the results. If you give it a try, I’d love to know how it turns out for you. Happy baking!
Jamie
@Shelly Monchik, I make this with black cocoa and it is fabulous
This cake is AMAZING. My teenage son took nearly 1/4 of the cake as a “slice” and said how good it was. This is hands down the best layer cake I’ve made. No question.
That sounds like a reasonable slice to me! Thank you so much for stopping by and sharing your feedback, Christina! Happy baking –
Jamie
This cake looks great. Going to try it. Can you confirm that the chocolate icing in the photos is the “homemade chocolate frosting”?
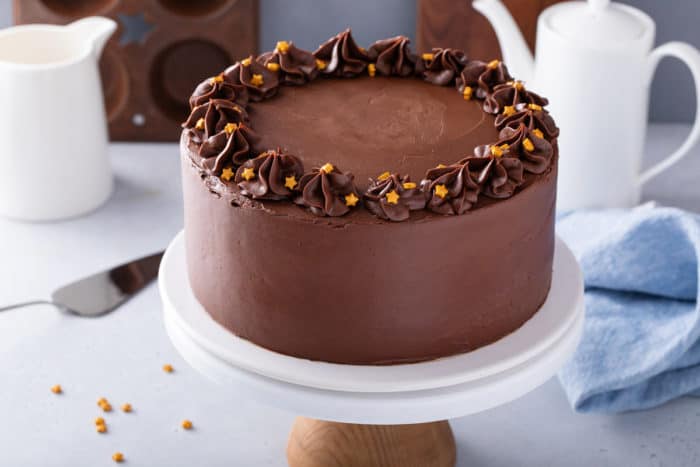
Hi Dale – Yes, the photos show the homemade chocolate frosting. Happy baking!
Jamie
Can this be made gluten free , perhaps with King Arthur Measure for Measure, or one of the other gluten free flours on the market now?
Hi Kathy, I have not attempted this cake with that substitution, so I can’t attest to the results. If you give it a try, I’d love to know how it turns out for you. Happy baking!
Jamie
In your initial recipe at the top of this message, you forgot the ingredient Cocoa Powder I remember this recipe from when I was a kid, my Mom always put Lemon Curd between the layers.
I just highlighted a few of the ingredients that folks might find unusual up above, all of the ingredients and the directions can be found in the recipe card for the full recipe. Lemon curd sounds so interesting as a filling! Happy baking!
Jamie
This cake looks amazing! Do you think it would hold up well as a wedding cake? It would only be a small cake-probably just 2 tiers. Thanks!
Hi Nita! I would definitely freeze the layers before decorating; it’s a very moist cake so freezing will keep it more firm as you crumb coat and decorate it. And definitely use dowels to stack the layers. Maybe practice before the event just to make sure! If you give it a try, let me know how it works out for you. Happy baking!
Jamie
I want to say this cake is absolutely delicious! I’ve made it several times now, and I used this recipe to make my granddaughter’s cake. I made a three layer cake, and the cake was commented on so many times, people absolutely loved it. I have people asking me to make this cake for them and they won’t stop. thank you so much for the recipe it will be enjoyed for a long time.
I’m so happy to hear you love this recipe, Diane! Thanks so much for stopping by and sharing your feedback. Happy baking!
Jamie
@Diane, how did you make a three-layer cake? Did you make 1.5 times the recipe or did you simply split the original recipe into three pans for a shorter height layer? Did you use 8 or 9″ rounds?
One of the tastiest recipes… I love it.. thank you..
We love this one too! Soooo good!