This post may contain affiliate links. Please read our privacy policy.
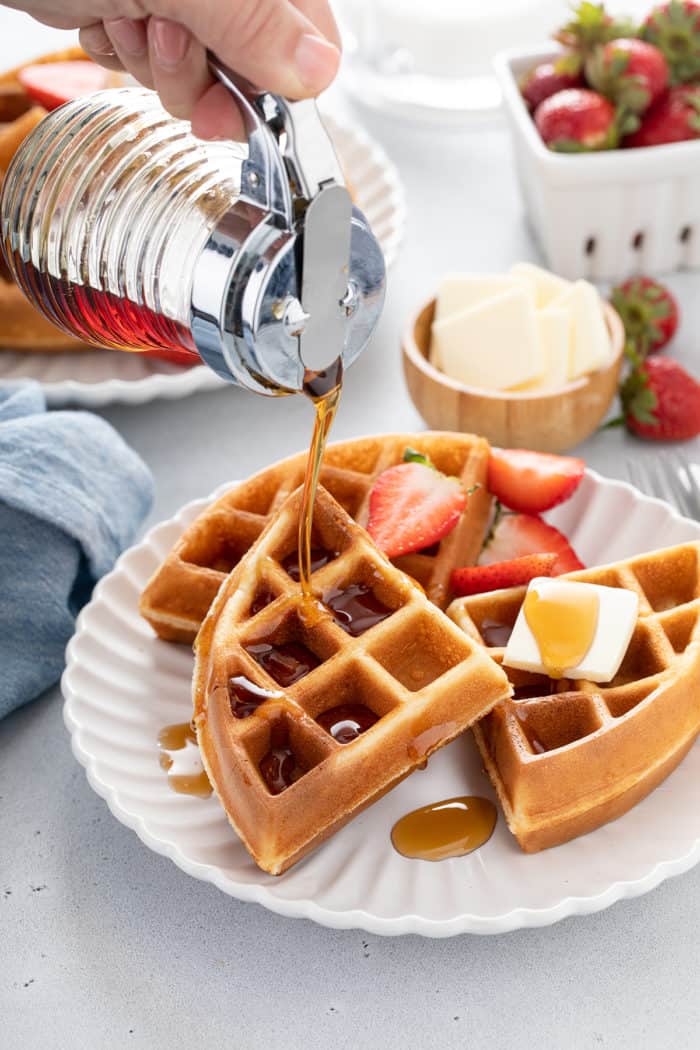
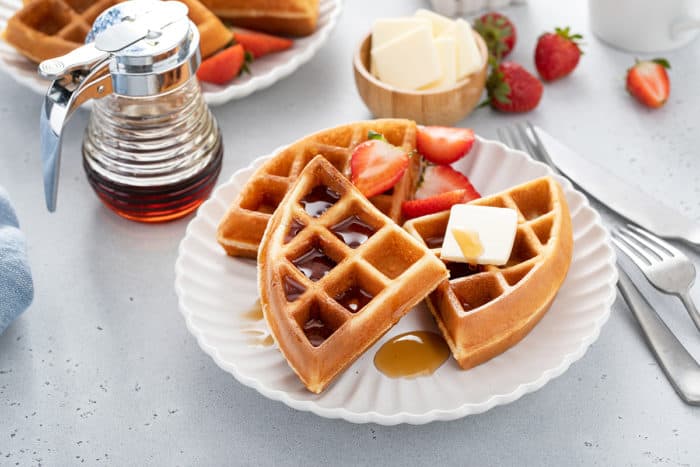
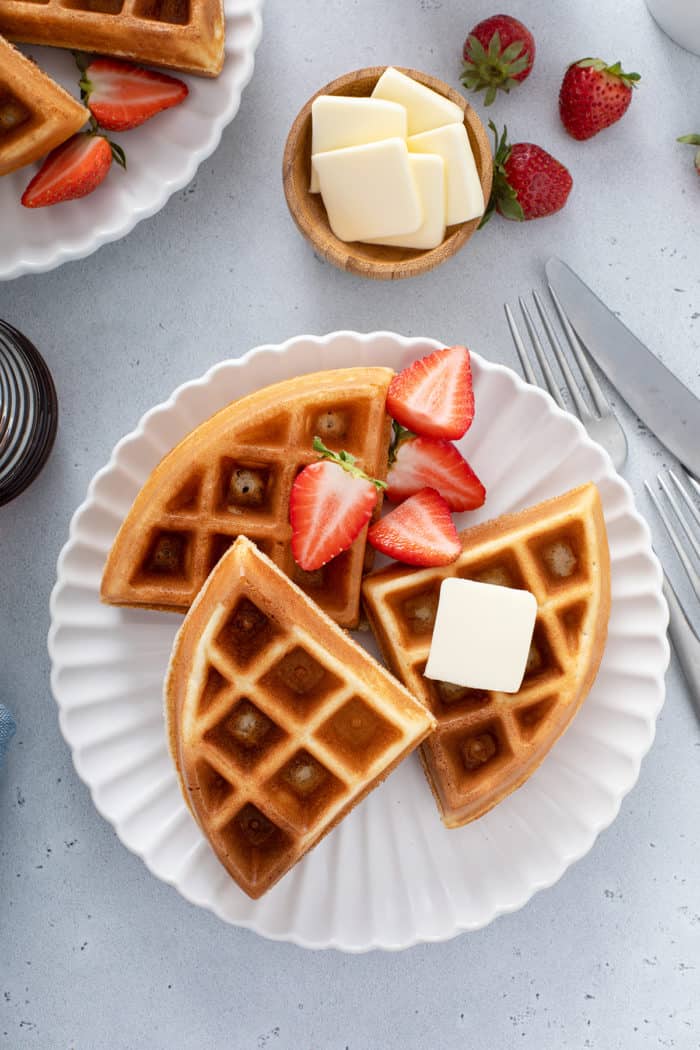
Bisquick Waffles come together in a snap for a simple weekend waffle breakfast. Make them with store-bought or homemade Bisquick mix and load them up with your favorite waffle toppings!
If you have kids, you probably know that mini stuff is always a hit.
We love kid-sized kitchen utensils, gardening tools, small tables and chairs, you name it. But the most popular mini item in my house now that Elle is a bit older?
Our mini waffle makers.
Yes, I said waffle makers – plural. We have a few and I’m not ashamed to admit it!
We have a mini waffle maker that makes standard circle-shaped waffles, but we also have a mini waffle-stick maker. Elle is obsessed with the mini waffle sticks.
I’m not always in the mood to whip up a batch of homemade waffles from scratch on a Saturday or Sunday morning, but Elle’s joy at being able to help make and eat those waffle sticks makes me willing to grab my homemade Bisquick mix and and whip up some Bisquick waffles for her.
Can you make waffles with Bisquick?
We know that you can use Bisquick mix to make Bisquick biscuits and Bisquick pancakes, but did you know that you can use it to make waffles, too?
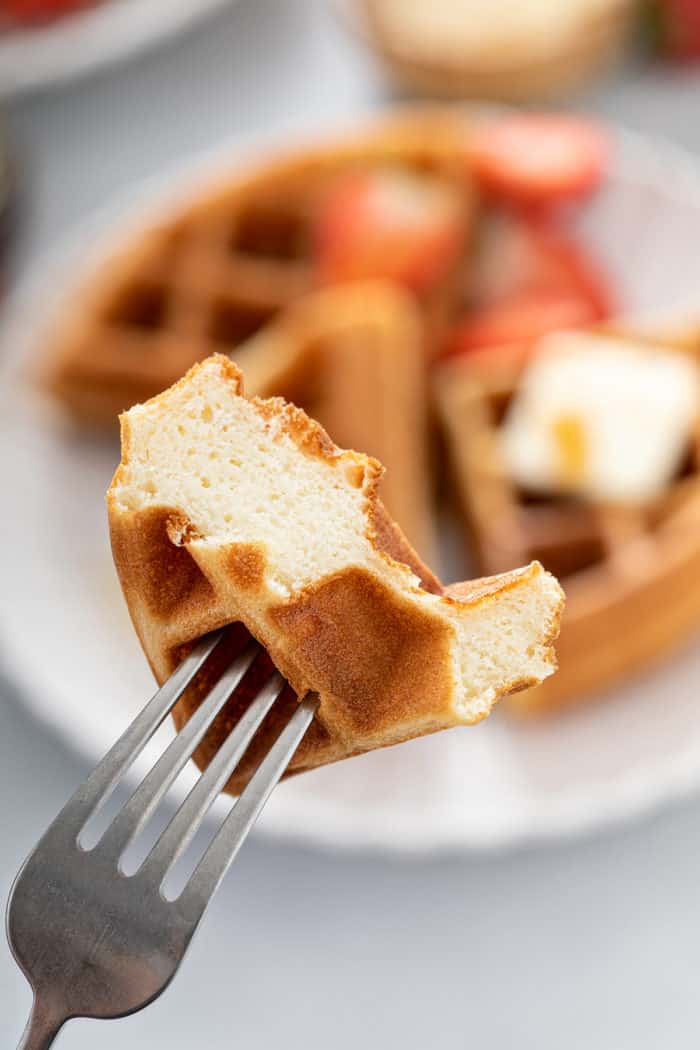
Yep! With just couple cups of this popular baking mix and a few pantry staple ingredients, you can make fluffy, delicious waffles that come together super fast.
Ingredients you’ll need
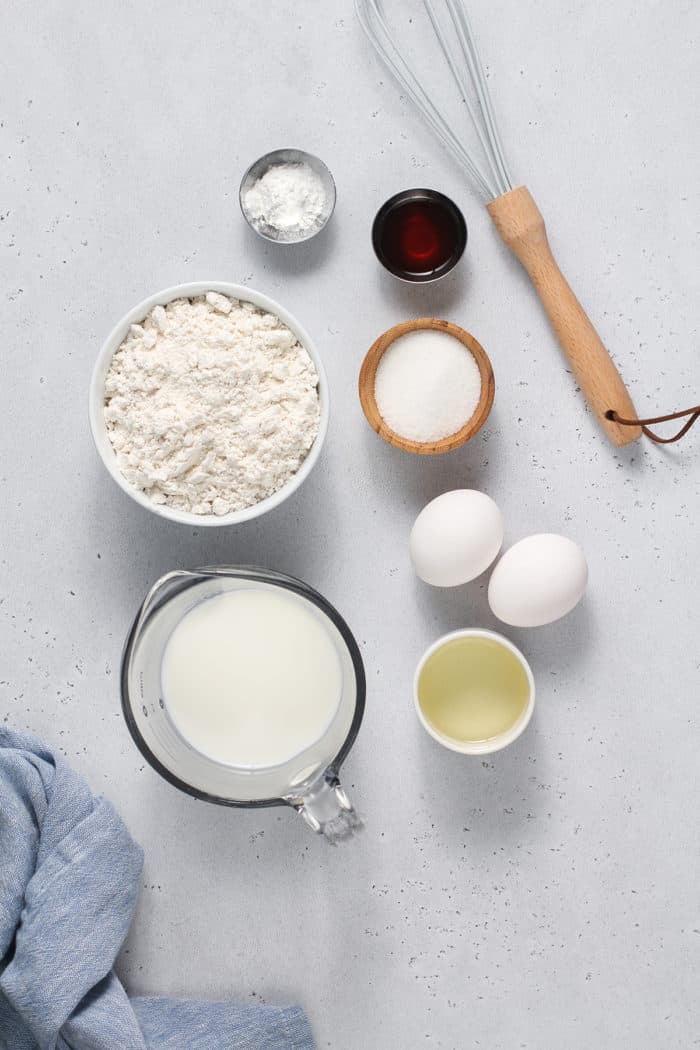
To make your Bisquick Waffles, you will need:
- 2 cups Bisquick mix
- 1 cup milk
- 2 large eggs
- 2 tablespoons sugar
- 2 teaspoons baking powder
- 3 tablespoons vegetable oil
- 1 teaspoon vanilla extract or vanilla bean paste
You can use store-bought Bisquick or you can use my homemade Bisquick for this recipe. The homemade stuff is simple to make and great if you don’t want to run to the store or if you don’t live somewhere that sells Bisquick.
If you really want to simplify this recipe, you can use just the mix, milk, eggs, and oil. I highly recommend including the sugar, baking powder, and vanilla, though. They only take a few seconds to add and they really make the waffles even better!
Tools you’ll need
If you aren’t into mini waffle makers like my family is, you will need a standard waffle maker.
I know that sometimes it feels silly to keep a waffle maker around if you don’t make waffles all of the time, but this recipe is so easy that you may just find yourself making them more often!
How to make Bisquick waffles
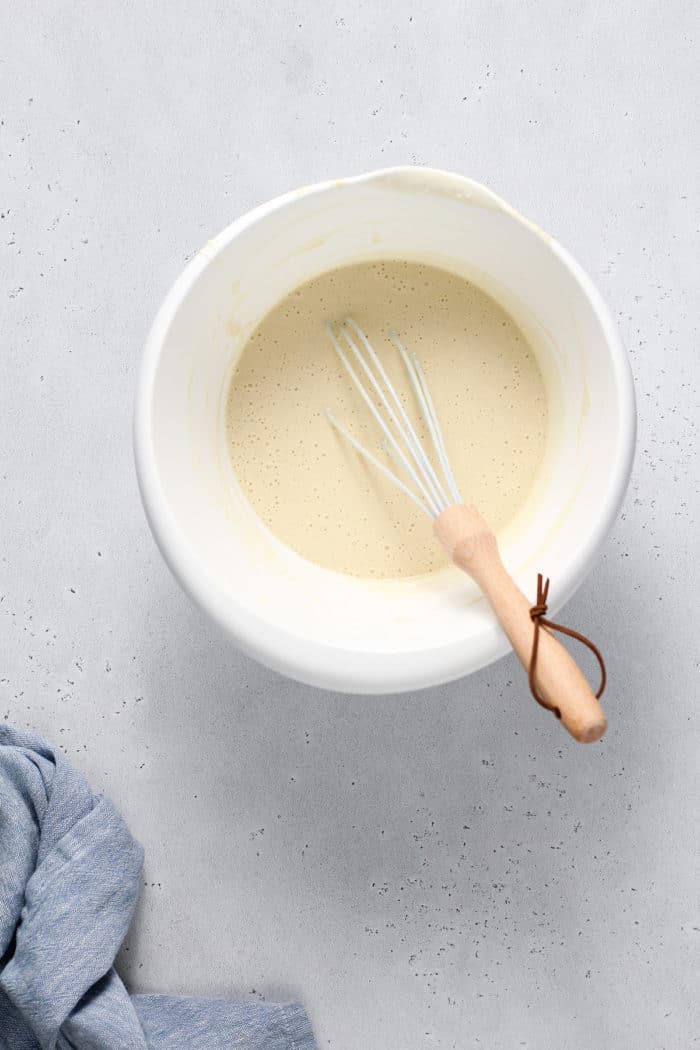
Grab a large bowl and stir all of the waffle ingredients together just until they’re combined. You may find that there are a few lumps, but that’s ok.
Let the batter rest for a few minutes while you preheat your waffle maker according to the manufacturer’s directions.
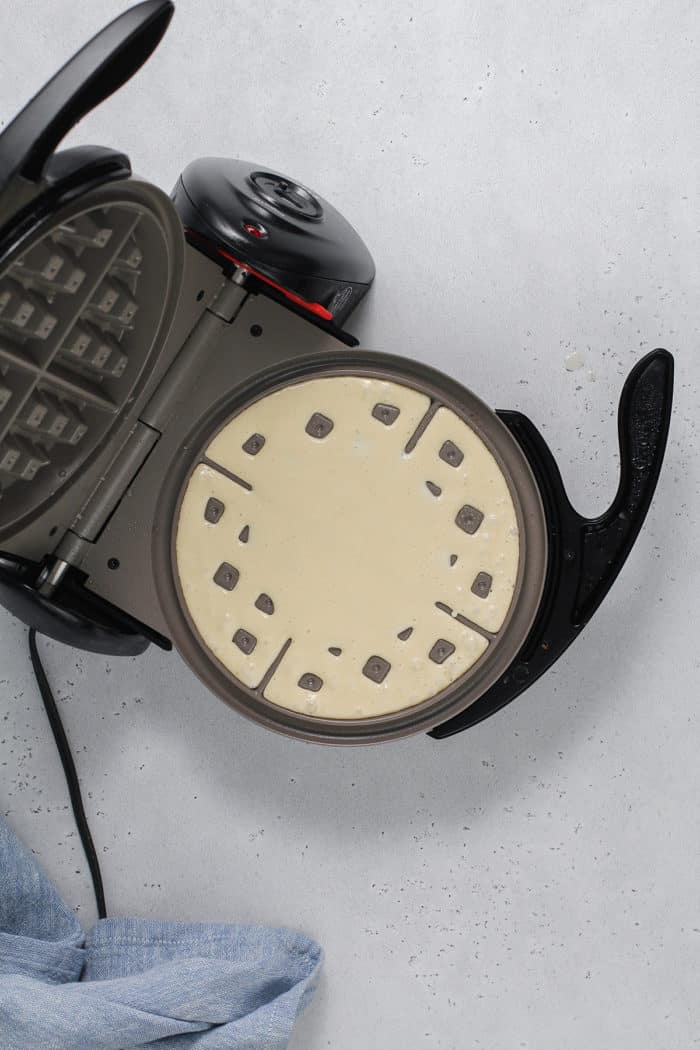
Once the waffle maker is preheated and ready to go, give the cooking surface a light spritz with some nonstick cooking spray, then scoop the batter onto the bottom surface.
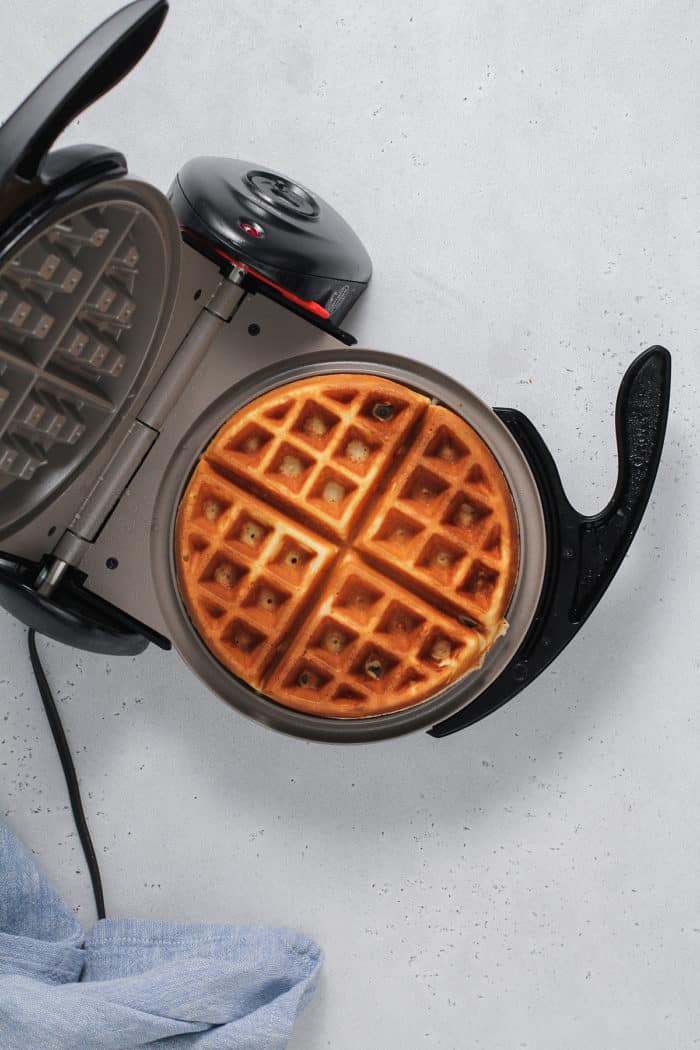
You want to be sure not to overfill your waffle maker. When using a regular waffle maker, I find that around ¼ to ⅓ cup of batter is usually plenty, but you may need a slightly different amount for your waffle maker.
Close the lid and cook until the waffles are golden brown. Again, the amount of time you need is going to vary based on your waffle maker, so be sure to check your manual and be willing to experiment a little with your first couple of waffles.
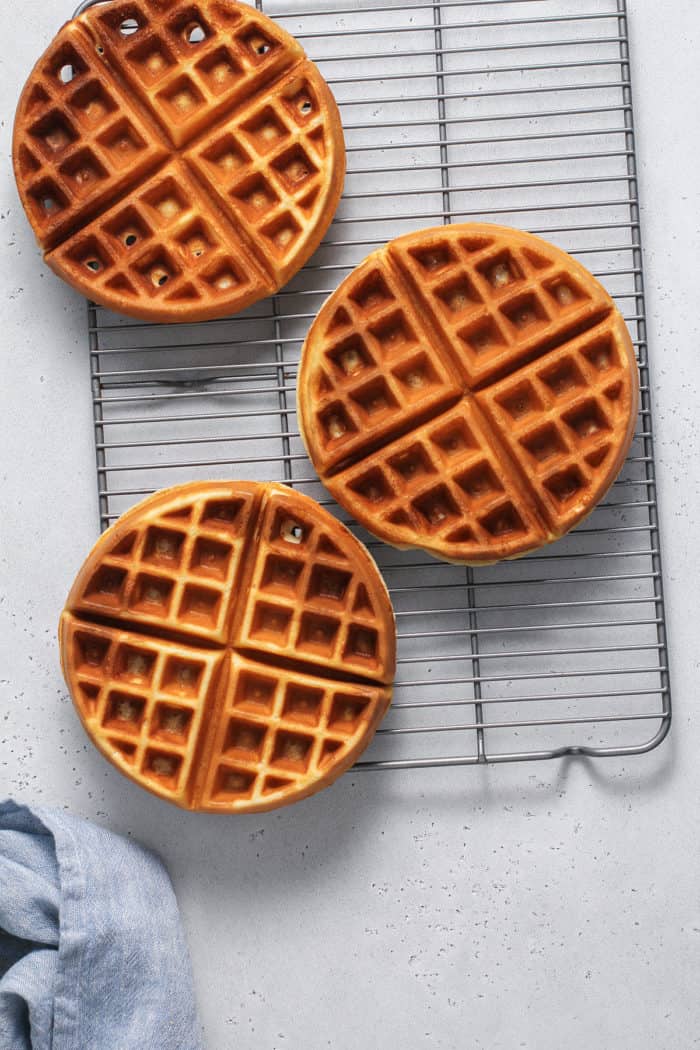
When the waffles are done, carefully remove them to a baking sheet in a low oven to keep them warm while you finish the rest of the batch.
Go ahead and repeat with the rest of your waffle batter. You likely won’t need to re-grease your cooking surface before each waffle, so add more cooking spray as needed.
Waffle topping ideas
Now that you have a batch of beautiful, fluffy, golden Bisquick Waffles, what should you top them with?
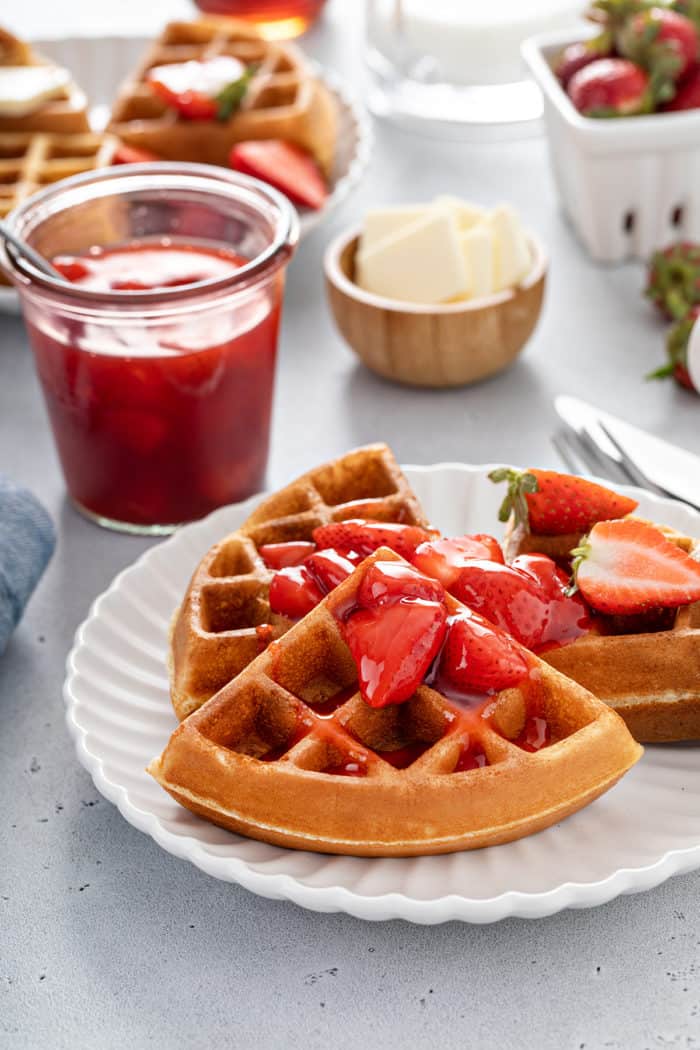
Obviously butter and maple syrup is a classic, but there are so many more options!
My family loves homemade strawberry sauce, blueberry sauce, or raspberry sauce on ours. You could even go for some microwave lemon curd!
Homemade whipped cream and some sprinkles or chocolate chips is always a fun option for a special treat.
You could even use these waffles as a base for chicken and waffles if you’re really going for a special brunch!
Don’t want to top them? Try adding in some mix-ins, such as chocolate chips for chocolate chip waffles!
Storing and reheating
Waffles are a great breakfast item to make at the beginning of the week and reheat for breakfast as the week goes on.
Place cooked waffles on a wire rack to cool completely. Store the waffles in an airtight container or zip-top bag in the refrigerator for up to a week.
Looking for longer-term storage? Freeze your Bisquick waffles!
Again, let the waffles cool completely on a wire rack. Place the waffles on a parchment-lined baking sheet. Set the baking sheet in the freezer for about an hour.
Put the frozen waffles in an airtight container or zip-top freezer bag and freeze for up to 3 months.
Reheating frozen waffles
There are a few ways to go about reheating your frozen waffles:
- Microwave: Place the waffles in a single layer and microwave for anywhere from 45-60 seconds, depending on your microwave.
- Oven: If you’re reheating a lot of waffles, place the waffles on a sheet pan and cover the pan with foil. Bake at 350 just until warmed through.
- Toaster or Toaster Oven: Pop 1 or 2 waffles into the toaster or toaster oven. You’ll probably want to use a medium-low setting for this, depending on your toaster. Your toaster may even have a setting for reheating frozen foods – that’s a great setting to use here.
So go ahead. Make your kid’s day with these Bisquick waffles. They’re sure to be a hit with those who are just kids at heart, too!
Bisquick Waffles

Ingredients
- 2 cups Homemade Bisquick
- 1 cup milk
- 2 large eggs
- 2 tablespoons sugar
- 2 teaspoons baking powder
- 3 tablespoons vegetable oil
- 1 teaspoon vanilla extract or vanilla bean paste
Instructions
- In a large bowl, stir together all ingredients just until combined. Let batter rest while your waffle maker preheats.
- Preheat waffle maker according to manufacturer directions.
- Lightly spray the cooking surface with nonstick spray. Scoop batter onto the bottom surface. Be sure not to overfill the waffle maker. Close the lid and cook until golden brown; the time for this may vary depending on your waffle maker.
- Carefully remove each waffle from the iron; transfer cooked waffles to a baking sheet to keep warm in the oven or transfer to a wire rack to cool completely before freezing.
- Continue with remaining batter, greasing the waffle maker with additional oil as needed.
Video
Notes
- Makes about 8 large waffles.
- You can substitute store-bought Bisquick for the homemade mix in this recipe.
Nutrition
Nutrition information is automatically calculated, so should only be used as an approximation.



Absolutely fantastic waffles!!! One note: we have a 7-inch-round waffle maker and this only made six waffles, not eight. Other than that, no notes. Awesome flavor!
So glad to hear you enjoyed the recipe! Thanks so much for stopping by and leaving your feedback.
-Jamie
We had delicious waffles for breakfast with lingonberry jam this morning. Yum. Only sub in the recipe was using real eggnog for milk, it was handy.
FYI: Recipe makes 14 mini (DASH) waffles.
Thanks for the yumminess.
So glad to hear you enjoyed the recipe! Thanks so much for stopping by and leaving your feedback.
-Jamie
Wow I really love this recipe
Happy to hear it! Thanks so much for stopping by. Happy baking!
Jamie
My family loved this recipe. It was spot on for our memorial day breakfast. Thank you for sharing.
So glad you enjoyed Erna! Thanks so much for stopping by and sharing your feedback. Happy baking!
Jamie