This post may contain affiliate links. Please read our privacy policy.
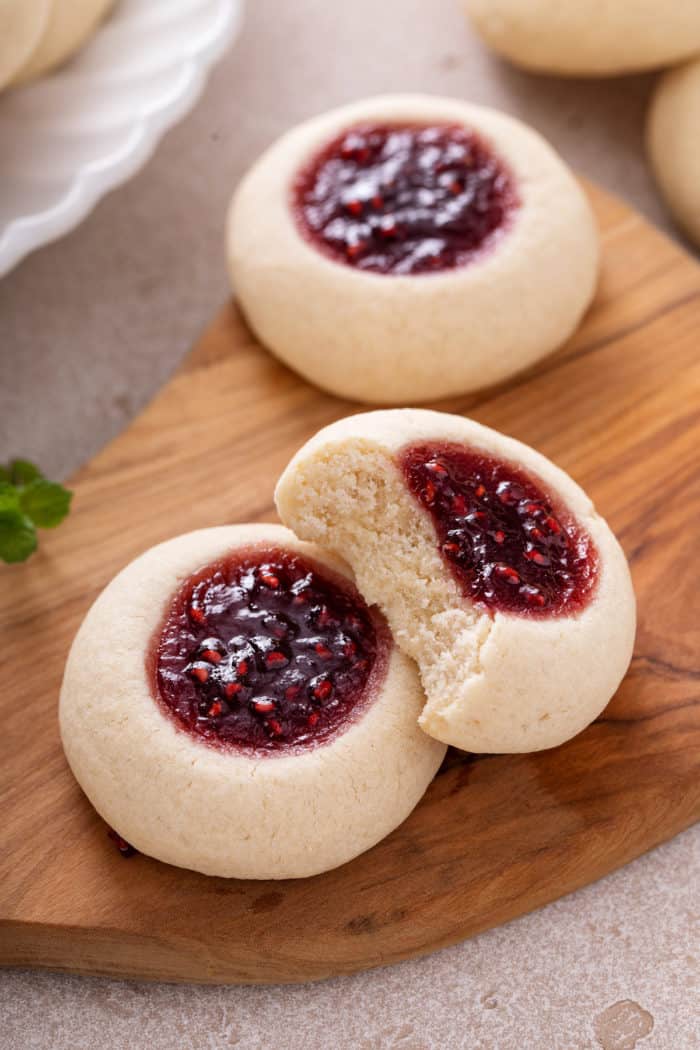
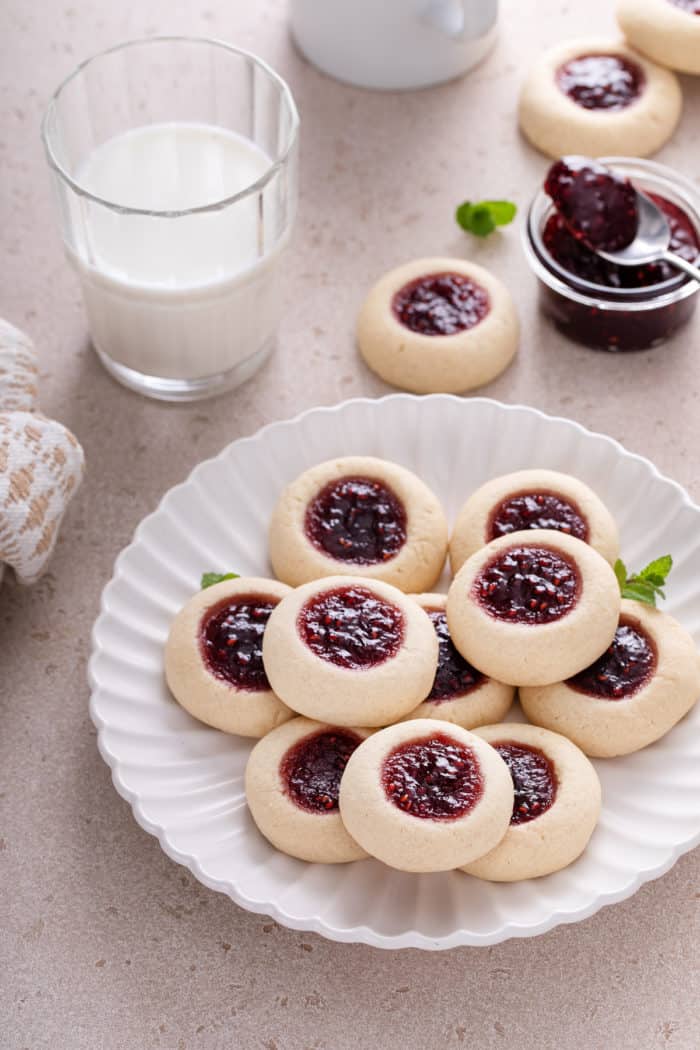
Thumbprint cookies are a classic for a reason. These buttery cookies are indented and filled with raspberry jam for a fruity sweetness that is right at home on any cookie platter.
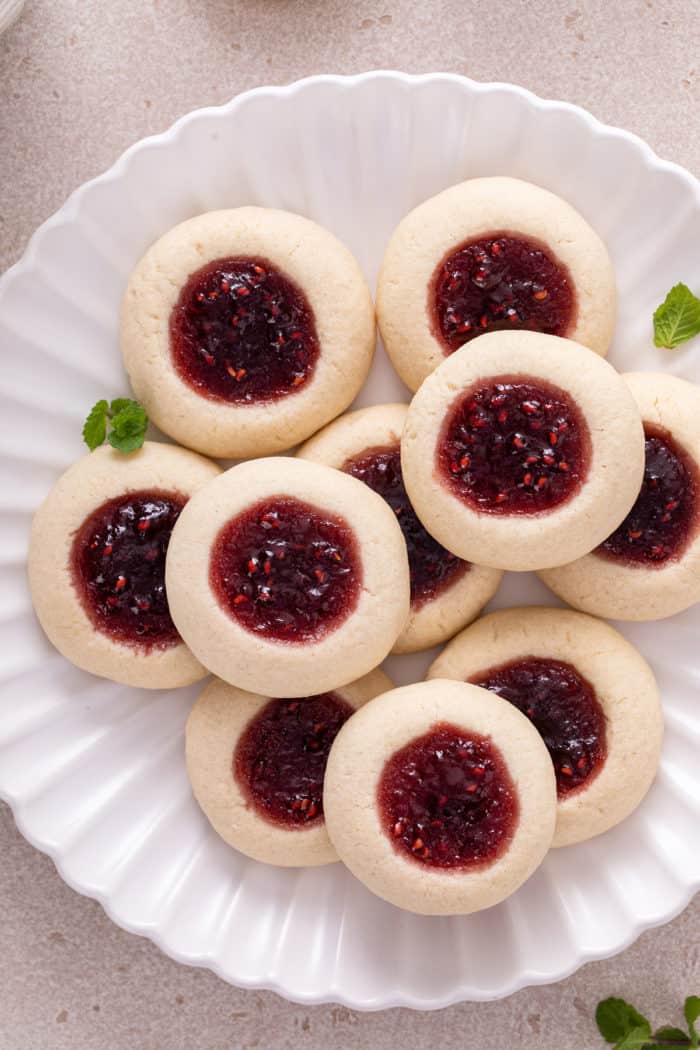
There are some cookie recipes that I feel like we only make around the holidays, but I don’t really know why.
Peanut butter blossoms, coconut macaroons, and chocolate crinkle cookies are all recipes that I regularly see at Christmas cookie swaps, but rarely see any other time of year.
But they’re all amazing cookies and deserve to be made year-round!
Thumbprint cookies are the same way. There’s nothing really “holiday” about them, but for some reason I never think to make them any other time of year.
Maybe 2023 will be the year that I try to make some of these cookies in the middle of the year. I’m sure my neighbors won’t turn down getting a plate of thumbprint cookies in the middle of June, right?
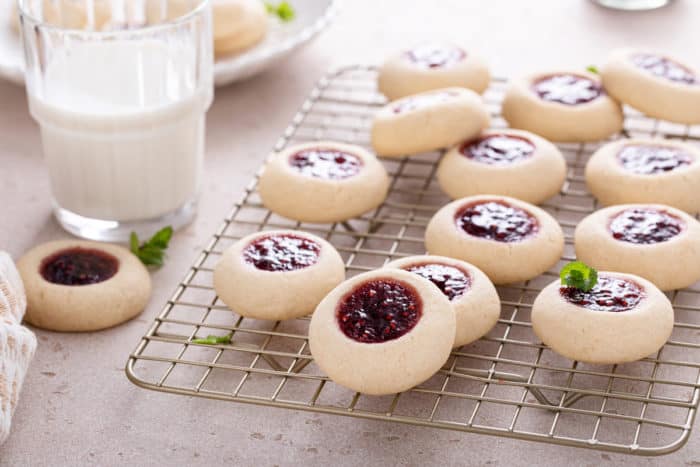
WHAT ARE THUMBPRINT COOKIES?
Thumbprint cookies are one of those classic cookies that are often served around the holidays but can make an appearance any time of year.
These cookies are similar to spritz cookies in that they are buttery and a bit crumbly. They also have a very simple ingredient list.
But instead of being pushed through a cookie press, the dough for these cookies is rolled into balls, and then an indentation is made in them – often with your thumb, which is why they are called thumbprint cookies!
The indentation is most commonly filled with jam, but there are many variations on these cookies that are filled with everything from buttercream frosting to chocolate ganache to lemon curd.
You can even make the indentation into the shape of a heart to make heart jam cookies!
This recipe is for the traditional jam thumbprint cookies. Give these a try and then get creative with your fillings and flavors!
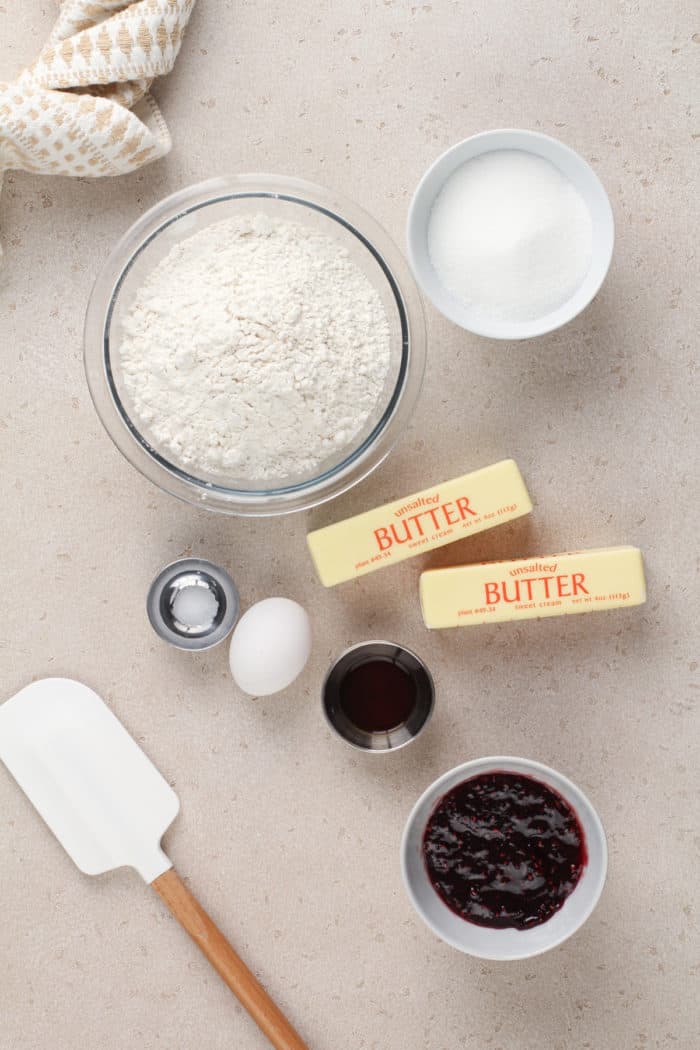
HOW TO MAKE JAM THUMBPRINT COOKIES
If you’re looking for another fun cookie recipe to make with kids, add this one to the list! Kids will love rolling the dough balls and making the thumbprint indents in them.
What kind of jam should you use?
The most common type of jam used in thumbprint cookies is raspberry jam or raspberry preserves. Similar to raspberry linzer cookies, there’s just something about that combination of tart-sweet raspberries and buttery cookies.
But don’t fret if you don’t like raspberries! You can use your own favorite flavor of jam or preserves. Consider trying:
- Blackberry jam
- Strawberry jam
- Apricot preserves
- Citrus marmalade
- Peach jam
Even though you can use your favorite flavor of jam, I do recommend using a good quality jam. I like to use homemade jam or Bonne Maman preserves. Since the jam adds a lot of flavor to the cookies, this is a good opportunity to use something high quality.
Making these cookies
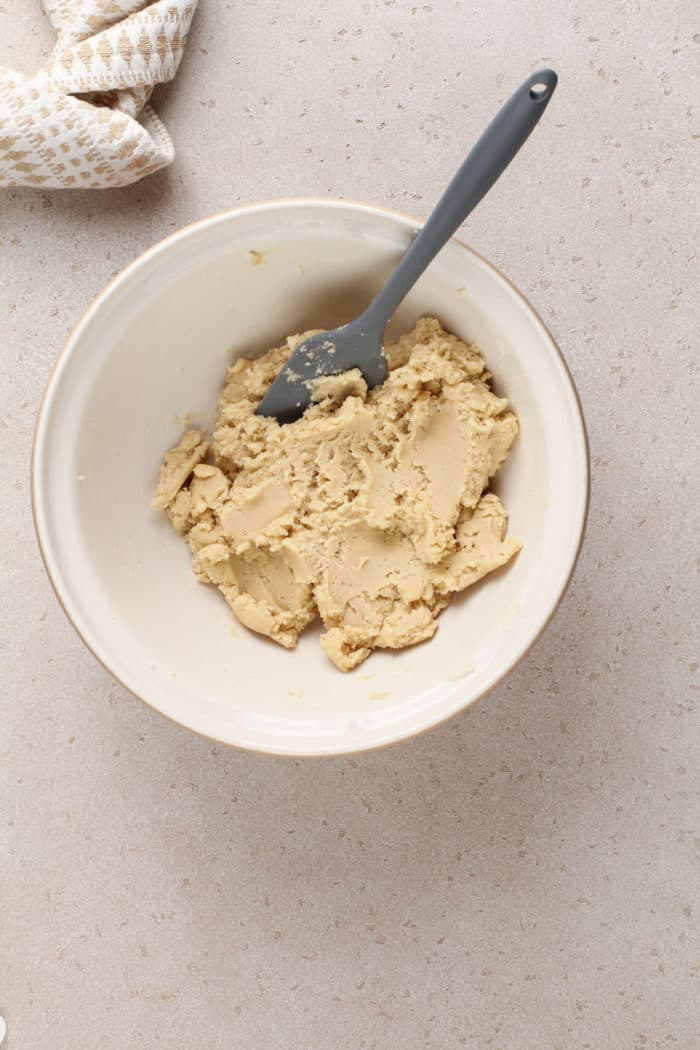
Using a stand mixer or your electric hand mixer, cream the butter together with the sugar until the mixture is light and fluffy. This will take about 3-5 minutes; don’t try to shorten the time on this! Take your time.
Add in the egg and the vanilla extract. Follow with the salt and mix until combined.
Turn the mixer to low speed and gradually add the flour until the dough is just combined. Odds are good the dough will seem crumbly at first, but it will come together.
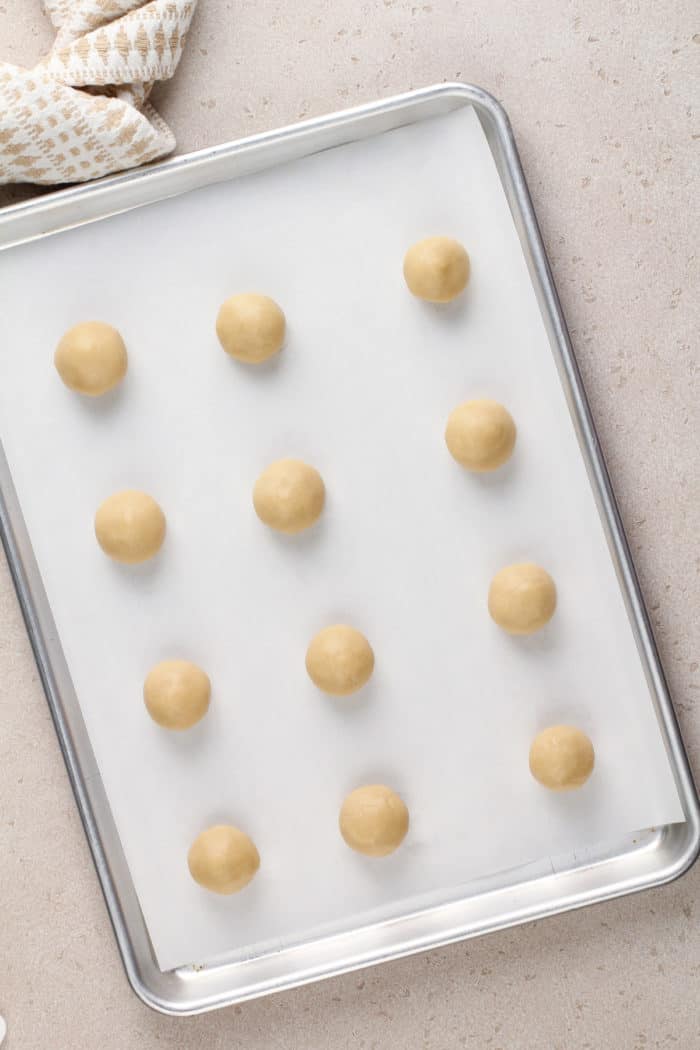
Scoop the dough into 1-tablespoon portions. Roll between your palms to make a smooth ball, then place each ball onto a parchment-lined baking sheet.
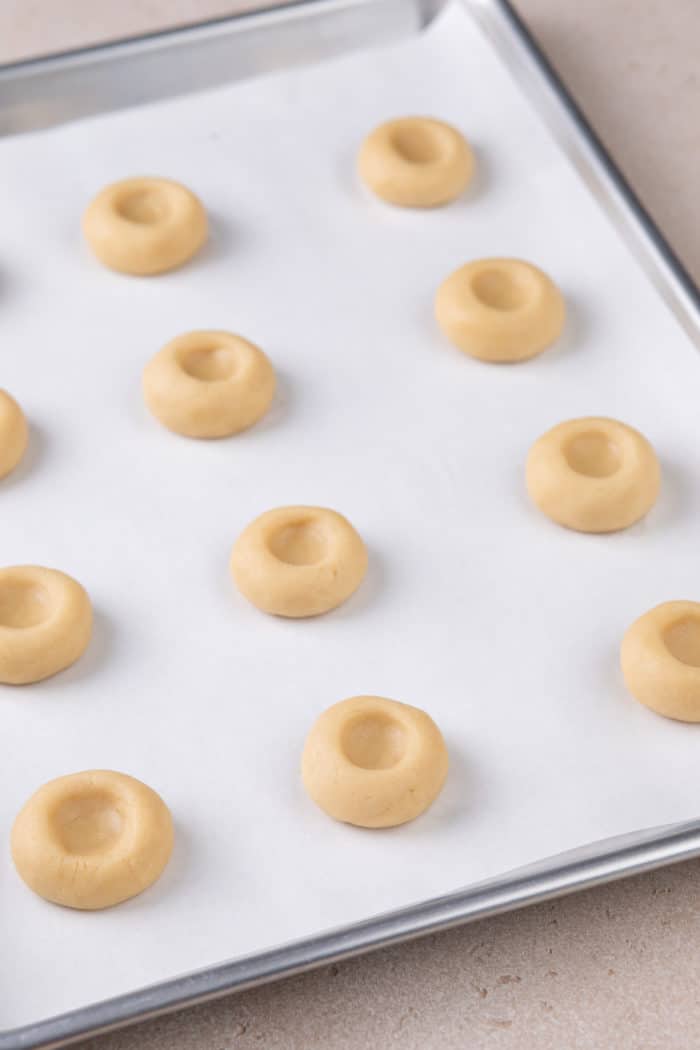
Now it’s time to make the indentations!
You can use your thumb, the handle of a wooden spoon, or the back of a rounded ½ teaspoon measuring spoon to do this. I personally like using the measuring spoon so I know each one is the same size, but that’s up to you!
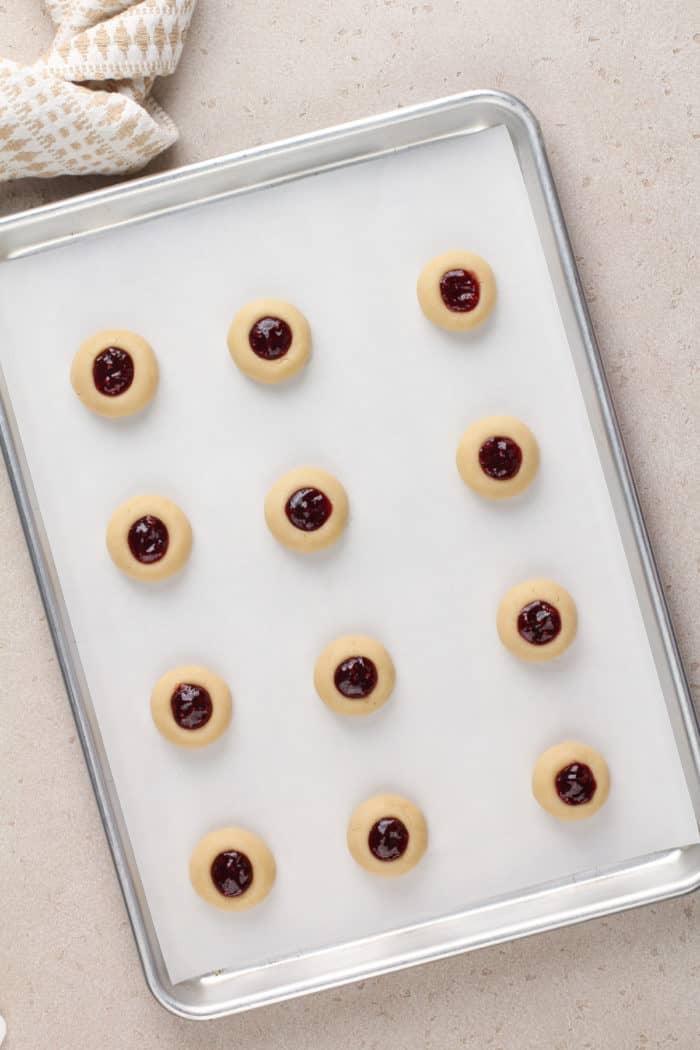
Add about ½ teaspoon of the jam into each indentation.
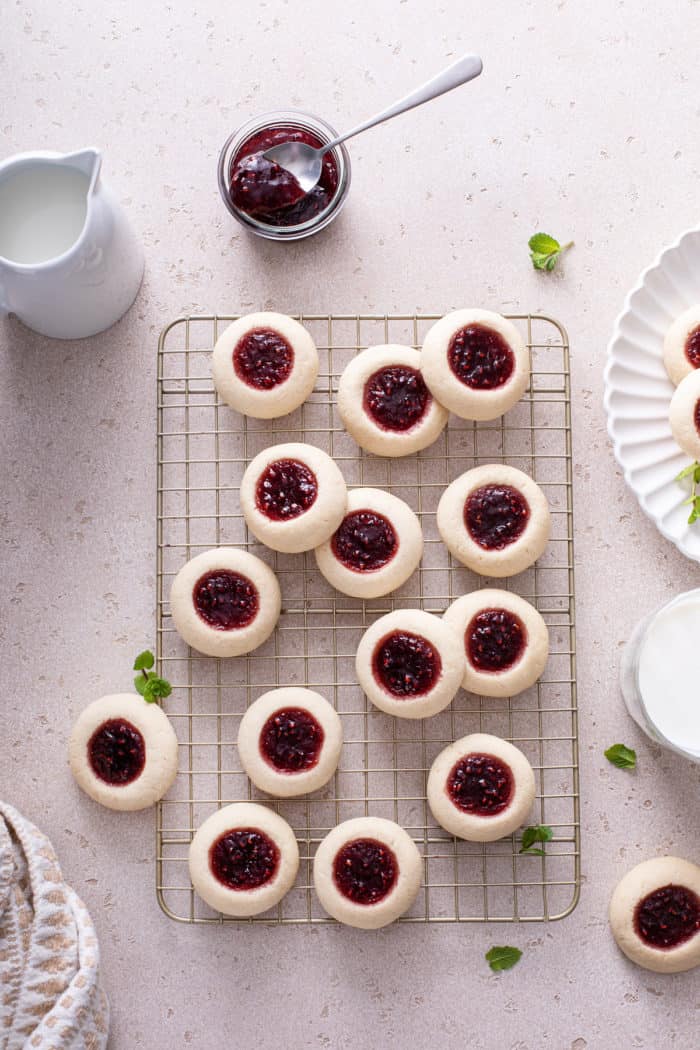
Bake the thumbprint cookies for about 14-16 minutes. The outsides of the cookies will just be dry and the bottoms will be lightly golden. Note that the tops and edges of the cookies won’t take on much color.
Let the cookies cool on a wire rack before digging in.
TIPS FOR PREVENTING CRACKING
One of the biggest questions that people ask after making thumbprint cookies is, “Why did my cookies crack?”
Cracking usually happens when making the indentations in the dough balls. There are a few things you can do to help avoid this:
- Make sure you haven’t added too much flour to the dough. Learn how to measure flour correctly so these cookies turn out perfect every time.
- Make sure the dough balls are very smooth on the outside before you make the indentations. Take you time when rolling the balls to make them nice and smooth.
- Don’t rush when making the indentations. Press into the dough slowly and gently with your thumb or measuring spoon.
If you do end up with a few small cracks, don’t stress! You can smooth these over with your fingertips before adding the jam if you’d like.
OTHER RECIPE VARIATIONS
In addition to swapping out the jam for other fillings, there are a couple of other ways to change up the classic thumbprints.
You can choose to roll the dough balls in granulated sugar or finely chopped nuts before placing them on the baking sheet and indenting them.
Try adding a little citrus zest to the cookie dough for a citrusy kick.
Almond and raspberry goes so well together; add a small amount (¼ to ½ teaspoon) of almond extract with the vanilla extract.
Or make a chocolate dough for chocolate thumbprint cookies!
STORAGE AND FREEZING TIPS
Store jam thumbprint cookies in an airtight container at room temperature for up to 3 days.
If you want to make thumbprint cookies ahead of time and freeze them, I recommend freezing them before they are baked.
Freezing thumbprint cookies
Follow the recipe instructions as written up through rolling the dough balls and making the indentations.
After you have made the indentations, place the baking sheet in the freezer for 1-2 hours. Once the indented dough balls are frozen through, transfer them to a zip-top freezer bag and freeze for up to 1 month.
When you’re ready to bake the cookies, place the dough balls on a lined baking sheet and allow them to sit at room temperature while the oven preheats.
Add the jam to the indents as directed and bake. You may need to add 1-2 extra minutes to the listed baking time.
Freezing thumbprint cookies is convenient when you’re planning ahead for a holiday party or simply whenever you’d like to have just a handful of cookies to snack on!
Thumbprint Cookies
Equipment
Ingredients
- 1 cup unsalted butter softened
- ⅔ cup granulated sugar
- 1 large egg
- 1 ½ teaspoons pure vanilla extract
- ¼ teaspoon fine sea salt
- 3 cups flour
- ⅓ cup raspberry preserves I used Bonne Maman
Instructions
- Preheat oven to 350°F. Line two baking sheets with parchment paper.
- In the bowl of a stand mixer fitted with the paddle attachment or with an electric hand mixer, cream the butter and sugar together on medium speed until light and fluffy, about 3-5 minutes.
- Add in the egg and vanilla extract; beat until well combined. Add the salt; mix to combine.
- With the mixer on low speed, gradually add the flour until just combined. The dough may seem crumbly at first, but it will come together.
- Scoop dough into 1 tablespoon portions (about 30 grams). Use your palms to roll each portion into a smooth ball and place on the prepared baking sheets about 2 inches apart.
- Using your thumb, the handle of a wooden spoon, or the back of a rounded ½ teaspoon measuring spoon, gently press an indentation into each dough ball. Add about ½ teaspoon of the raspberry preserves to each indentation.
- Bake for 14-16 minutes or until the outside of the cookies are just dry and the bottoms are lightly golden.
- Remove to a wire rack to cool completely.
- Store in an airtight container for up to 3 days.
Video
Notes
- Make sure the dough balls are very smooth on the outside.
- Press into the dough very gently/slowly.
- Small cracks can be smoothed over with your fingertips.
- Make sure you know how to measure flour correctly to help you be successful with this recipe every time.
- If you forgot to set your butter out to soften ahead of time, learn how to soften butter quickly.
- Feel free to use your favorite brand of vanilla or homemade vanilla extract in this recipe.
Nutrition
Nutrition information is automatically calculated, so should only be used as an approximation.





Very easy to make and oh so yummy!
Raspberry and shortbread go great together.
So glad to hear you enjoyed the recipe! Thanks so much for stopping by and leaving your feedback.
-Jamie
I made these and they are very good. However, they spread too much in the oven, rather than remaining in the nice, tidy rounds. Any suggestions for the next batch? Thank you.
Hi Vera – It’s hard to say 100% what caused this without watching you make them, but my guess is that the dough may have been a bit too soft. You might try popping the sheet tray with the indented dough balls in the fridge for 30 minutes or so before baking to see if this helps! Thanks so much for stopping by and sharing your feedback. Happy baking!
Jamie