This post may contain affiliate links. Please read our privacy policy.
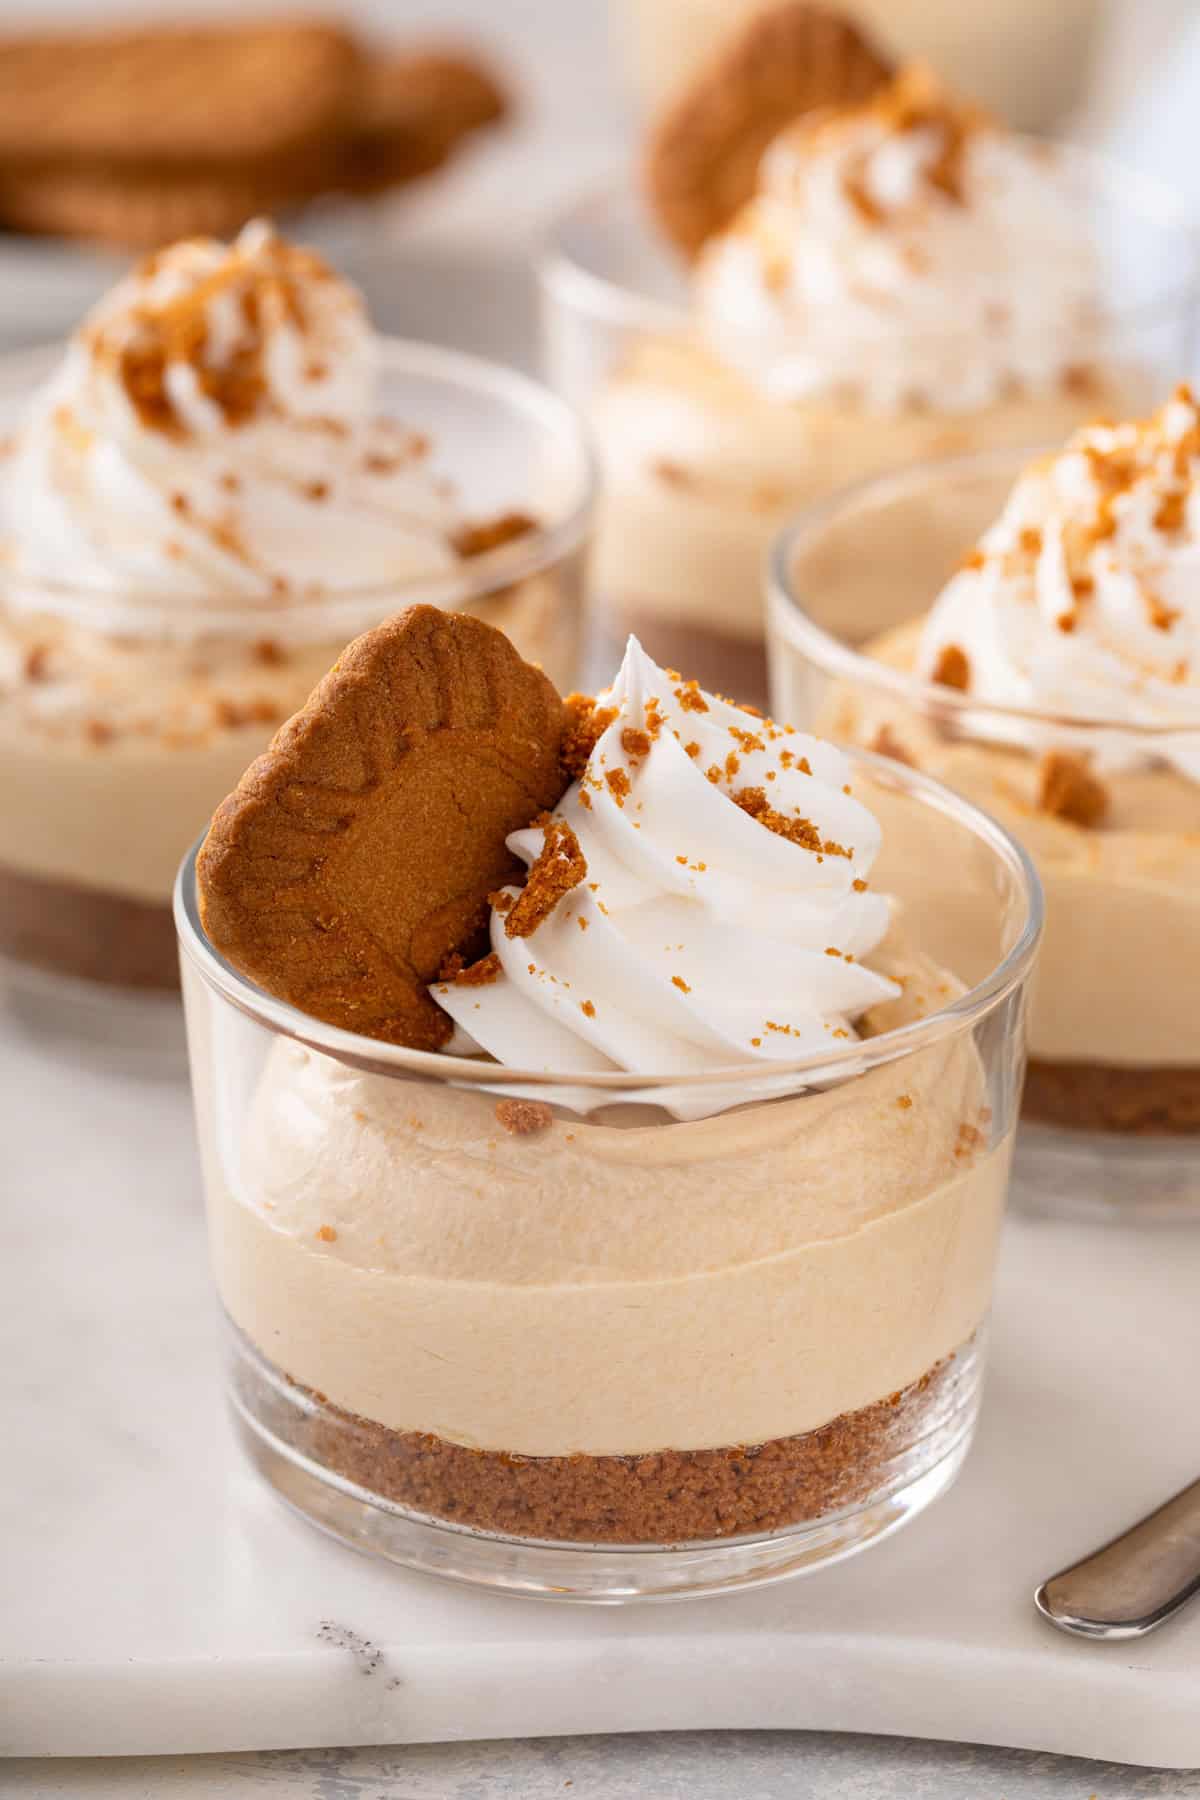
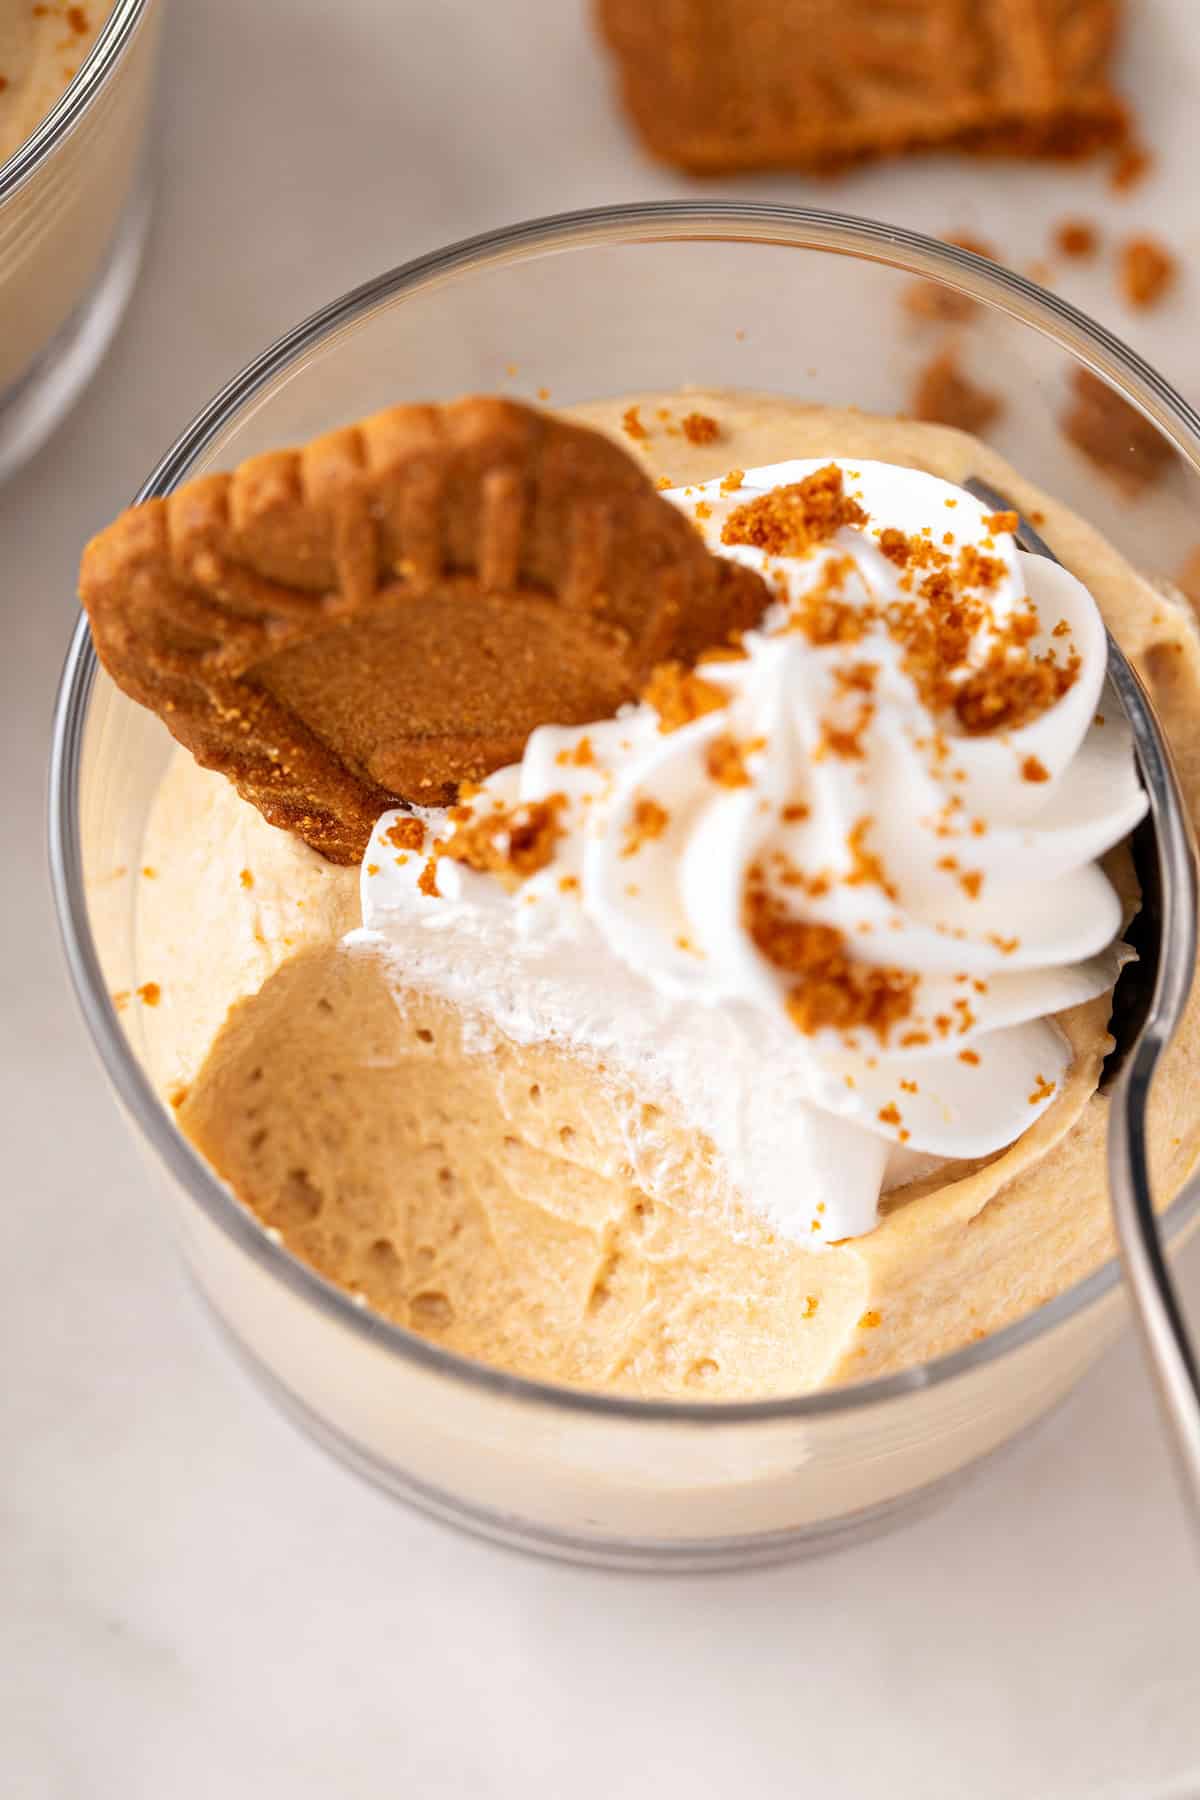
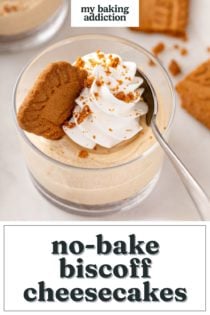
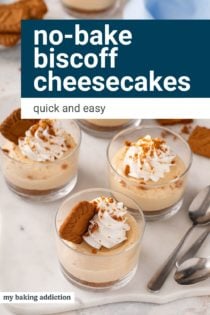
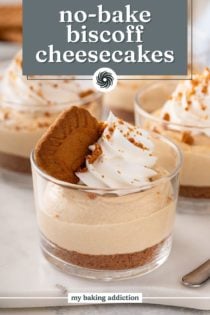
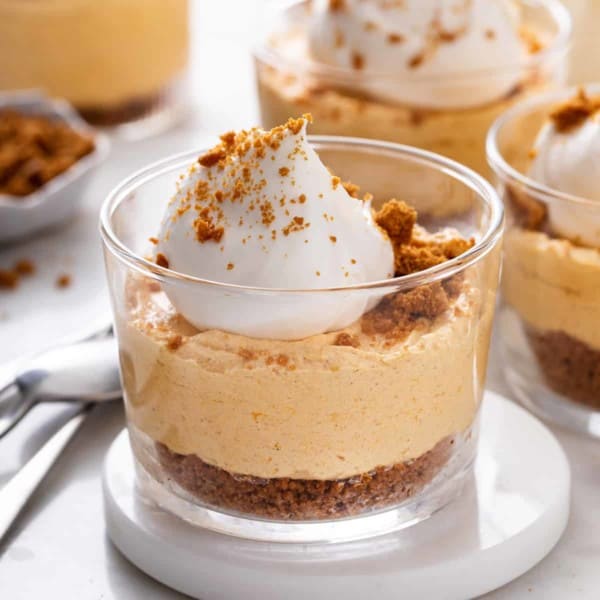
With crushed Biscoff cookies in the crust and Biscoff spread in the filling, these no-bake Biscoff cheesecakes are a rich, creamy dessert bursting with notes of caramel and cinnamon.
Anyone who knows me well knows that I am not a good traveler. Big airports give me anxiety. Pair that with being claustrophobic and the whole experience makes me itchy, twitchy, and miserable.
The only redeeming part of flying is the little package of Biscoff cookies you get when you fly Delta.
I always forget how delightful those crisp, caramelly cookies are, but they always work to distract me from my airplane surroundings. Even if it’s just for a few minutes.
It was during a flight several years ago that I came up with the idea for these no-bake Biscoff cheesecakes while taking my much-needed Biscoff cookie break.
Pin this now to find it later
Pin ItWhat is Biscoff?
If you aren’t familiar with Biscoff, it is a brand of speculoos cookies and speculoos spread (aka “cookie butter”).
Speculoos cookies are originally from Belgium but are popular throughout Europe and the US. They have a rich, caramel-like flavor and are spiced with cinnamon. You can find both Biscoff cookies and Biscoff spread at grocery stores throughout the US.
There are also some store-brand versions of both the cookies and the spread. Windmill cookies are usually fashioned after speculoos cookies and cookie butter is a common generic term for Biscoff spread.
We love Biscoff cookies and spread in recipes like Biscoff sandwich cookies, cookie butter lattes, and Biscoff ice cream. My friend Susannah even uses Biscoff cookies in her version of spiced rum balls.
And of course, we can’t forget these easy no-bake Biscoff cheesecakes!
How to make no-bake Biscoff cheesecakes
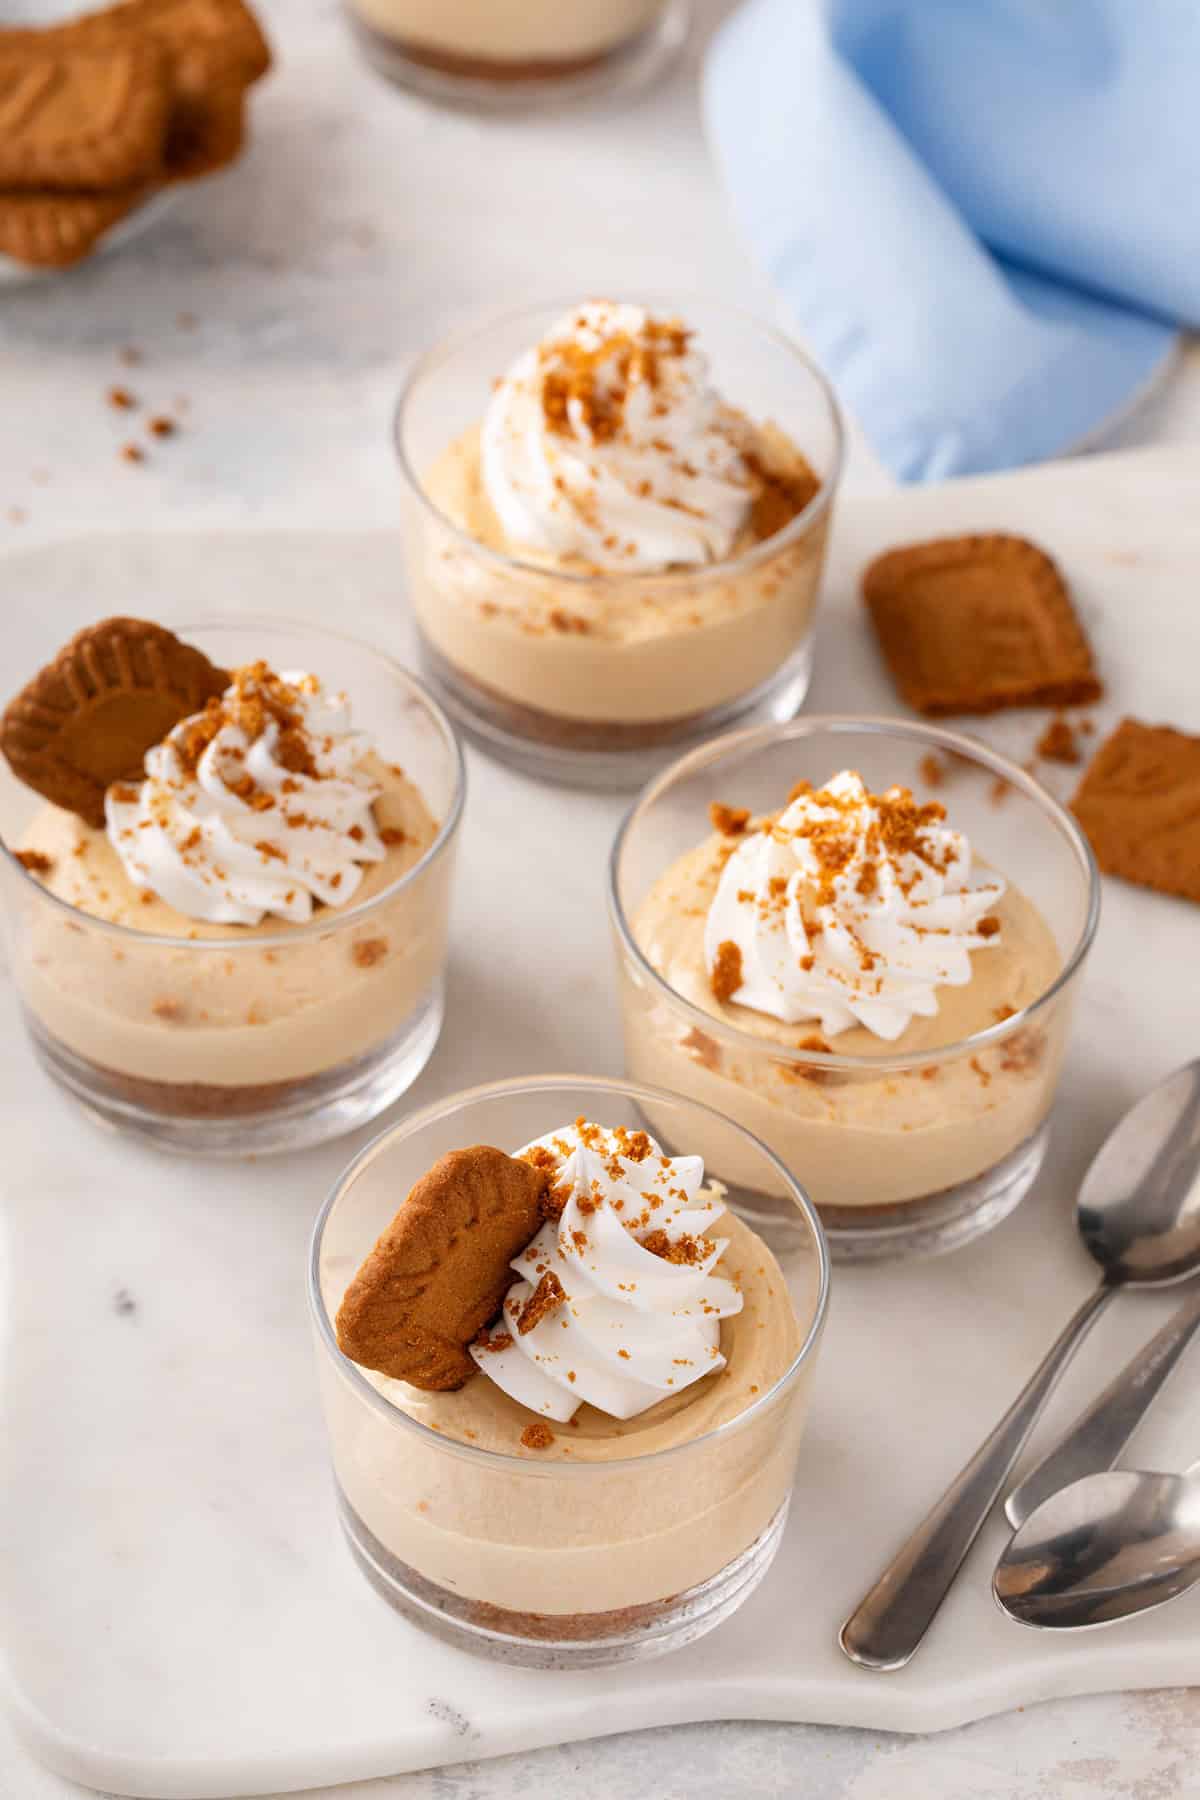
If you’re craving cheesecake but don’t want to turn on the oven, these no-bake Biscoff cheesecakes are the perfect recipe for you. They’re great during the summer when it’s too hot to bake anything, and they’re perfect for the colder winter months when you’re craving warm spices.
Ingredients you’ll need
You’ll be surprised at how few ingredients you need to make these delicious little cheesecakes. You’ll need:
- 12 Biscoff cookies, crushed into crumbs
- 2 tablespoons melted unsalted butter
- 8 ounces (1 block) softened cream cheese
- 2/3 cup Biscoff Spread
- 1 teaspoon pure vanilla extract
- 8 ounces thawed whipped topping
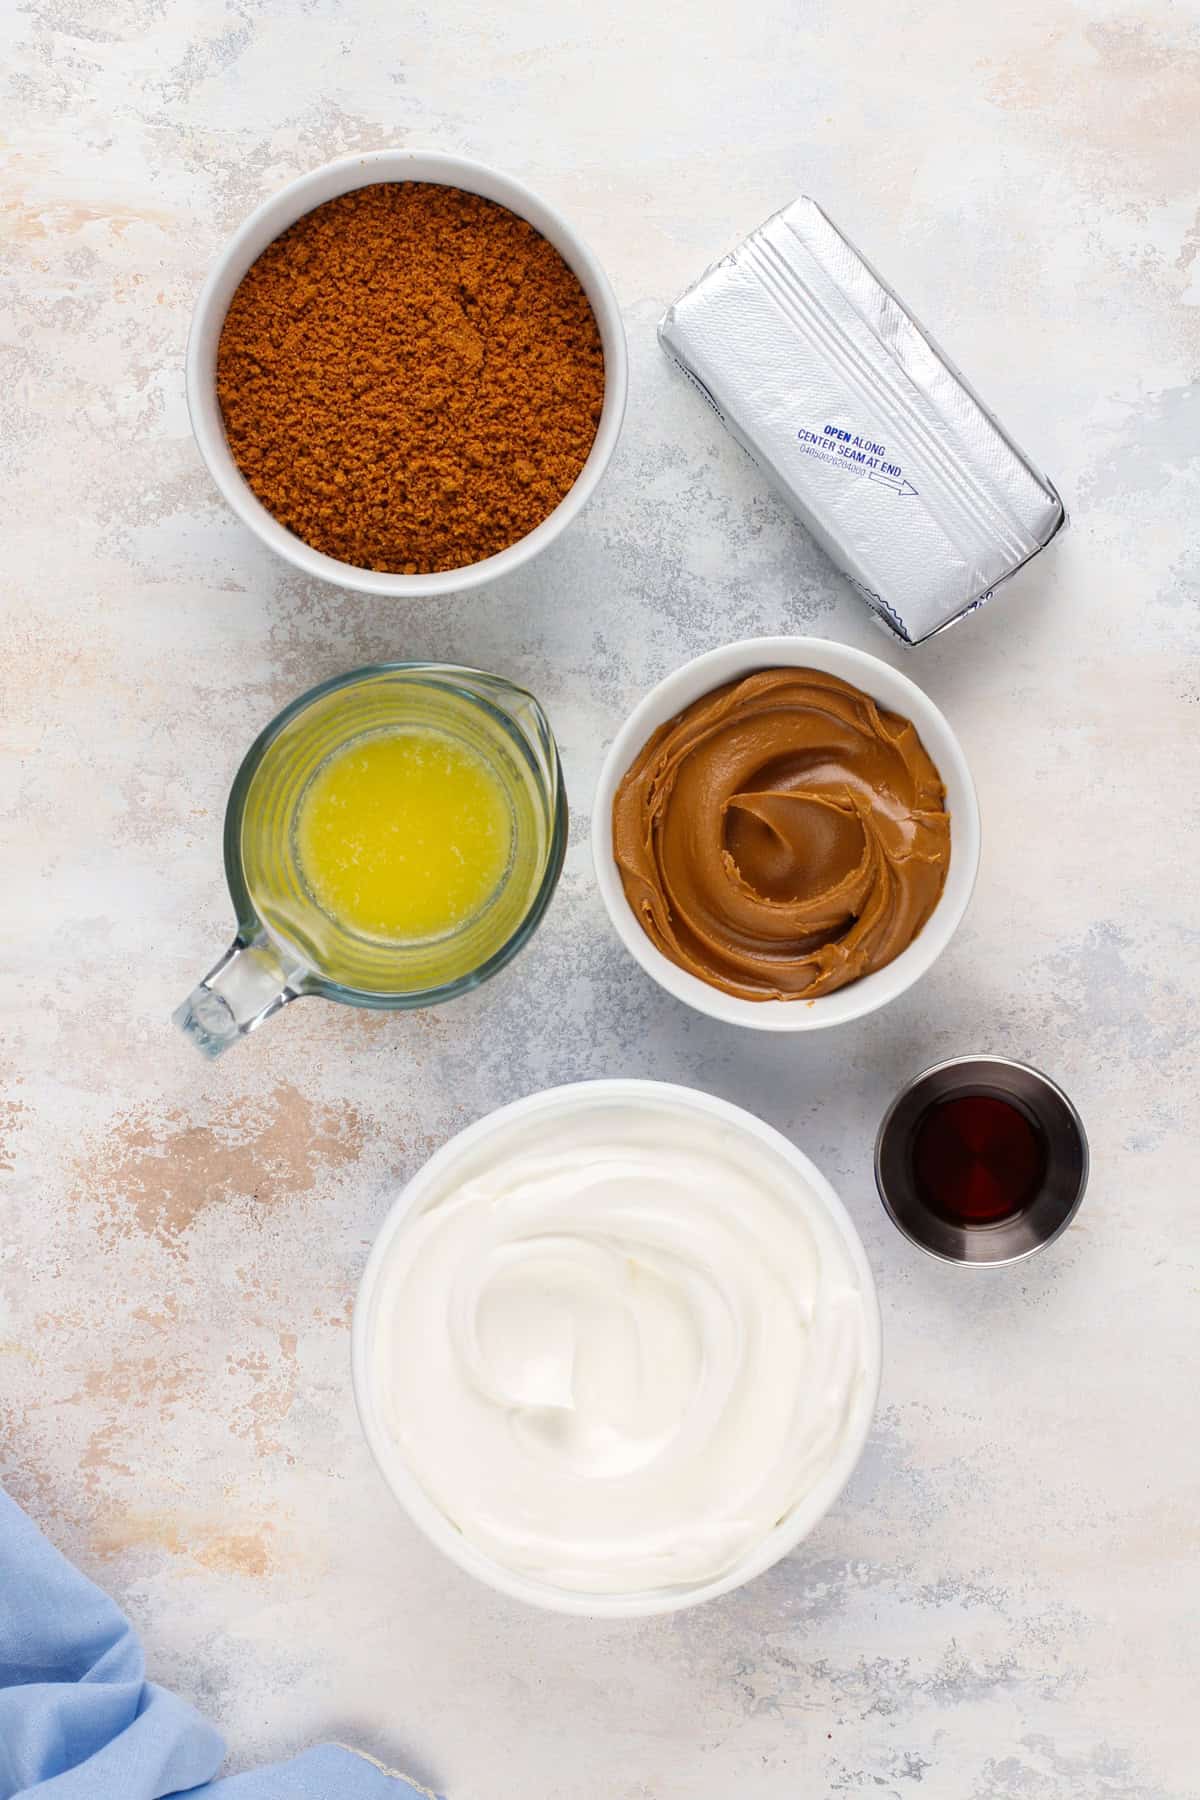
The cookies and the butter are for the crust. I’ve used a Biscoff crust before in my no-bake pumpkin cheesecakes and have even swapped it out for the gingersnap crust in my eggnog cheesecake before.
If you’re using a generic brand of speculoos cookies, you will need 1 cup of cookie crumbs.
Before making the filling, make sure your cream cheese has softened to room temperature. If you forget to set it out ahead of time, try one of my tips for softening cream cheese.
Making this recipe
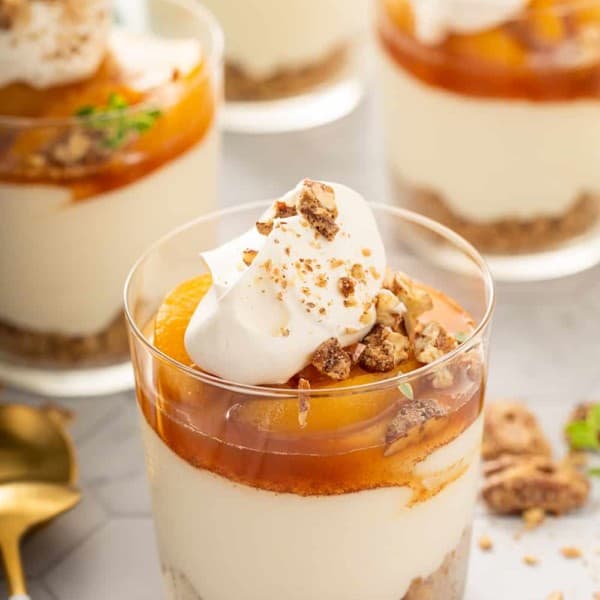
These cheesecakes are served in individual dishes. I prefer to use 6-ounce glass dessert dishes – you will get 6 servings. If you want to serve a larger group, you could use 4-ounce dishes and get at least 8 or 9 servings.
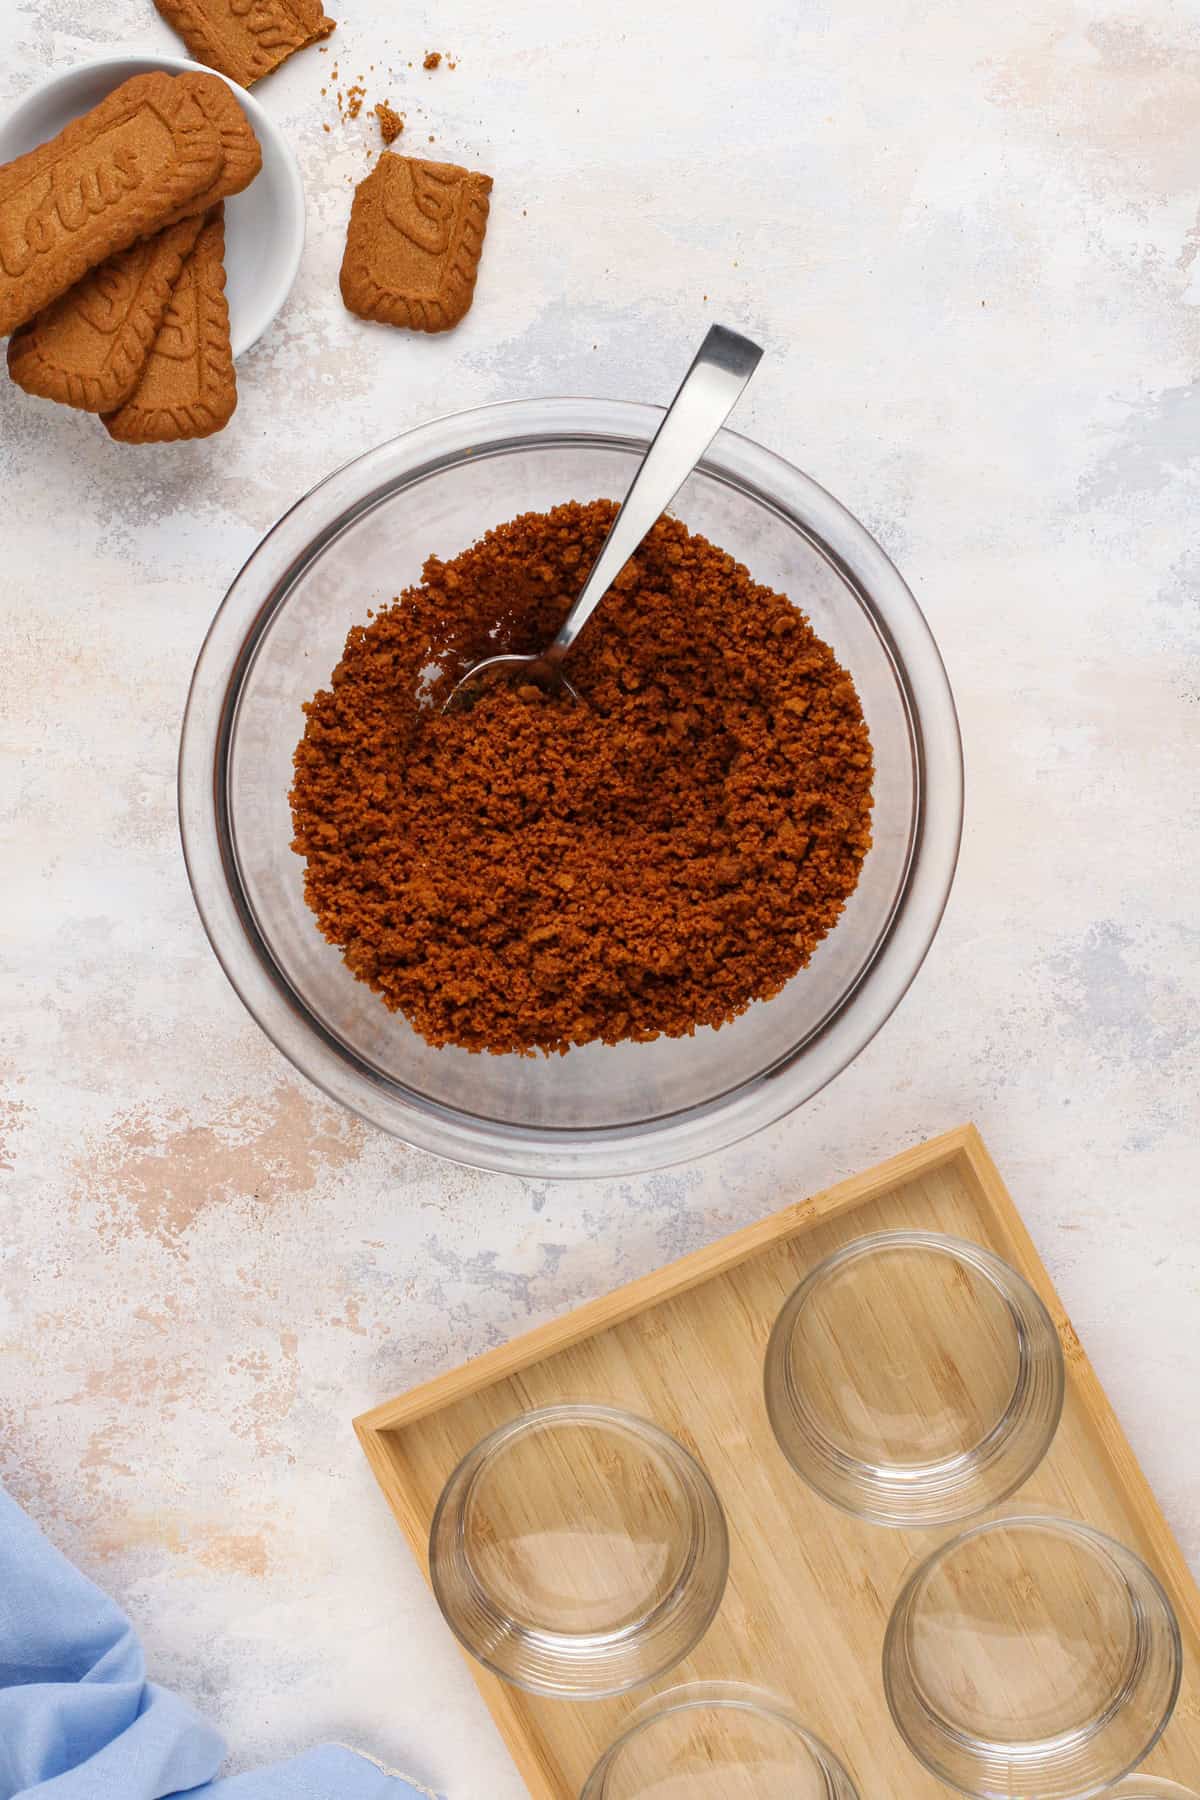
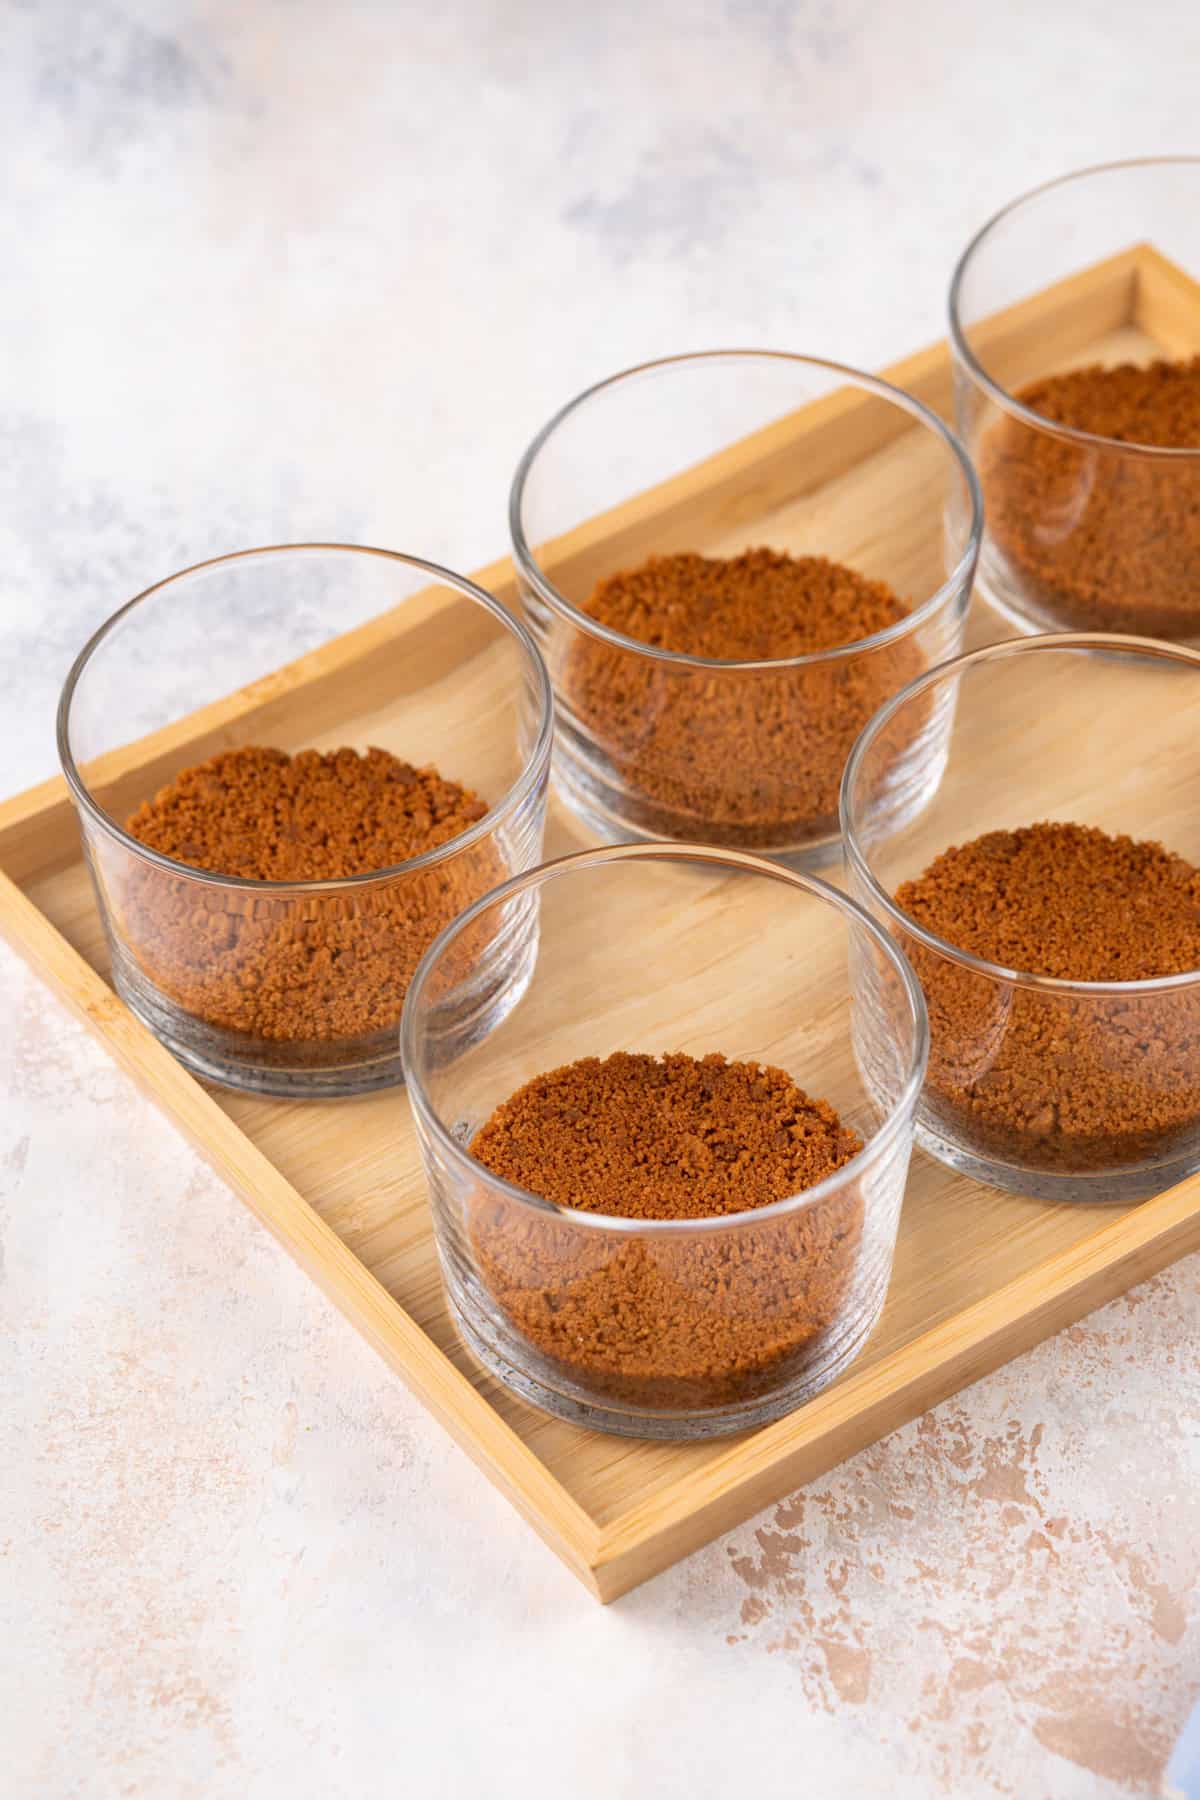
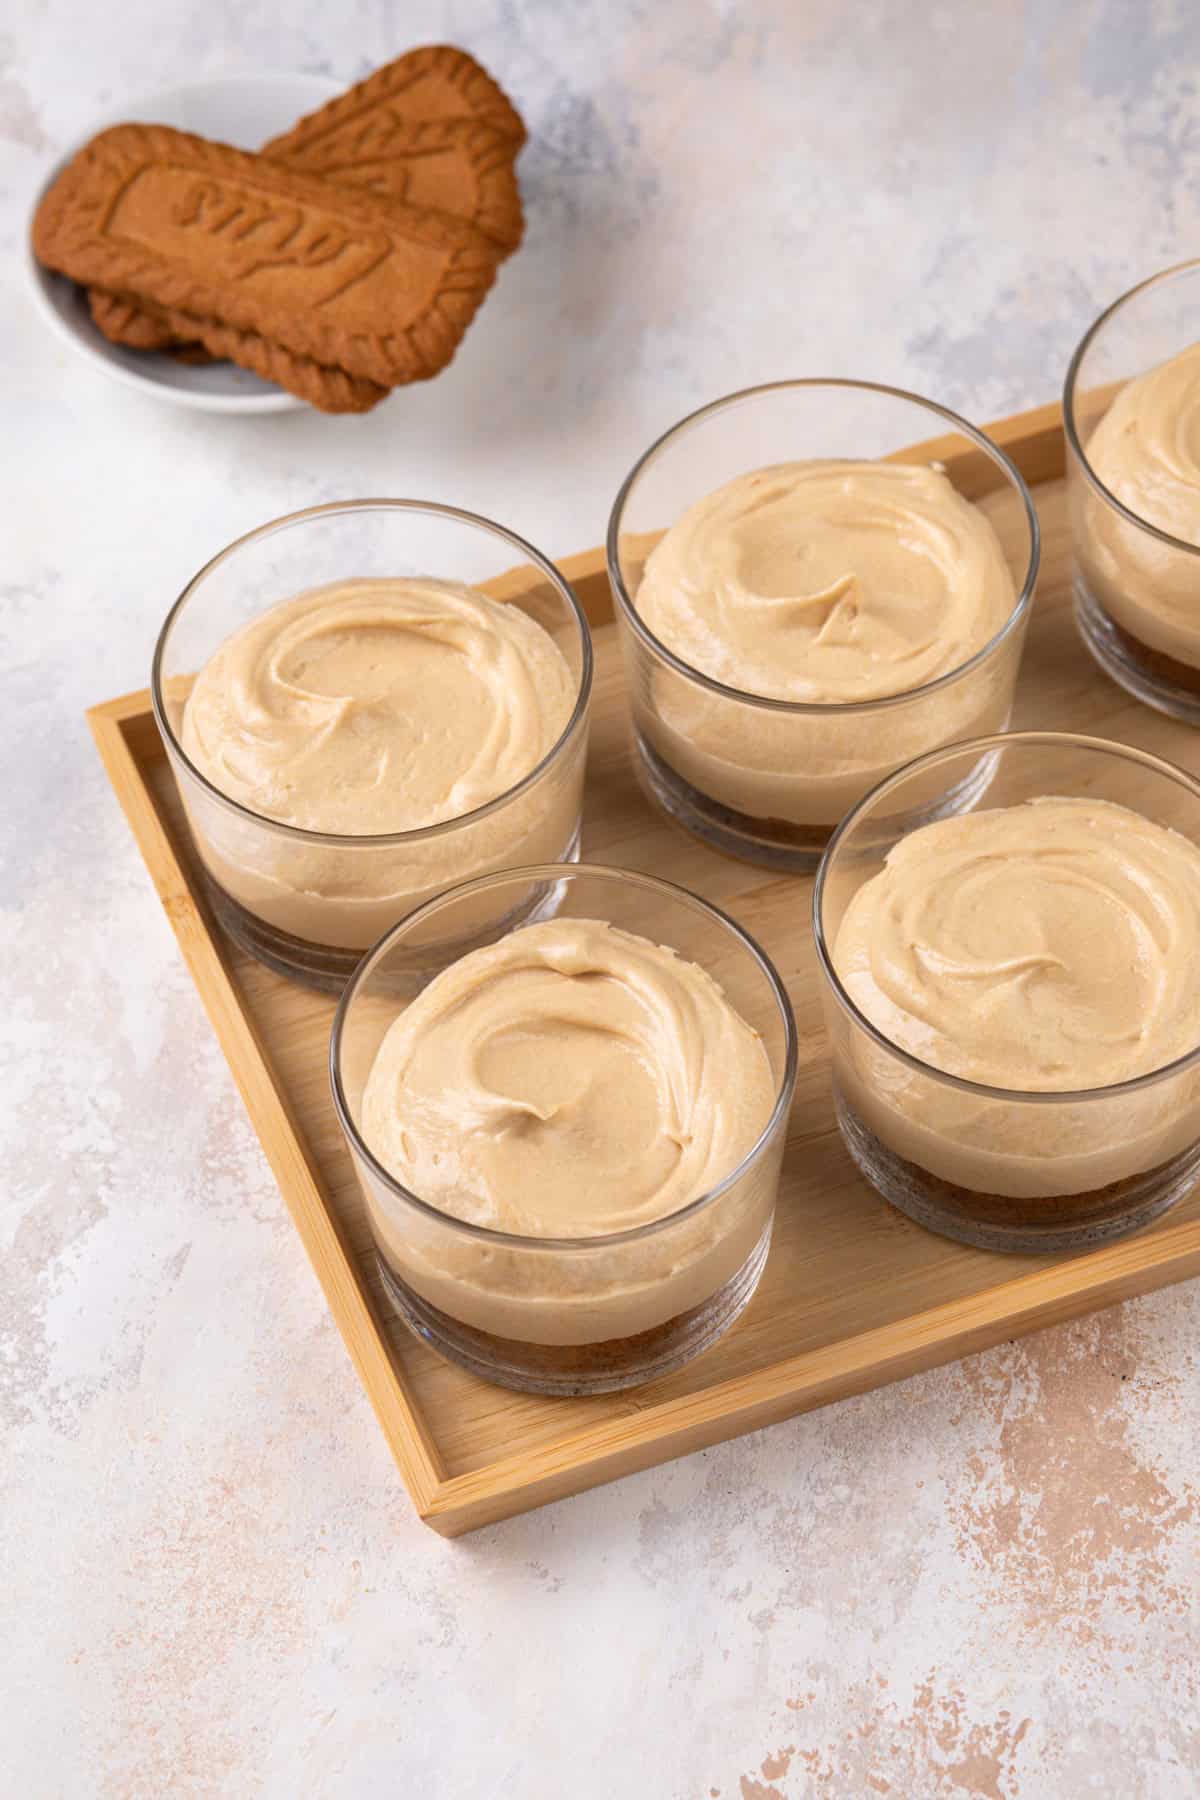
To make the crust, stir together the cookie crumbs with the melted butter. Divide the crumbs evenly between your serving dishes and press the crust into the bottoms of the bowls.
To make the filling, use a mixer to beat the cream cheese with the Biscoff spread until smooth and creamy. This will take about 3 minutes. Add the vanilla until combined.
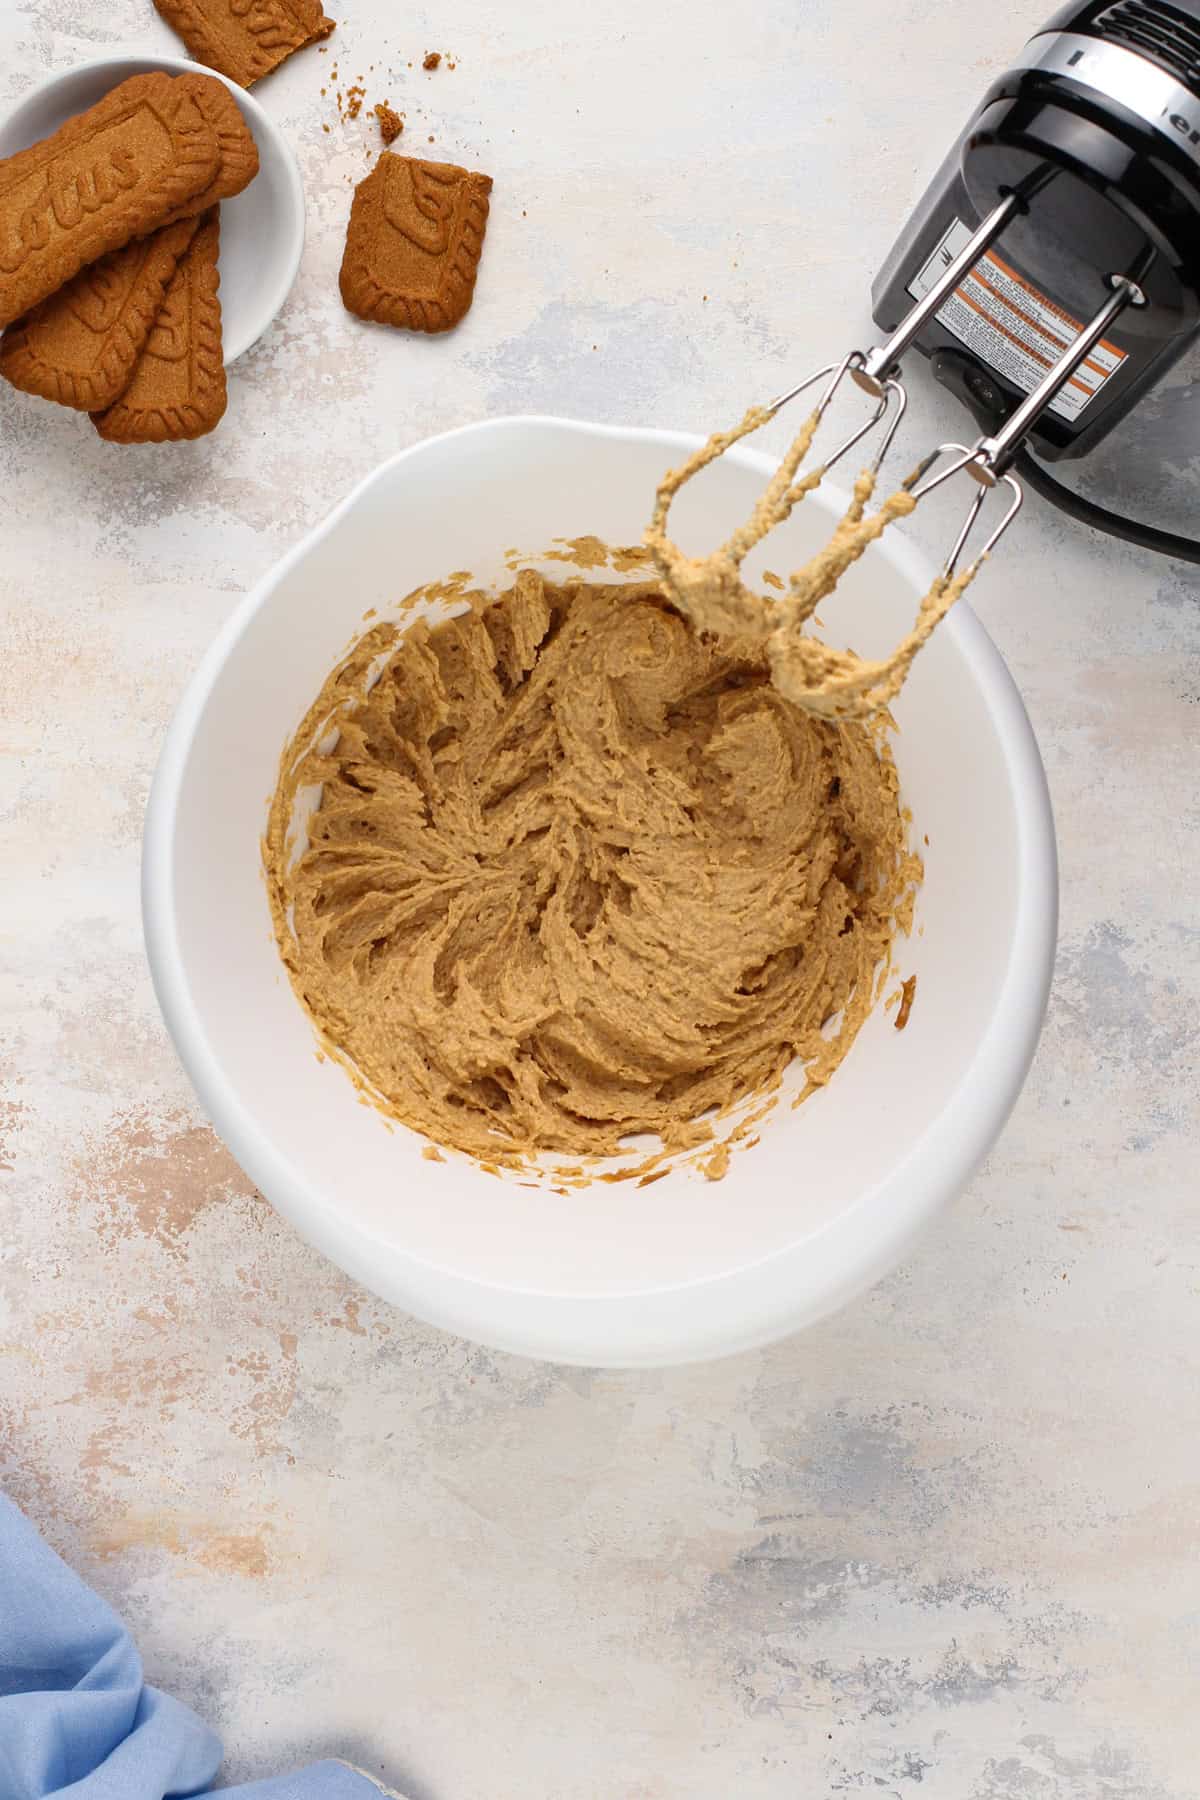
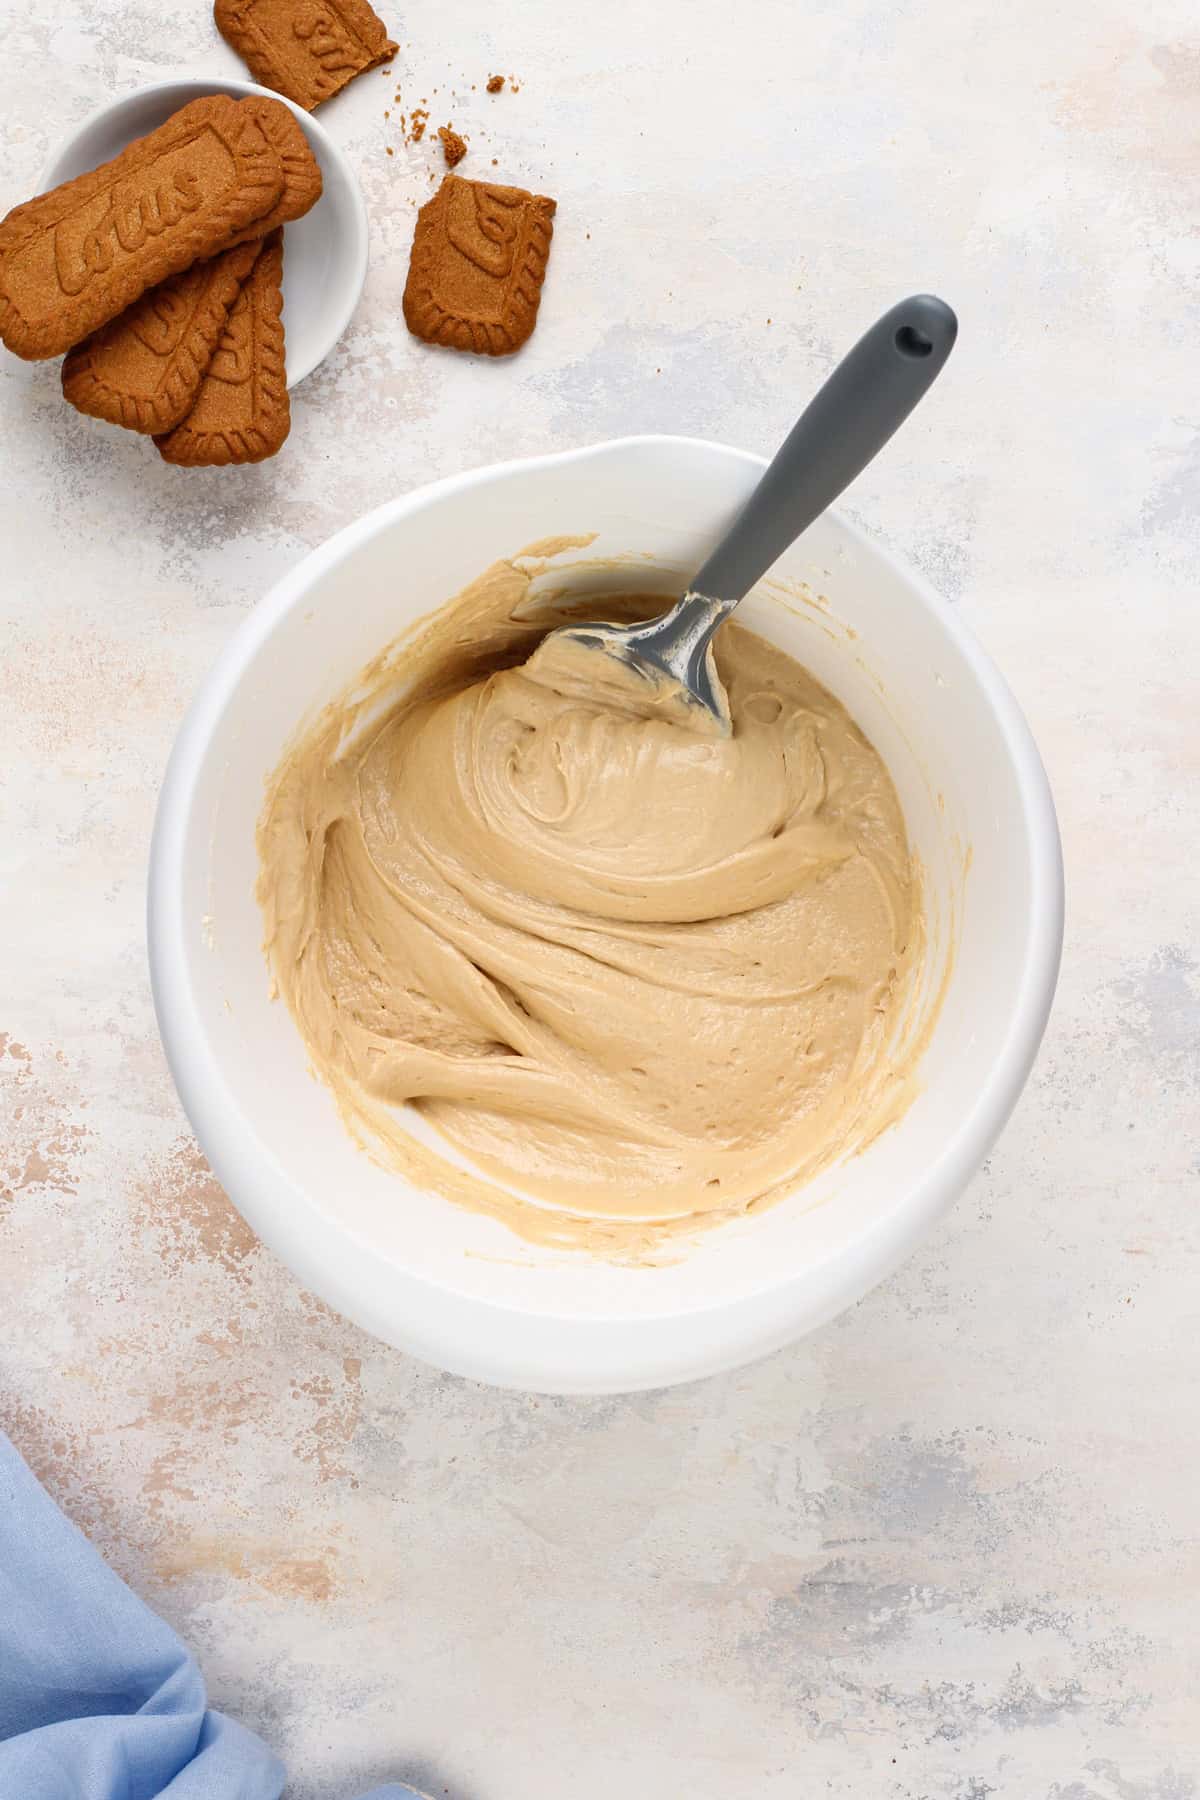
Switch to a spatula and fold in the thawed whipped topping until no streaks remain.
Now spoon or pipe the filling on top of the crusts. Cover with plastic wrap and refrigerate for at least 2 hours before serving.
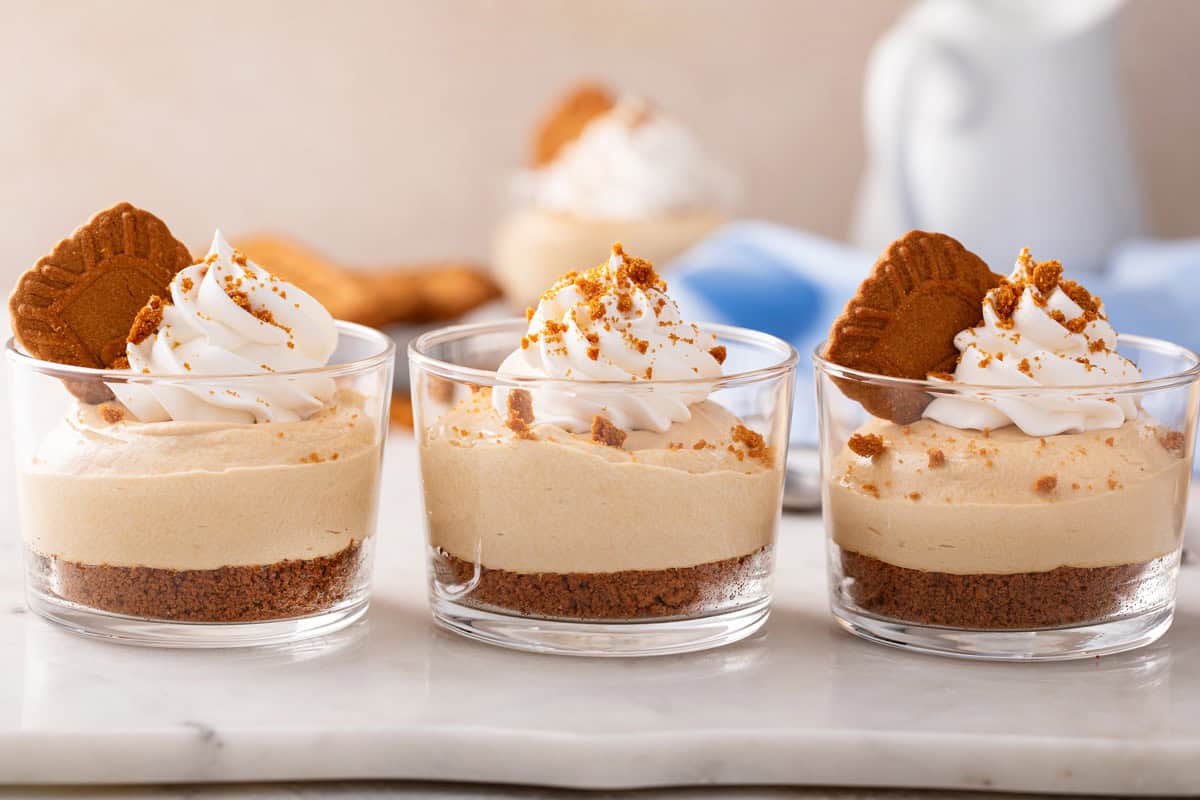
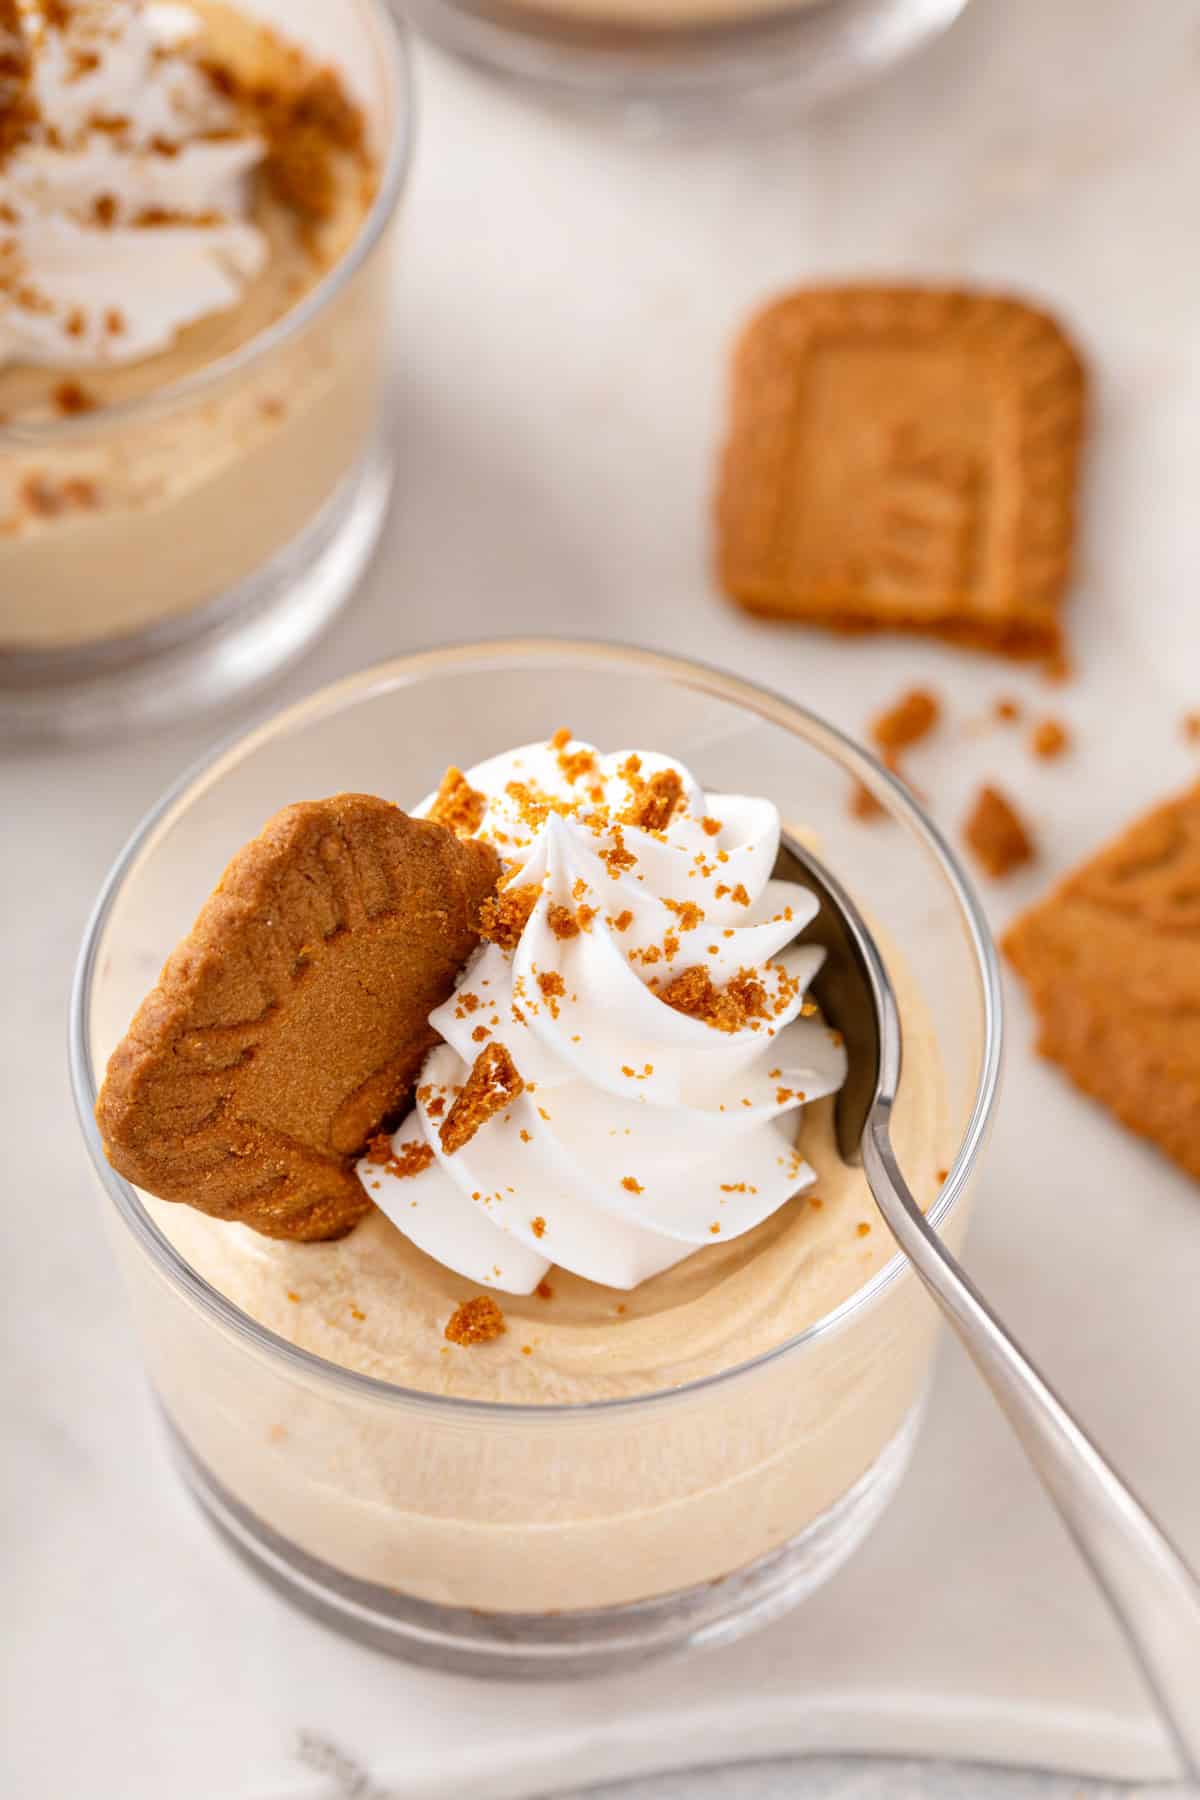
Just before serving, garnish with additional whipped topping or homemade whipped cream and Biscoff cookies or cookie crumbs, if desired.
Make-ahead & storage
These no-bake Biscoff cheesecakes need to chill in the refrigerator for at least 2 hours before serving, so they’re a great option to make ahead of time. You could easily make these cheesecakes the day before you plan to serve them – just wait to garnish them until right before serving.
The cheesecakes will keep in the fridge for up to 3 days. Keep them covered with plastic wrap so they don’t pick up any funky odors from your refrigerator!
I don’t recommend freezing the cheesecakes, though. The texture of the filling may not be quite the same after thawing.
Recipe FAQs
If you plan to eat these no-bake Biscoff cheesecakes the same day you make them, you can try using whipped cream instead of whipped topping. However, whipped cream doesn’t hold up quite the same as whipped topping, so it may not do as well if you want to make the cheesecakes more than just a few hours ahead.
If you want more wiggle room to store the cheesecakes for longer, I suggest using stabilized whipped cream instead. It will hold up better over time so your Biscoff cheesecake filling doesn’t get weepy.
If you want a whole cheesecake, more like my classic no-bake cheesecake, I suggest increasing the crust amounts to 1 ½ cups of cookie crumbs and 3 tablespoons of melted butter. This should better fill a 9-inch springform pan.
You might also want to increase the filling amount if you want a thicker cheesecake, but that is up to you and how much filling you like in your cheesecakes.
This Biscoff cheesecake filling won’t set up completely firm like a traditional baked cheesecake, but it should be fine for cutting slices cold from the refrigerator. If you want some extra insurance, pop it into the freezer for a little bit before slicing just to get it extra cold.
No-Bake Biscoff Cheesecakes
Equipment
- 6 6-ounce serving dishes or 8 4-ounce dishes
Ingredients
For the Crust:
- 12 Biscoff cookies crushed into crumbs (1 cup of crumbs)
- 2 tablespoons unsalted butter melted
For the Filling:
- 8 ounces cream cheese softened
- ⅔ cup Biscoff Spread
- 1 teaspoon pure vanilla extract
- 8 ounces frozen whipped topping thawed
For the Garnish:
- whipped topping optional
- Biscoff cookie crumbs optional
Instructions
- In a medium bowl, stir together the Biscoff cookie crumbs and melted butter. Evenly divide the crumbs between your individual serving dishes and press into the bottoms of the dishes to form a crust layer.
- In a large bowl, with an electric mixer, beat the cream cheese and Biscoff Spread on medium-high speed until smooth and creamy, about 3 minutes. Add vanilla and mix to combine. Using a rubber spatula, fold in the whipped topping until well blended and no streaks remain.
- Evenly pipe or spoon the filling into individual serving dishes. Cover with plastic wrap and refrigerate for at least 2 hours before serving.
- If desired, garnish with additional whipped topping and Biscoff cookie crumbs.
Video
Notes
Nutrition
Nutrition information is automatically calculated, so should only be used as an approximation.


I did this for Christmas and everyone loved it. Now my husband wants ot for his birthday!
Thank you for sharing this recipe.
These are delicious and I’m not a cool whip girl.
Thanks for stopping by and sharing your feedback! Happy baking!
Jamie