This post may contain affiliate links. Please read our privacy policy.
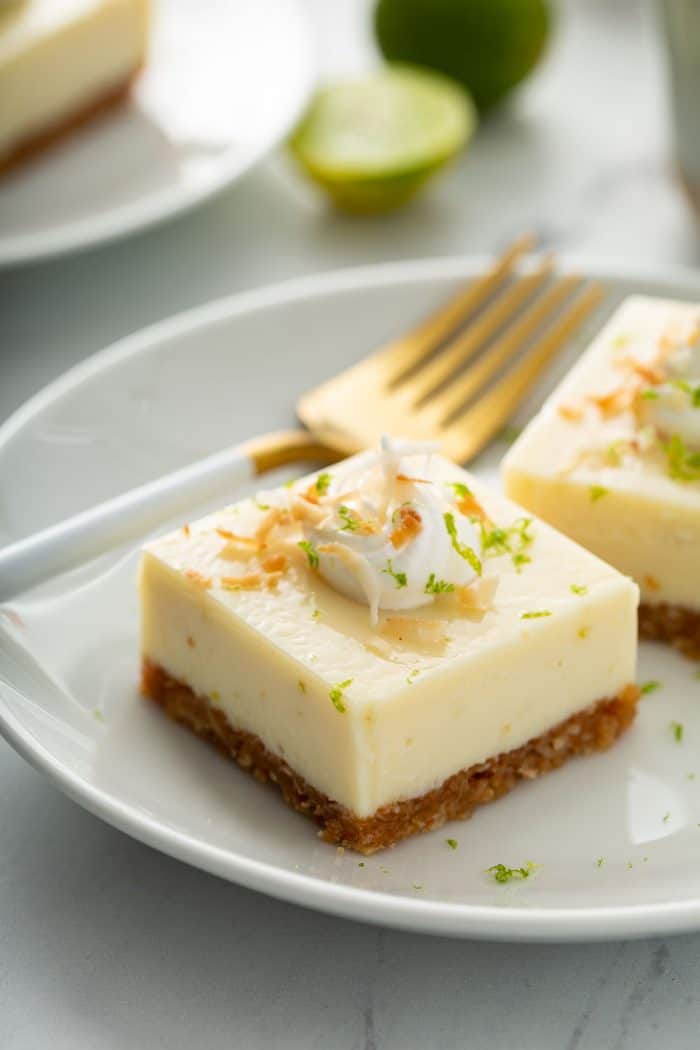
With a creamy filling that is both tart and sweet and a coconut graham cracker crust, these Key Lime Pie Bars are the definition of summer in one perfect bite! These bars are easy to make and a great alternative to a traditional key lime pie.
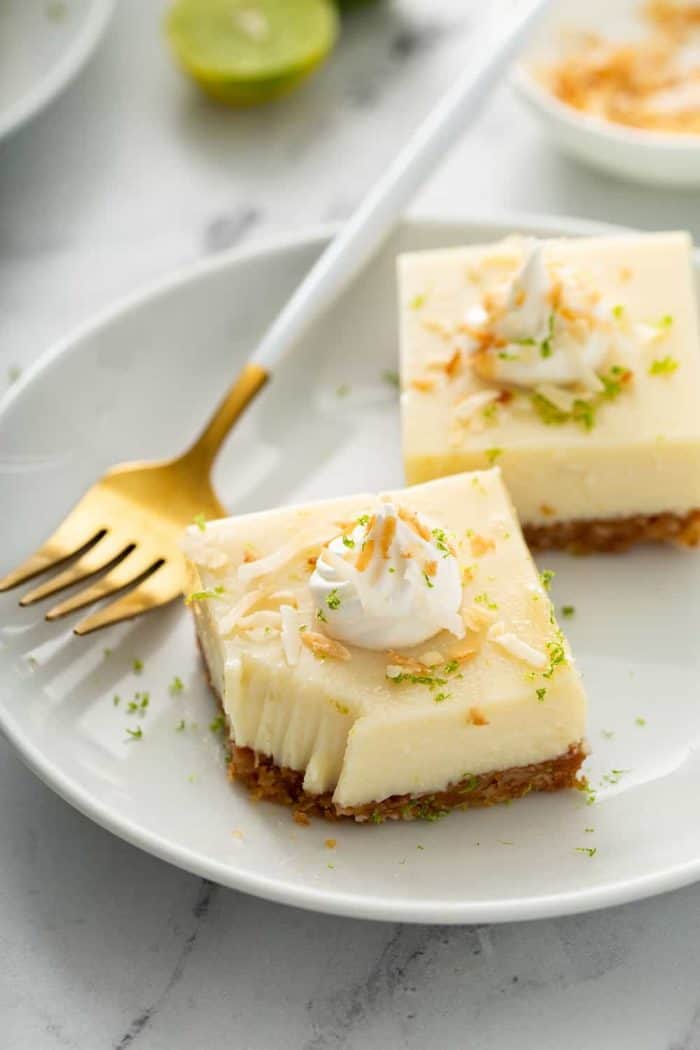
I don’t know if you happened to catch my post last week for Key Lime Pie Ice Cream, but I’ve pretty much been obsessed with key lime everything since then, so I thought it was the perfect time to share these super simple Key Lime Pie Bars with you.
They’ve been on the site for ages, but they were definitely in need of a little refresh, so I tweaked the recipe and added new photos.
And now I’m just over here contemplating what key lime dessert to whip up next!
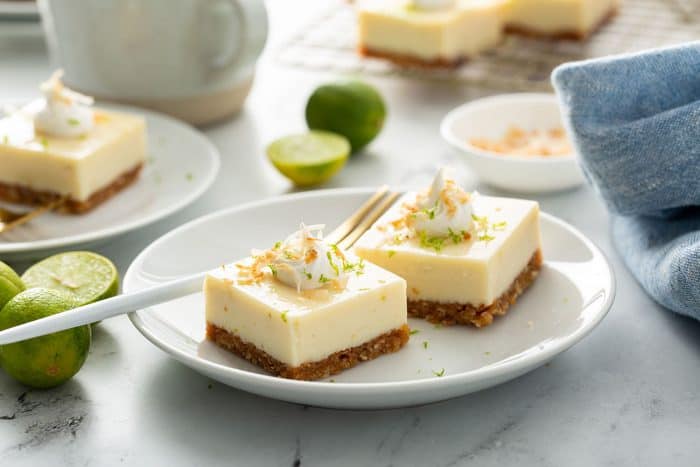
EASY KEY LIME PIE BARS
I love key lime pie. I love the tart flavor of the key limes, I love the creamy sweetness of the sweetened condensed milk, I love the pairing of the creamy filling with the graham cracker crust.
And unlike another classic citrus pie, lemon meringue pie, I love how simple it is to make key lime pie filling. Zero fuss.
But you also know that I love a good bar dessert. Being able to cut a dessert into bars and share it easily is one of my favorite moves.
So of course I had to turn key lime pie into bars!
Because key lime and coconut go so well together, I also wanted to add some coconut flavor to these bars.
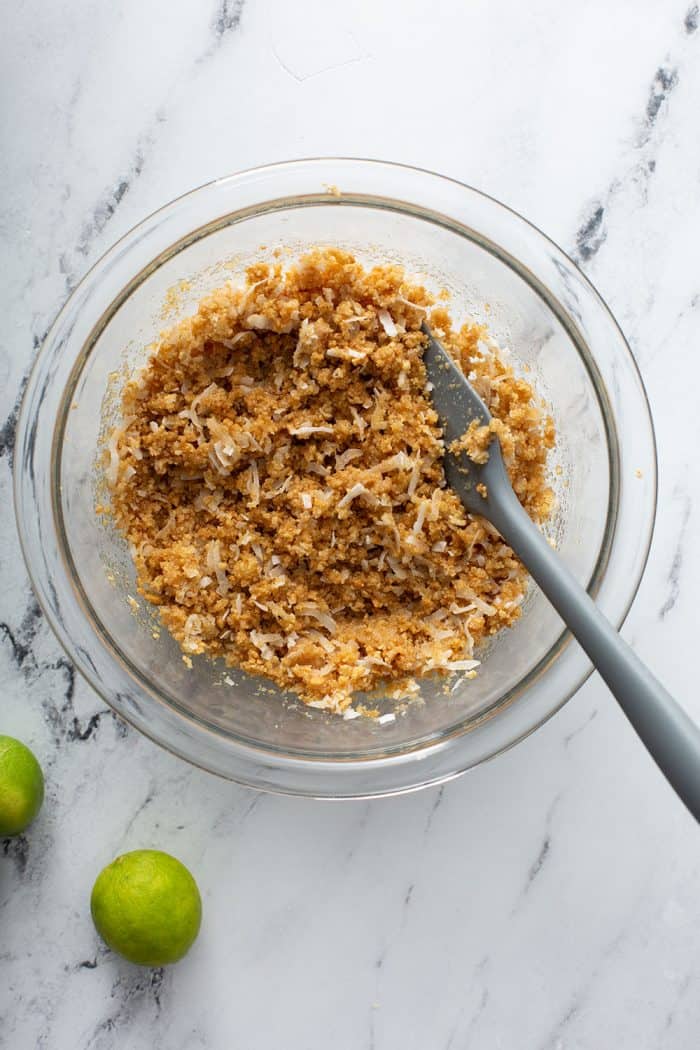
I ended up adding some sweetened flaked coconut into the graham cracker crust. The coconut adds a subtle flavor and a bit of extra texture to the bars, which I love a lot!
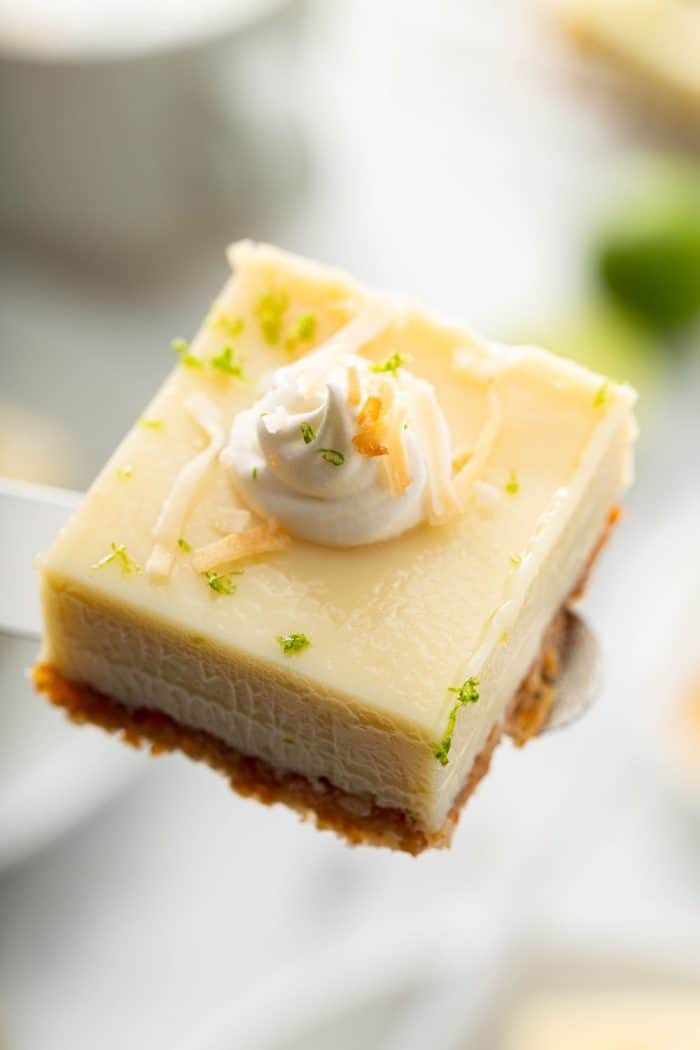
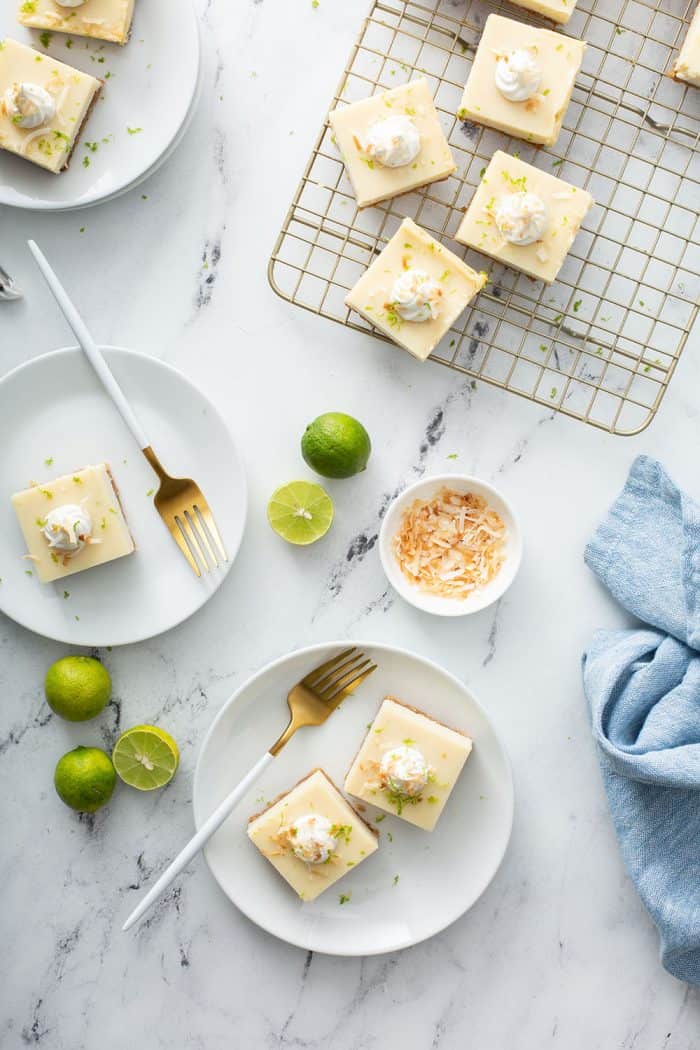
I like to top these bars with a dollop of whipped cream and toasted coconut before serving, but they’re just as delicious straight from the fridge before bed. Ask me how I know.
HOW TO MAKE KEY LIME BARS
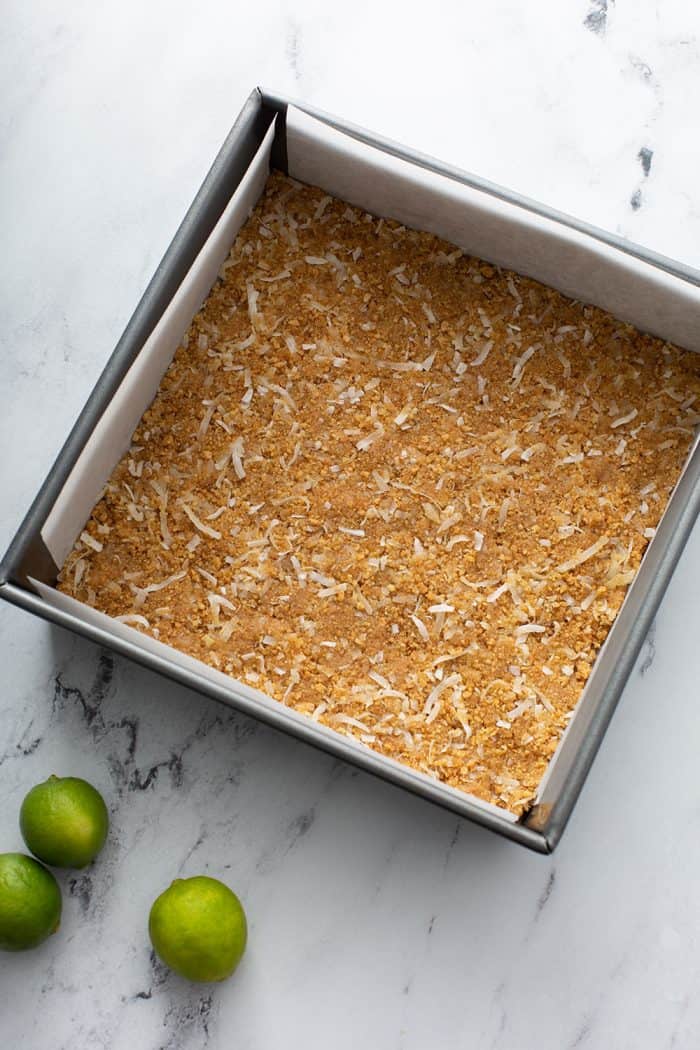
To make these bars, start by mixing together the graham cracker crust ingredients and pressing it down in a 8×8-inch pan that’s been lined with parchment paper.
I recommend leaving a “handle” of parchment paper over at least 2 sides of the pan. This will make it much easier to pull the bars out of the pan for cutting later.
To press the crust into the pan, grab a measuring cup or a glass with a flat bottom. Using the flat bottom of the cup or glass will make it easier to press the crust into an even layer!
Bake the crust for about 8 minutes while you whisk together the filling.
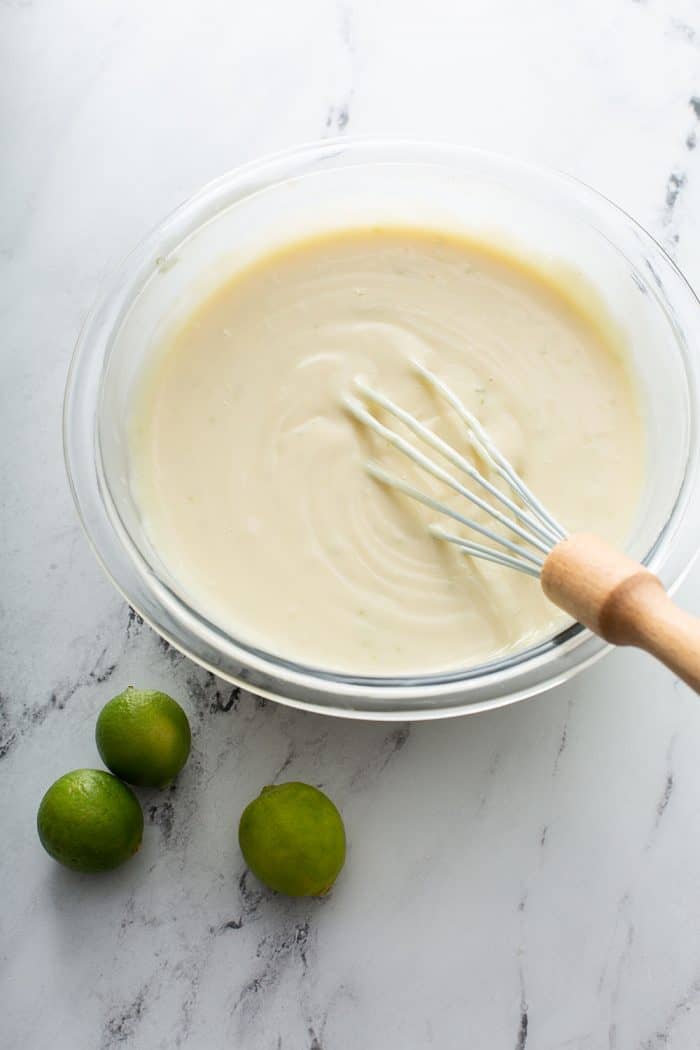
To make the key lime bar filling, just whisk the ingredients together in a bowl.
That’s it. I told you this was easy!
Pour the filling onto the baked crust and pop it back into the oven for about 12 minutes. You’ll know the bars are done when tiny pinholes burst on the surface of the filling. But be careful not to let the filling brown!
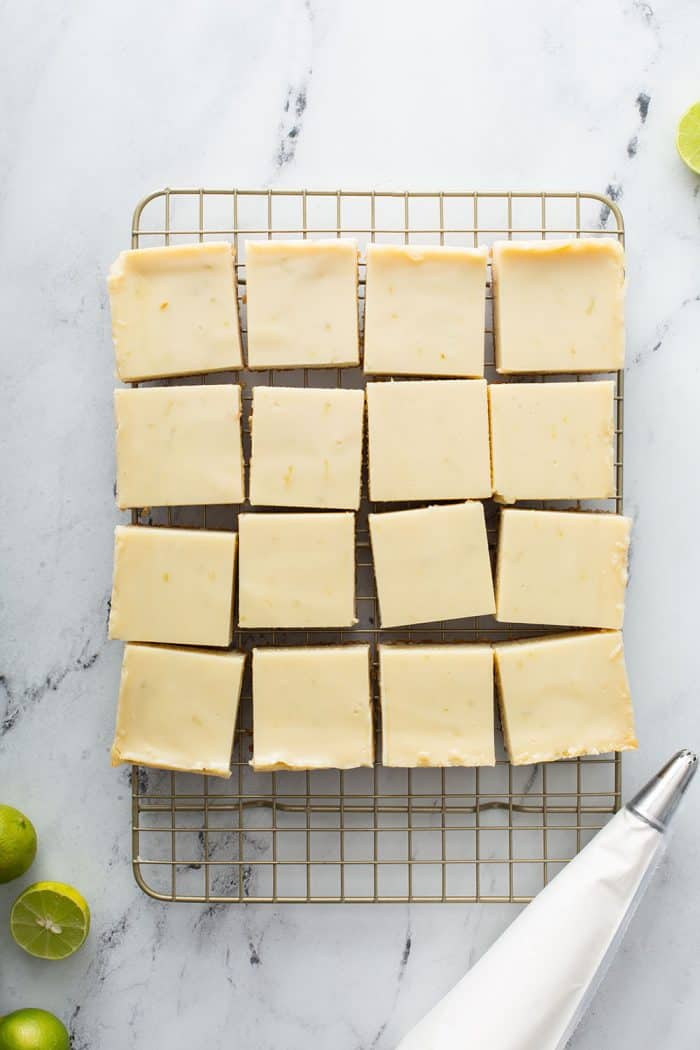
Let the bars cool on a wire rack and then chill in the fridge for several hours before using the parchment “handles” to gently lift the bars out of the pan, cut, and serve.
WHAT IF I CAN’T FIND KEY LIMES?
Finding fresh key limes at the store can be hit or miss. And honestly, tiny key limes are kind of a pain to juice anyway.
So here’s my secret: I buy key lime juice instead of fresh key limes.
My grocery store carries Nellie & Joe’s key lime juice, but any brand you find should work just fine.
If you do want to use fresh key limes, here’s a tip for juicing them: Use a (clean) garlic press to juice those tiny little suckers!
CAN I USE A 9X9 PAN INSTEAD?
I baked my Key Lime Pie Bars in an 8×8-inch pan. I like the thick layer of filling that you get when you bake them up in an 8×8 pan, but you could use a 9×9-inch pan instead.
If you’re using a 9×9-inch pan, the filling and crust layers will be slightly thinner, but equally delicious. Just reduce the baking time for the filling to 5-8 minutes instead of 10-12 minutes.
A HELPFUL TIP FOR CUTTING THESE BARS
Whenever I cut a dessert with a chilled filling, whether it be Key Lime Pie Bars or Vanilla Cheesecake or Cheesecake Brownies, I use a simple trick to get a nice clean cut.
Grab a large knife and run it under very hot water for a few seconds. Quickly wipe it dry on a clean towel and then cut the bars or cheesecake. The knife will be hot enough to cleanly cut through the filling.
Just clean the knife off between each cut, running it back under the hot water as needed if it starts to cool off.
Voila! Clean edges that will make you look like a pro.
Key Lime Pie Bars
Equipment
Ingredients
For the crust
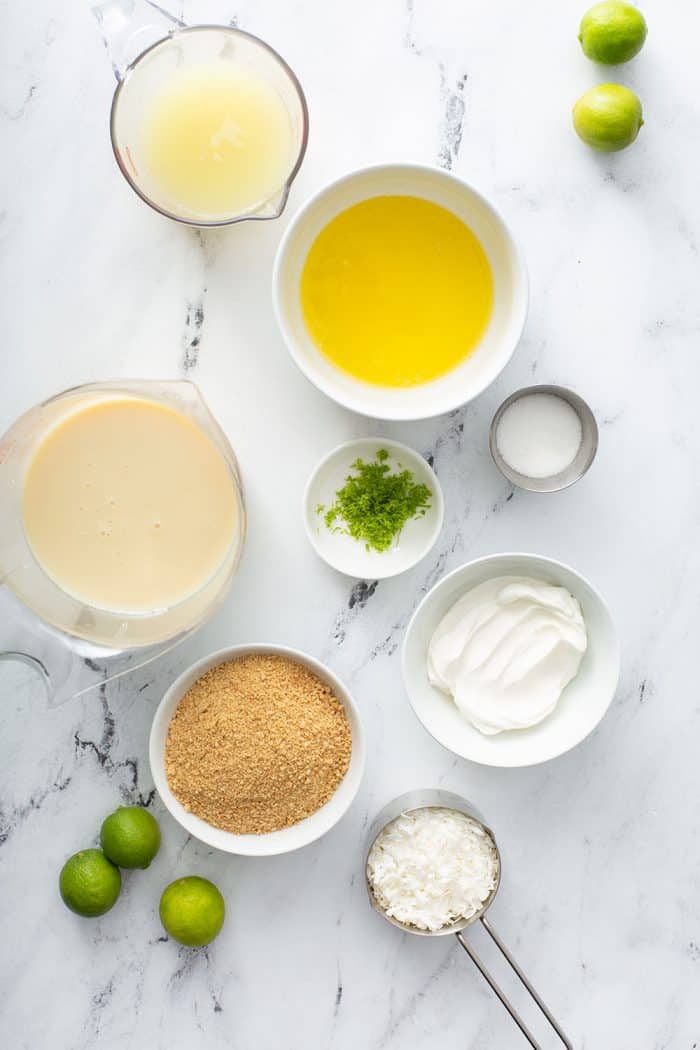
- 1 ½ cups crushed graham crackers about 2/3 of a sleeve
- 2 tablespoons granulated sugar
- ⅓ cup butter melted
- ½ cup sweetened flaked coconut
For the filling
- 3 cups sweetened condensed milk
- ½ cup sour cream
- ¾ cup key lime juice
- 1 tablespoon grated lime zest
Instructions
For the Crust
- Preheat oven to 350° F (175° C). Line a 8×8-inch baking pan with parchment paper. Set aside.
- In a small bowl, combine the crumbs, coconut and sugar; add butter and blend well. Press onto the prepared pan.
- Bake for 8 minutes; cool on wire rack.
For the Filling
- In a medium bowl, combine condensed milk, sour cream, lime juice, and lime zest. Mix well and pour into graham cracker crust.
- Bake in preheated oven for 10-12 minutes, until tiny pinhole bubbles burst on the surface of pie. DO NOT BROWN! Chill thoroughly before serving, at least 2-4 hours. Cut into 16 bars; garnish with whipped cream and toasted coconut.
Notes
- If using a 9×9-inch pan, bake the filling for 5 to 8 minutes.
- I use Nellie & Joe’s key lime juice when I cannot find fresh key limes.
Nutrition
Nutrition information is automatically calculated, so should only be used as an approximation.


Hi! Are we able to freeze them overnight and serve them the next day?
Hi Hannah – I haven’t tried freezing them overnight, but you can definitely keep them in the refrigerator overnight and serve them the next day. Hope this helps! Happy baking –
Jamie
These are so good and easy!! I doubled the recipe and used a small baking sheet and subbed 2% greek yogurt for sour cream and they are so delicious. I was so happy to find a recipe without the yolks because I hate wasting egg whites and this did not disappoint. I’m curious about if there’s a way to make it non dairy since I saw coconut condensed milk at the store.
So happy to hear you enjoyed the recipe, Pilar!
@Pilar, how long did you bake them? Did you use a 9×13″ pan?
This is one of my favorite desserts, and I love the addition of coconut! It seems like a simple recipe, will definitely be trying it out.
I hope you enjoy them as much as we do!
-Jamie
I don’t like coconut and want to add a half cup of hazelnut meal. Do I need to increase the melted butter? And if so, how much?
Hello! I haven’t attempted this recipe with this substitution, so I am not sure of the result. If you happen to give it a try, I’d love to know how they turned out. Thanks so much for stopping by.
-Jamie
Can the sweetened condensed milk to substitute with other ingredient suitable for someone with diabetic.
My mum love key lime but it’s just too sweet for her.
Thank you in advance.
Hello! I haven’t attempted this recipe with anything in place of the condensed milk, so I am not sure of the result. If you happen to give it a try, I’d love to know what you used. Thanks so much for stopping by.
-Jamie
These look so delicious, love the addition of coconut!
Thanks so much for stopping by, Kelly! I appreciate you taking the time to comment. Happy Baking!
-Jamie
Can or how would a sugar substitute work for this? I am a diabetic and love this. Splenda cooking blend? It looks so good. Thank you.
Hello! I haven’t attempted this recipe with this substitution, so I am not sure of the result. If you happen to give it a try, I’d love to know how they turned out. Thanks so much for stopping by.
-Jamie