This post may contain affiliate links. Please read our privacy policy.
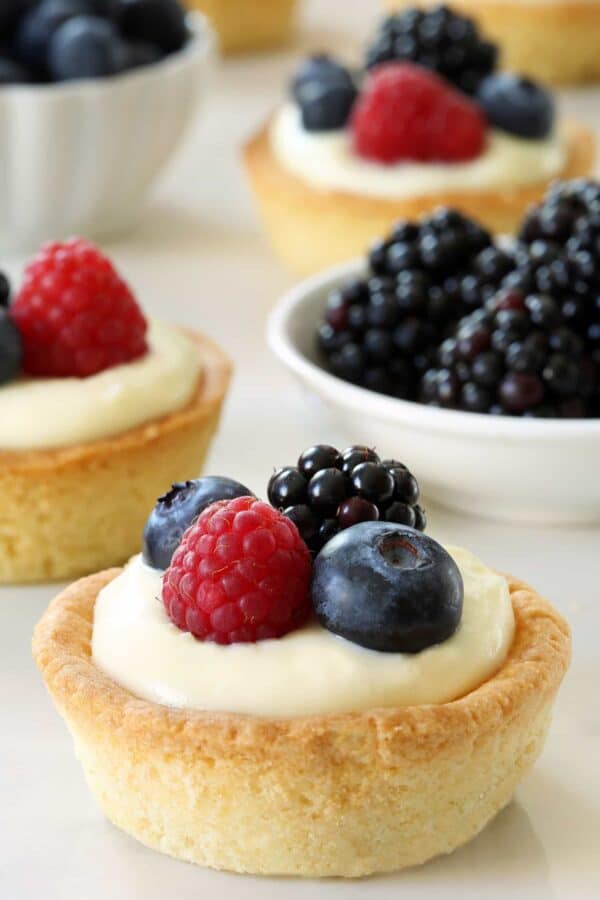
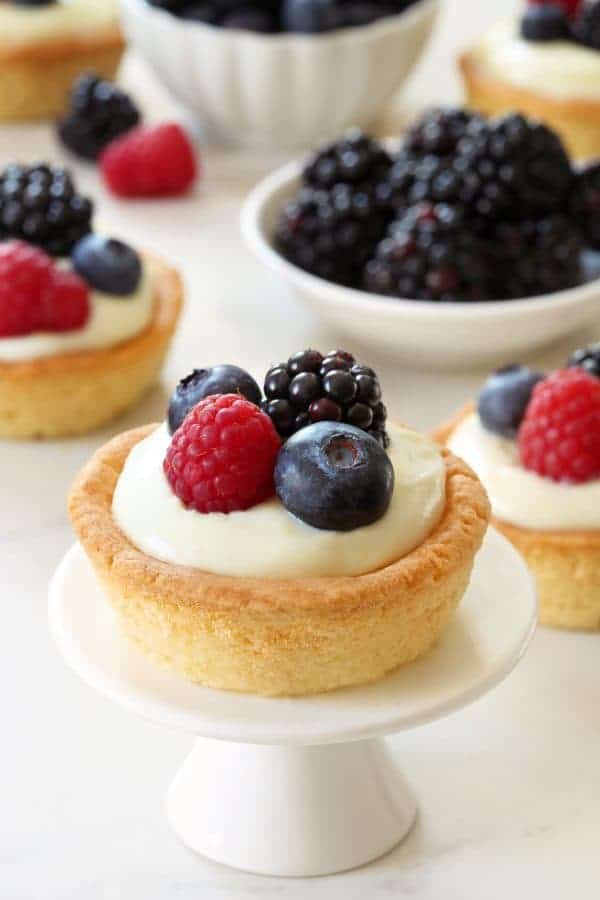
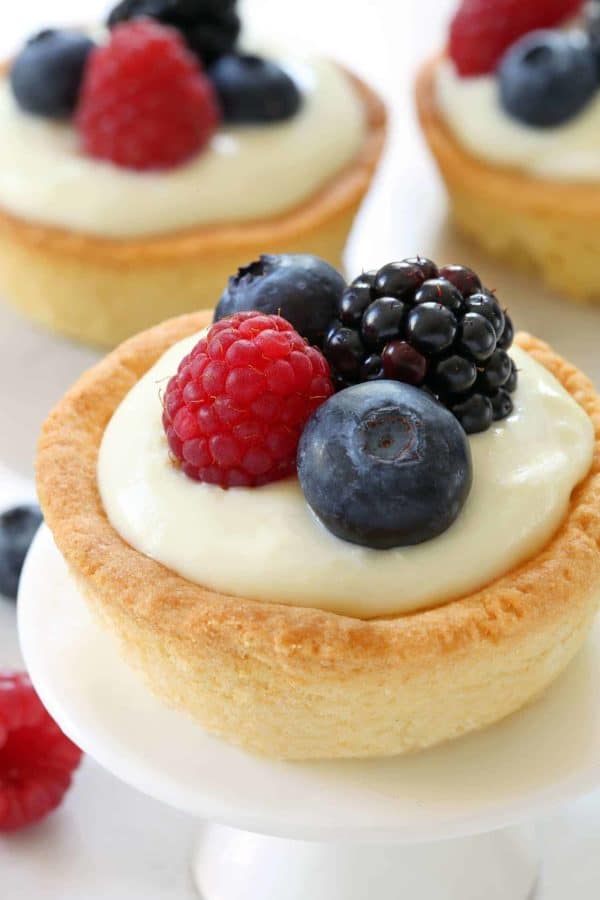
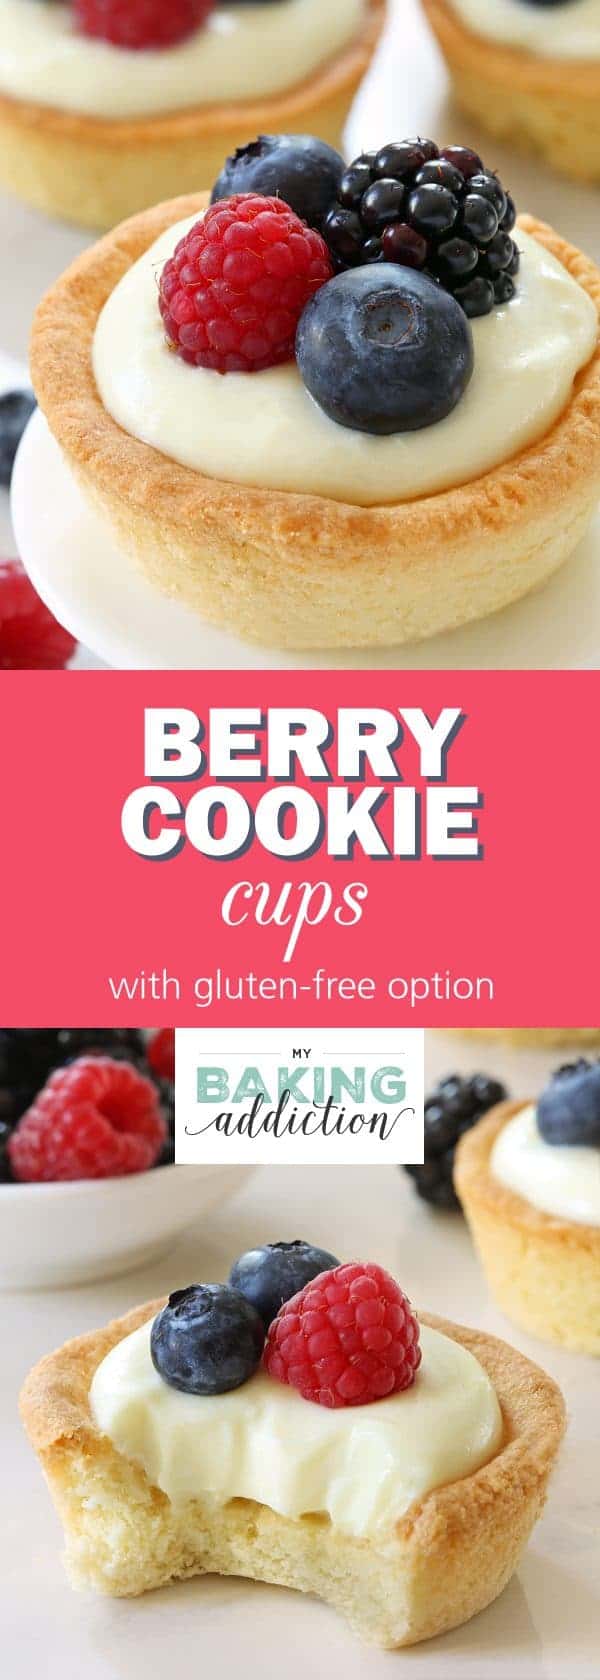
Berry Cookie Cups have a sugar cookie crust and a delicious white chocolate cream cheese filling. Recipe contains a gluten-free option.
Berry season is in full swing and I’m so, so excited. I love berries not just because they’re tasty, but because they make the job of decorating so easy!
If you’re like me and prefer not to make recipes that require a bit of time and skill to decorate, then these berry cookie cups are perfect for you. My mini cheesecakes are also a great option.
These ridiculously addictive treats have a soft and slightly puffy sugar cookie crust which is already delicious on its own. I may have had to make them a few times because I kept eating the crusts before I got the chance to fill them. Once the filling is added, they become completely irresistible!
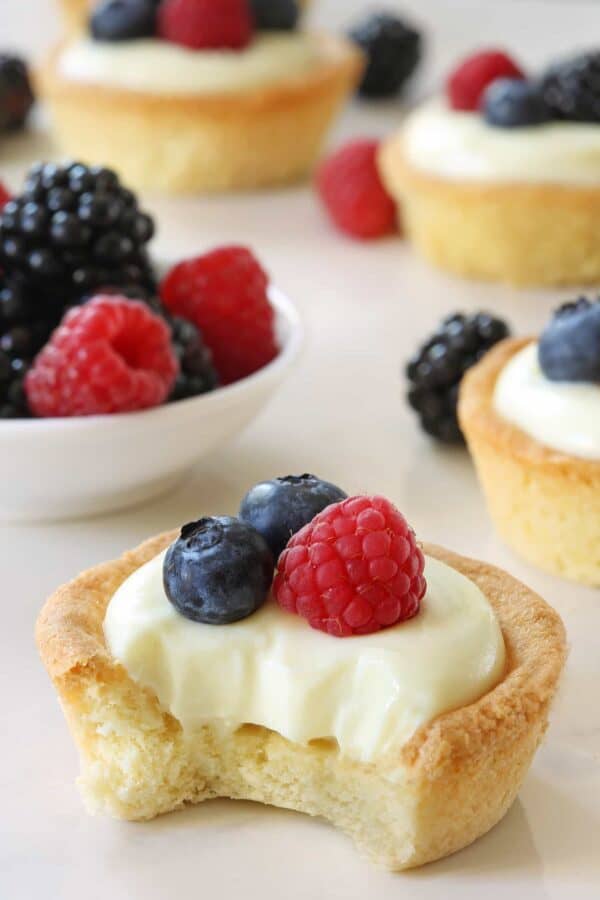
If you’ve ever made cookie cups before, then you might know that they can be on the messy side. Either the crust is a bit crumbly or the filling is too runny. These handheld treats are just firm enough that you can eat them without making a mess. I know what I’ll be bringing to summer picnics and 4th of July parties!
The lemon zest and extract add just the right amount of zing to the crusts but can be omitted if you’re not big on lemon. If you’re a lemon + berry lover like me, check out these berry bars for another portable treat.
I’ve also made these berry cookie cups with almond extract and they were just as delicious. I can’t wait to try an almond and cherry (or peach, apricot, or basically any stone fruit) version! I first paired cherries with almond extract in these mini cherry pies and since then, I’ve added almond extract to almost all my stone fruit desserts.
As for the filling, it really couldn’t be any easier. It’s just cream cheese, white chocolate and Greek yogurt. When you first mix it together, it’ll be a bit runny but a little chilling firms it up enough that you can pipe it. I like to keep things simple and just dolloped it in the cookie cups.
I’ve made cookie cups in the past that had a regular no-bake cheesecake filling and the crusts became a bit soggy on the next day. That’s not a problem with this recipe! The cookie cups are a bit softer on the second and third days, but they’re definitely not soggy.
If you’d like to make these in advance, I recommend making the crusts and filling a day or two beforehand and assembling them on the day of serving. If they’re going to be sitting outside for several hours, I recommend refrigerating the assembled cookie cups for a few hours first. I wish you luck in not sneaking too many while they chill!
Berry Cookie Cups

Ingredients
For the cookie cups:
- 1 ½ cups all-purpose flour or 1 1/2 cups gluten-free flour blend for a gluten-free version*
- ½ teaspoon salt
- ⅛ teaspoon baking soda
- 5 tablespoons unsalted butter softened
- ¾ cup granulated sugar
- 2 teaspoons lemon zest
- 1 ½ teaspoons lemon extract
- 1 large egg room temperature
* For the gluten-free flour blend:
- 1 cup white rice flour
- ⅓ cup potato starch
- 2 tablespoons + 2 teaspoons tapioca flour / starch
- ½ teaspoon xanthan gum
- If you need these cookie cups to be gluten-free make sure all your ingredients are certified gluten-free.
For the filling:
- 6 ounces cream cheese
- ¾ cup white chocolate chips or chopped white chocolate melted
- 6 tablespoons Greek yogurt
- berries rinsed and very well dried
Instructions
- Preheat the oven to 350 degrees F. Spray a 12-cup muffin pan with baking spray or grease with butter.
- In a medium mixing bowl, stir together the flour, salt and baking soda. Set aside.
- In a large mixing bowl using a stand mixer or electric hand mixer, beat the butter and sugar at medium speed until well combined. Beat in the lemon zest, lemon extract and egg and beat until incorporated. Gradually add in the flour mixture on low speed. Beat just until combined.
- Form the dough into 1 1/2" balls and press over the bottom and 4/5 of the way up the sides of each cup.
- Bake the all-purpose version for 11-13 minutes and the gluten-free version for 14-16 minutes or until lightly browned. The crust may puff up quite a bit while baking.
- After removing the pan from the oven, use a shot glass to press the crusts down a bit to make more of an indentation for the filling. Let the cookie cups cool for 10 minutes in the pan and then use a knife to help dislodge them from the pan. The bottoms of the cookie cups will be very soft but will harden as they cool. Let the cookie cups cool completely before filling.
- To prepare the filling, beat the cream cheese at medium speed until fluffy.
- Beat in the melted white chocolate and once well combined, stir in the Greek yogurt. The mixture will be quite thin. Refrigerate for about 30-60 minutes or until firm.
- Spoon 2 tablespoons of filling into each cup. Decorate with berries and serve or refrigerate first for 2 hours for a firmer filling.
- If making these in advance, add the berries the day of serving. The crusts get a bit softer after a day in the refrigerator, but not at all soggy. Refrigerate in an airtight container.


Hello Erin, the recipe sounds and looks amazing, only one issue my granddaughter is off the charts allergic to eggs, the cookie recipe calls for one egg. would it be ok to omit, or should I substitute the egg with something else? thank you.
Hello! We haven’t attempted this recipe with this substitution, so I am not sure of the result. If you happen to give it a try, I’d love to know how they turned out. Thanks so much for stopping by.
-Jamie
Do you think you could make the filling ahead of time and freeze it? I am doing a high tea baby shower and having to travel to get there so trying to get as much prep done before hand as possible :)
Sorry, I have not tried to freeze the filling, so I am not certain how it will hold up.
-Jamie
Hi Erin, I have been looking for a great base for mini strawberry tarts. I just made these this morning and the tart cases are just beautiful. The lemon addition is perfect. So yummy. I made these in mini muffin size and they are beautiful. Making these for a High Tea this weekend. Wonderful recipe thank you. Yummo. :)
So glad you like it, Kathie!
I made these yesterday, and they were amazing!! My family went crazy over them. The filling is to die for. I made the gluten free version with Pillsbury gluten free flour. I also used almond extract instead of the lemon extract- which gave it an amazing flavor that went great with the fruit. One of the best desserts I’ve ever tasted. Thank you for this recipe!
You’re very welcome Jessa! I love your substitutions!
Hi Amy!! That’s simply divine. Thank u for posting it.
I’ll appreciate if u could let me know the egg substitute
I am an Indian vegetarian n do not consume egg. Also kindly email to me.
Also will appreciate if u could email to me. Thank u.!!
Hello, Sangita! You can substitute one mashed banana for every egg. I hope you enjoy the recipe!
This looks so yummy! Do you use plain greek yogurt or vanilla?
Thanks! I used plain but vanilla would be fine, too, as long as it doesn’t have a bunch of added sugar. Enjoy! :)